Description
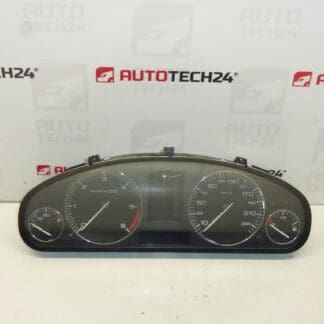
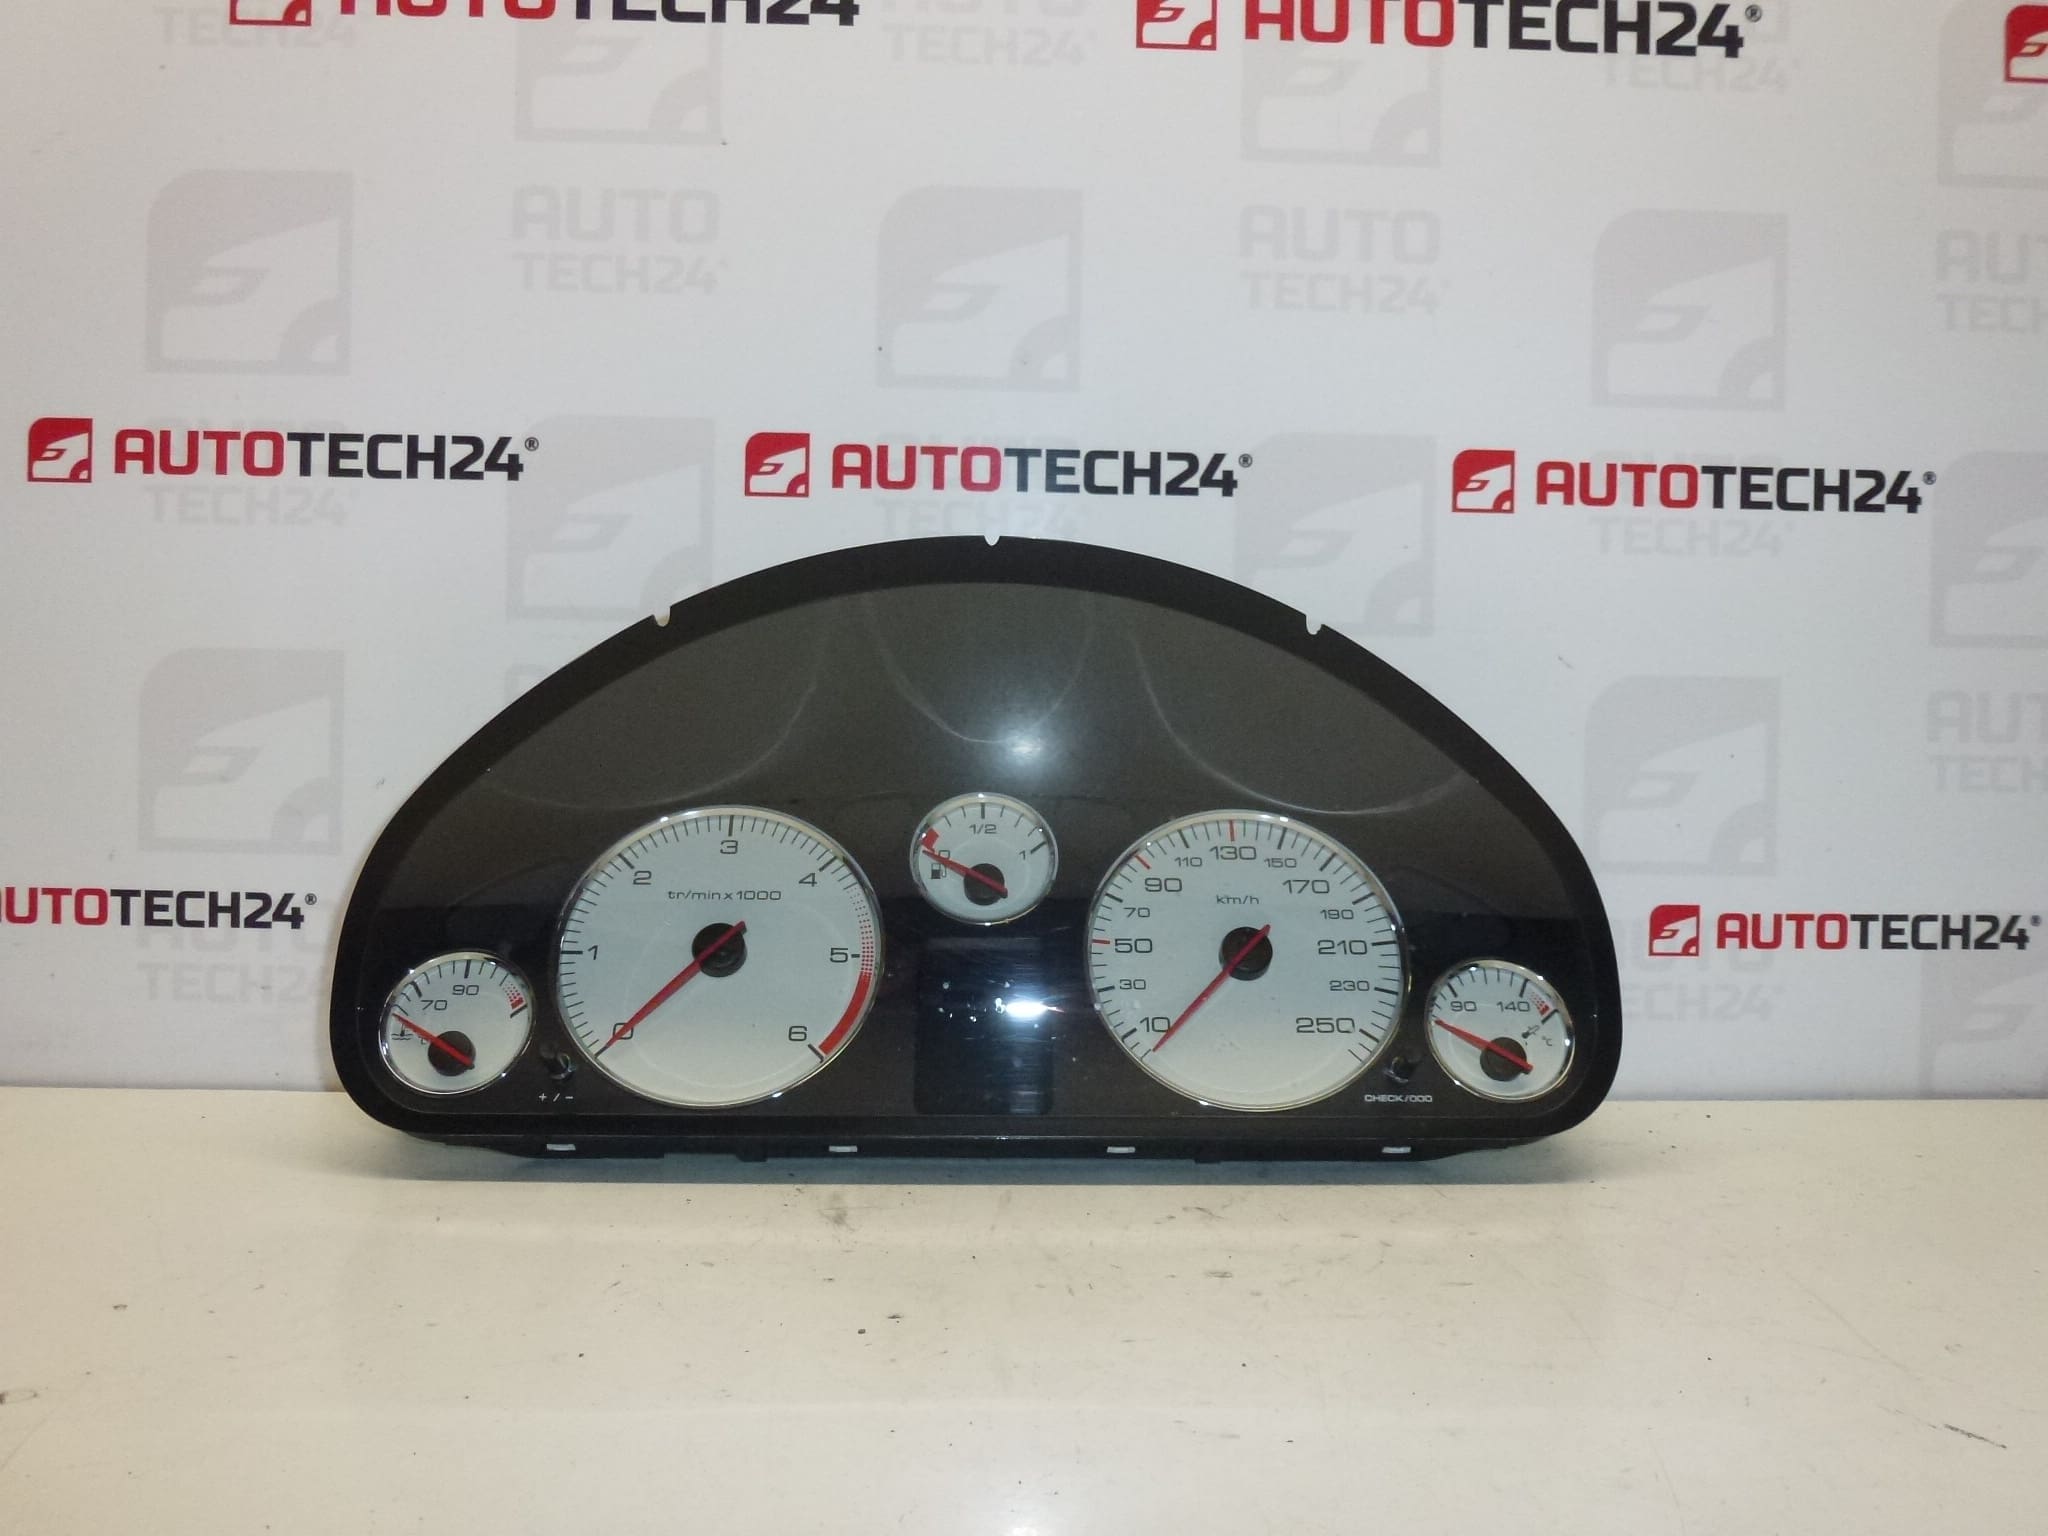
Tachometer, Gauges, Instrument Cluster PEUGEOT 407 2.0 HDi 2010
Mileage approx. 280000 km
Display functions OK
This used instrument cluster is intended for Peugeot 407 with the 2.0 HDi engine (model year 2010). It contains the speedometer, tachometer, odometer and integral display. The LCD/segment display is reported to be working correctly. This listing is optimized for mechanics and competent DIY technicians searching by part number or vehicle model.
Technical Information
- Manufacturer: Stellantis / Peugeot
- Model: Peugeot 407 2.0 HDi (2010)
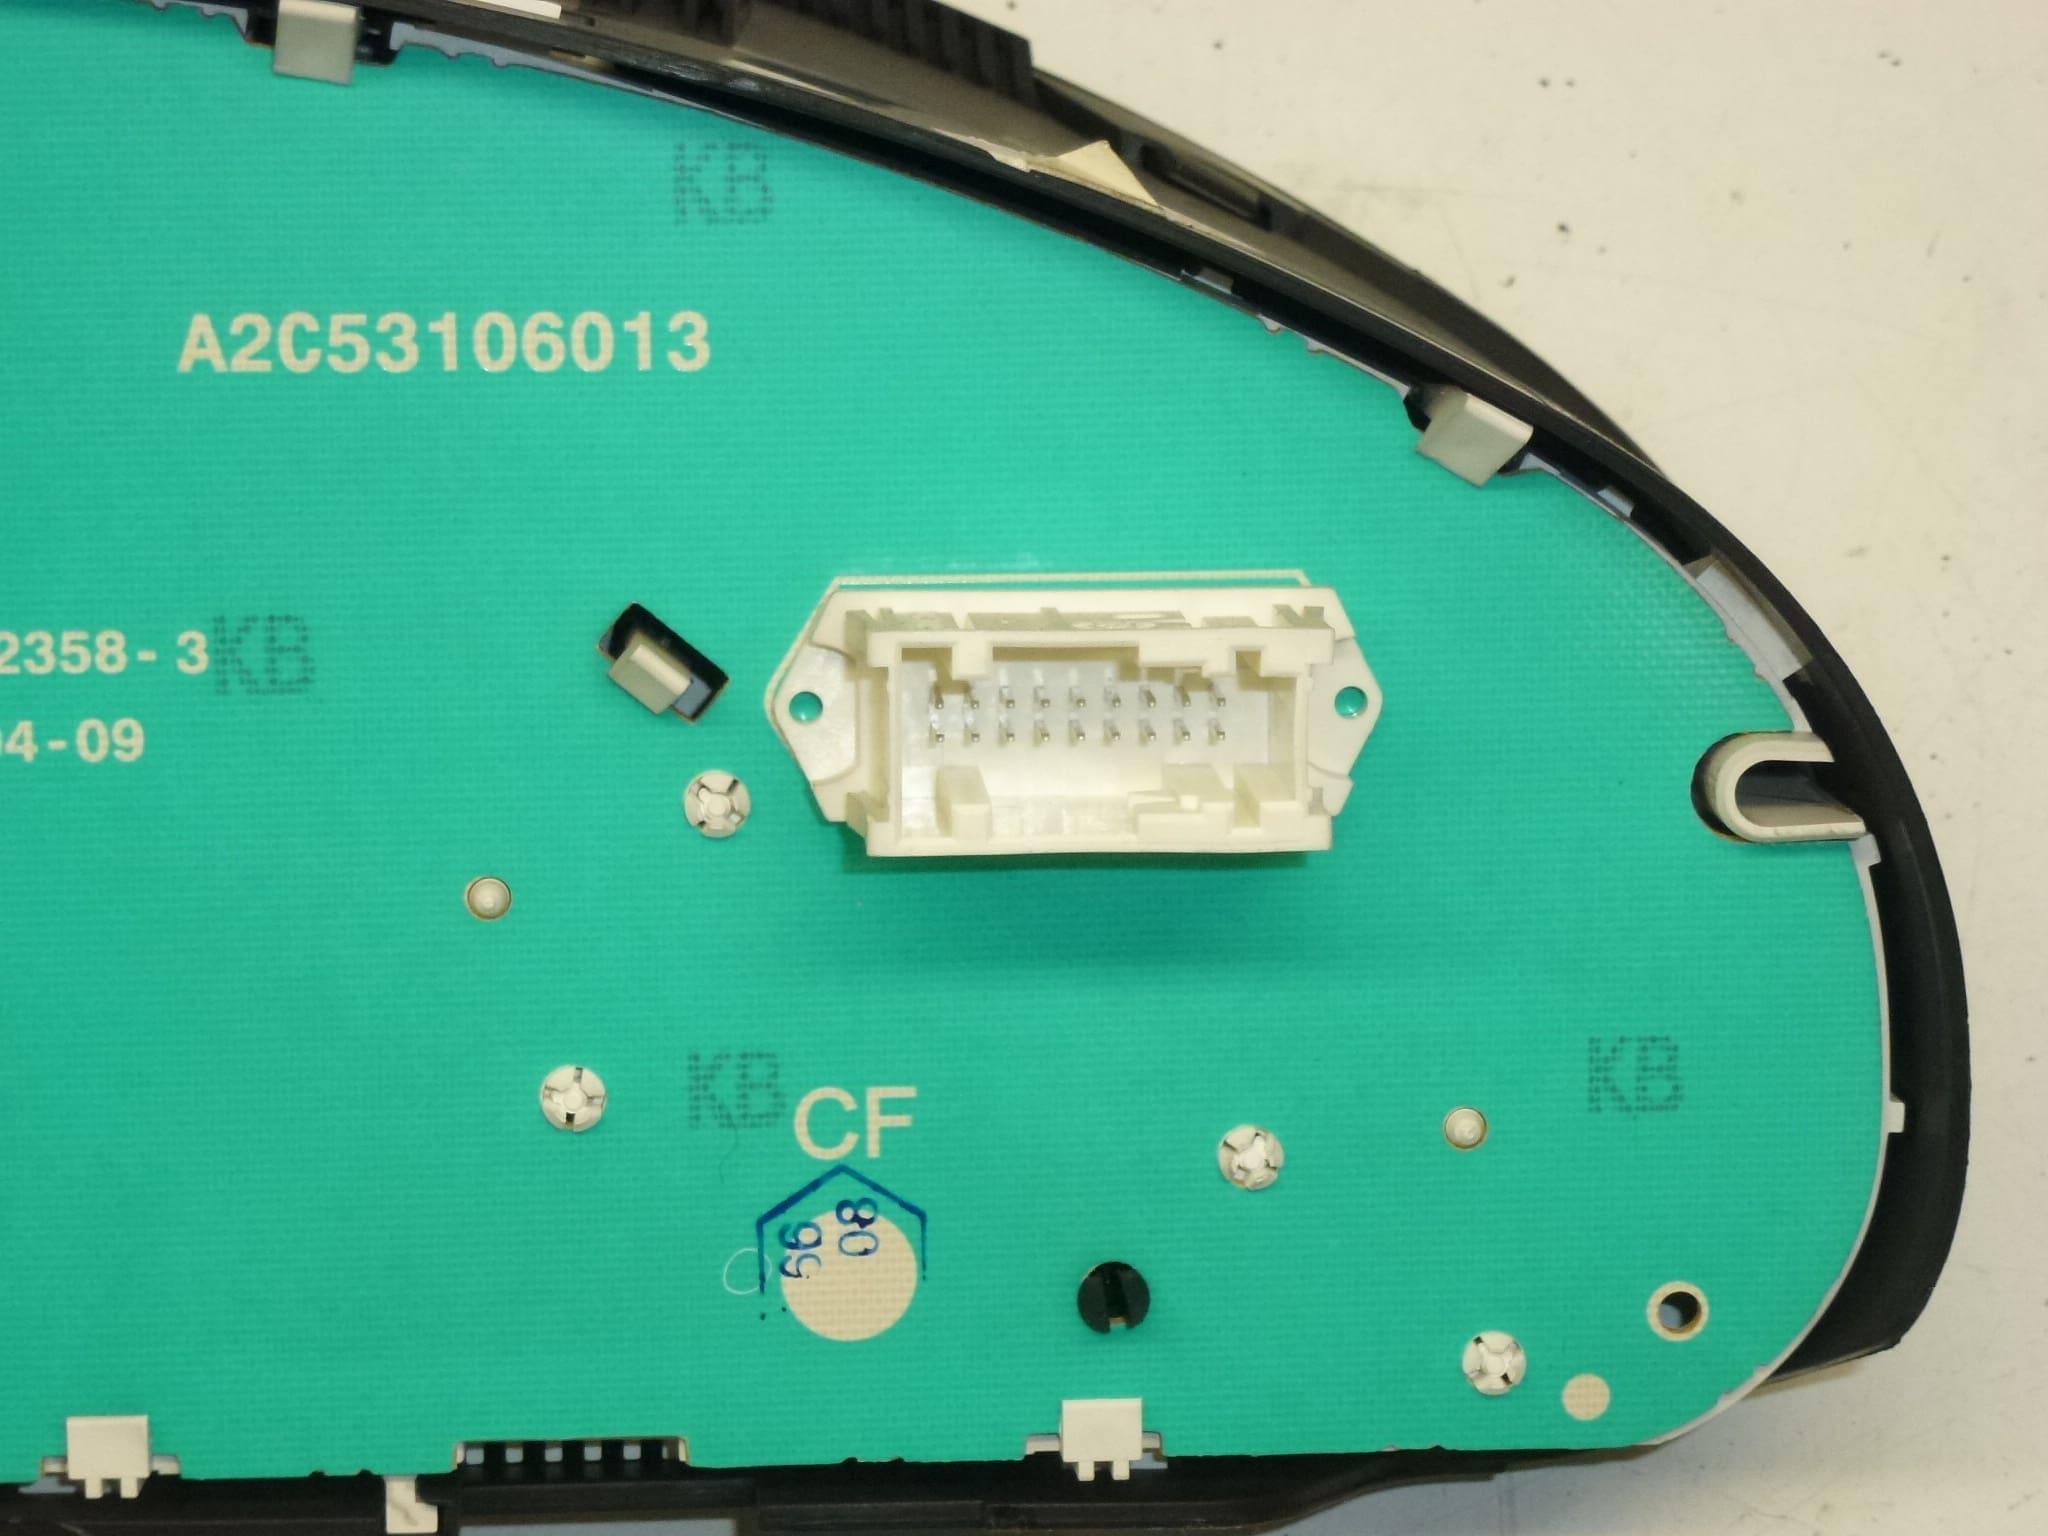
- Product Codes: 9664690380, 610395
- Other Numbers: 9658138580, 6106W8, 610396
Features And Function
The instrument cluster provides the following functions: analog speedometer and tachometer needles, odometer and trip reading on the display, warning and indicator lamps (engine, ABS, airbag, etc.). Correct display operation is confirmed, but all electrical functions should be verified after installation. This unit is suitable for replacing a faulty cluster or for refurbishment into a vehicle with matching part numbers.
Installation Recommendations
Follow these steps for safe installation (professional tools and experience recommended):
- Disconnect the negative battery terminal before starting to avoid short circuits and airbag faults.
- Remove surrounding trim panels carefully to access the cluster. Use appropriate trim tools to avoid damage.
- Unscrew the cluster retaining screws and gently tilt the unit forward to reach the connector block.
- Disconnect multi-pin connectors by releasing any locking tabs. Do not pull on wires.
- Install the replacement cluster, reconnect connectors, and tighten screws to secure the unit.
- Reconnect the battery and verify all functions: ignition lamp test, tachometer and speedometer response, odometer display, and warning lights.
- Test-drive the vehicle to confirm correct operation before refitting trim panels.
Treat the unit as an electronic device: protect it from static discharge and moisture, and avoid touching connector pins directly. If the cluster exhibits communication errors or does not initialize, diagnostics and coding equipment may be required to synchronize it with the vehicle’s systems.
Why This Part Most Often Fails
- Electronic Component Aging: Capacitors, solder joints or stepper motors can degrade over time, causing needle movement faults or intermittent displays.
- Display Failure: LCD segments or backlighting may dim or fail after many years or due to thermal stress.
- Moisture And Corrosion: Water ingress or corroded connector pins lead to unreliable signals or total loss of function.
- Voltage Spikes And Poor Grounding: Electrical surges or bad grounds can damage internal circuitry.
- Mechanical Wear: Stepper motors that drive needles can wear out after high mileage, affecting accuracy or movement.
Practical Notes
Because this unit has approximately 280,000 km recorded, expect normal wear consistent with high mileage parts. Verify all instrument lights and gauge responses during installation. If required, have a qualified workshop perform any coding or immobilizer synchronization to ensure full compatibility with vehicle electronics.
Keywords for search: Peugeot 407 Instrument Cluster, Tachometer Peugeot 407, Speedometer 2.0 HDi, 9664690380, 610395, Instrument Panel 407.