Description
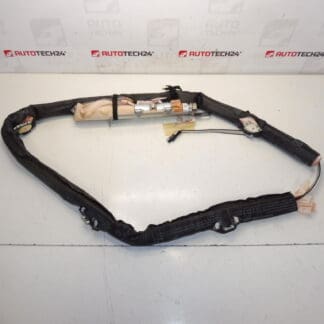
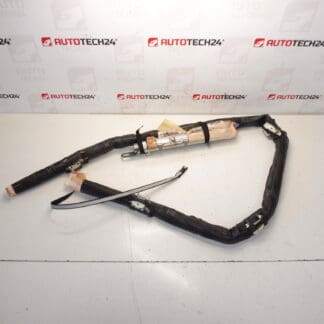
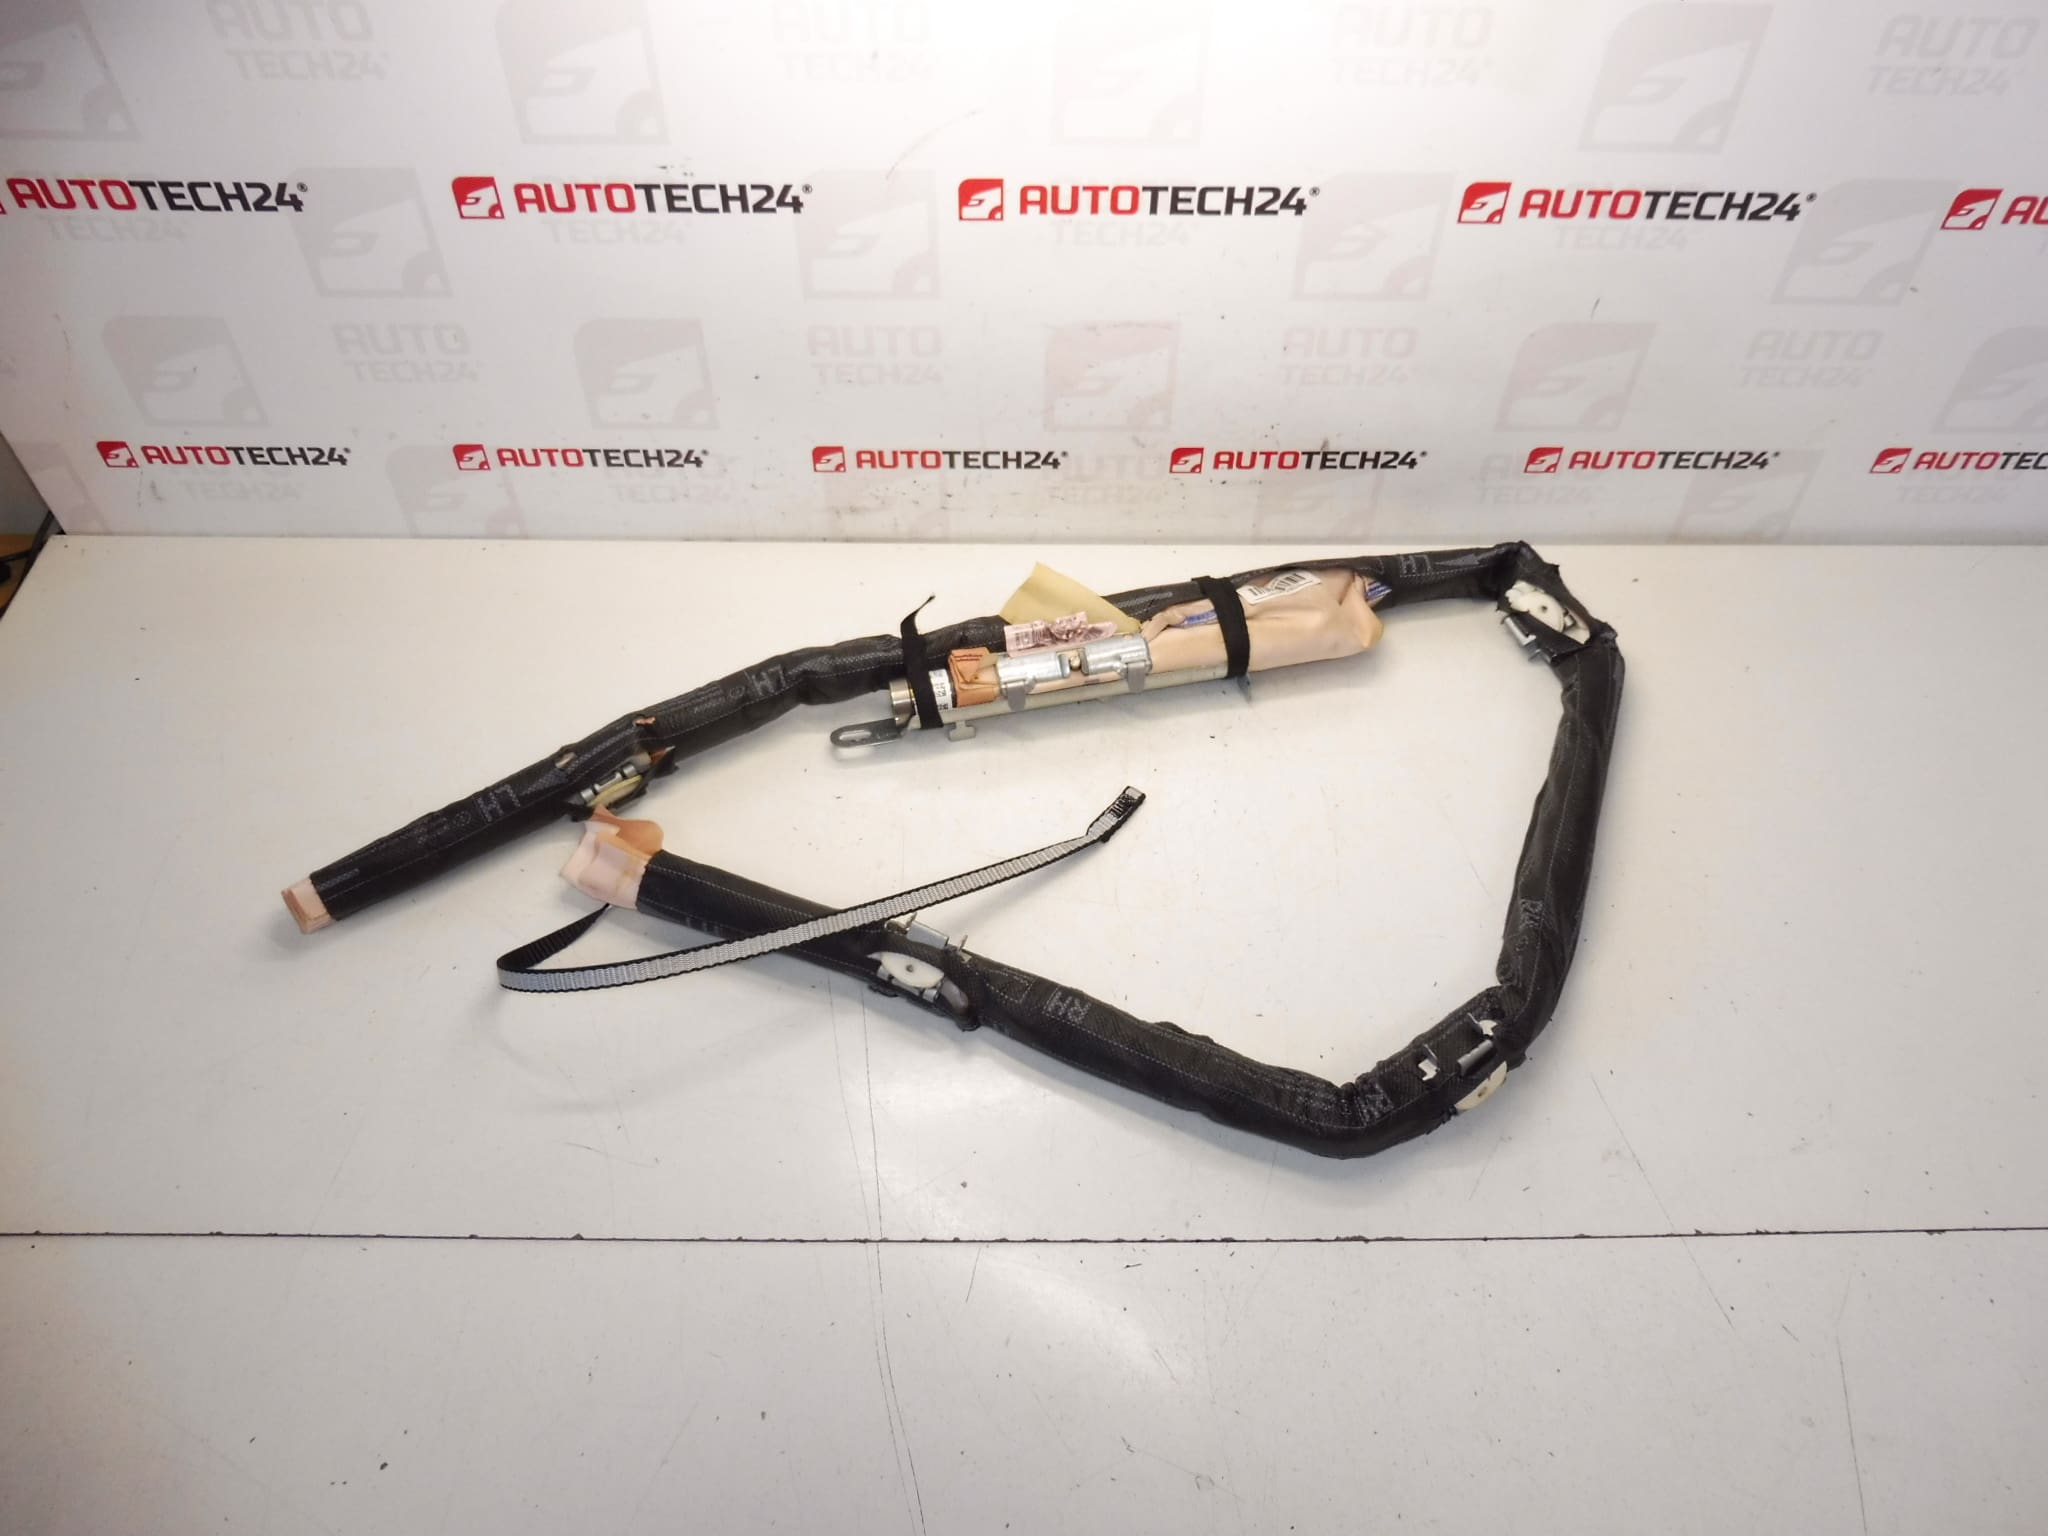
Side ceiling airbag for CITROEN C3 cars from 2009
Passenger side
Part description
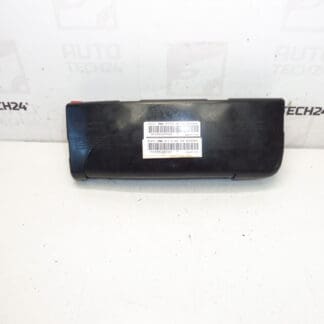
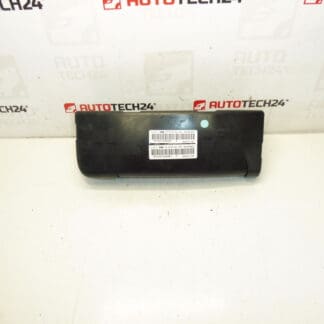
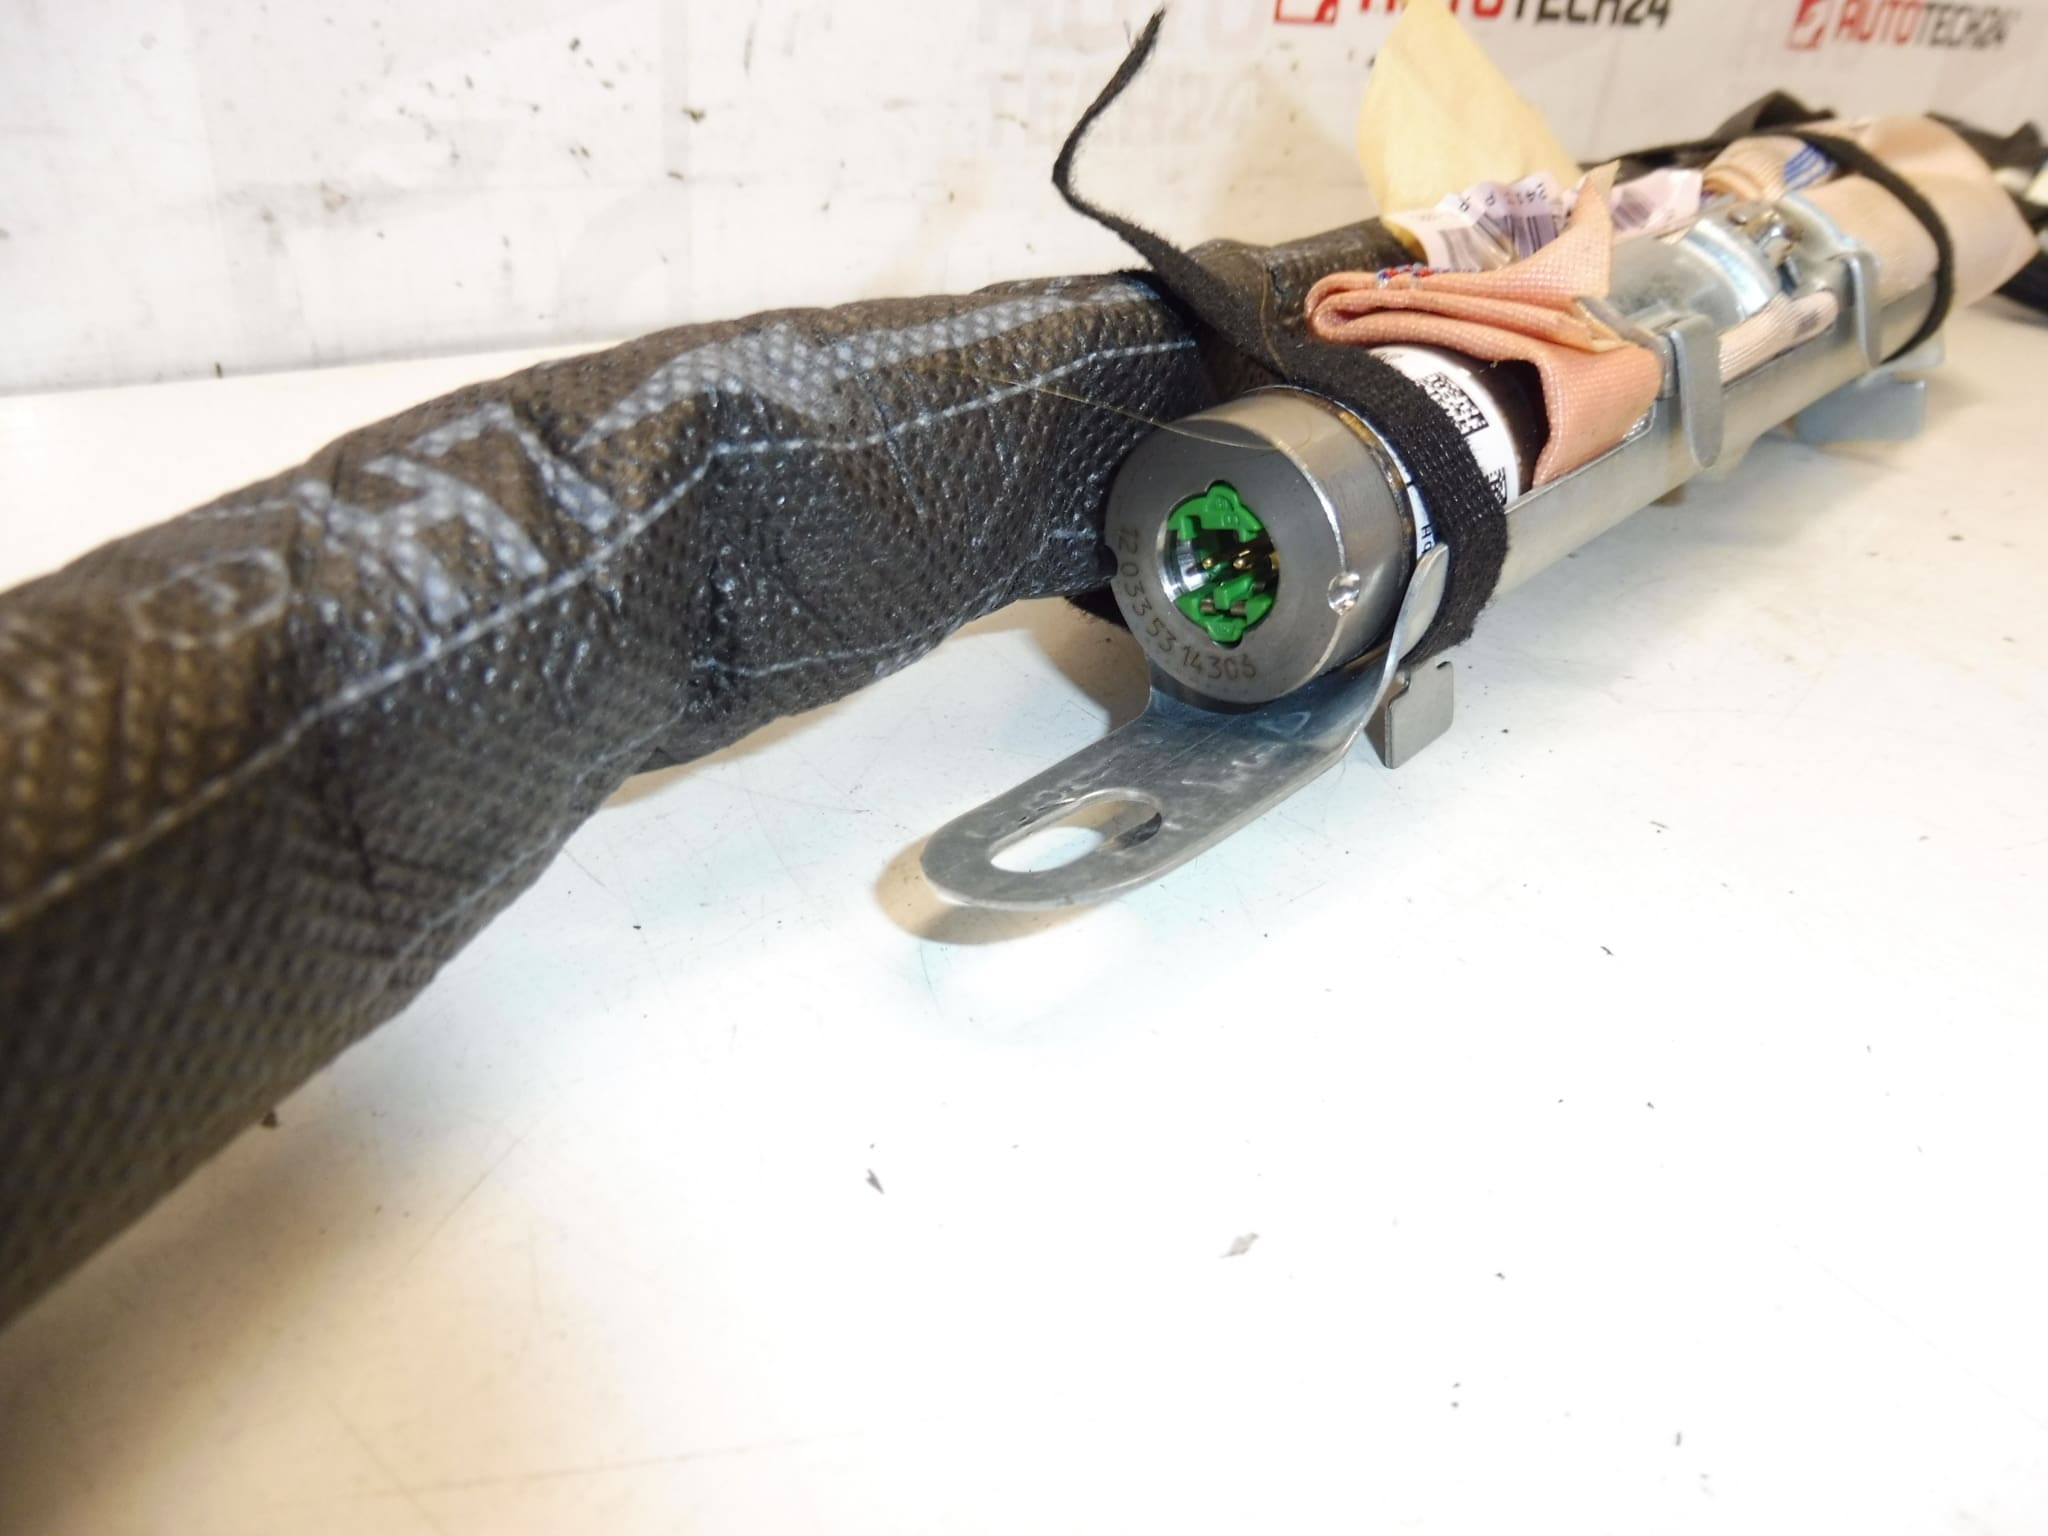
Used right side airbag designed for Citroën C3 II A51 cars. This is a part from the field of interior safety elements, which is mainly sought after the original designations 9672465480 and 8216ZR. This makes it suitable for mechanics and home repairers looking for the correct replacement part by product number.
This airbag is intended for the passenger side. In the case of used airbag parts, visual inspection of the condition, intactness of connectors, cabling and attachment points is especially important. If you are looking for an original used part to repair the interior of a Citroën, this piece represents a practical solution with an emphasis on preserving the original design of the vehicle.
Technical information
- Manufacturer: Stellantis Citroën Peugeot
- Model: Citroën C3 II A51
- Other numbers: 9672465480, 8216ZR
Product codes
Product codes: 9672465480, 8216ZR
- Models from labels and documents: Citroën C3 II, Citroën C3 II A51
Installation recommendations
Extreme care must be taken with airbag parts. The procedure below is general and typical for this type of part; the exact steps may vary depending on the specific car model.
1) Before assembly
- Check that product numbers 9672465480 and 8216ZR match the original part.
- Compare the connectors, part shape, fit and orientation of the right side with the old piece.
- Check that the part is not mechanically damaged, deformed or dirty at the attachment points.
- Before any handling, disconnect the battery and wait a reasonable time according to normal service practice for working with the airbag system.
2) Necessary tools and materials
- A common set of hand tools
- Plastic pry bar for removing interior trim
- Work gloves
- Clean cloth for cleaning mounting surfaces
3) Step-by-step assembly procedure
- Secure the vehicle against movement and turn off the ignition.
- Disconnect the battery and let the system stand still before starting work.
- Dismantle the necessary parts of the interior trim so that access to the original airbag is safe and without violence.
- Carefully disconnect the electrical connector of the original part.
- Unfasten the old airbag and remove it without impacting or prying over sensitive parts.
- Compare the old and new part by number, shape, fit and connectors.
- Clean the mounting area and check for damage to the supply wires or brackets.
- Place the used airbag in the correct place and pay attention to its correct position.
- Connect the electrical connector so that it is firmly secured and without straining the wiring.
- Reassemble all disassembled interior parts in reverse order.
- Reconnect the battery.
- Perform a system check after the ignition is turned on and watch for a fault warning.
-
4) Post-assembly checks and test drive/function verification
- Check that all disassembled interior parts are properly seated and nothing is rattling or loose.
- After switching on the ignition, check the status of the airbag system signaling.
- If the service equipment allows it, perform a diagnostic check of the system.
- During the test drive, watch for warning messages or other unusual signals.
5) The most common assembly mistakes + how to avoid them
- Manipulation without disconnected battery – always disconnect the battery first.
- Exchanging a part for another variant – compare the part numbers and connector designs.
- Damage to the trim during disassembly – use suitable plastic tools and proceed without violence.
- Insufficiently secured connector – always verify proper seating after plugging in.
- Activation of the airbag in the event of an accident or impact.
- Damage due to improper disassembly of the interior trim.
- Defective or damaged connector or wiring.
- Long-term mechanical stress or deformation of the attachment.
- Damage due to improper storage or transportation.