Description
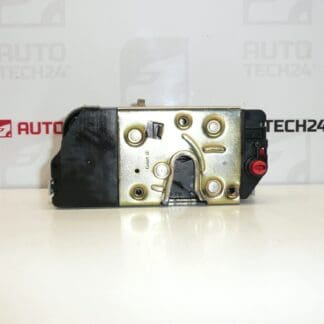
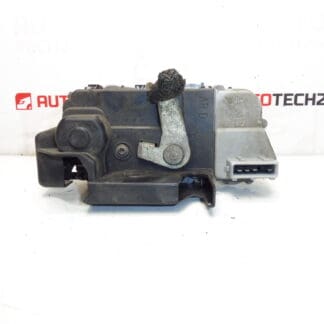
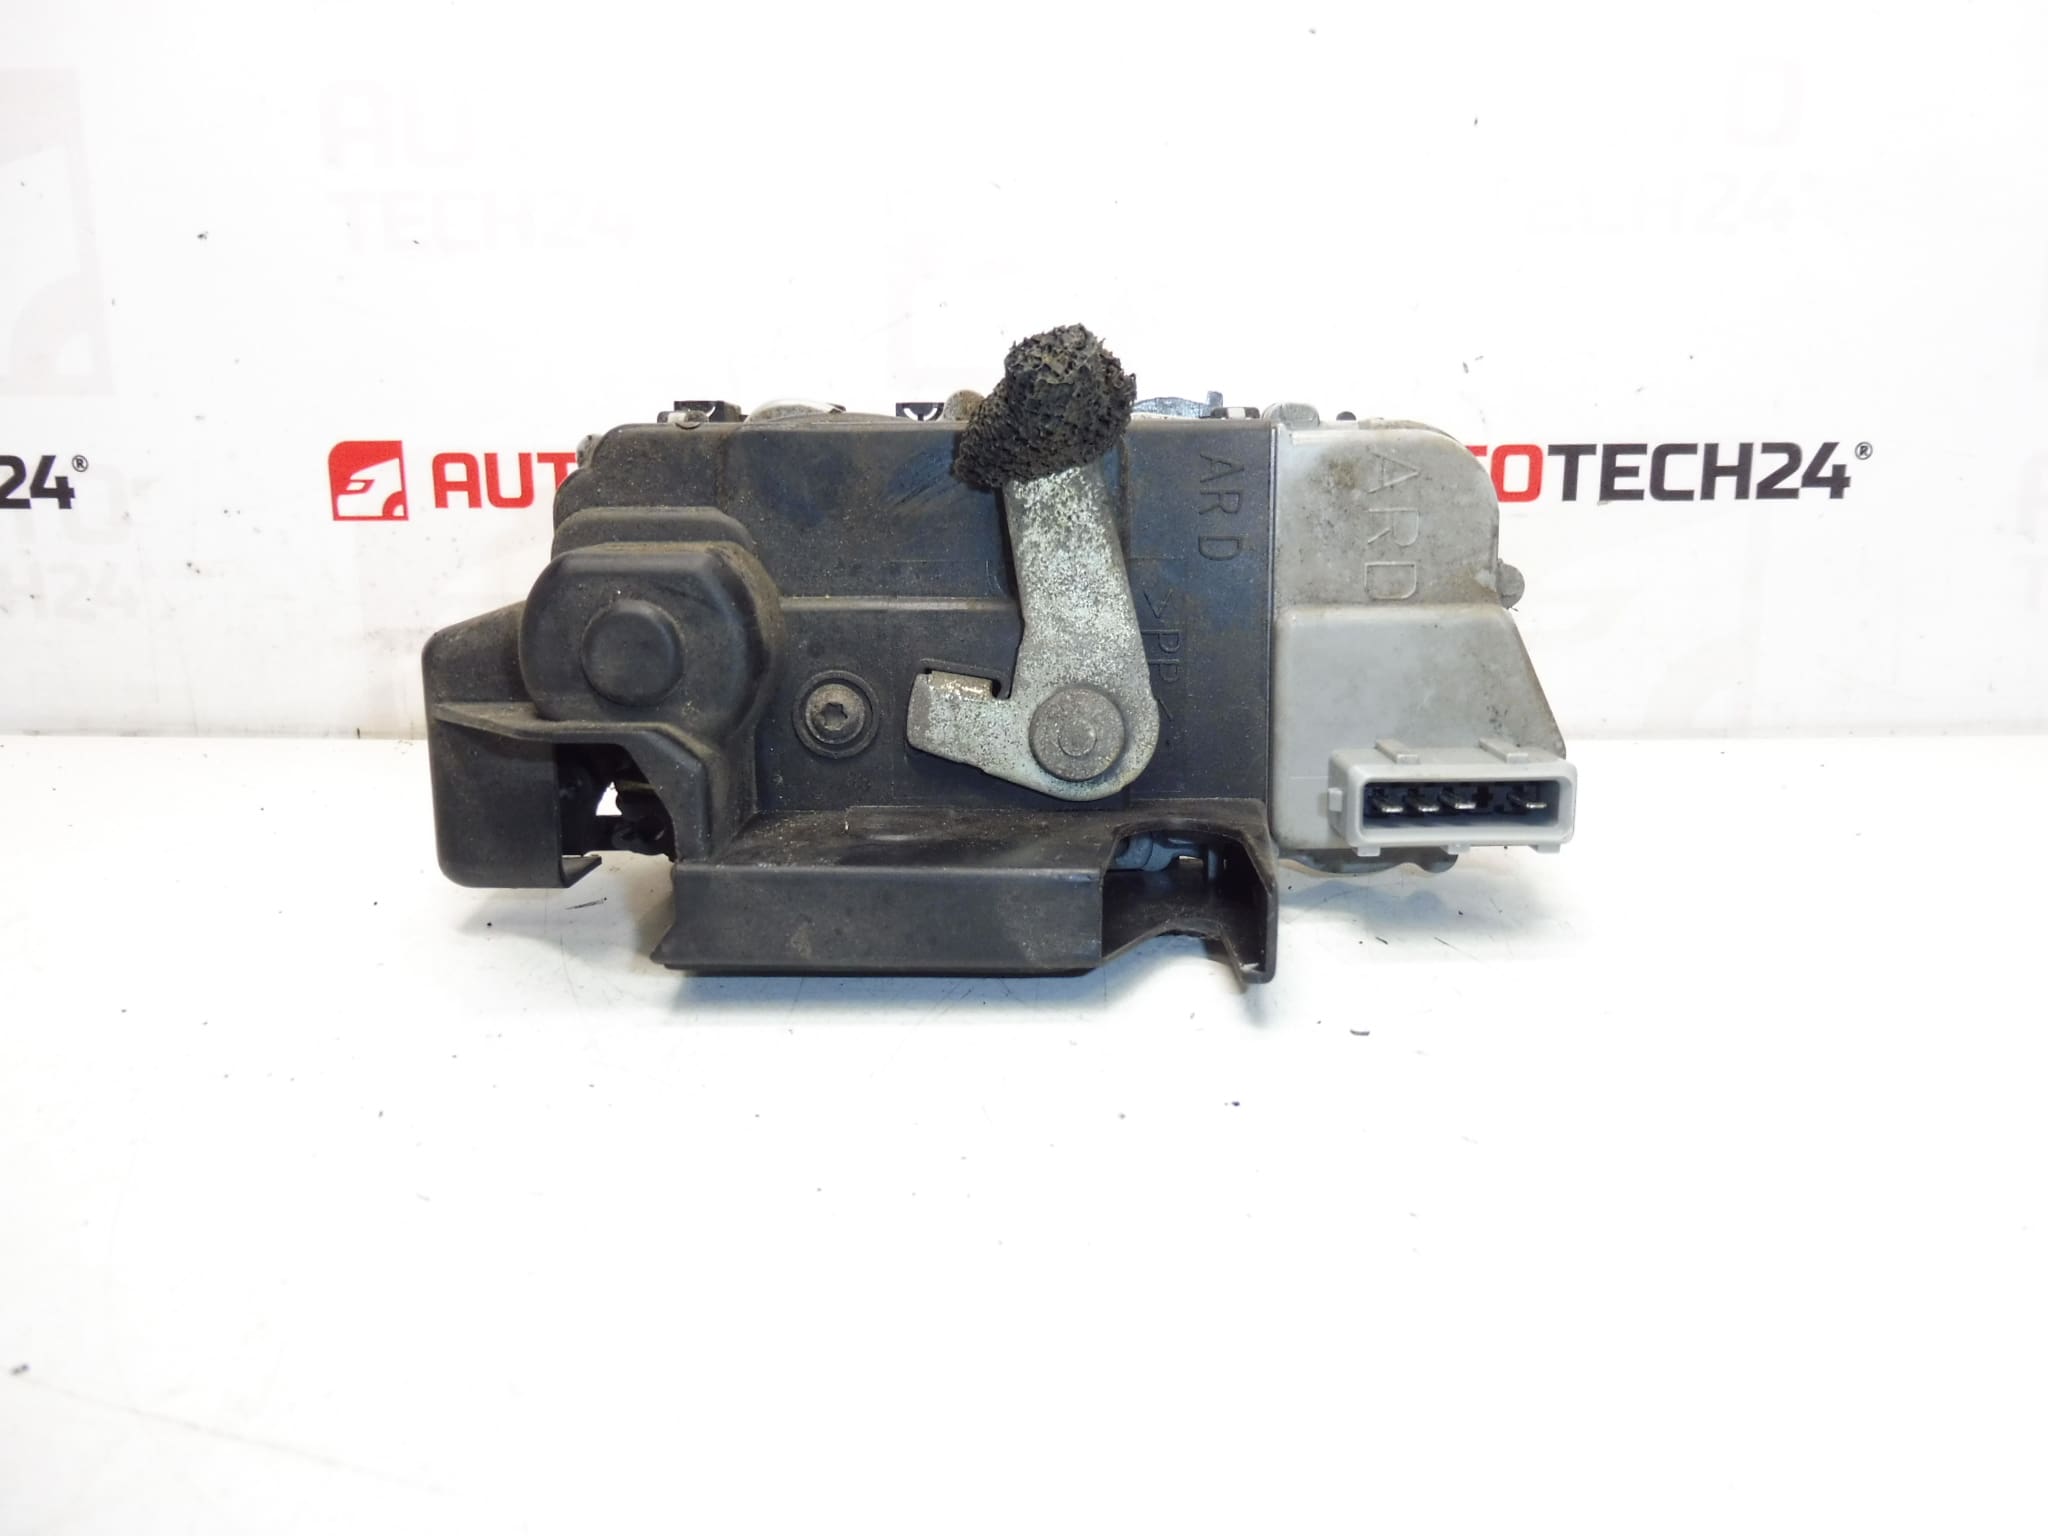
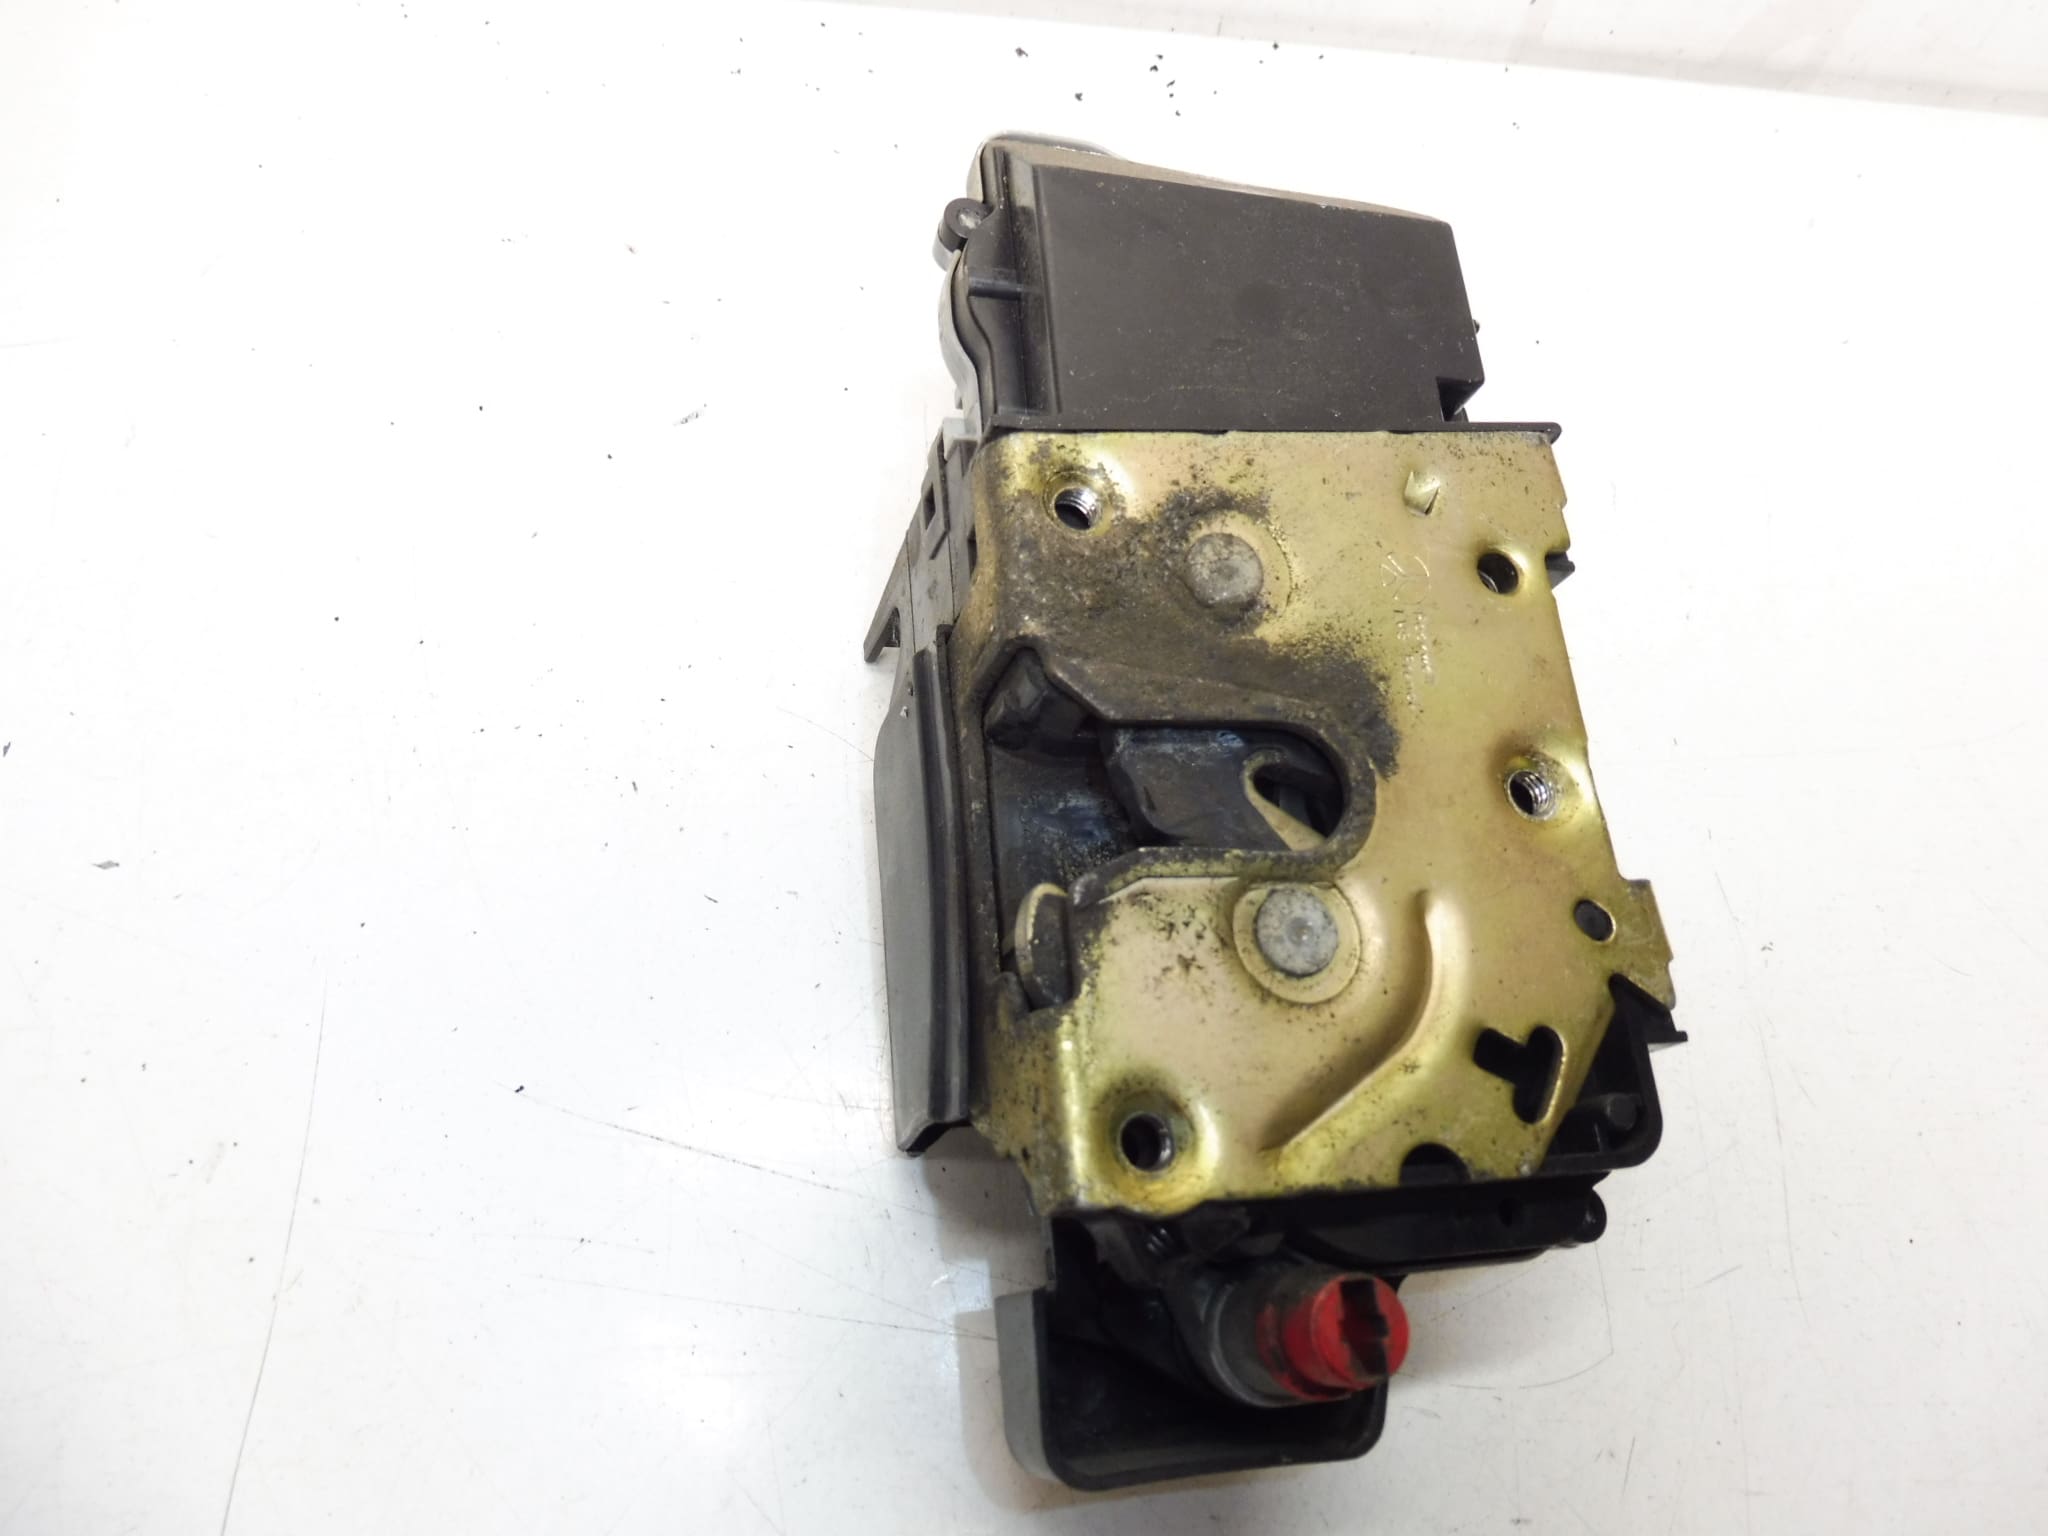
Electric lock of the central locking of the right rear door for PEUGEOT 307 cars
Door behind the passenger
Part description
This used right rear door lock is intended for the Peugeot 307 and is a practical solution when the central locking or door closing mechanism fails. It is an electrical part that is involved in the correct function of locking and unlocking the rear door on the side behind the passenger.
Auto mechanics and home repairers often look for this part by its original designation, so it is important to track not only the location of the part, but also the product number. A used original part is a suitable choice where it is necessary to maintain the correct design of the connectors, attachment and function within the original equipment of the car.
Technical information
- Manufacturer: Stellantis Citroën Peugeot
- Model: Peugeot 307
- Other numbers: 9138A4 NFP
Product codes
- Product codes: 9138A4
- Models: Peugeot 307
Installation recommendations
Generally/typically for this type of part, the exact replacement procedure may vary depending on the specific car design and door construction, but the basic principle of installing the electric door lock remains similar.
1) Before assembly
- Check that the new used part matches the original piece in shape, fit, connector and orientation for the right rear door.
- Compare product number 9138A4 and visually verify that all mounting points match.
- Make sure that the mechanical part of the lock works smoothly and that the connector is not damaged or oxidized.
- Before working, it is advisable to disconnect the battery, especially if you will be handling the electrical installation of the door.
2) Necessary tools and materials
- set of common hand tools
- screwdrivers and bits for panel removal
- plastic levers for removing fillings
- contact cleaner
- clean cloth
- work lighting
3) Step-by-step assembly procedure
- Open the right rear door and prepare your workspace.
- Remove the inner door trim to gain access to the lock mechanism.
- Carefully release any covering elements and move away the obstructing parts that prevent access to the lock.
- Disconnect the electrical connector from the original lock and check the condition of the contacts.
- Release the tie rods or the mechanical linkage of the handle and lock if they are part of the assembly.
- Unscrew the fixing of the original lock and carefully remove it from the door.
- Compare the old and new part side-by-side, especially orientation, connector position and mounting.
- Insert the replacement lock into place and first seat it into the correct position without force.
- Attach the mechanical tie rods or controls in the same manner as the original part.
- Plug in the electrical connector and verify that the connection is tight and clean.
- Attach the lock and check that there are no wires or mechanical parts crossing.
- Before fully folding the door, test the basic locking and unlocking function.
- After verifying the function, refit the door trim and all the removed parts.
-
4) Post-assembly checks and test drive/function verification
- Verify correct locking and unlocking of the door with central locking.
- Check that the door closes properly and that the lock holds securely in the closed position.
- Test the function repeatedly, ideally with the door open and closed.
- When driving, check that there are no unusual noises coming from the door caused by a part or trim not fitting properly.
5) The most common assembly mistakes + how to avoid them
- Swapping door side – always check that it really is the right rear door.
- Incorrect connection or loose connector – after connecting, lightly check that the connector is firmly in place.
- Incorrectly fitted pull rod – test the mechanical and electrical operation several times before folding the door.
- Door trim damage during disassembly – use suitable plastic pry bars and proceed with care.
- Assembly without comparison with the old part – always check the conformity of the design before final fastening.
Reasons why the part is damaged
- normal wear and tear of the lock mechanism during long-term use
- malfunction of the electrical part of the central locking system
- intrusion of moisture into the mechanism or connector
- pollution, corrosion or stiffening of moving parts
- damage after repeatedly slamming the door or after rough handling
- problems in the door wiring that may affect the function of the lock