Description
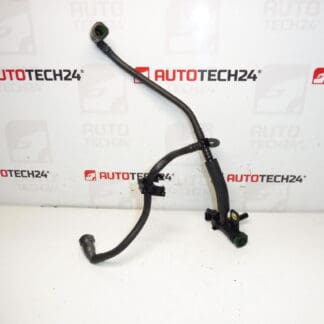
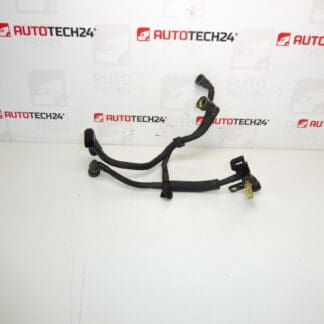
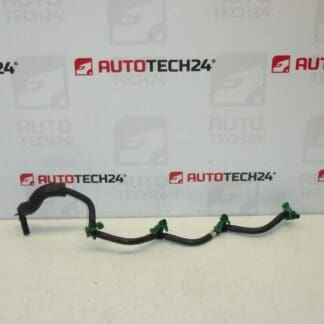
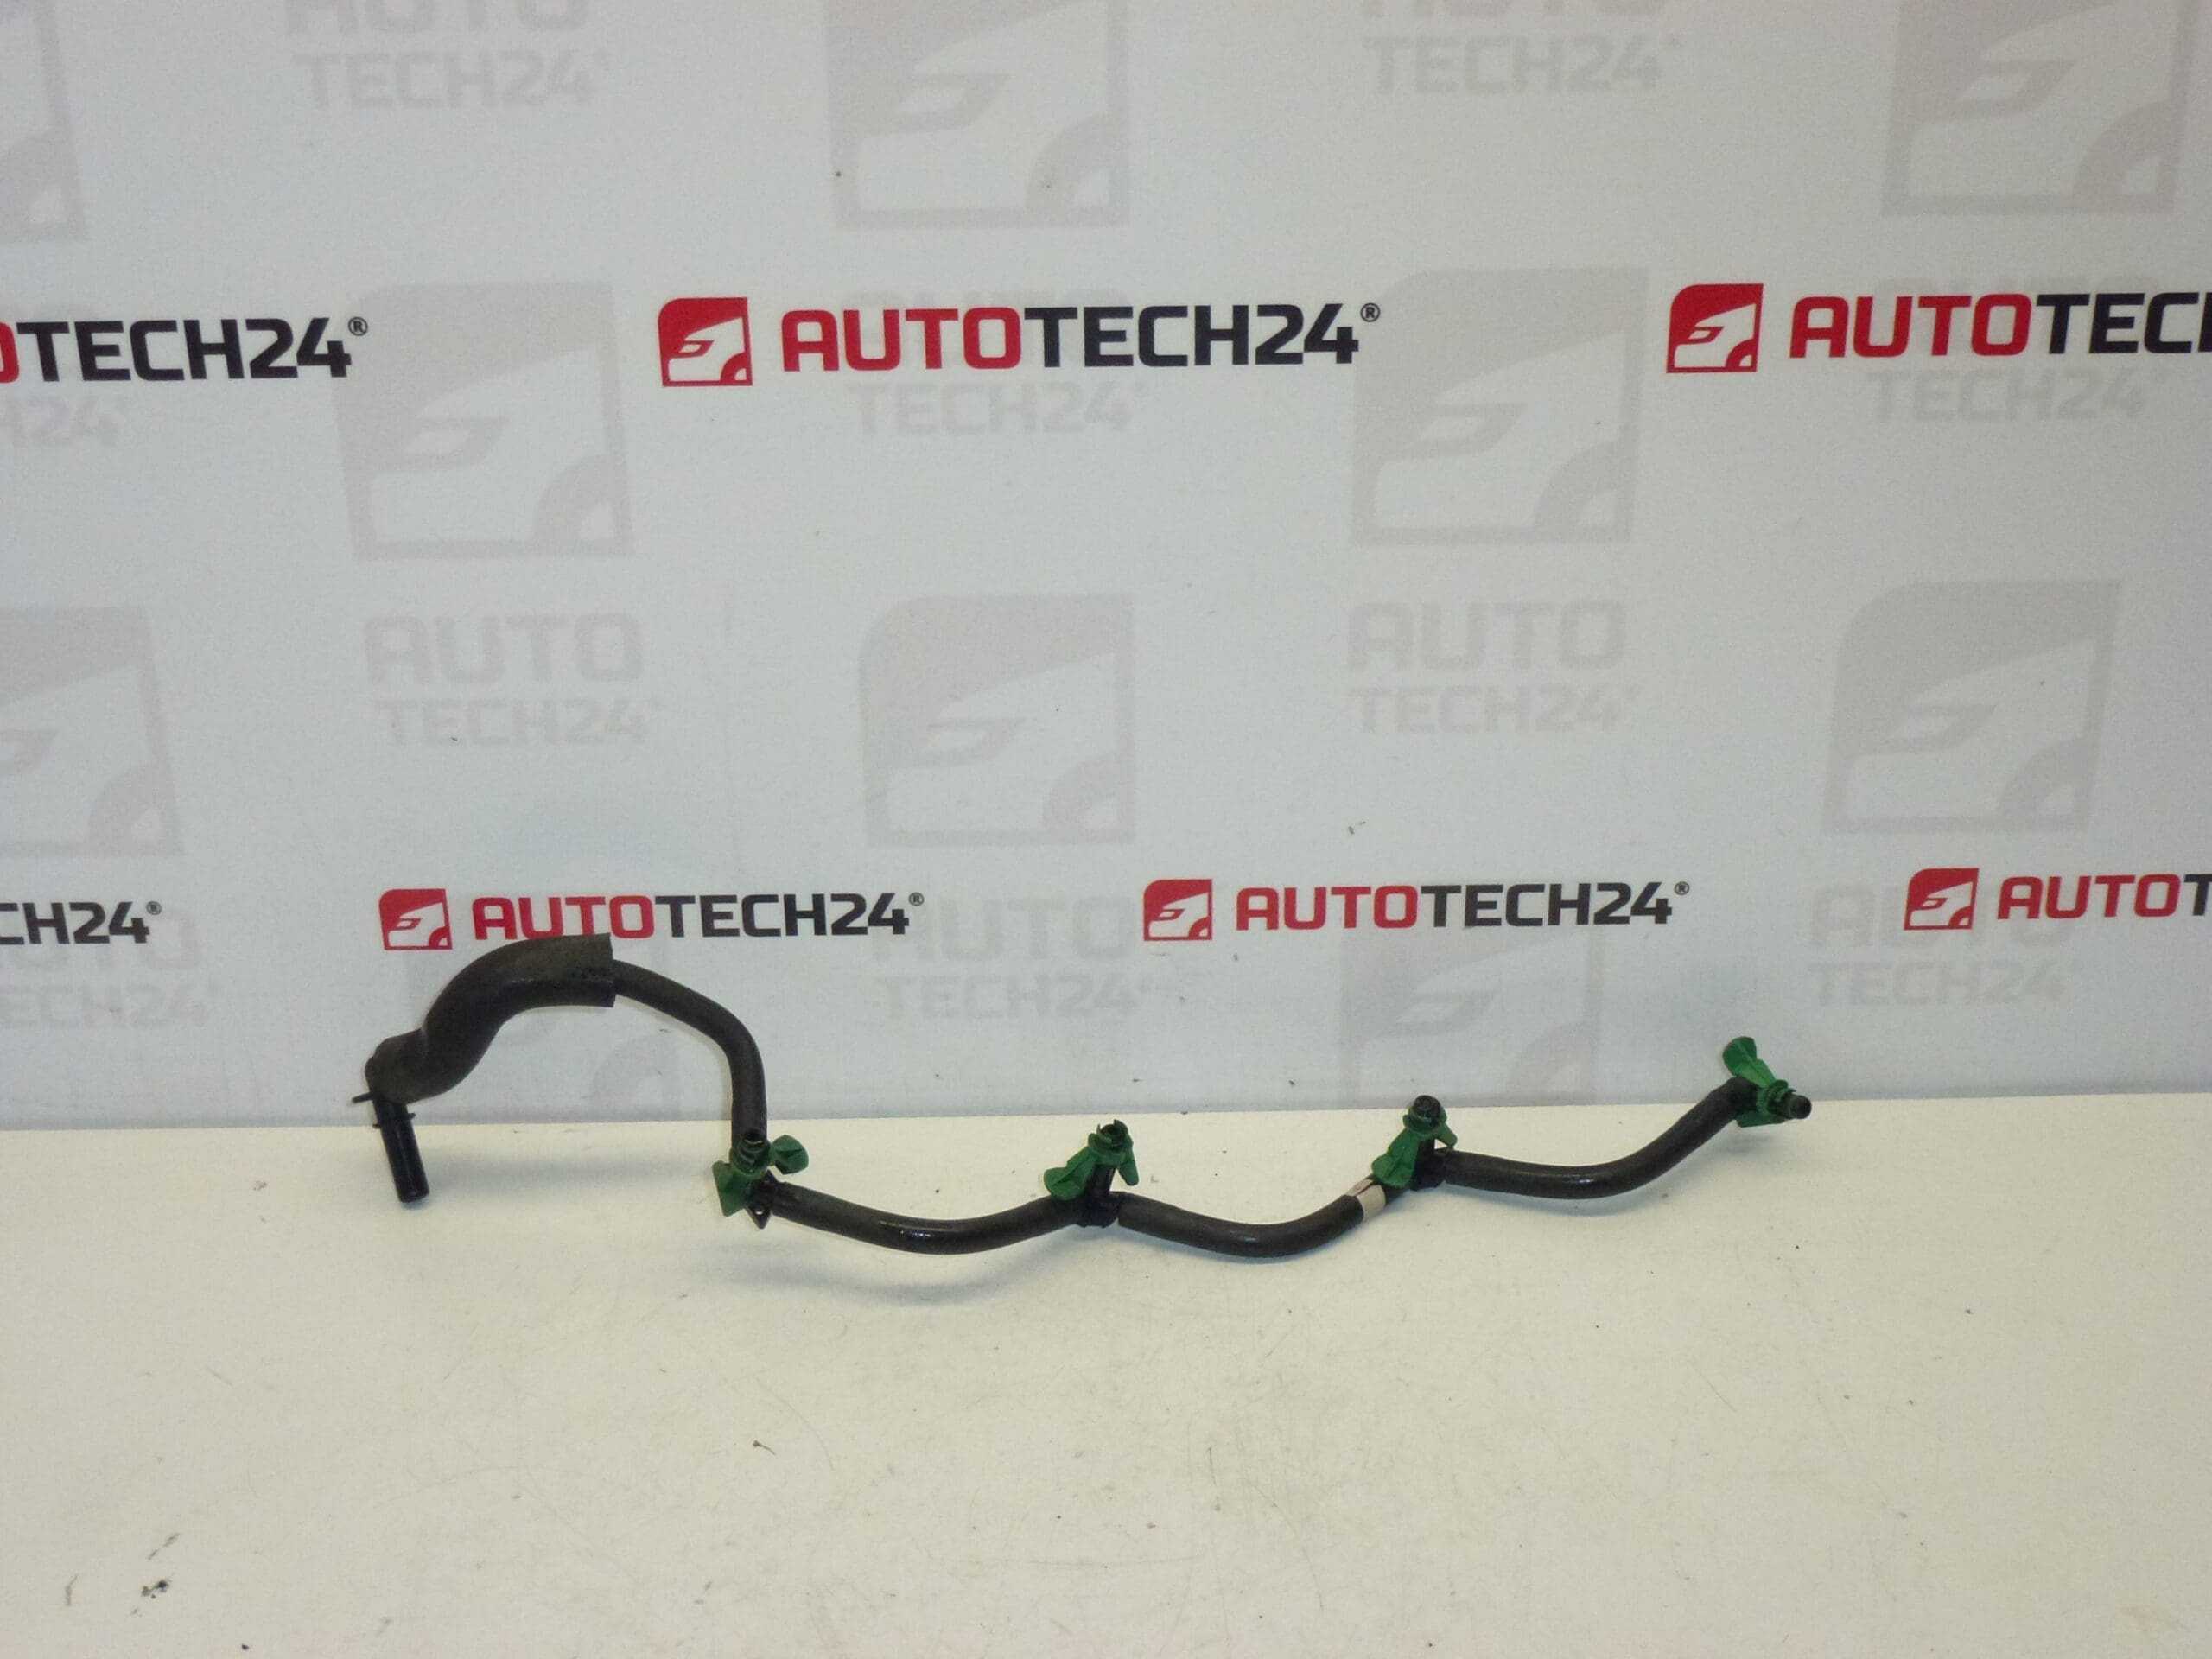
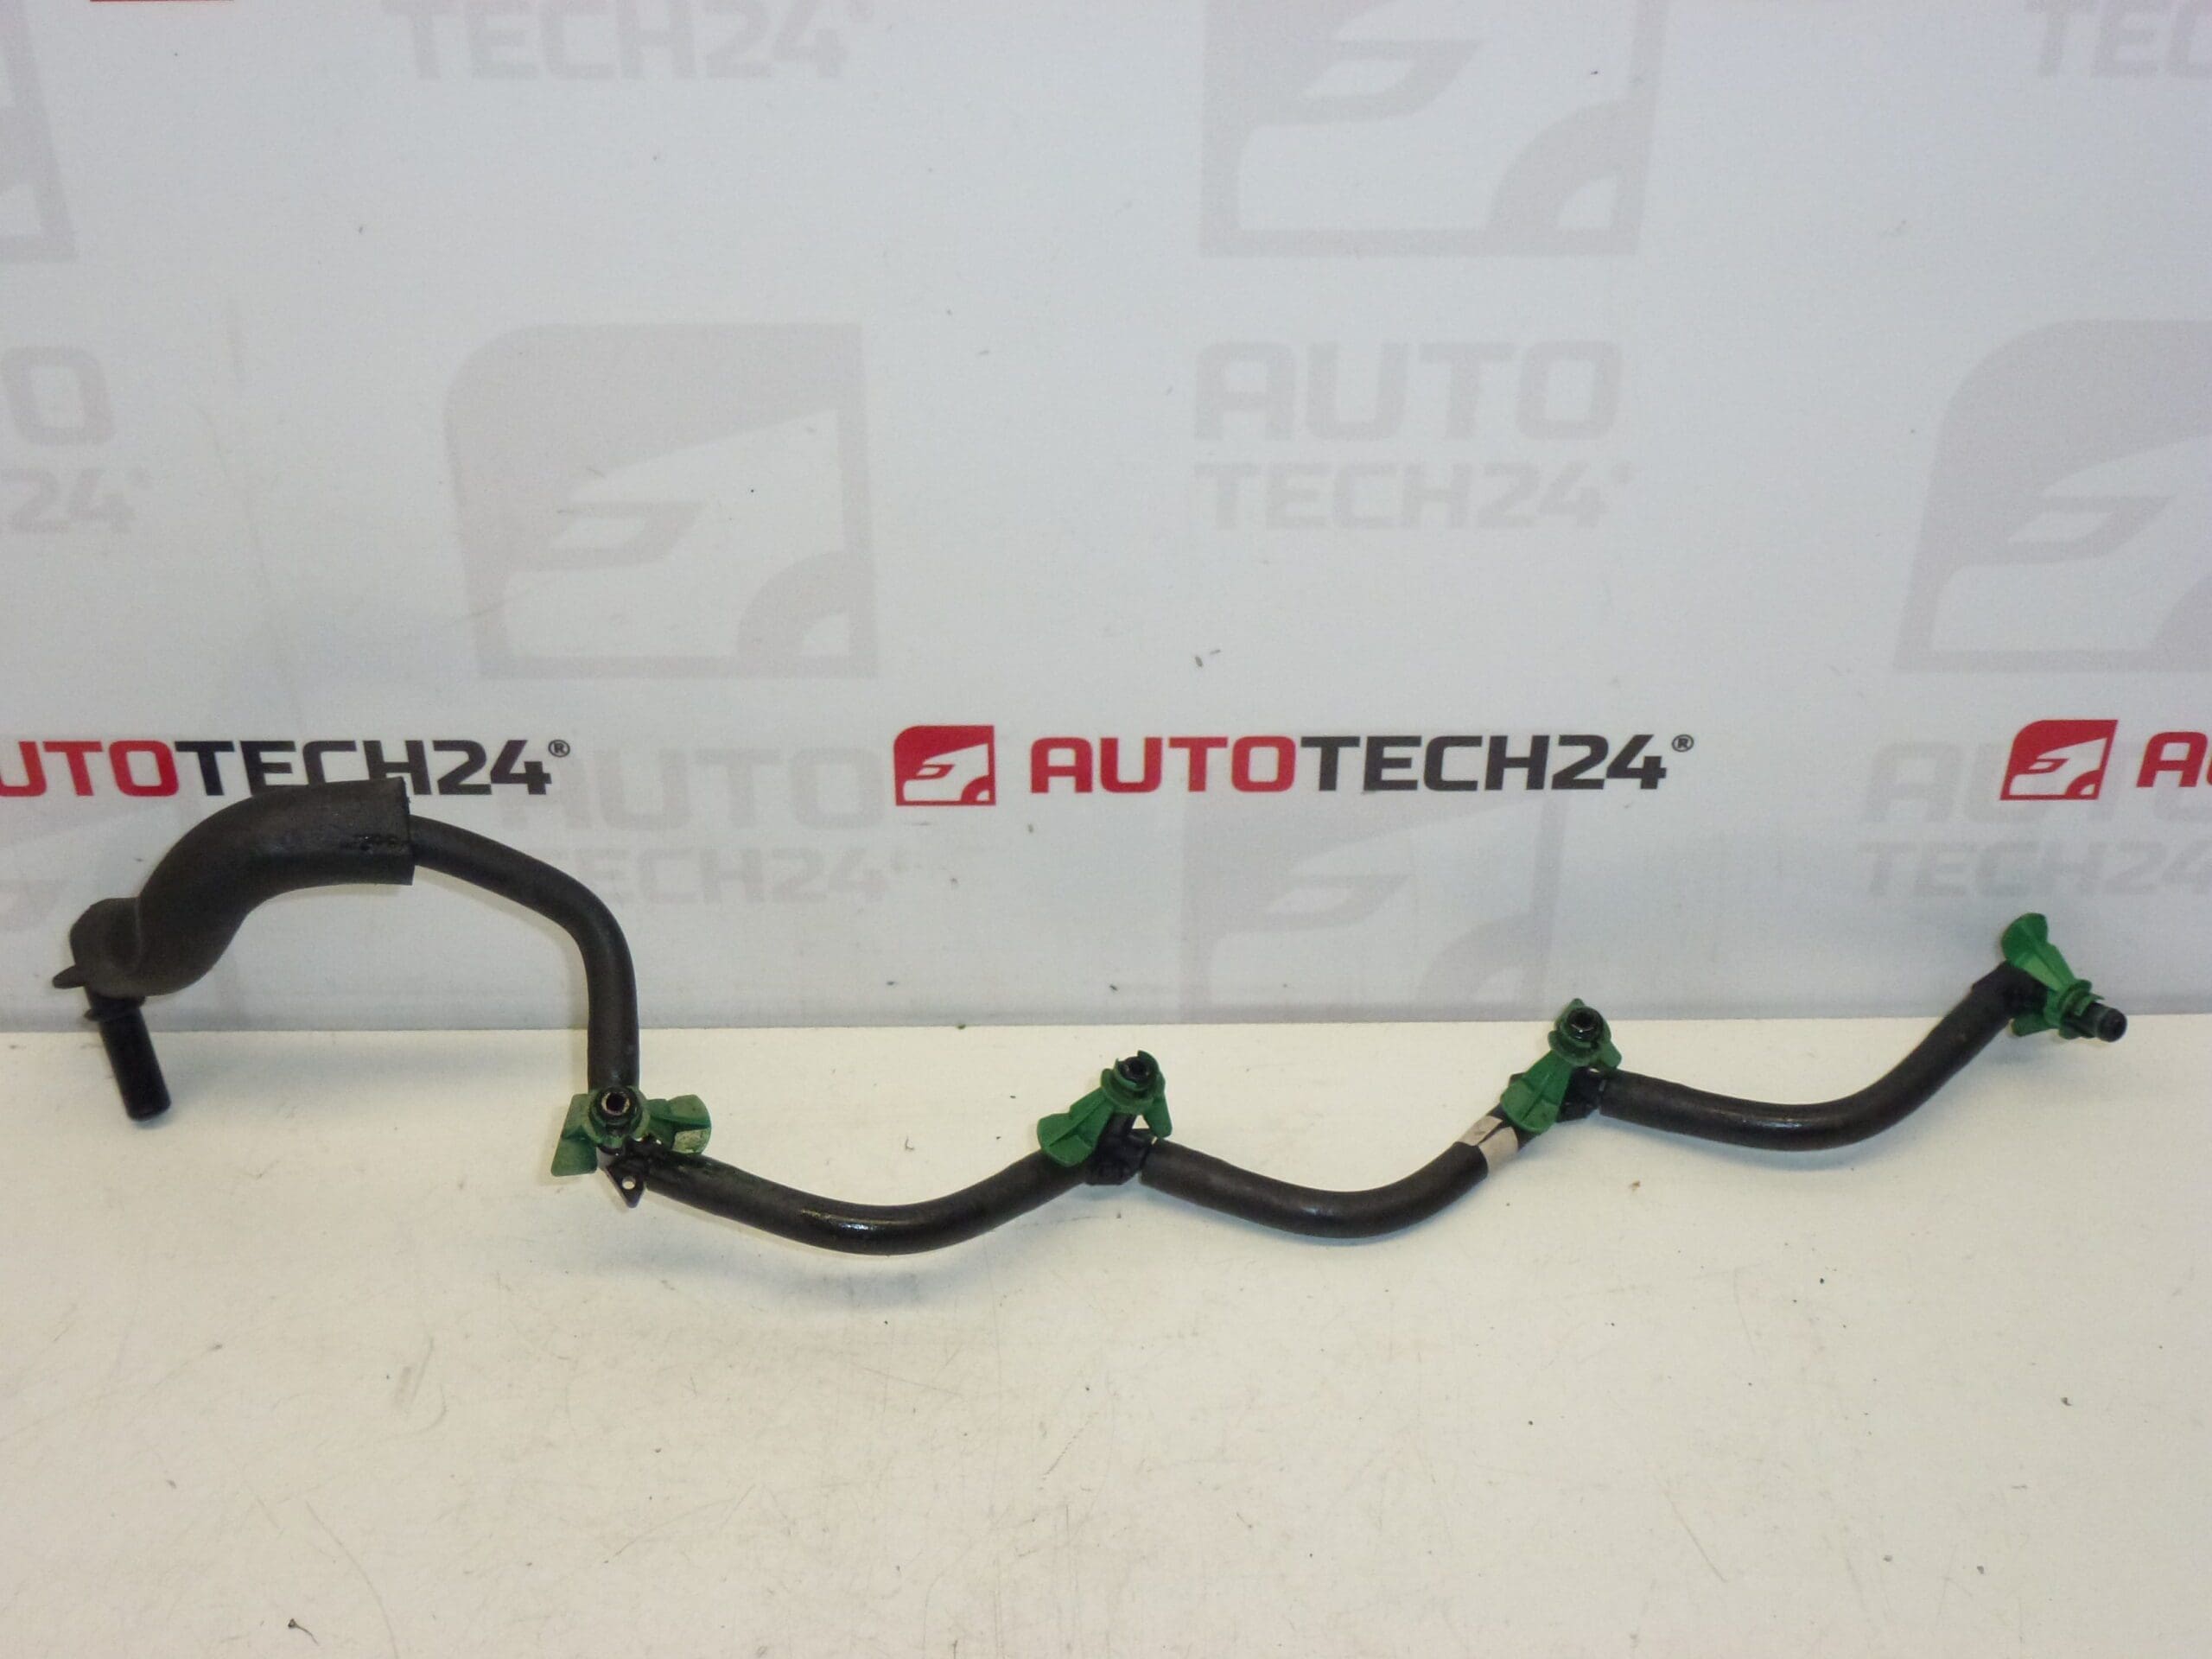
Overflow hoses for 1.4 HDi and 1.6 HDi engines.
High-quality replacement overflow hoses designed for Citroën and Peugeot 1.4 HDi and 1.6 HDi engines. These hoses are commonly searched by their part numbers (9676245280, 9676290580, 1574EN, 1574JK) and fit a range of models including Berlingo, C3 Picasso, C4 II, 301, 308 and Partner Tepee. Suited for both professional workshops and DIY mechanics, this part helps restore proper fluid routing in the low-pressure fuel/overflow circuit and prevents leaks that can lead to poor running or fuel odors. Clear part-number references improve findability in online searches and simplify ordering for repairs and maintenance.
Technical information
- Manufacturer: Stellantis (Citroën / Peugeot)
- Model: Citroën Berlingo B9; Citroën C3 Picasso; Citroën C4 II; Peugeot 301; Peugeot 308; Peugeot Partner Tepee
- Product Codes: 9676245280, 9676290580
- Additional Numbers: 1574EN, 1574JK
Function and Application
These overflow hoses route surplus fuel/return flow and venting within the low-pressure sections of the diesel fuel system on 1.4 HDi and 1.6 HDi engines. They are positioned to collect and redirect excess fuel or condensate away from sensitive components, maintaining correct fuel routing and preventing leaks or pooling in the engine bay.
Common Symptoms Indicating Replacement
- Visible cracks, hardening or brittleness of the hose material.
- Fuel odor or visible fuel dripping under the vehicle or around the fuel filter/engine area.
- Soiling or fuel stains on surrounding components caused by seepage.
- Intermittent running issues or unusual fuel smells after refuelling or during idle.
Why This Part Fails
Over time, rubber and elastomer hoses degrade due to heat cycles, exposure to fuel, oil and road contaminants, and mechanical abrasion. Clamps can loosen or corrode, allowing leaks to develop. Aging makes the hose material brittle and prone to cracking, especially where it bends or contacts other components.
Installation Recommendations
- Work on a cool engine in a well-ventilated area and avoid open flames or sparks when handling fuel system components.
- Relieve any low-pressure fuel/overflow lines according to common workshop practices for diesel systems (catch any spilled fuel in a suitable container).
- Inspect and replace associated clamps, seals or O-rings where applicable; use spring or screw clamps appropriate for fuel hoses.
- Ensure hoses are routed without sharp bends, kinks or contact with hot or moving parts; secure with clips if required.
- After installation, start the engine and inspect all connections for leaks; re-check after a short test drive.
Suitable for professional mechanics and competent DIYers familiar with fuel-system work. Use the listed product codes to confirm fitment before ordering; the part numbers improve searchability and ensure you receive the correct hose for 1.4 HDi and 1.6 HDi applications.