Description
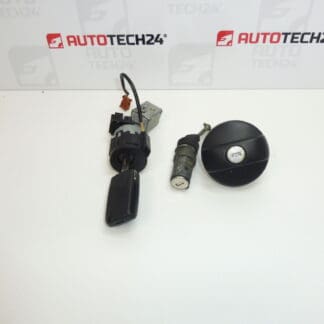
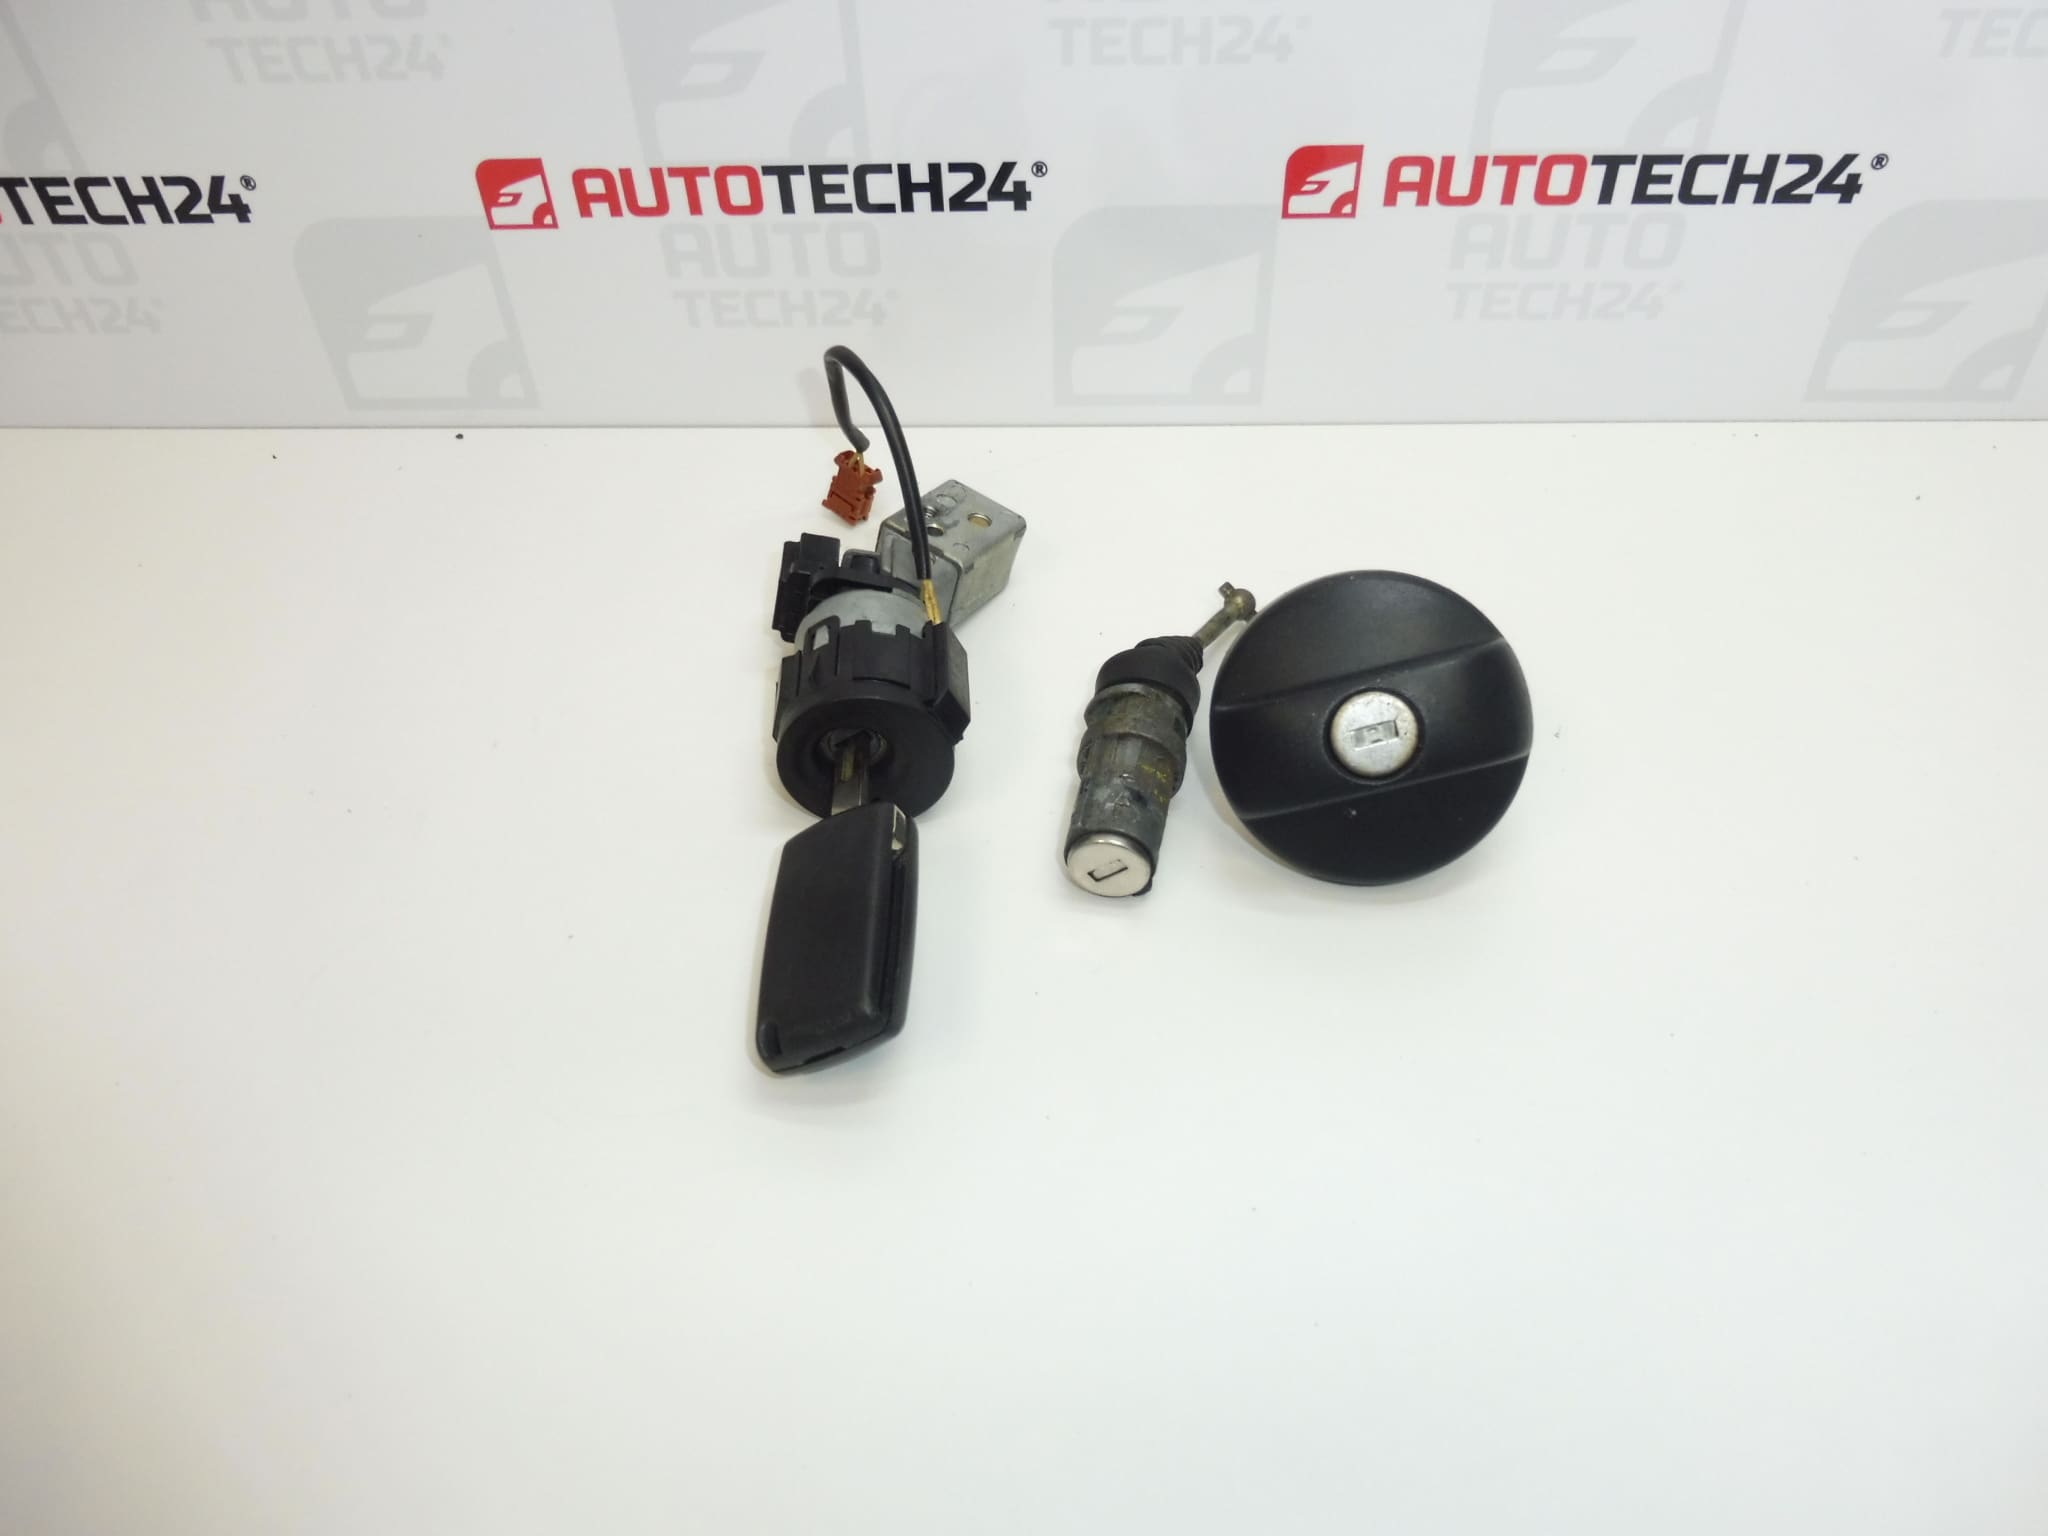
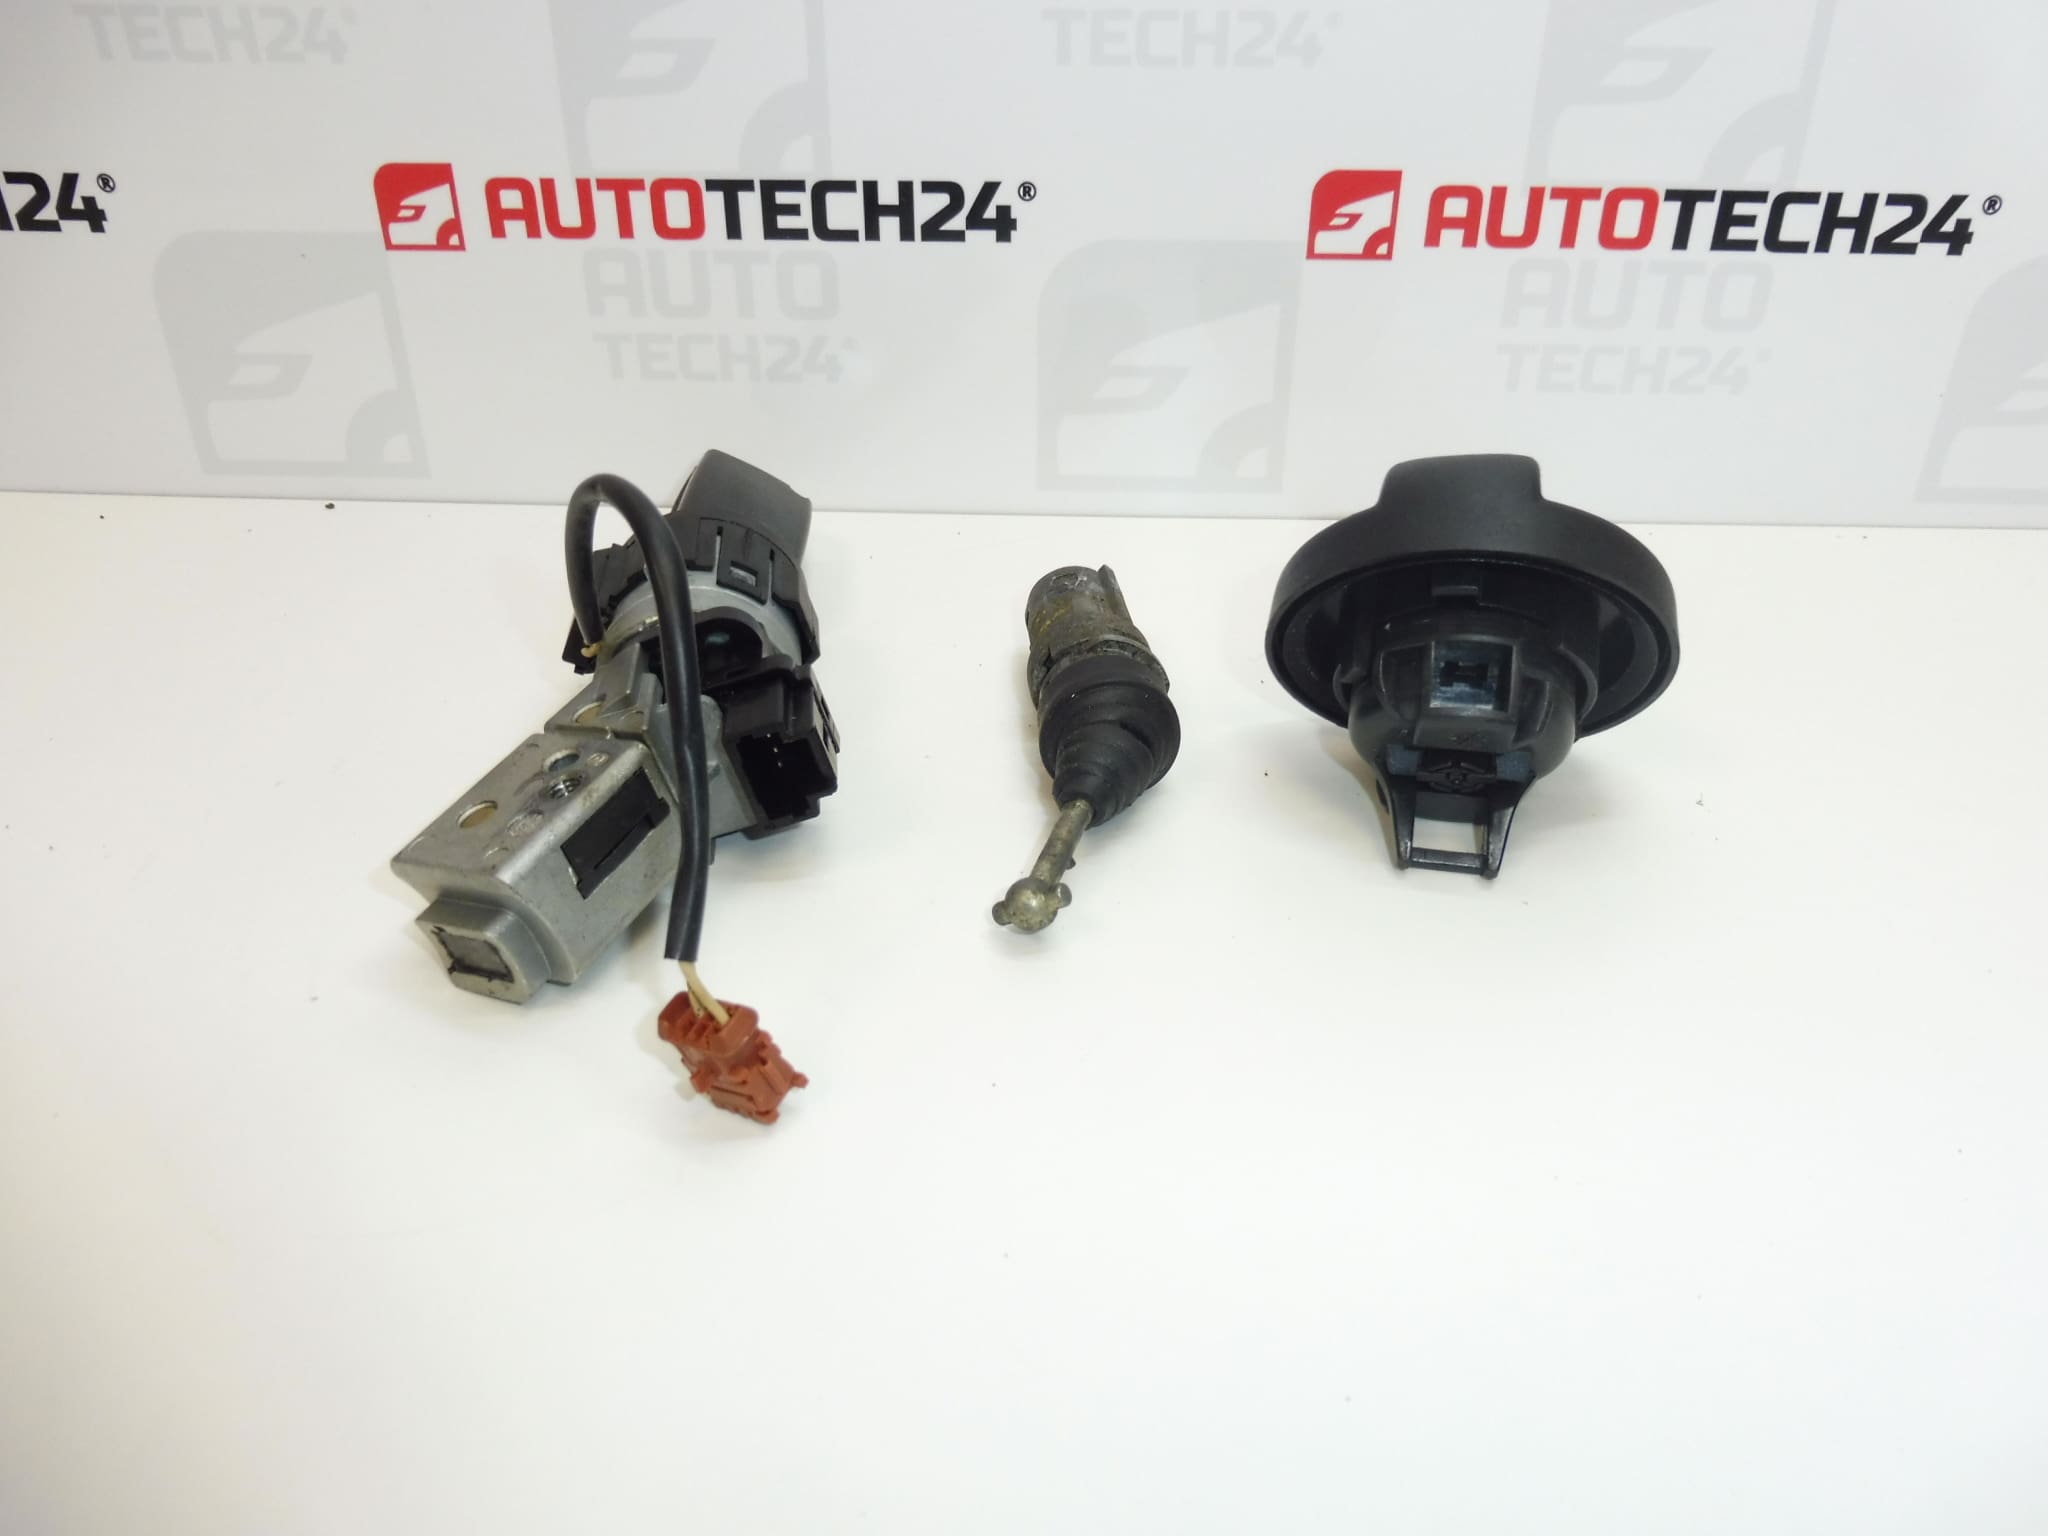
Lock set: ignition switch, fuel filler cap, driver’s door for PEUGEOT 307 CC
1x key
Part description
This used lock set for Peugeot 307 CC includes an ignition switch, fuel filler cap, driver’s door lock and one key. It is a practical choice when replacing damaged or worn locks if you want to address several locking points with a single set.
When searching for a replacement part, use the references 4162KH and 4162KF in particular. Before installation, compare not only the numbers but also the mechanical design and mountings with the original parts. Replacing the mechanical locks alone may not ensure that the immobiliser or any remote control will work; their configuration and readiness for use are not specified in the supplied information.
Technical information
- Manufacturer: not specified
- Model: Peugeot 307; specified as PEUGEOT 307 CC in the part description
- Part type: lock set with one key
- Set contents: ignition switch, fuel filler cap, driver’s door lock, 1× key
- Condition: used part
- Other numbers: 4162KF; the supplied information also lists the designation NFP
Product codes
- Product codes: 4162KH, 4162KF
- Model according to the label: Peugeot 307
- Additional designation: NFP
Installation recommendations
The following procedure is general guidance for replacing a set of mechanical locks and an ignition switch. The exact steps, removal of covers and any electronic programming depend on the specific vehicle model and version. Follow the manufacturer’s service procedure.
1) Before installation
- Compare the references, lock cylinder shapes, mountings, operating components and any electrical connections with the original set.
- Check the condition of the key, lock bodies, latches and fuel filler cap seal. Look for cracks, corrosion and signs of forced damage.
- Check the mechanical operation of the supplied locks using the key, without applying force. With the ignition switch, take account of any built-in interlock that prevents operation outside the installation position.
- Determine in advance whether the immobiliser or any remote control will need programming. Keep the original key and electronic components until operation has been successfully verified.
2) Required tools and materials
Basic hand tools, suitable screwdriver bits, plastic trim removal tools, a torch and a container for small fasteners are generally used. Suitable diagnostic equipment may be required for any electronic programming. Choose cleaning products with regard to the material and the manufacturer’s recommendations.
3) Step-by-step installation procedure
- Park the vehicle safely, secure it against movement and retain access to the interior independently of the lock being replaced.
- Switch off the ignition. Before working on electrical components, follow the manufacturer’s procedure for disconnecting the battery and for any work near safety systems.
- Access the locks and ignition switch being replaced according to the service documentation. Release covers carefully, without forcing them off.
- Record the positions of mountings, linkage rods and any connectors, for example by taking photographs.
- Release the original door lock and its mechanical linkages in the manner specified by the manufacturer. Do not bend the linkage rods or damage the retaining clips.
- Install the replacement door lock, connect the operating linkages and check that they move freely with the door open.
- Replace the ignition switch according to the service procedure for the particular version. Do not force retaining devices or the locking mechanism; if unsure, entrust this step to a professional.
- Replace the fuel filler cap, check that the mating surface is clean and that the seal is seated correctly. Prevent dirt from entering the filler opening.
- Check that all parts are secure, the wiring is routed correctly and any connectors are connected. Restore power according to the manufacturer’s instructions and have the key’s electronic functions professionally programmed as required.
- Check operation before finally refitting the covers. Complete reassembly only after a successful check.
4) Post-installation checks and functional verification
Test door locking and unlocking, fuel filler cap locking and ignition switch operation repeatedly. The key must not jam or require excessive force. Check that the ignition switches on, the engine starts and any remote control works. Only carry out a test drive once everything is securely fastened and the ignition and locking mechanisms are working correctly.
5) Common installation mistakes and how to avoid them
- Mixing up similar-looking parts: compare both the references and design details before removal.
- Forcing the key to turn: if there is resistance, check the seating and mechanism; do not apply more force.
- Incorrectly connected linkage rods or trapped wiring: use photographs of the original arrangement and check for free movement.
- Confusing the key’s mechanical function with electronic authorisation: verify the ability to start the engine separately.
- Closing the door before testing: check operation with the door open first and maintain access to the vehicle.
Reasons why the part becomes damaged
With this type of part, faults are commonly caused by long-term mechanical wear of the key and internal lock components, dirt, moisture or corrosion. Damage can also result from attempts at forced entry, using a deformed key or repeatedly forcing the mechanism against resistance. The fuel filler cap may also suffer from wear to the seal and closing mechanism; the ignition switch can additionally be subjected to strain from a heavy bunch of keys. These are general causes, not a description of identified faults in this set.