Description
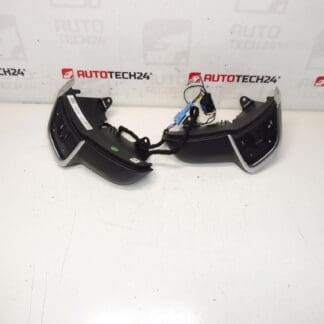
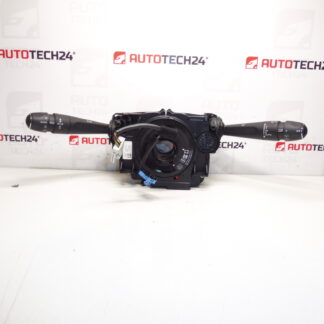
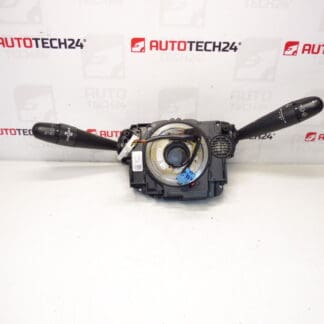
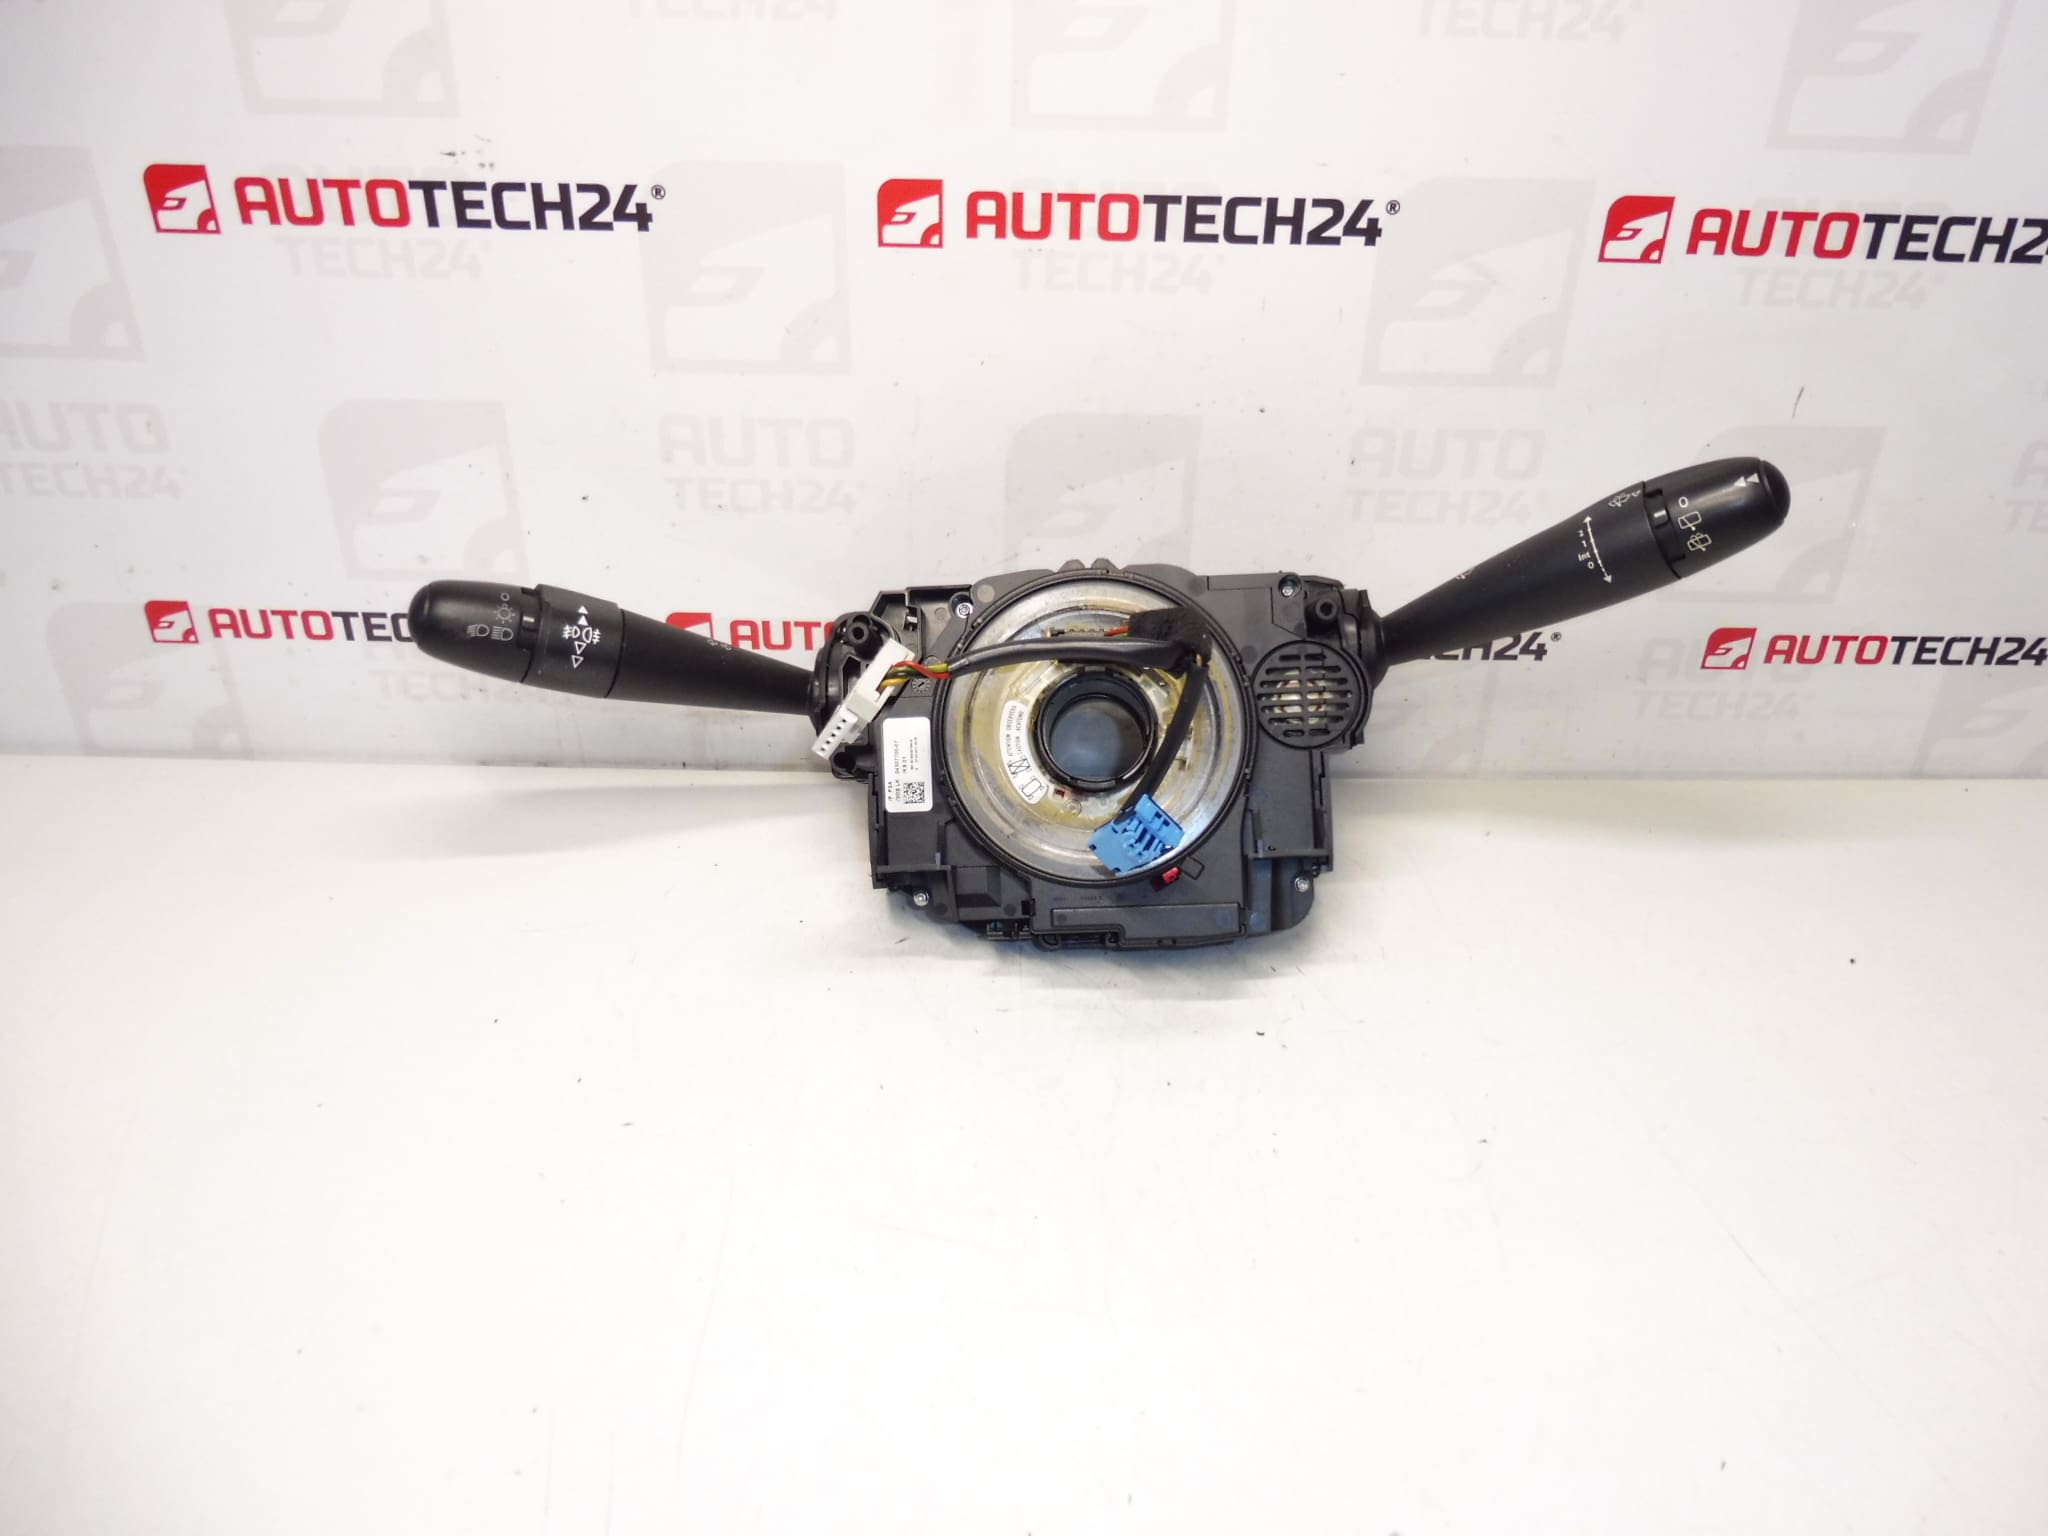
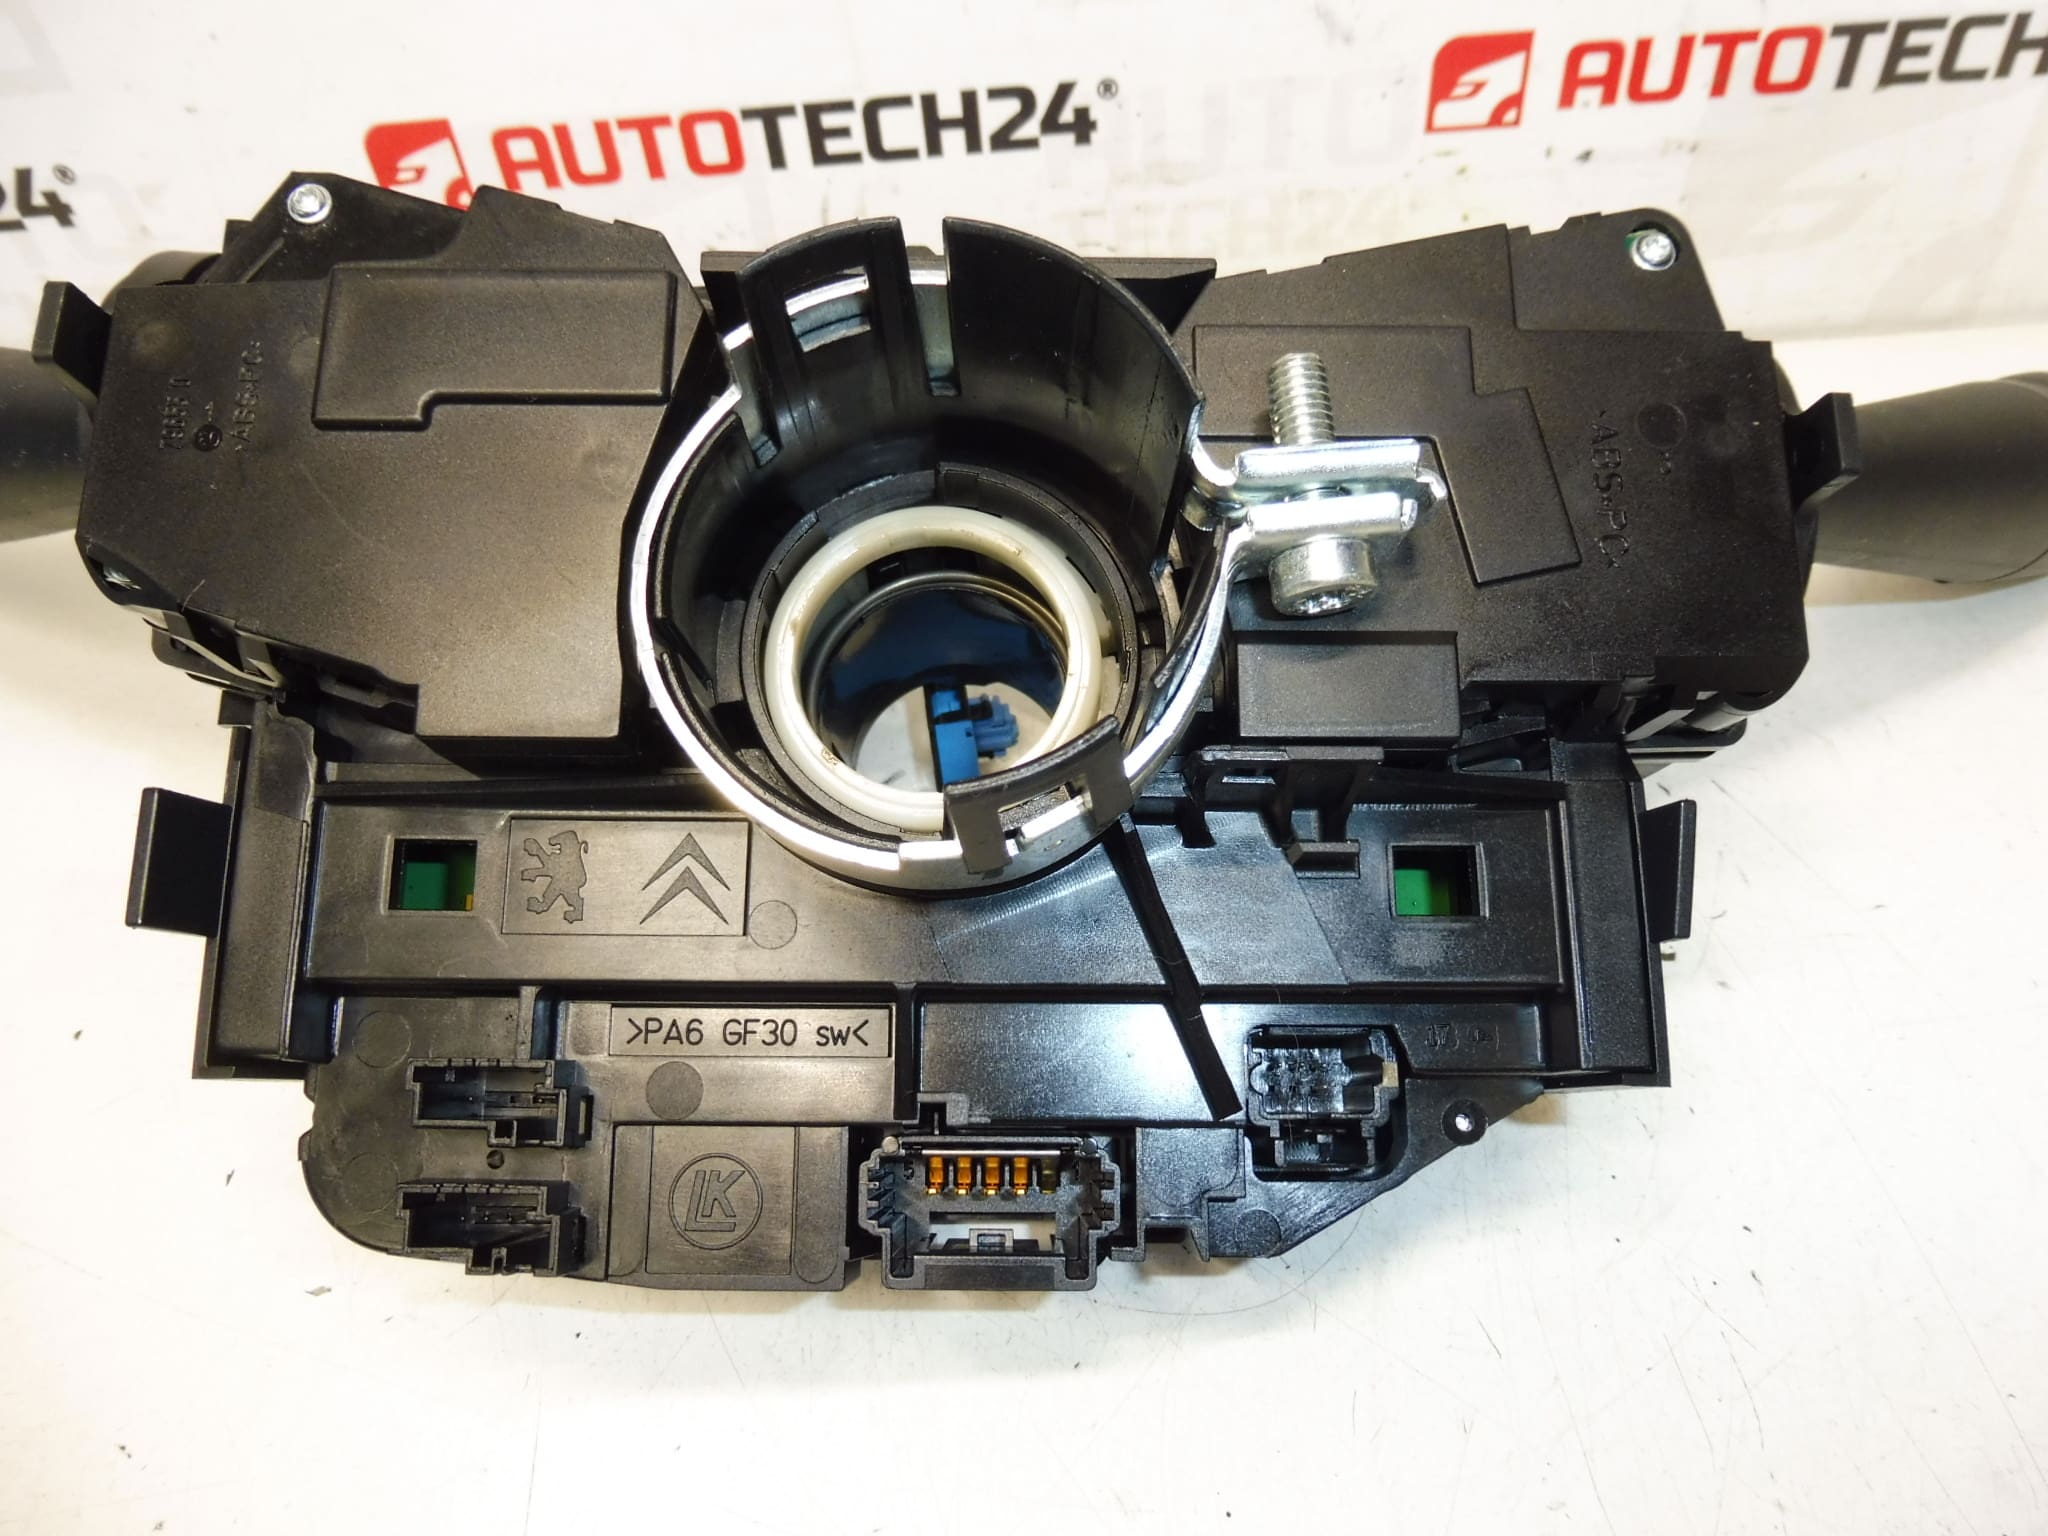
COM2008 steering wheel controls, levers for Citroen C4 II, Peugeot 508, DS4 and DS5 cars
They control the lights, fog lights, front and rear wipers, blinkers, horn, on-board computer
Part description
These are COM2008 stick controls (steering wheel controls) for Citroën/Peugeot/DS cars. This part combines the important functions of normal car control into one module – typically the operation of lighting and signaling, wipers and other comfort elements. If any of these functions stops responding, skips, or only works intermittently, replacing the COM2008 sticks is usually a quick and effective solution.
Search by number often finds this part as 96759249XT or 98000200ZD (also 6243C4).
Technical information
- Manufacturer: Stellantis
- Model: Citroen C4 II, Peugeot 508, DS4, DS5
- Other numbers: 6243C4
Product codes
- Product codes: 96759249XT, 98000200ZD, 6243C4
Installation recommendations
Generally/typically for steering wheel controls (COM2008), the exact procedure may vary depending on the specific car design and equipment. Below is a handy one-size-fits-all procedure for this type of part.
1) Before assembly
- Compare the new and original part: concordance of connectors, shape, attachment and above all, matching of the part number (96759249XT / 98000200ZD, or 6243C4).
- Check the condition of the connectors (no bent pins, no corrosion) and for cracked levers or cover.
- If the original fault was “occasional”, also check the wiring and connectors in the vicinity (looseness, oxidation).
2) Necessary tools and materials
- Normal set of screwdrivers and bits (Torx/hex according to design)
- Plastic pry bar for removing covers
- Flashlight
- Electrical contact cleaner (optional)
3) Step-by-step assembly procedure
- Turn off the ignition and disconnect the battery (to protect the electronics and work safety).
- Wait a few minutes for the units in the car to go to sleep (typically after disconnecting the battery).
- Remove the steering column/below steering wheel plastic covers to gain access to the lever module.
- Disconnect the electrical connectors from the original module (do not pull on the cables; release the connectors’ fuses).
- Release the attachment of the original lever module according to the type of securing (screws/latches – depending on the design).
- Remove the original part and compare it again with the replacement part (numbers, connectors, mechanical elements).
- Place the new lever module in the correct position and secure it using the original mounting method.
- Connect all connectors and check that they are fully engaged.
- Reinstall the steering column plastic covers.
- Connect the battery.
- Turn on the ignition and verify basic functions (see below).
-
4) Post-assembly checks and test drive/function verification
- Check functionality: lights, fog lights, turn signals, horn, front/rear wipers, on-board computer.
- Check that the levers move smoothly, nothing rubs and there are no arbitrary commands.
- Do a short check while driving (safely), especially the turn signals and wipers.
5) The most common assembly mistakes + how to avoid them
- Battery not disconnected → risk of damage to electronics; always disconnect before working.
- Not clicked connectors → function failures; after connecting, gently check the connector by pulling.
- Confusion of similar versions → some controls not working; follow the part number and design of the connectors.
- Damage to covers during disassembly → use a plastic pry bar and work without violence.
Reasons why the part is damaged
- Mechanical wear of levers and internal contacts due to frequent use (blinkers, wipers, lights).
- Contamination and oxidation of contacts in the connectors or inside the module (moisture, dust).
- Electrical overload or unstable power supply, which can degrade the reliability of contacts over time.