Description
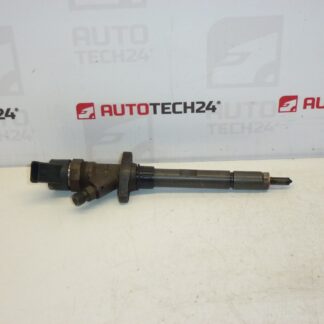
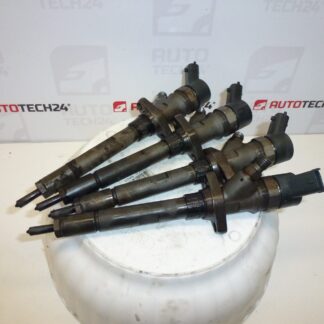
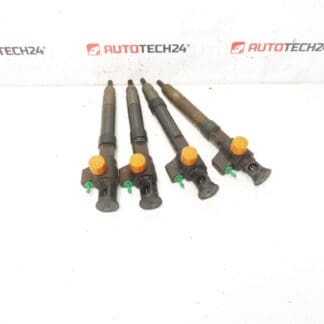
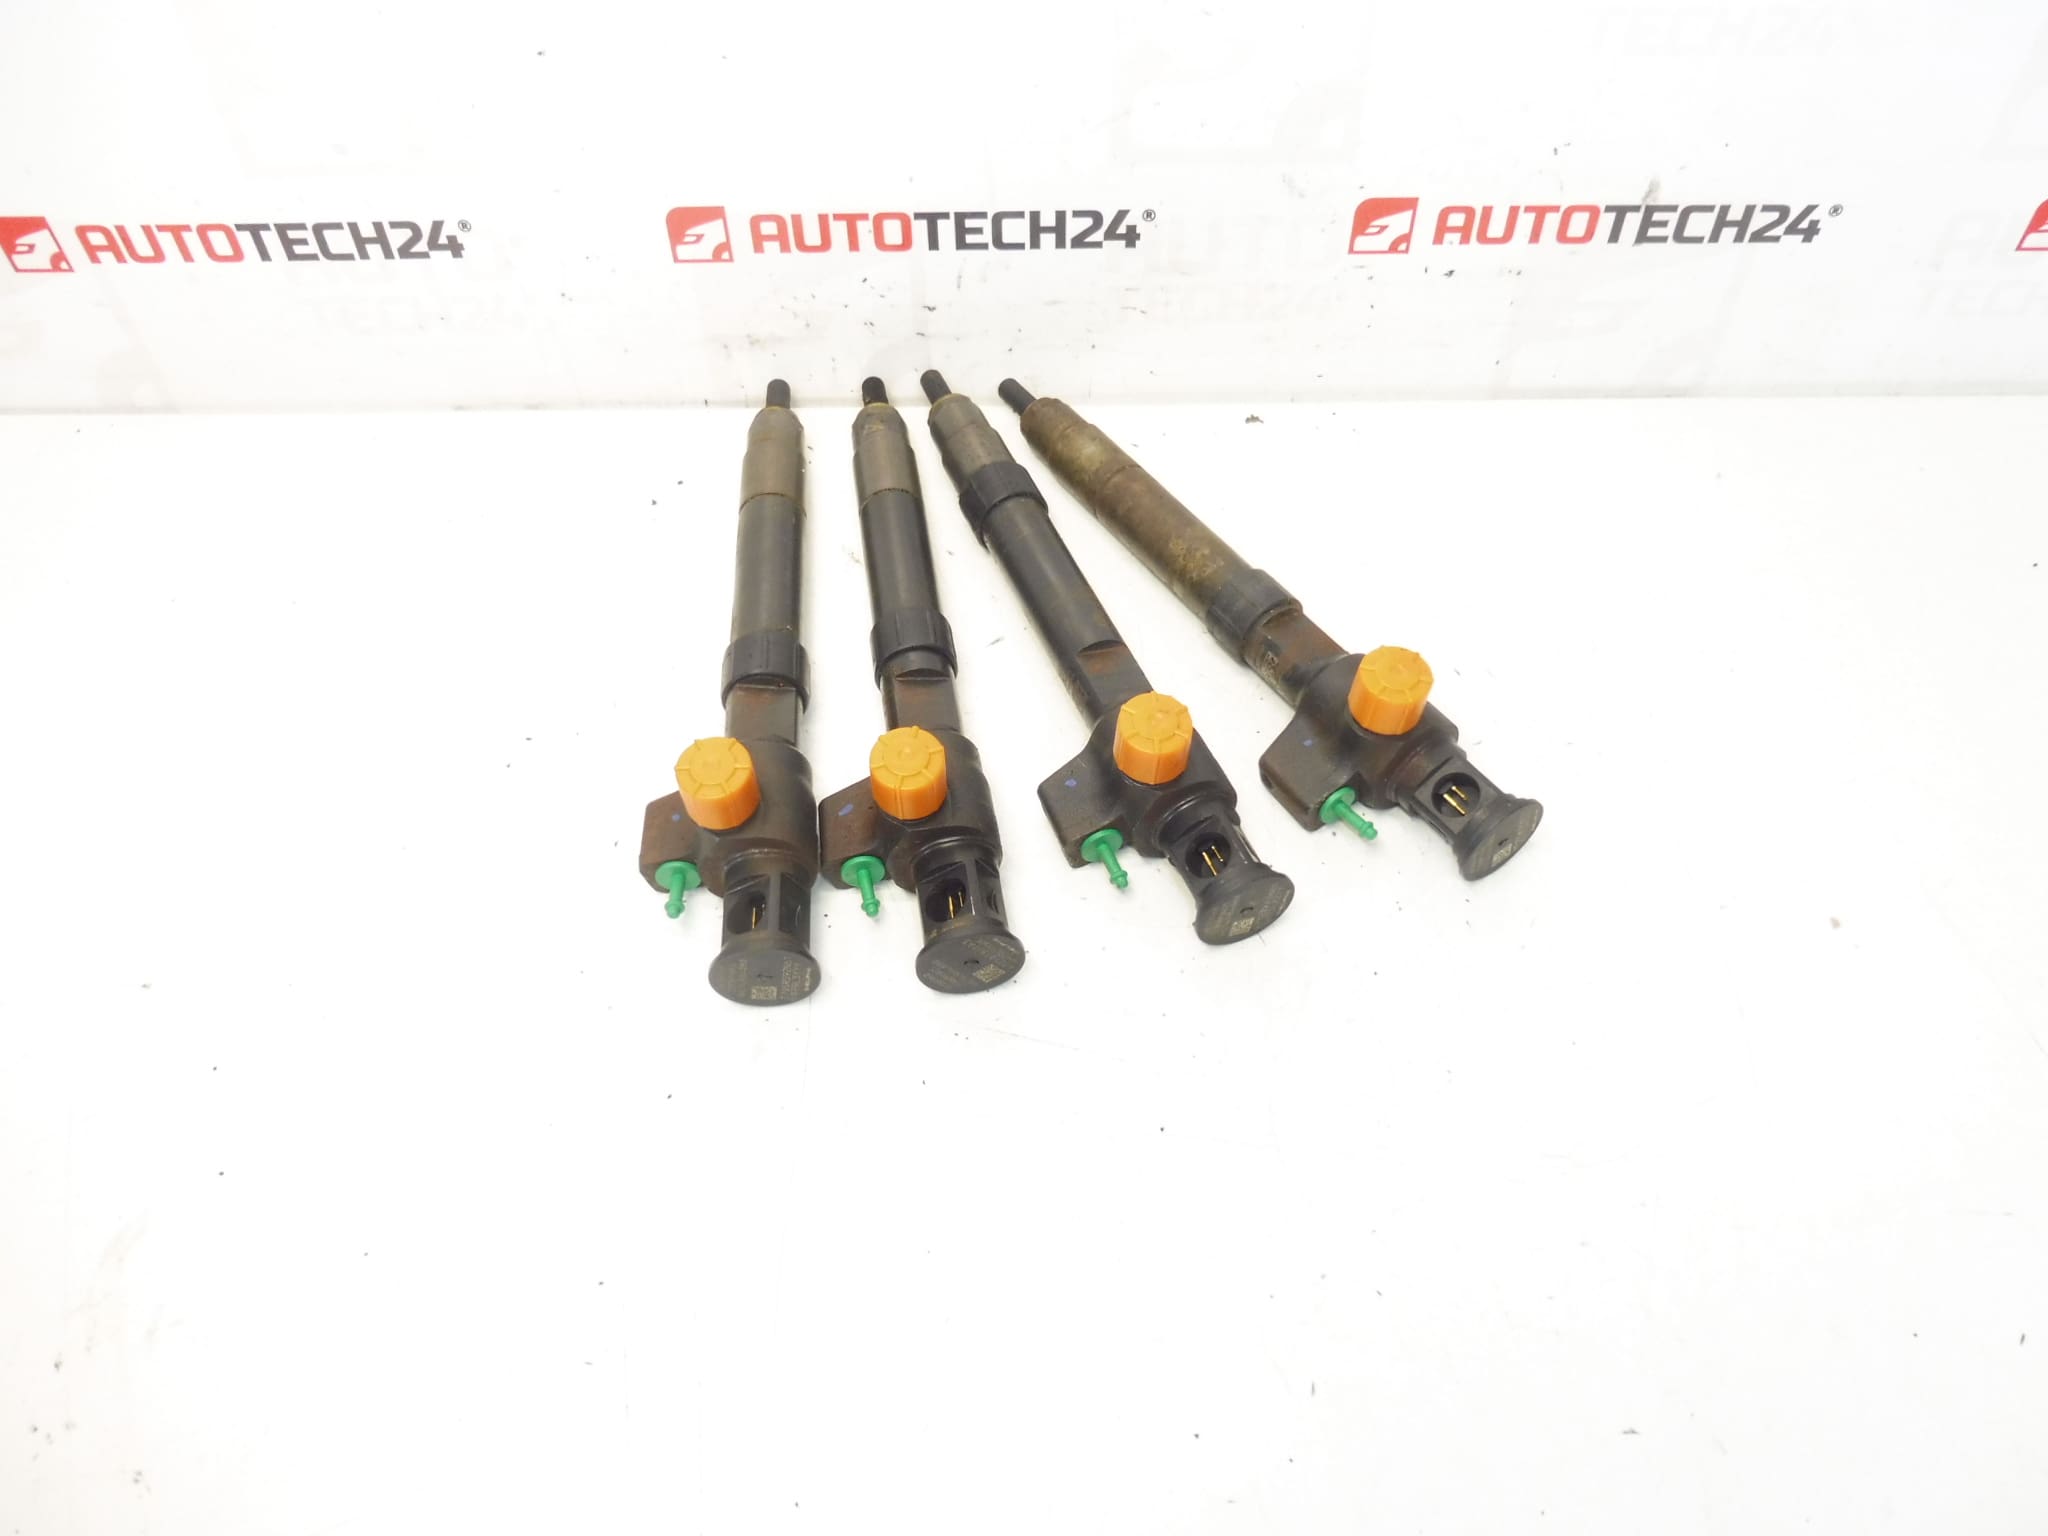
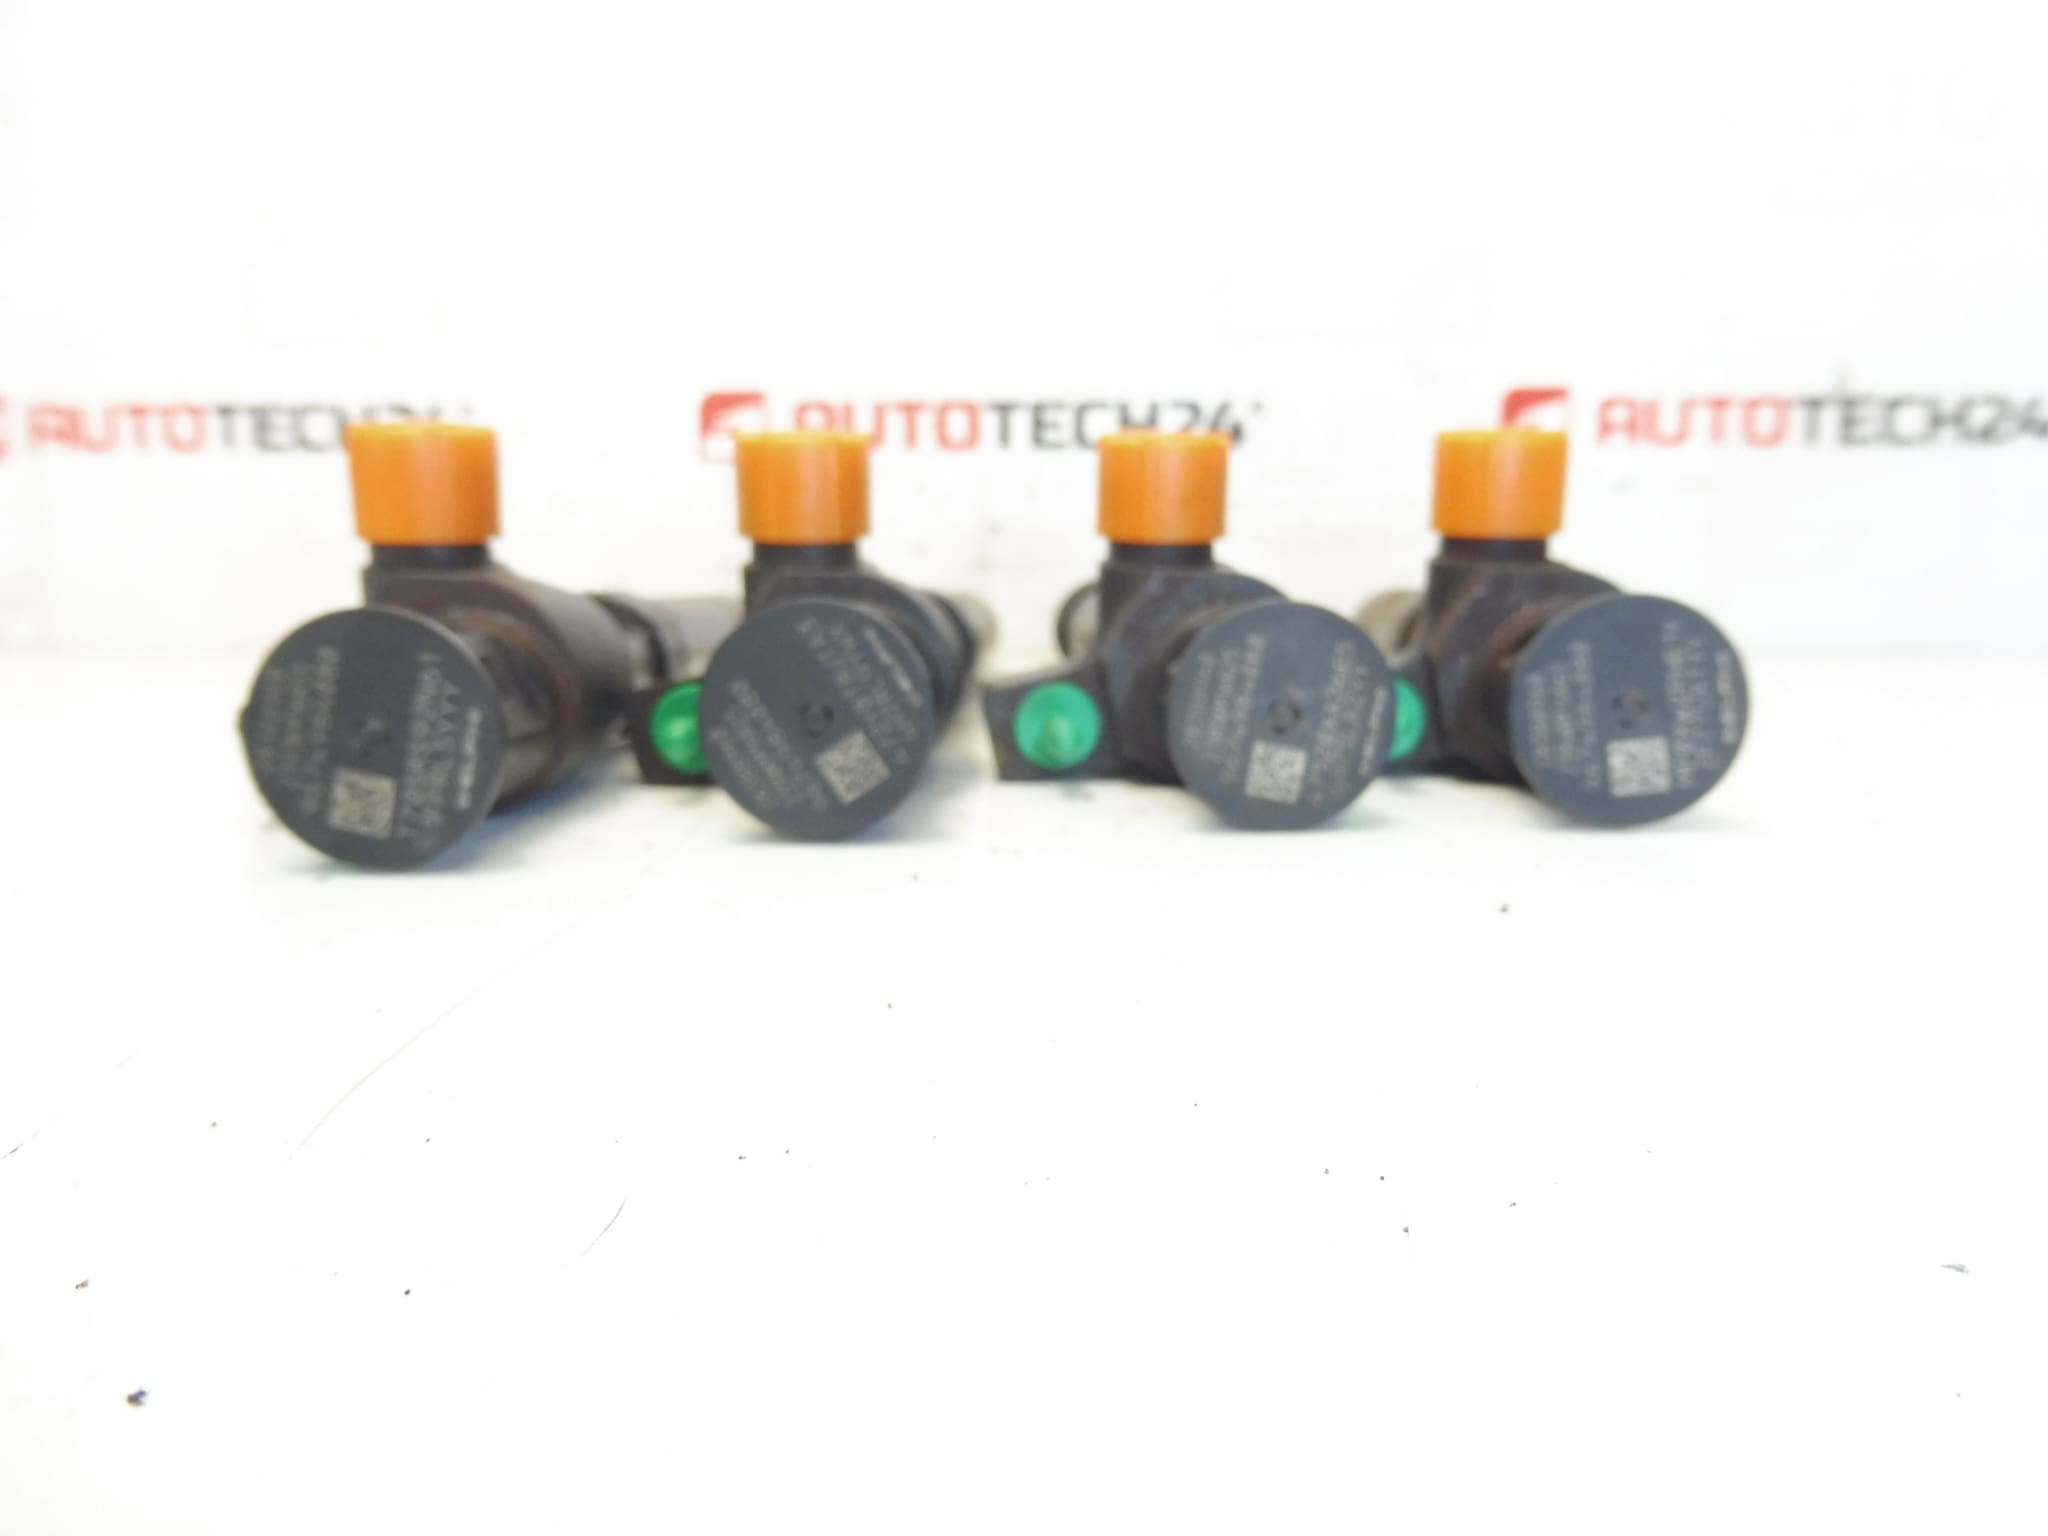
Set of BOSCH injectors 2.0 HDI for Citroën, Ford, Peugeot vehicles. The set is from a 2018 Citroën C4 SpaceTourer 2.0 HDI 120 kW with 141,000 km. The vehicle operated without issues. Clean DPF.
Overview
High-quality used Bosch common-rail injector set for 2.0 HDi engines, suitable for a range of PSA and compatible Ford applications. Ideal for professional workshops and experienced DIYers looking to replace worn or leaking injectors with a matched set. Searchable directly by part numbers 9674984080 and 1610280080 — commonly used when sourcing the correct injectors for Citroën and Peugeot models.
Function And Symptoms
Fuel injectors meter and atomize diesel under very high pressure to ensure proper combustion. When an injector begins to fail, common symptoms include rough idle, misfires, increased fuel consumption, white or black smoke from the exhaust, poor acceleration, hard starting and diagnostic fault codes related to injection timing or cylinder imbalance. Replacing injectors as a matched set reduces the risk of imbalance between cylinders.
Replacement Procedure
Basic replacement steps (for experienced mechanics):
- Relieve Fuel System Pressure Before Work.
- Remove Engine Covers And Any Components Blocking Access To The Fuel Rail.
- Disconnect Electrical Connectors From Injectors And Remove Fuel Rail Retaining Bolts.
- Carefully Extract Fuel Rail With Injectors Attached, Then Remove Injectors From Rail.
- Fit New Injector Seals/Washers And Install Injectors Into The Rail; Refit Rail And Torque Bolts To Manufacturer Specifications.
- Reconnect Electrical Connectors, Prime The Fuel System, Check For Leaks And Perform Engine Start-Up And Test Drive.
Always follow the vehicle manufacturer’s service manual for detailed steps and torque values. Use genuine or OEM-equivalent sealing washers and ensure injector seats and fuel rail are clean before installation.
Technical Information
- Manufacturer: BOSCH
- Model: Citroën C4 SpaceTourer 2.0 HDI (source vehicle), Also Compatible With Various Citroën And Peugeot 2.0/2.2 HDi Applications And Some Ford Models Using PSA Engines
- Product Codes: 9674984080; 1610280080
- Additional Numbers: No Additional Numbers Provided
Installation Recommendations
Replace All Injector Seals And Copper Washers During Installation. Clean The Fuel Rail And Injector Seats To Prevent Contamination. Use Proper Tools For Fuel-Line Disconnection And Reassembly. After Installation, Prime The System And Check For Leaks Under Pressure. If You Observe Persistent Misfire Or Imbalance, Inspect High-Pressure Pump And Fuel Filter Condition. For Professional Calibration Or Adaptation Procedures Refer To PSA Diagnostic Tools And Service Procedures.
Reason For Most Common Failures
Injectors typically fail due To Contamination In The Fuel (Particles Or Water), Wear Of Internal Components, Clogged Nozzles Or Seals, And Electrical Coil Or Solenoid Faults. Poor Fuel Quality, Neglected Fuel Filters Or Aggressive DPF Regeneration Events Can Accelerate Injector Wear. In many cases, replacement of seals alone may not resolve performance issues if the injector tip or internal metering is compromised.
Search And Compatibility Tips
When looking up replacements, include Bosch, 2.0 HDI, and the part numbers 9674984080 or 1610280080 in search queries. Also check engine code and model year to narrow correct fitment for Citroën and Peugeot vehicles.