Description
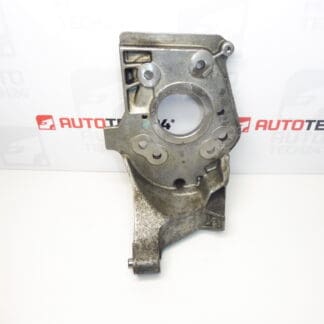
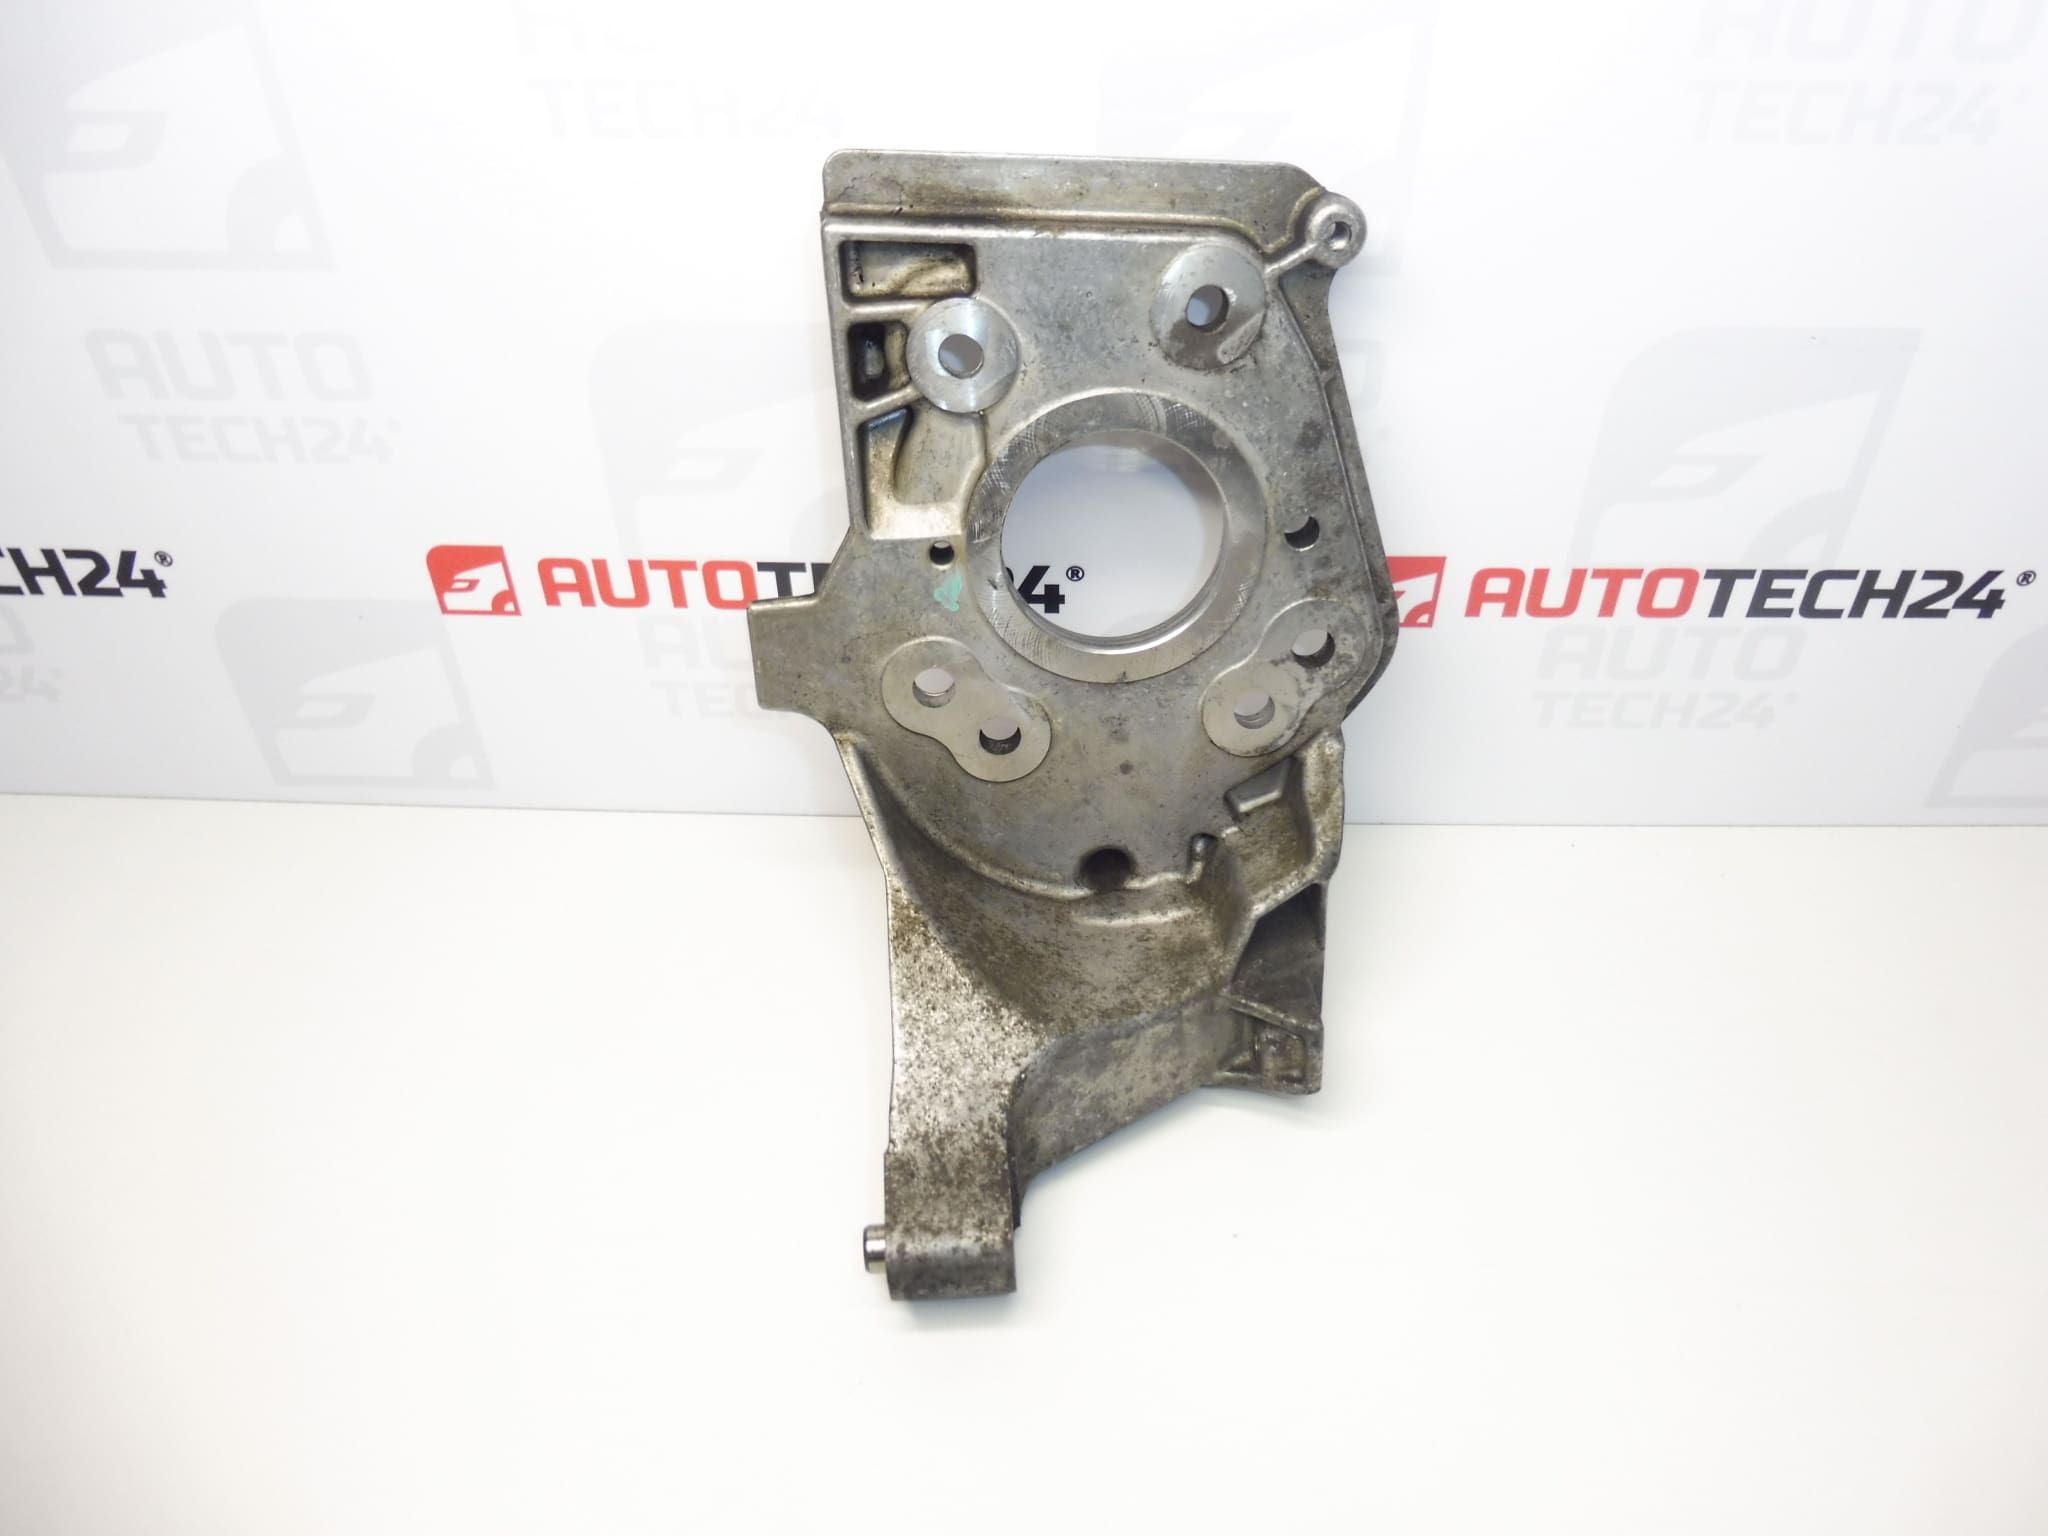
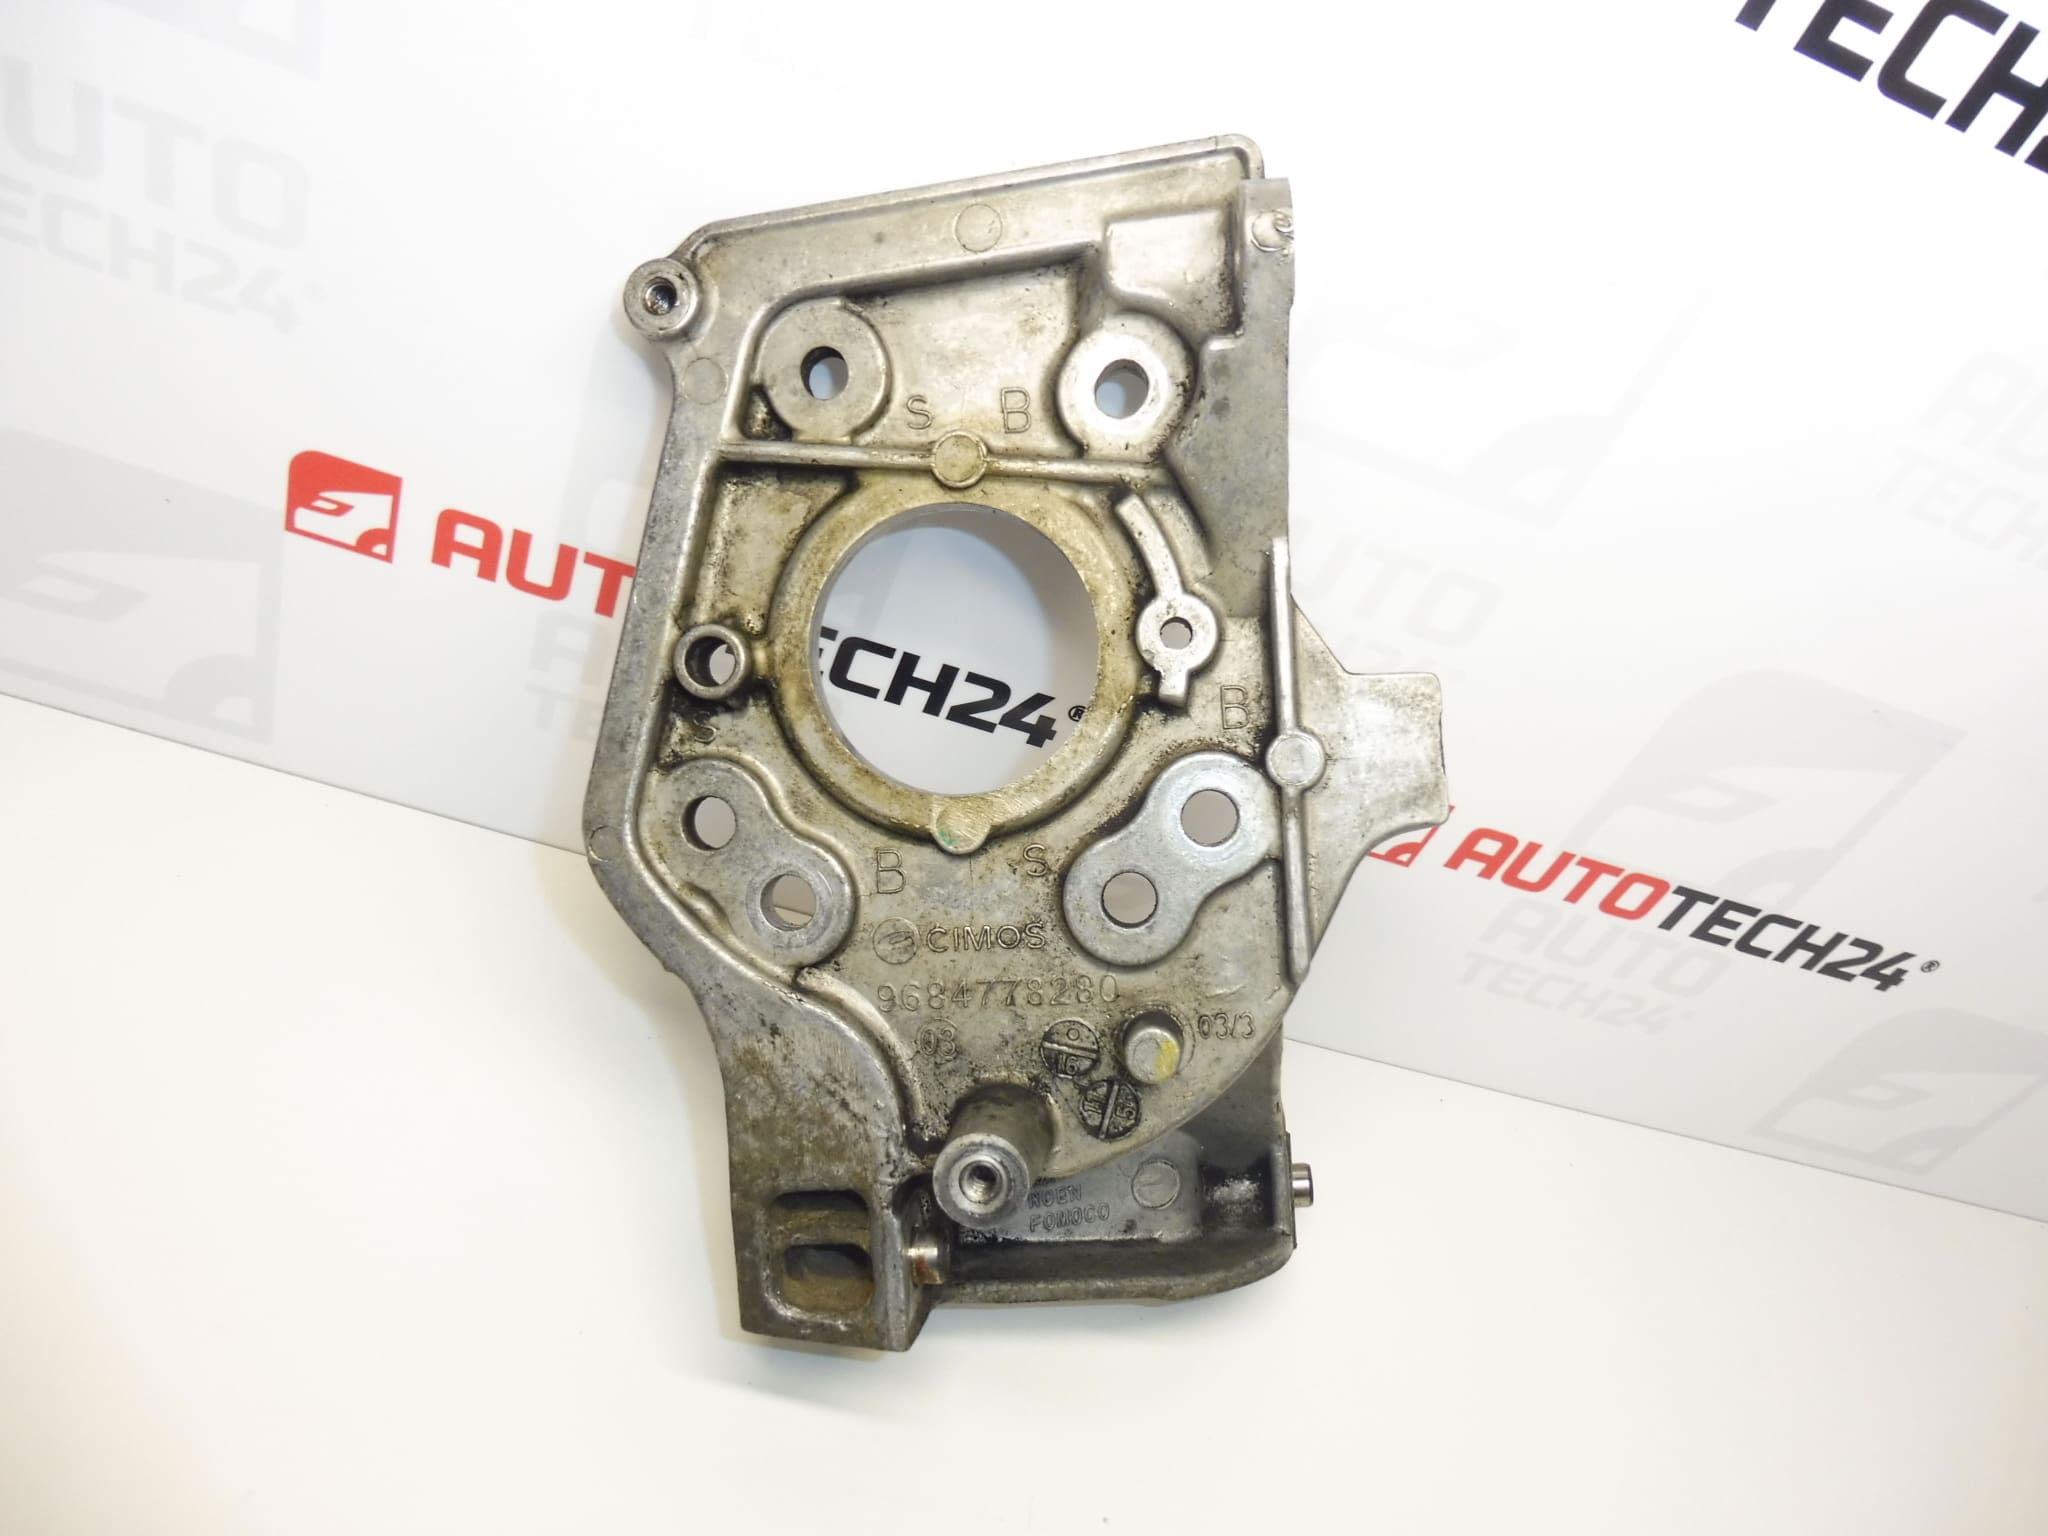
Bosch 1.6 eHDI injection pump holder for CITROEN, PEUGEOT, Ford, Mazda, Volvo cars
Part description
The used 1.6 eHDI Bosch injection pump holder is a mechanical fastening part that ensures a stable attachment of the pump. Proper seating of the bracket is important for maintaining the position of the pump and limiting unwanted stress on its connection. When repairing a damaged mount, the used part is a practical alternative to buying a new mount.
The 9684778280 and 192689 designations are essential for finding and comparing the part. Before choosing, compare the numbers, shape of the holder and the design of the attachment points with the original piece. The model name alone is not enough to determine the identical design. The subject of the offer is the bracket, not the injection pump.
Technical information
- Manufacturer: not specified; the Bosch designation is mentioned in the documents in connection with the injection pump.
- Model: Citroën Berlingo B9, Citroen C4 II, Citroën C4 PICASSO, Peugeot 308, Peugeot Partner Tepee.
- Other numbers: not specified.
- Part type: injection pump bracket.
- Determination according to the documents: 1.6 eHDI Bosch.
- Category: Engine – parts and accessories; high pressure injection pumps.
- Condition: used car part.
Product codes
- Product codes: 9684778280, 192689.
Use both codes listed when looking for a replacement injection pump bracket. Always complement the matching of the markings by comparing the structural design and bearing surfaces.
Installation recommendations
The following procedure is general for replacing the injection pump holder. The exact access to the part, the extent of disassembly and the order of attachment depends on the specific model and make of the car. Follow the manufacturer’s service documentation. If the replacement requires intervention in the high-pressure fuel system or distribution lines, have this part of the job done by a qualified mechanic.
1) Before assembly
- Compare the markings, overall shape, number and location of holes and seating surfaces with the old holder.
- Inspect the used part especially around holes and stressed transitions. It must not show cracks, deformations or damage that prevents proper fixing.
- Check the condition of accessible threads, opposing attachment points and fasteners.
- Find out the cause of the damage to the original holder so that the defect does not recur.
2) Necessary tools and materials
A suitable set of wrenches and sockets, a torque wrench, a work light, gentle cleaning agents and an aid for safely supporting the pump are usually required. Determine the possible replacement of the connecting material according to its condition and service regulations.
3) Step-by-step assembly procedure
- Secure the vehicle against movement, turn off the ignition and let the engine cool down.
- According to the service procedure, prepare the vehicle for work; if required by the scope of disassembly, disconnect the battery as prescribed.
- Access the bracket by removing only the necessary surrounding components. Record their original location and connection direction.
- Clean the surroundings of the holder so that dirt does not contaminate the connection or contact surfaces during work.
- Safely support or secure the pump before releasing the bracket. Its weight must not be supported by fuel lines, hoses or wiring.
- Unfasten the fasteners in the order specified by the manufacturer and remove the original bracket without prying against the pump or its connections.
- Inspect exposed attachment points and clean mating surfaces without removing material.
- Attach the replacement bracket and verify that it fits without forcefully pulling. Fit the joints by hand first to avoid damaging the threads.
- Align the position of the assembly and tighten the fasteners according to the sequence and values indicated in the service documentation. Only remove the pump support after proper fixing.
- Reassemble the dismantled parts and check that pipes, hoses and wiring remain tension-free and do not inappropriately touch surrounding parts.
-
4) Post-assembly checks and function verification
Before starting the engine, check all affected connections and remove the tool from the work area. After starting, watch for unusual vibrations, sounds and possible leaks. Never look for a high-pressure fuel leak with your hand. If a fault is suspected, switch off the engine. Carry out a short test drive only after a successful on-site inspection and then visually inspect the assembly again.
5) The most common assembly errors and prevention
- Assembly of a different design: compare the codes and the geometry of the holder in advance.
- Tightening a badly seated part with screws: the holder must be seated correctly before final tightening.
- Leaving the pump hanging on the connection: ensure its independent support before dismantling.
- Incorrect tightening or damaged threads: use the prescribed procedure and fix the faulty fastening first.
- Overlooking the original cause of the defect: also check the surrounding mounting and the source of excessive vibration.
Reasons why the part is damaged
Injection pump holders can generally be damaged due to the following; this is not a description of the history of this particular piece:
- Long-term vibrations and material fatigue stress.
- Loose mounting that allows the pump to move and unevenly loads the bracket.
- Excessive or uneven tightening of joints.
- Mounting on dirty or damaged bearing surfaces.
- Mechanical impact, unprofessional handling or load during previous repair.
- Deformation of connected attachment points and subsequent tension of the assembly.