Description
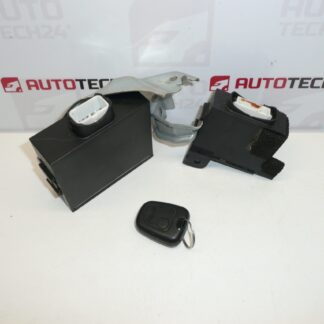
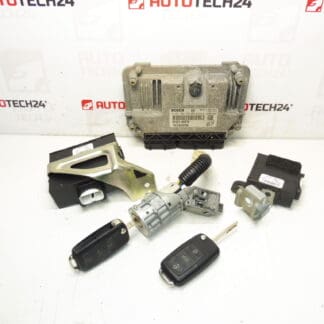
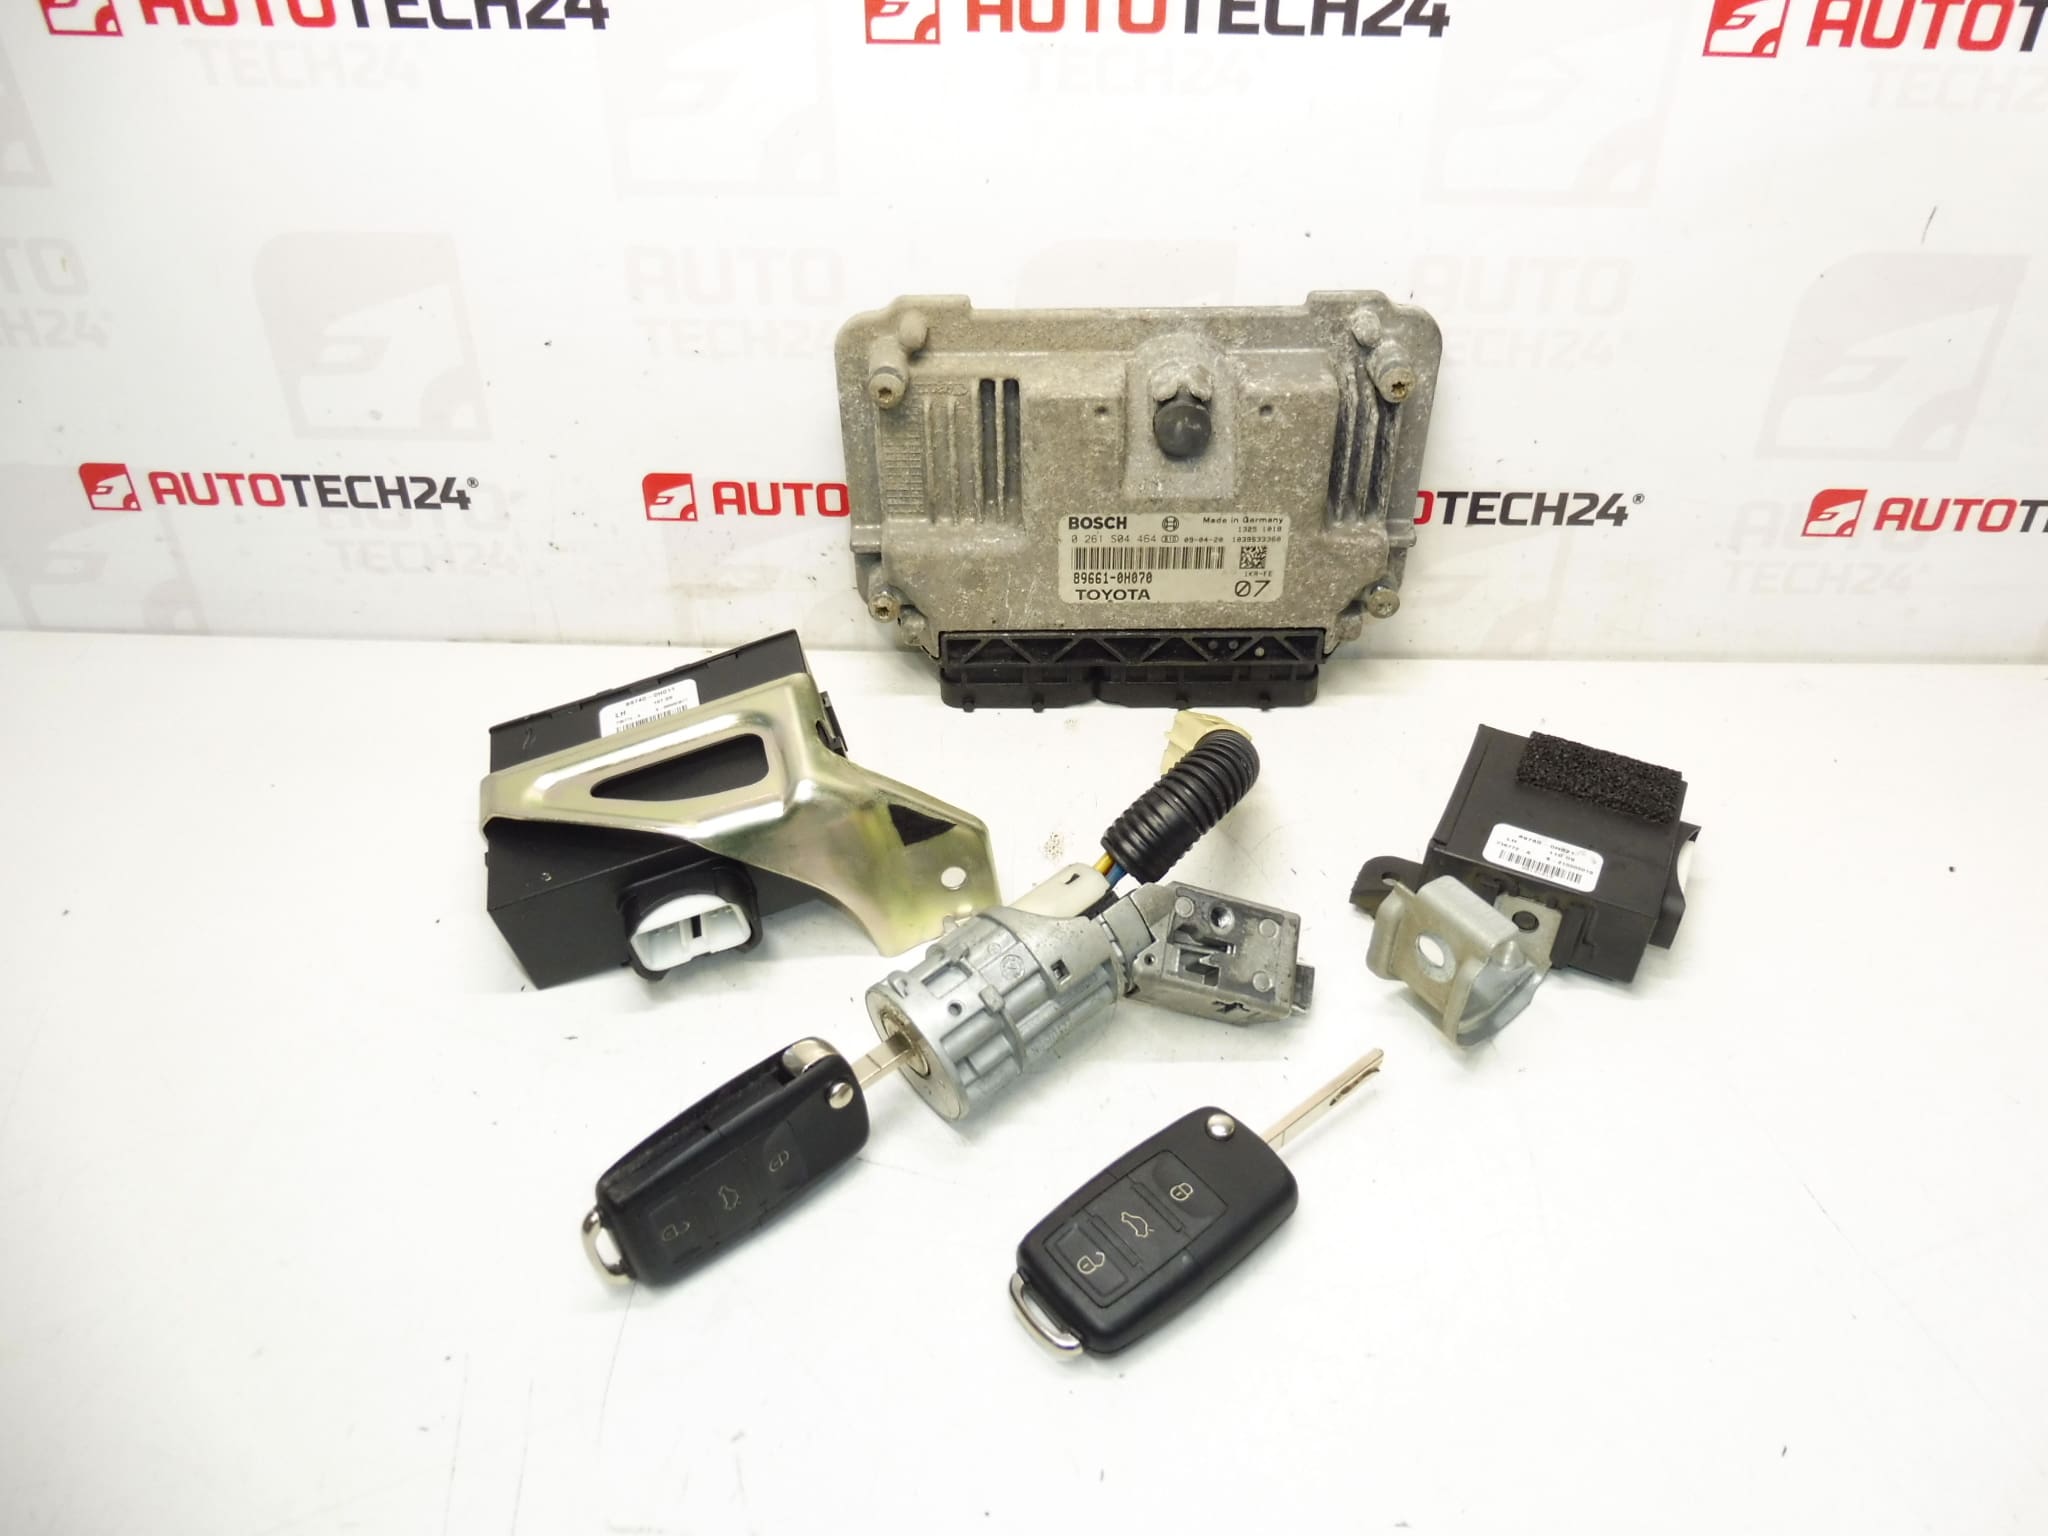
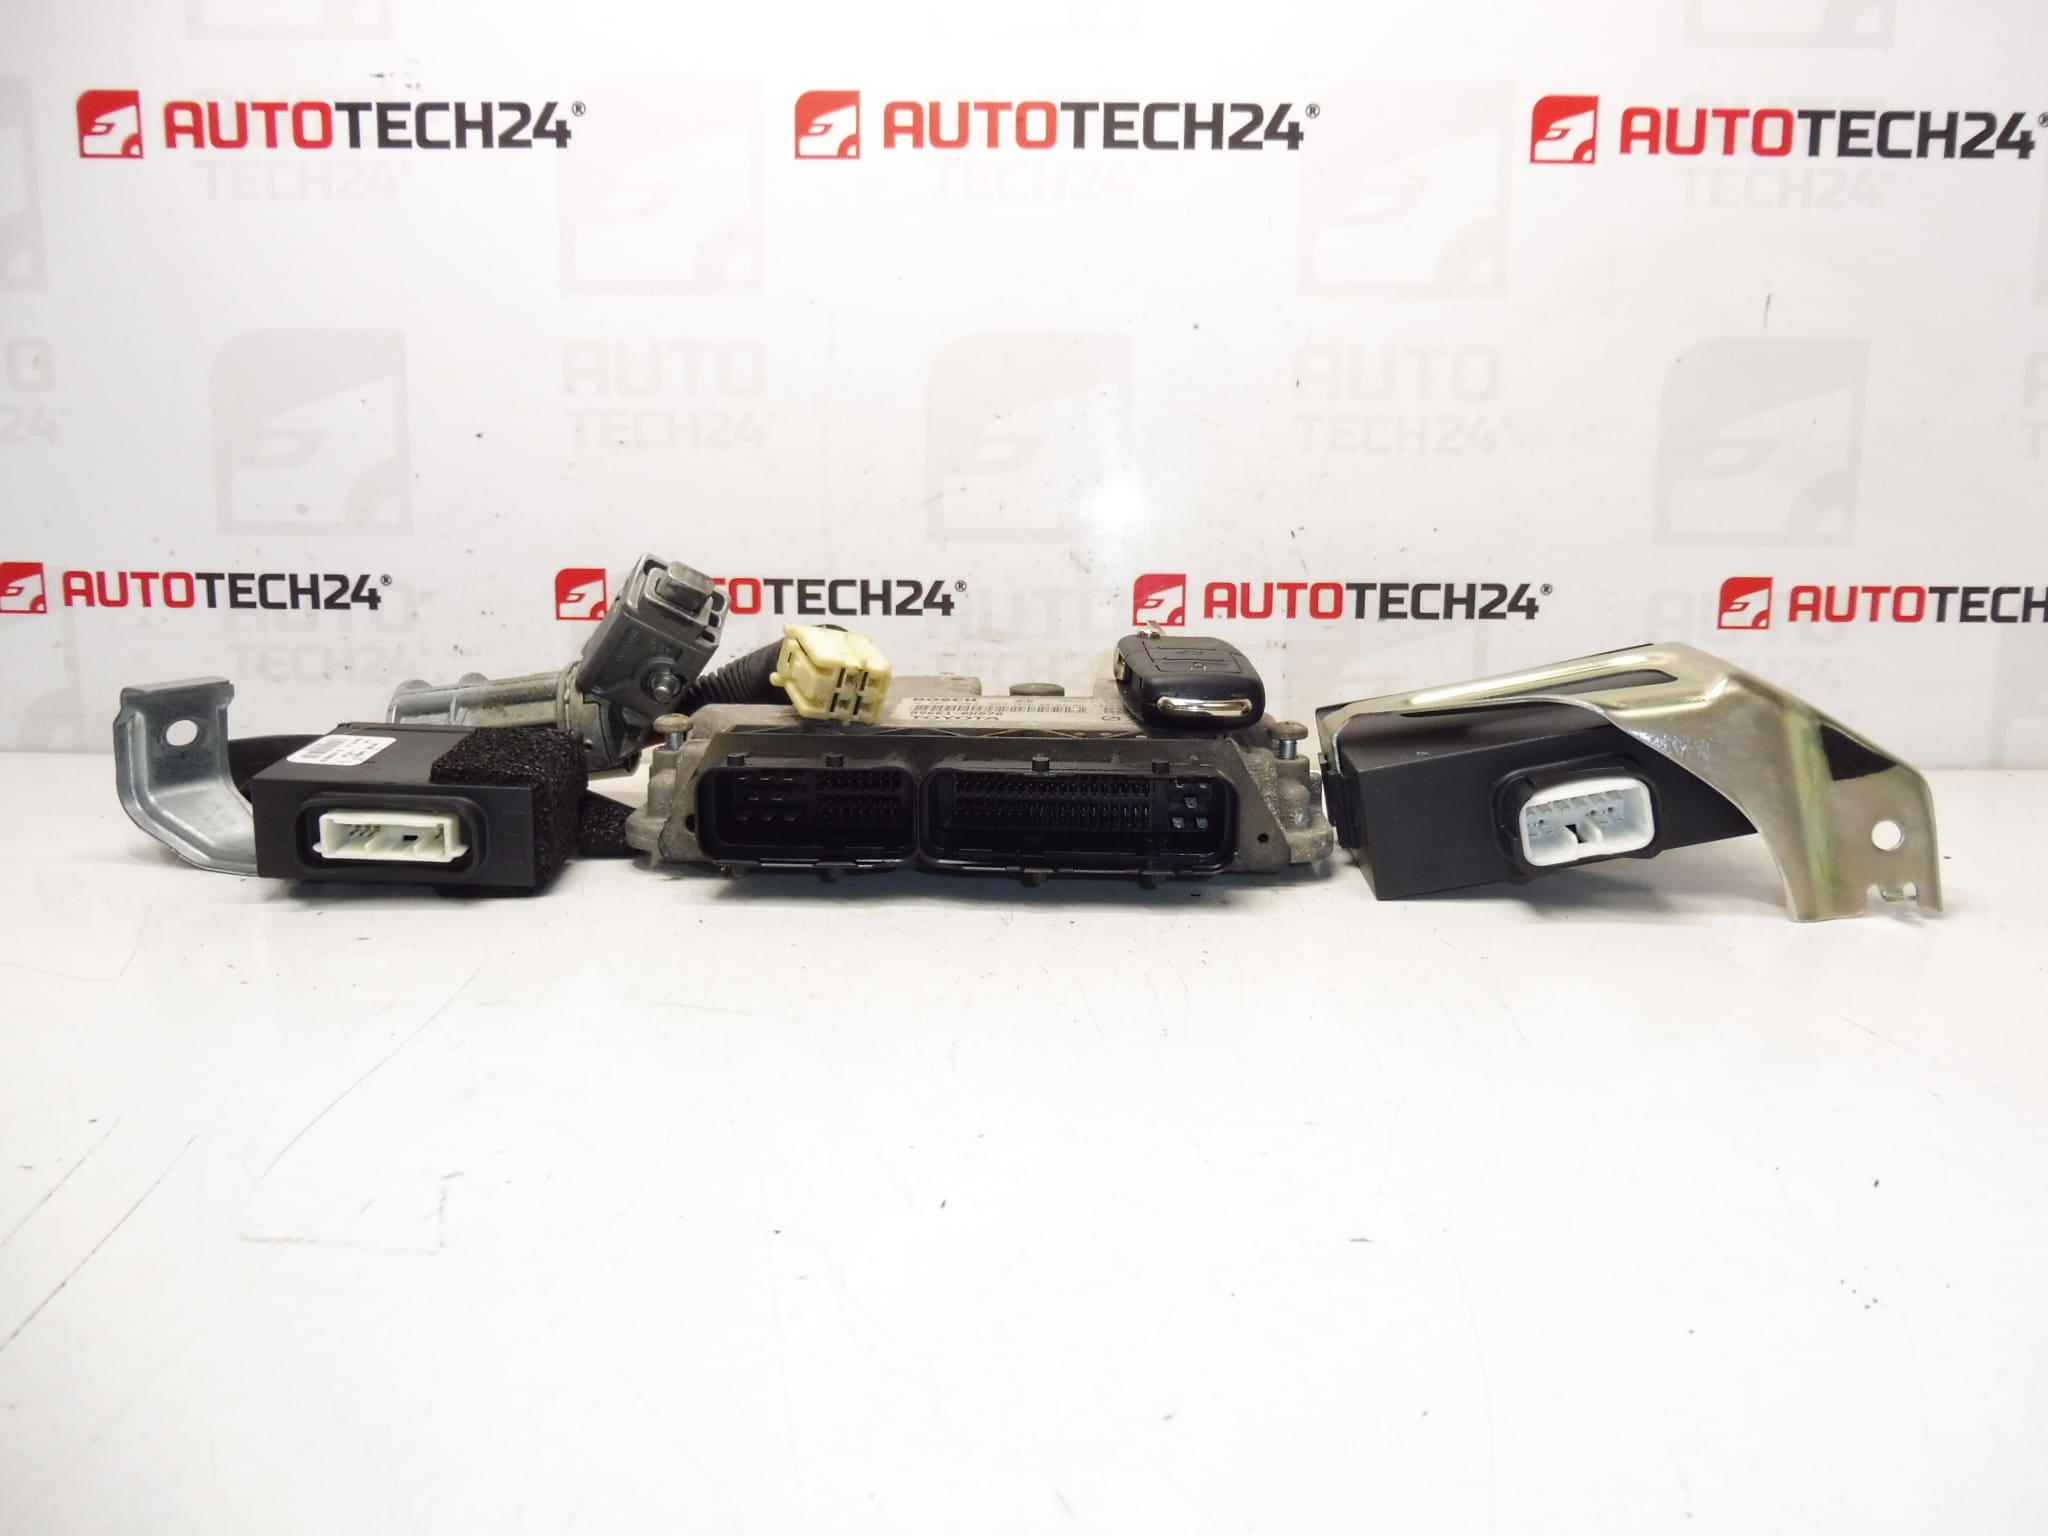
Immobilizer unit, 2x key with chip – aftermarket, engine control unit 89661-0H070 0261S04464, switch box 4162FK
All put together from one car
Comes from a Citroen C1 (2009)
Part description
This set includes immobilizer, engine control unit, 2x key with chip and switch box. It is a practical set for repairing Citroën C1 and Peugeot 107 cars, where the advantage is that the parts come from one car and are compatible with each other.
In order to find the right part, the listed unit and component numbers are especially important. This set is especially interesting for auto mechanics and DIYers who deal with replacement after a malfunction of the immobilizer, damage to the switch box or problems with the original engine control unit.
Technical information
- Manufacturer: Stellantis Citroën Peugeot
- Model: Citroën C1, Peugeot 107
- Other numbers: 89780-0H020, 89780-0H021, 89740-0H010, 89740-0H011, 0261S04464, 89661-0H070, 6580V7, 6252P3, 1943FE, 4162FK
Product codes
Product codes: 89780-0H020, 89780-0H021, 89740-0H010, 89740-0H011, 0261S04464, 89661-0H070, 6580V7, 6252P3, 1943FE, 4162FK
Models from labels and documents: Citroën C1, Peugeot 107
Installation recommendations
This kit is about electronic parts and security elements of the car. The exact replacement procedure may vary according to the specific car design, so below we present a generally typical procedure for installing the immobilizer + ECU + keys + switch box set.
1) Before assembly
- Check that all the numbers on the original and supplied part match, especially the engine control unit, immobilizer and switch box.
- Compare the type of connectors, their number, shape and condition of the pins.
- Check for damage to connector locks, unit packaging, or wiring around the mount.
- For keys and chips, check the physical condition and completeness of the set.
- Before starting work, disconnect the battery according to normal service practice.
2) Necessary tools and materials
- A common set of hand tools
- Screwdrivers and socket wrenches
- Plastic pry bar for removing covers
- Electrical contact cleaner
- Fiber-free cloths
- Protective gloves
- Diagnostics suitable for subsequent control of functions
3) Step-by-step assembly procedure
- Disconnect the battery and wait for the car’s electrical system to stabilize.
- Dismantle the necessary plastic covers and access the original control unit, immobilizer and switch box.
- Carefully disconnect the electrical connectors of the original parts without violence and check their condition.
- Remove the original engine control unit and other parts of the kit that change as a complete.
- Install the supplied switch box and make sure that the mechanical parts are properly seated.
- Install the immobilizer and the engine control unit in the original place or in the corresponding mounting position.
- Connect all connectors so that they are fully seated and secured.
- Check the cable routing for tension, pinching or contact with sharp edges.
- Reinstall the covers and other dismantled parts of the interior or surrounding parts.
- Connect the battery.
- Test the function of the key in the ignition and the basic communication of the system after turning on the ignition.
- Check that the engine starts and that there are no abnormal messages or fault conditions.
-
4) Post-assembly checks and test drive/function verification
- Verify that the key operates the ignition correctly and works mechanically in the ignition box.
- Check if the control unit communicates without obvious dropouts.
- After starting, observe the stability of the engine and the basic functions of the car.
- Do a short test drive and then check again for new faults.
5) The most common assembly mistakes + how to avoid them
- Swap parts by appearance instead of codes – always compare all numbers from units and accessories.
- Damage to connectors or pins – disconnect and connect connectors gently, without prying with force.
- Exchanging only a part of the set – with similar sets it is often important to keep the cooperating components together.
- Connecting the battery while handling the units – always work with the power disconnected to reduce the risk of damaging the electronics.
- Intrusion of moisture into electronics or connectors
- Voltage fluctuations in the car’s electrical system
- Damage to wiring, connectors or pins from previous repair
- Mechanical wear of the switch box and key
- Unprofessional handling during disassembly or assembly
- Long-term operation and age of electronic components
Assembly and Coding – Important
– The unit is used and is “paired” with the original car (VIN/PIN/keys).
– Commissioning options:
1) Cloning data from the old drive (EEPROM/Flash) – after the clone, the drive is plug and play.
2) Virginization and subsequent initialization/telecoding via DiagBox (possibly online) + customization of keys.
– Recommended to be performed by a specialist with PSA service equipment (DiagBox/Lexia/PP2000).
– Always disconnect the battery before disassembly/assembly and follow the manufacturer’s procedure to avoid damaging the unit.