Description
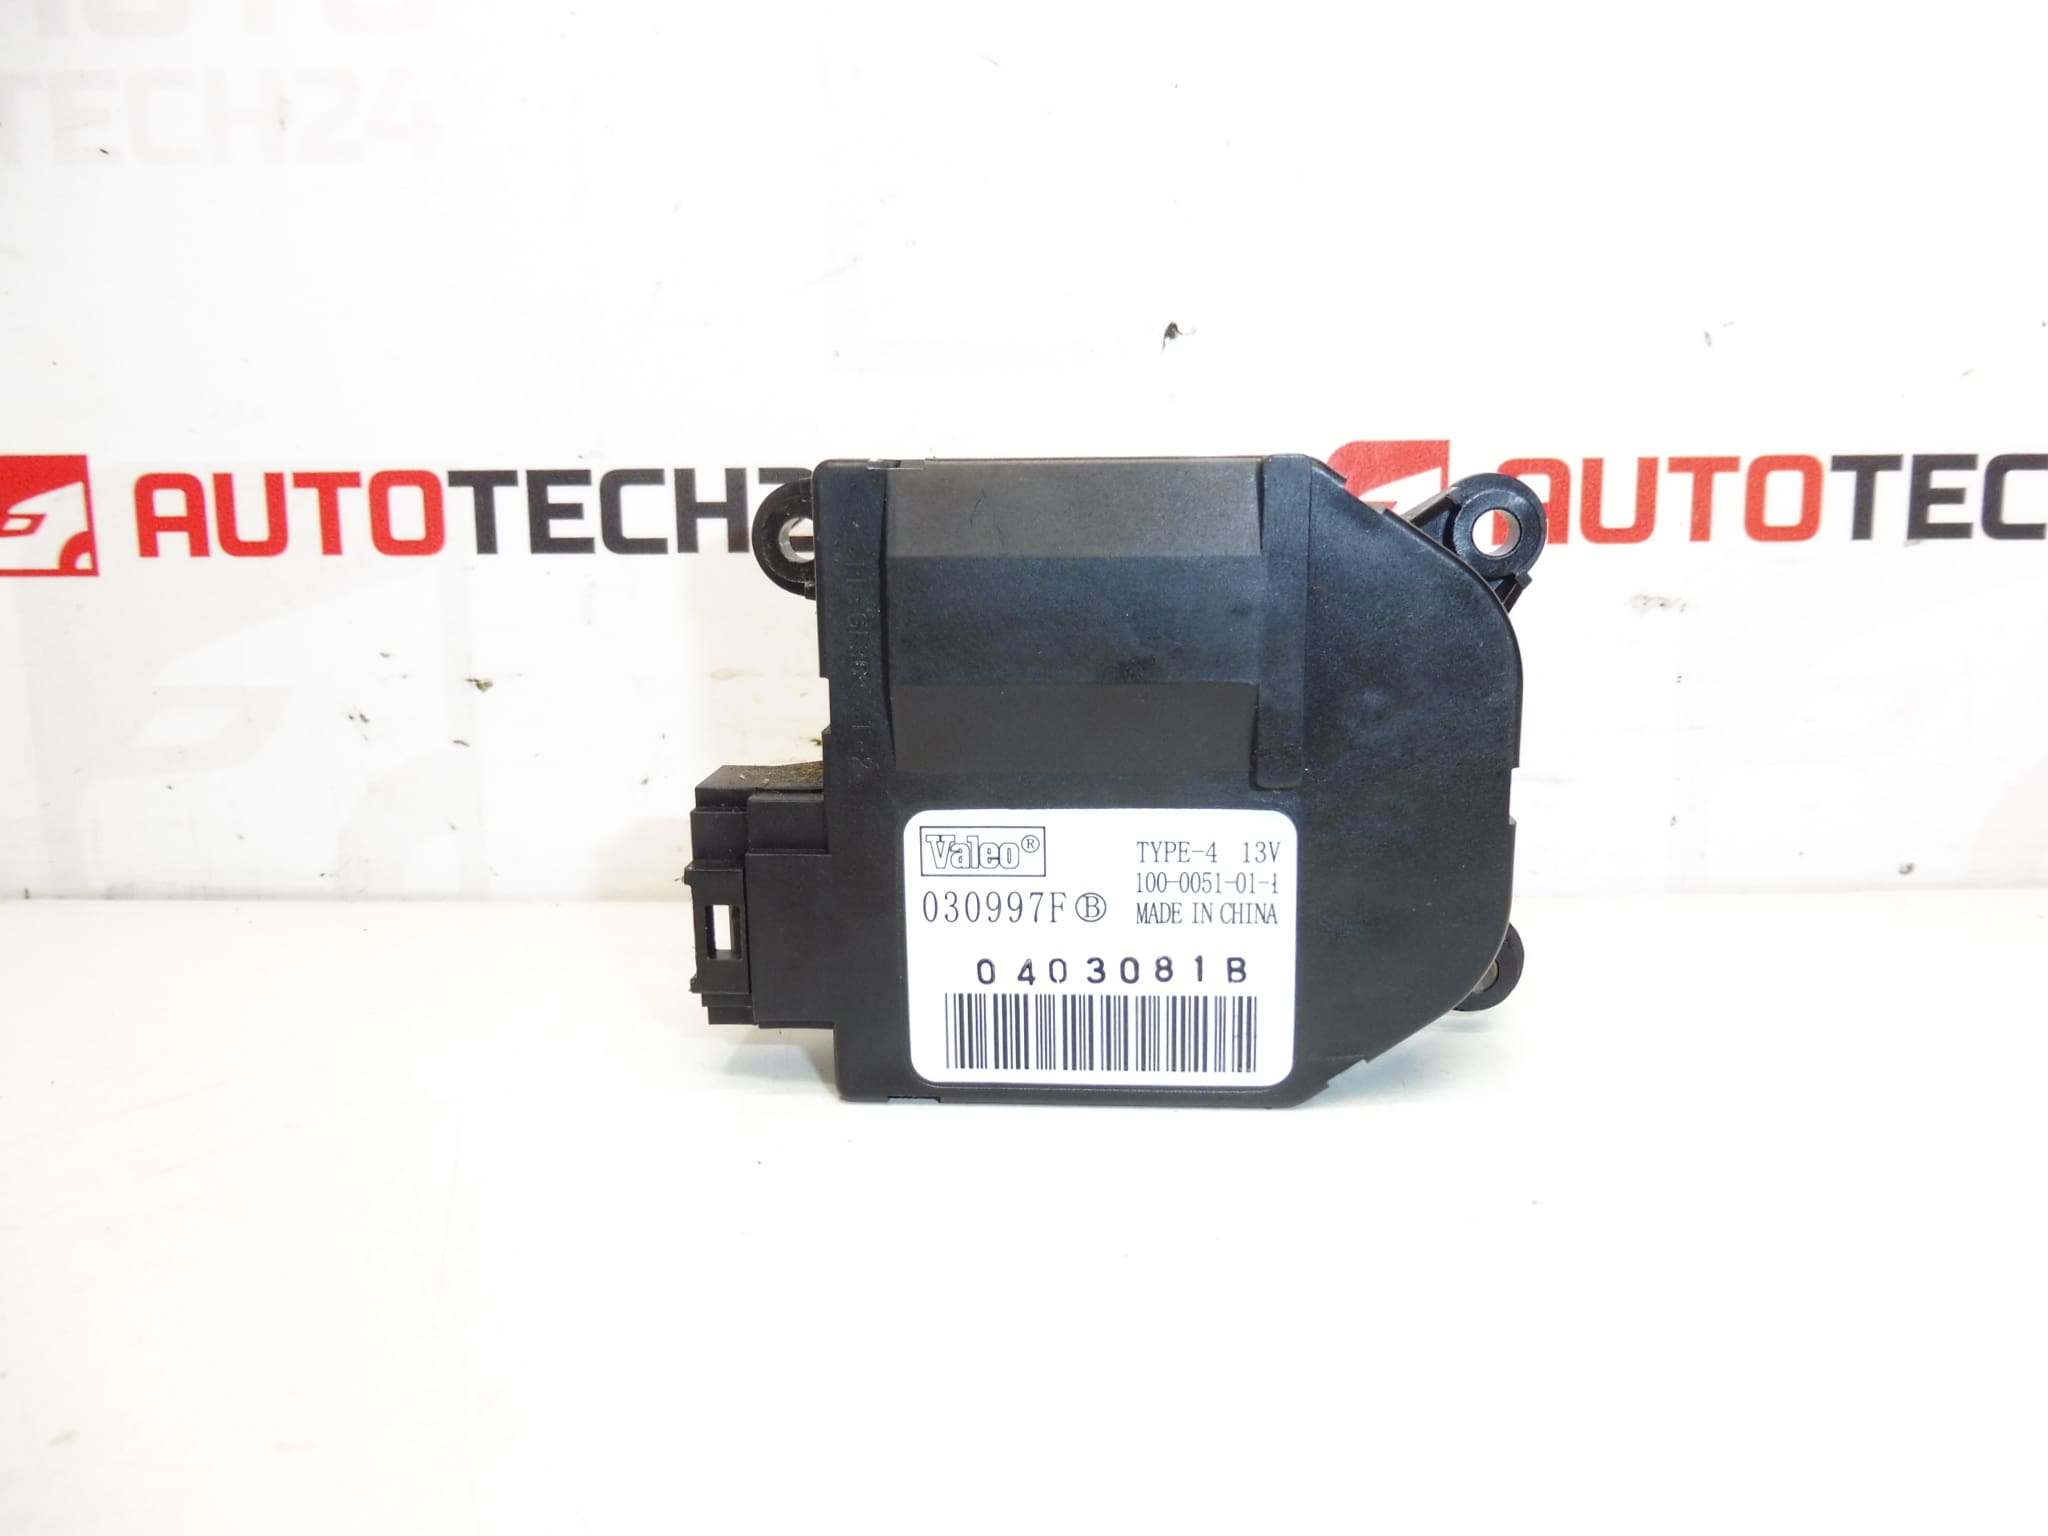
Valeo heater servo motor for Citroen and PEUGEOT cars
Part description
This heater servo motor is a used original Valeo part, intended for Citroën and Peugeot cars. It is an important electrical component of the heating and ventilation system, which is involved in controlling the heating flaps. A malfunction may result in limited or irregular function of air distribution and interior temperature control.
The part is also searched by production number, so it is particularly suitable for mechanics and car owners who are looking for a specific spare part by designation. The advantage is the original VALEO design, which meets the usual requirements for installation in PSA cars.
Technical information
- Manufacturer: Valeo
- Model: Citroën Berlingo, Peugeot Partner
- Other numbers: 030997F, 0403081B, 6447GF
Product codes
- Product codes: 030997F, 0403081B, 6447GF
Installation recommendations
Generally/typically, the exact replacement procedure for the heater servo motor may vary depending on the specific model and design of the car. Below is a safe and practical general procedure for replacing this type of electrical part in a heating system.
1) Before assembly
- Check that all part numbers match the old part: 030997F, 0403081B, 6447GF.
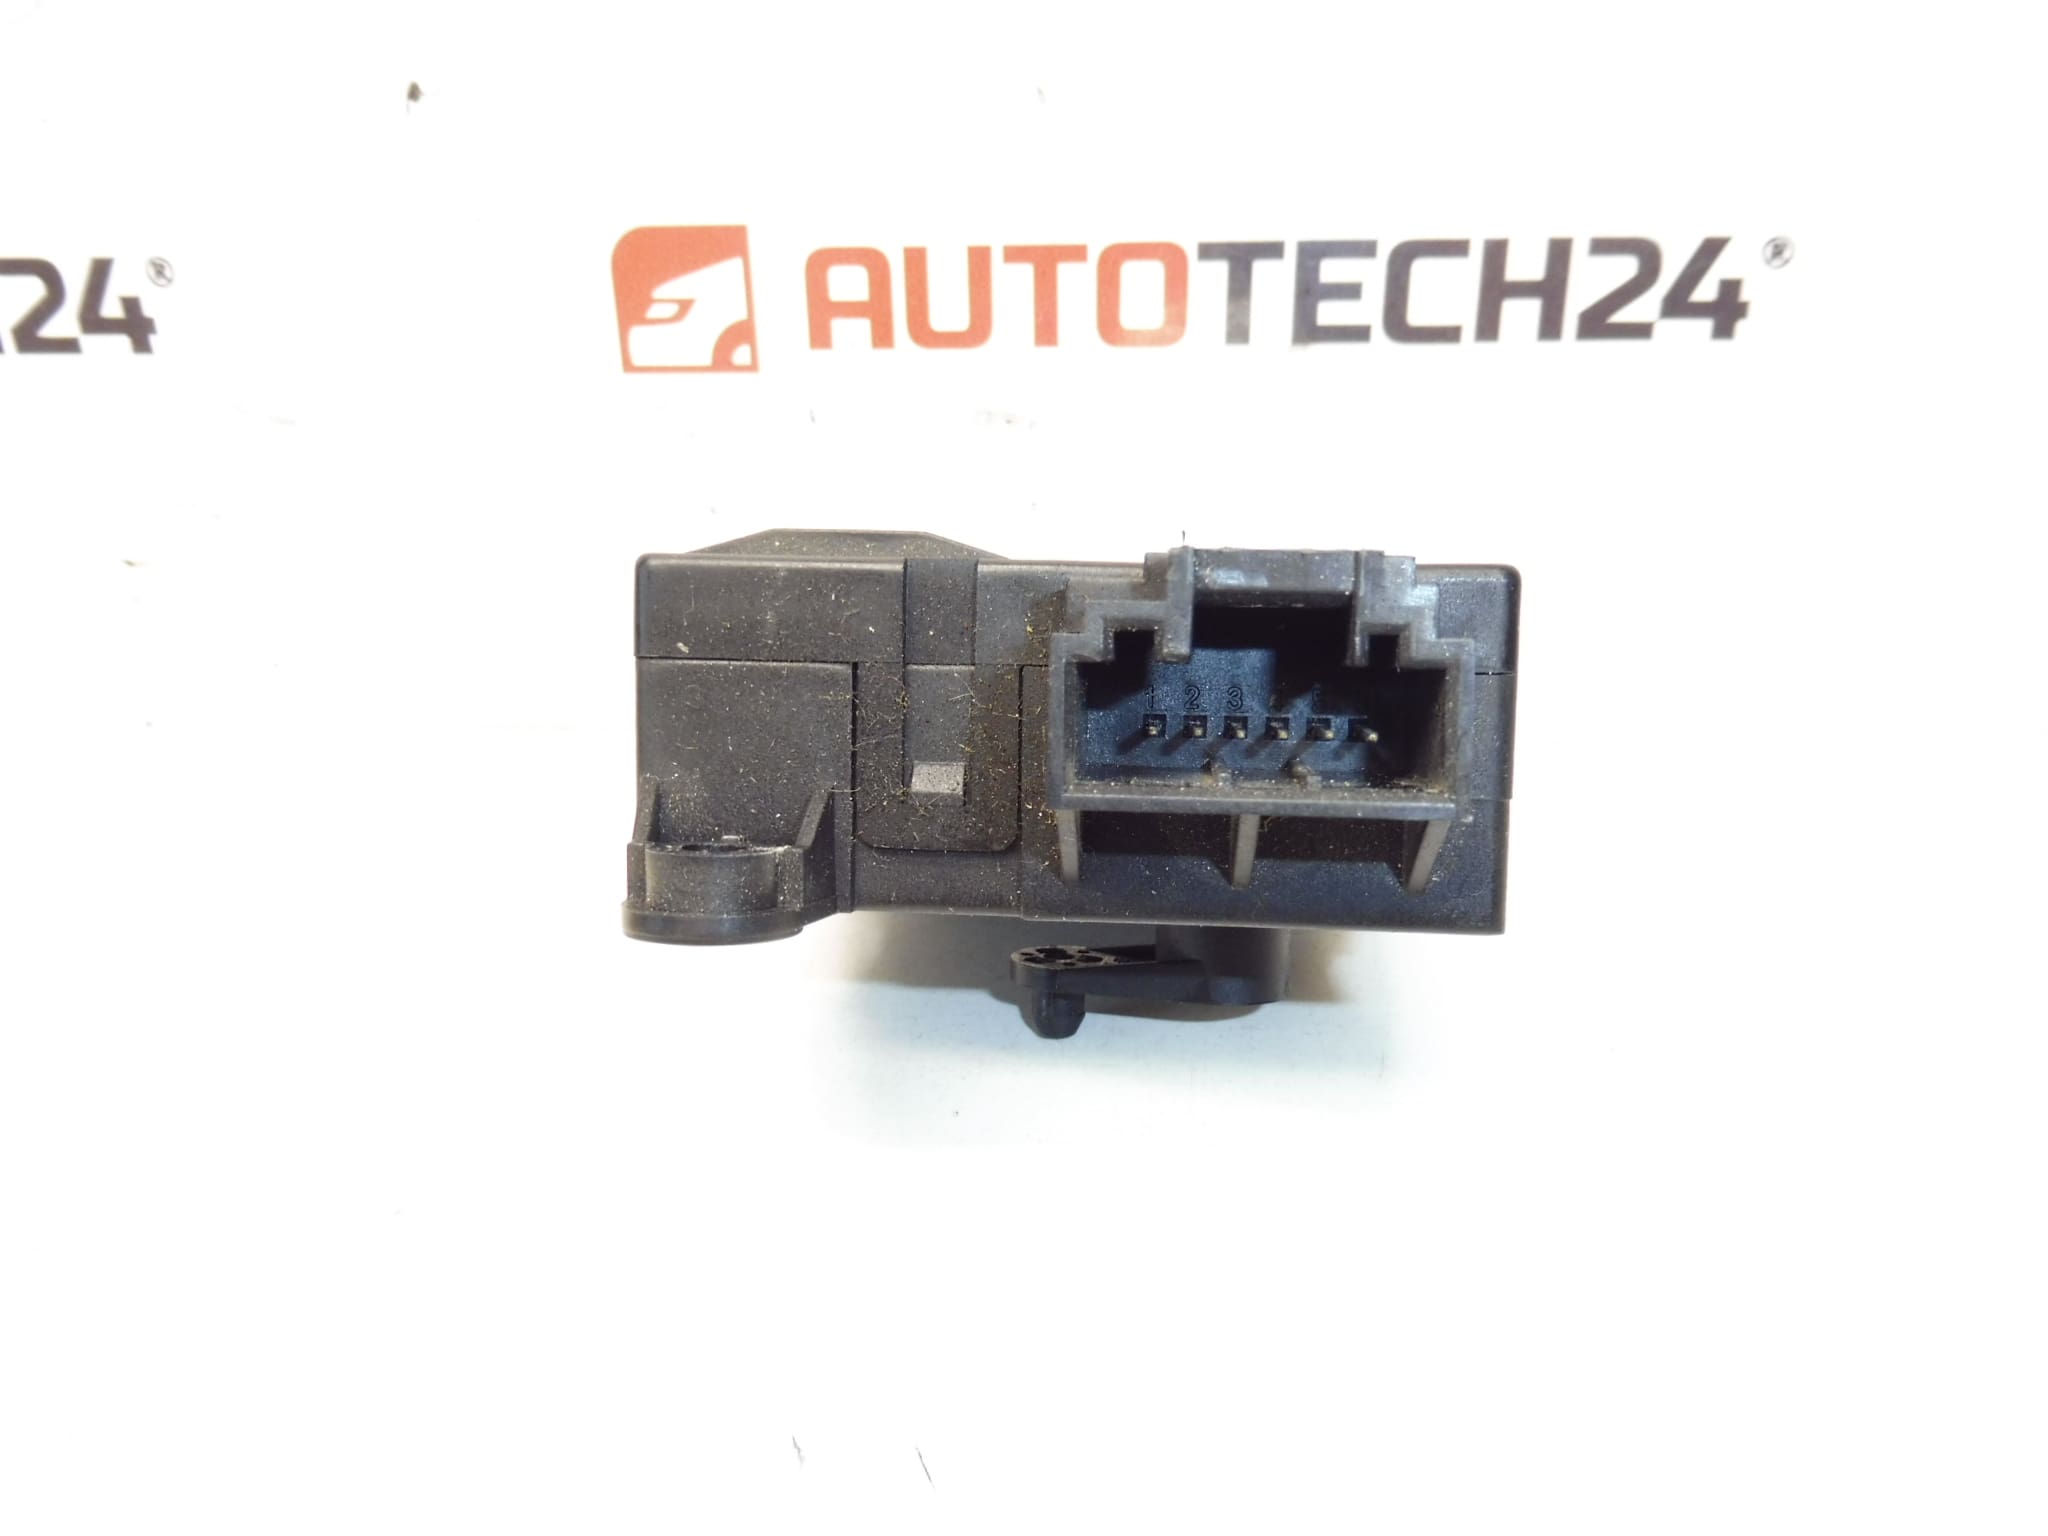
- Compare the connector, motor body shape, mounting and output shaft or transmission part.
- Check for damage to the plastic wrap, attachment points, or electrical connector.
- Before installation, make sure that the original fault is really related to the servo motor and not to the wiring, heater control or mechanically stuck damper.
2) Necessary tools and materials
- A common set of hand tools
- Screwdrivers and small socket wrenches
- Plastic pry bar for removing interior covers
- Flashlight or headlamp
- Cleaning agent for electrical connectors
- Cloth for cleaning the mounting area
3) Step-by-step assembly procedure
- Turn off the ignition and disconnect the battery to be safe.
- Provide access to the heater compartment by removing covers or parts of the trim that prevent access to the servo motor.
- Find the original motor and check the wiring and the condition of the connector.
- Disconnect the electrical connector carefully to avoid damaging the latches.
- Dismantle the fasteners of the old part and remove the servo motor.
- Compare the old and new part side by side, especially the position of the mount, transmission part and connector.
- If necessary, gently clean the landing surface and the surrounding area from dust and dirt.
- Place the new servo motor in the corresponding position without using force. If it cannot seat properly, recheck the rotation and fit of the part.
- Install the fasteners and seat the part firmly.
- Connect the electrical connector and verify that it is properly seated and not loose.
- Reinstall all removed covers and trim.
- Connect the battery, turn on the ignition and test the heating and air distribution control function.
-
4) Post-assembly checks and test drive/function verification
- Verify that the servo motor responds smoothly to changes in settings.
- Check for skipping, clicking, or other unusual noises.
- Try multiple heating and ventilation control modes.
- When driving, check whether the heating works stably and without interruptions.
5) The most common assembly mistakes + how to avoid them
- Part replacement by appearance – always compare product numbers and connector.
- Force mounting – never force the servo motor to fit, so as not to damage the gears or mounting.
- Omission to check the flap – if the flap mechanism is stiffened or blocked, the part can be damaged again.
- Damage to the connector – when disconnecting and connecting, proceed carefully and without prying through the latches.
- Insufficient verification of the function after assembly – it is advisable to test the function before completely assembling the interior covers.
Reasons why the part is damaged
- Wear of internal gears and electrical parts during long-term operation
- Increased resistance or blocking of the controlled heating damper
- Connector damage, oxidation of contacts or power supply fluctuations
- Reckless disassembly or assembly of an old or new part
- Penetration of dirt into the mechanism or long-term load in the event of a failure of a related part of the system