Description
Heating servo motor for CITROËN C4 and PEUGEOT 307 II vehicles
Part description
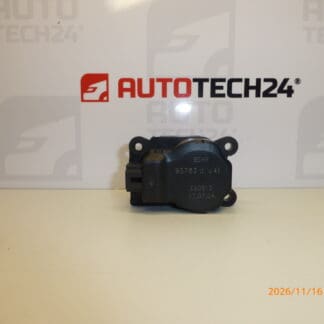
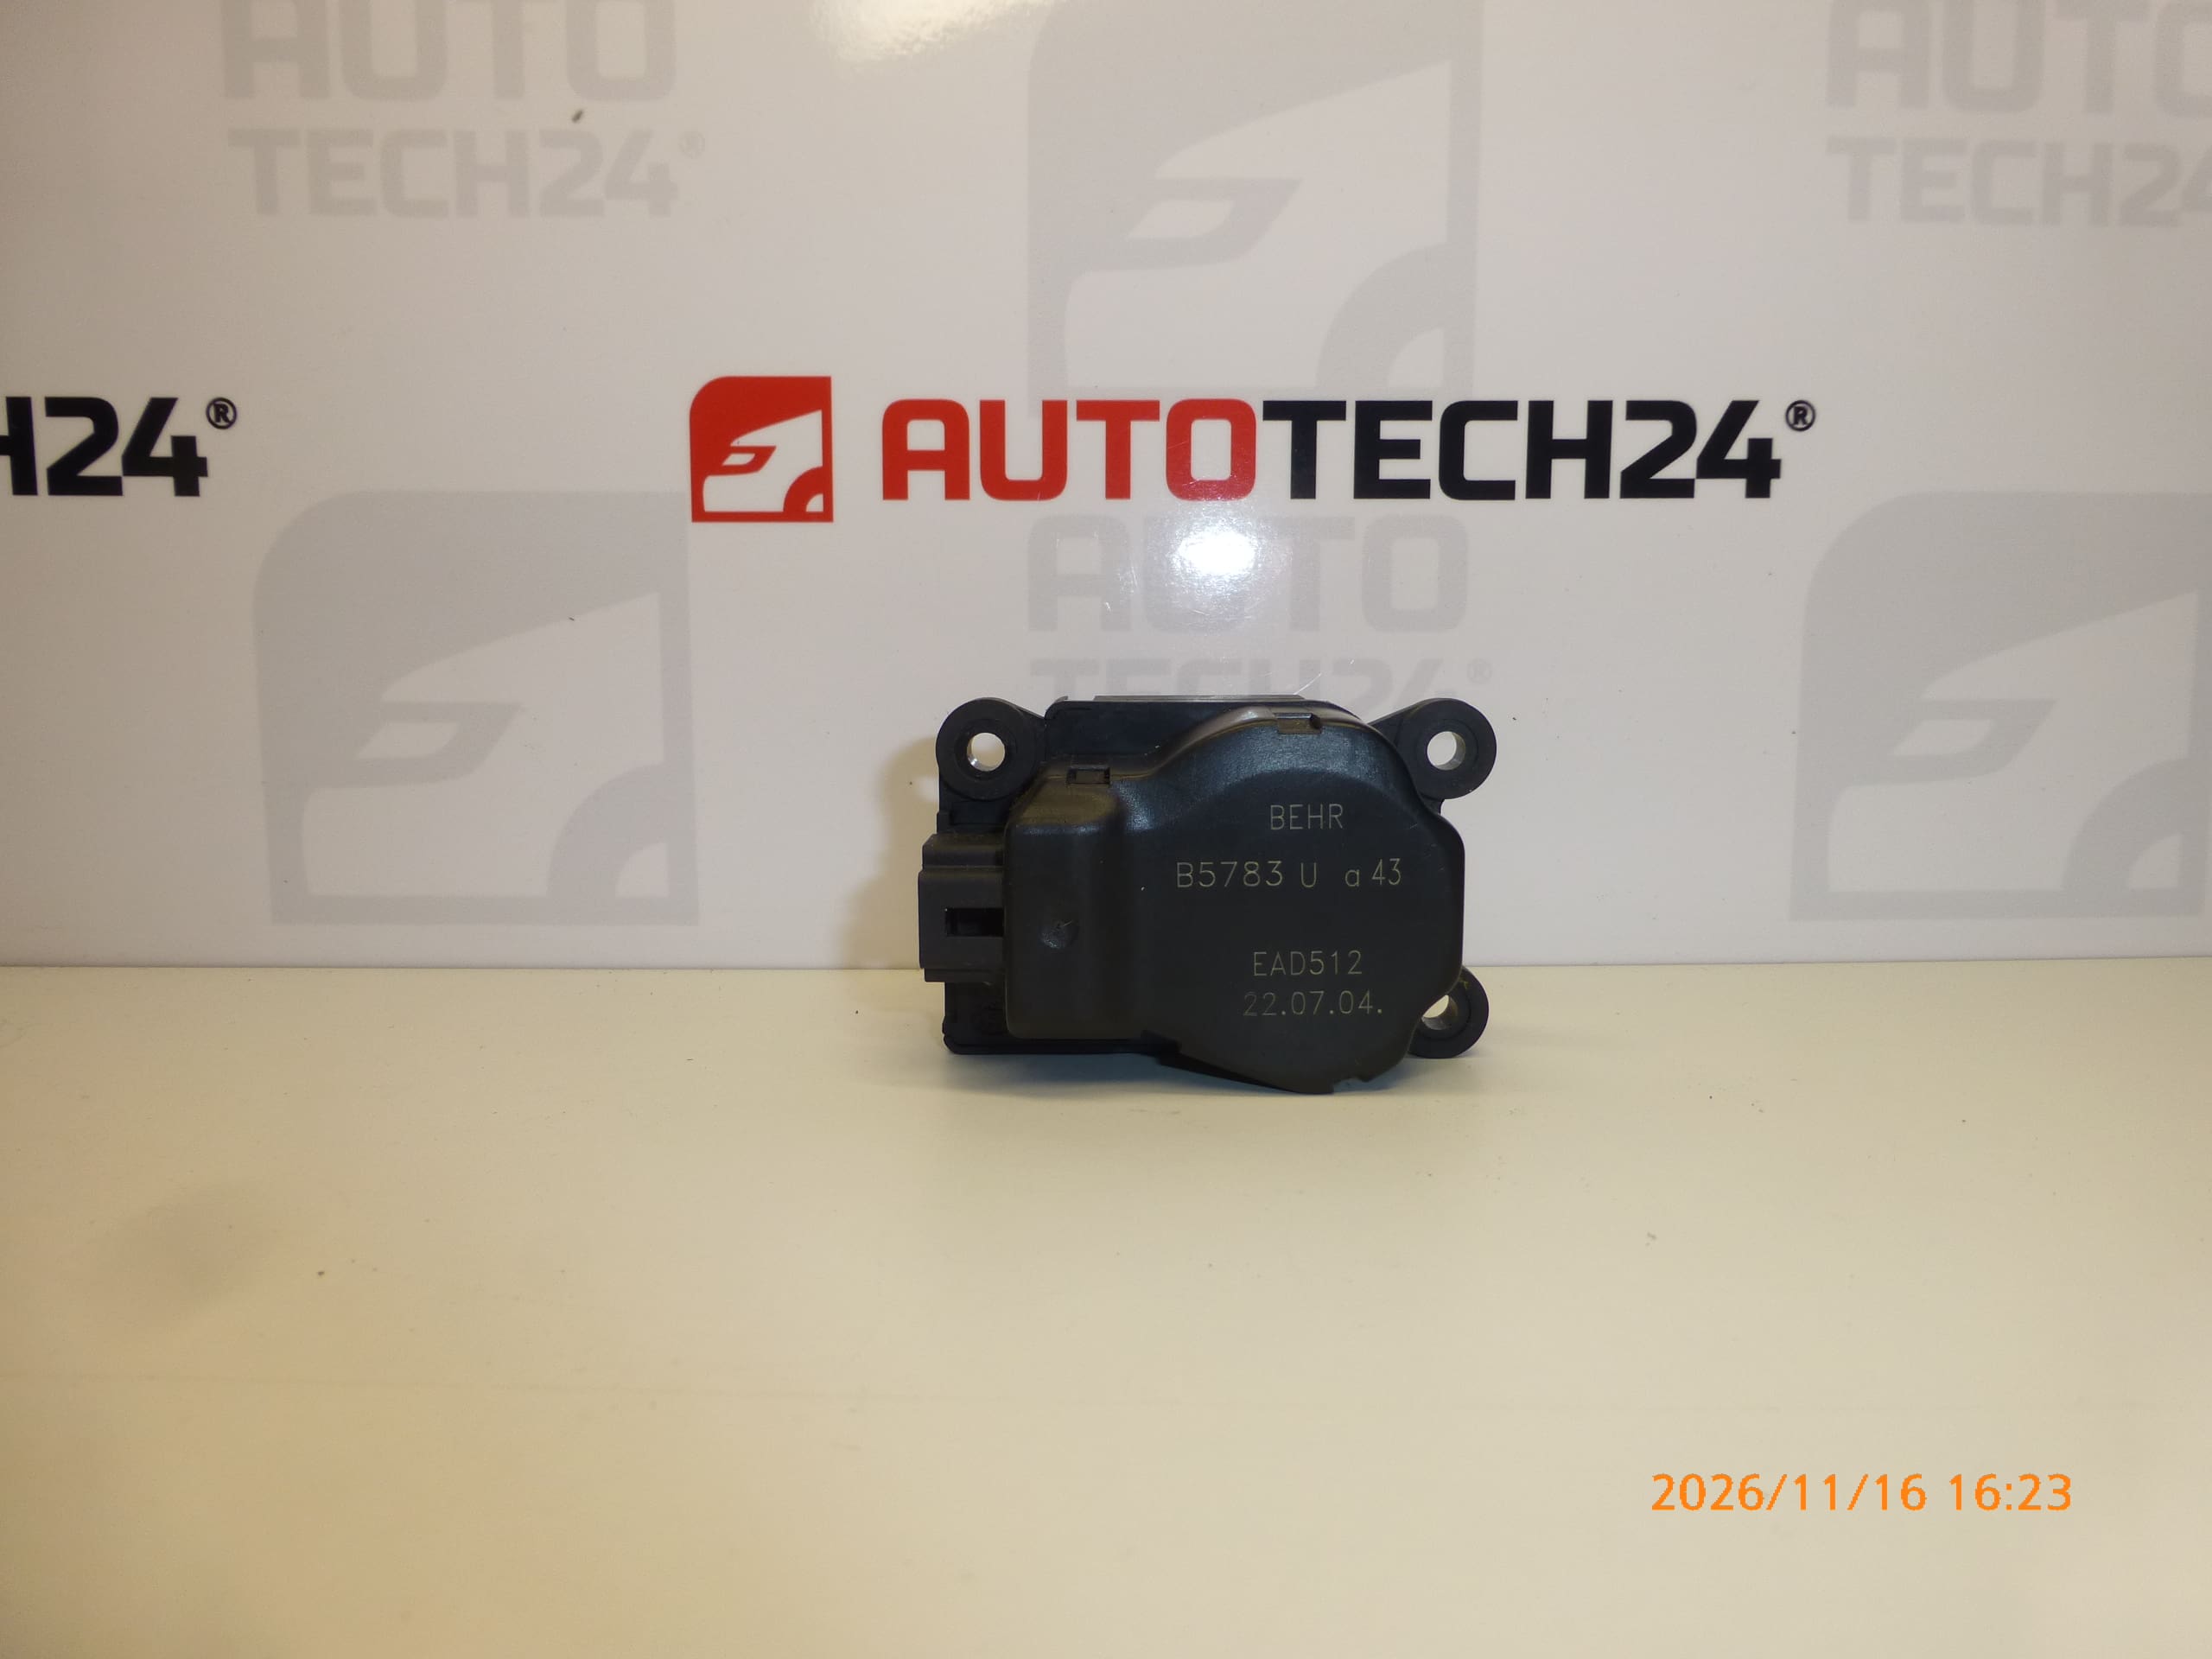
Used BEHR B5783 U and 43 heating servo motor is an electric actuator for the heating and air conditioning system. Servo motors of this type adjust the flaps in the air distribution system according to the control settings. A faulty actuator may cause clicking, irregular flap movement, or the heating settings failing to produce the expected change.
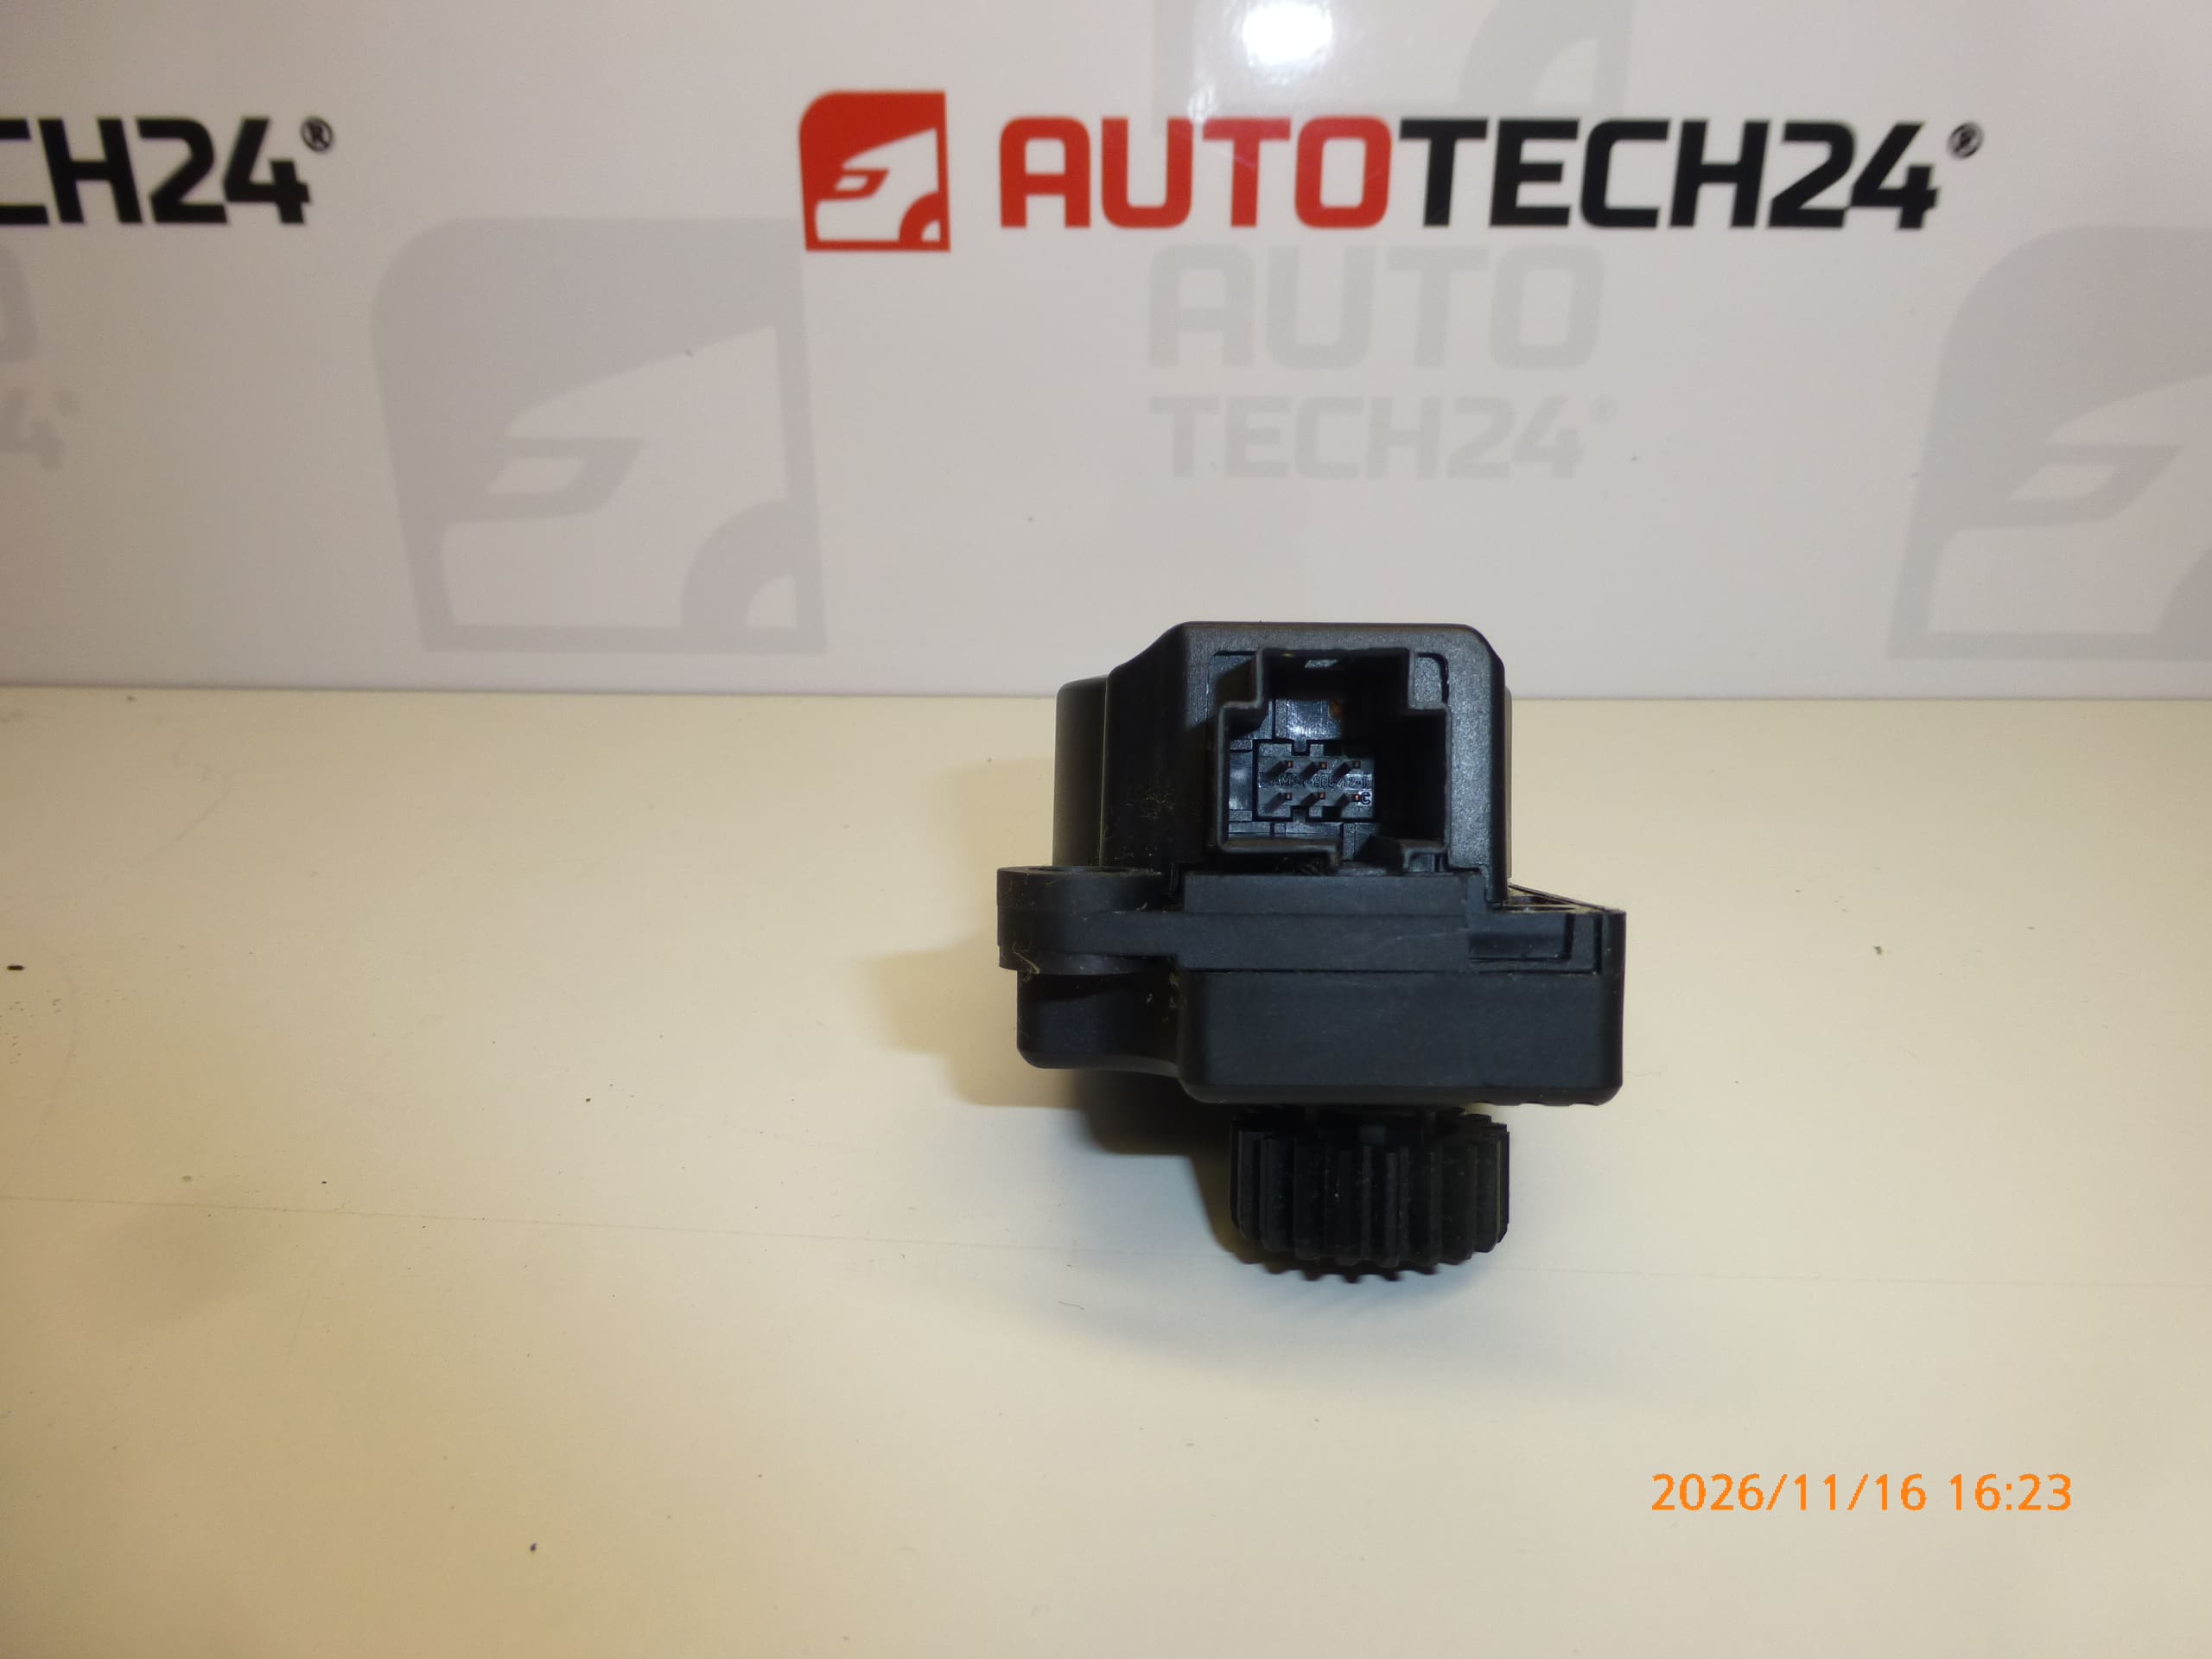
The EAD512, 6447RZ and 6447RF markings are important when searching for a replacement part. Before choosing, compare the marking on the original servo motor, the connector, mounting points and actuator output design. A correctly selected used part can be a cost-effective repair solution if the fault is in the servo motor itself, rather than a jammed flap or an electrical wiring fault.
Technical information
- Manufacturer: BEHR
- Model: Citroën C4 | Peugeot 307; the long description specifies Peugeot 307 II.
- Part type: electric heating servo motor.
- Version marking: B5783 U and 43
- Other numbers: EAD512, 6447RZ, 6447RF
- Condition: used part.
- Specific flap operated and air conditioning version: not specified.
Product codes
- Product codes: 6447RZ, 6447RF, EAD512, B5783 U and 43
- Models listed on the labels: Citroën C4 | Peugeot 307
Code 6447RZ is listed in the product name, while 6447RF appears in the short description. The information provided does not confirm that they are interchangeable; when choosing, therefore, also refer to the marking and construction of the original part.
Installation recommendations
The following procedure generally applies to this type of part. Exact access to the servo motor, removal of surrounding parts and any end-position adjustment depend on the specific model and heating or air conditioning configuration.
1) Before installation
- Compare the markings on both parts, the connector shape and number of contacts, the mounting points and the shape of the output coupling.
- Inspect the used part: the housing and mounting tabs must not be cracked, the contacts must not be corroded, and the actuator output must not be visibly damaged.
- Check whether the problem is caused by wiring, a loose connector or a mechanically jammed flap.
- Before disassembly, take photos of the wiring routing, mounting points and position of the original actuator.
2) Tools and materials required
- Screwdrivers or bits that match the fasteners used.
- Plastic trim removal tools, a flashlight and a container for fasteners.
- A clean cloth and, if needed, a product designed for cleaning electrical contacts.
- If required, suitable automotive diagnostic equipment to check operation and perform initialization.
3) Step-by-step installation procedure
- Secure the vehicle against movement, switch off the ignition and follow the manufacturer’s instructions for safely disconnecting electrical components. If the battery must be disconnected, follow the specified procedure.
- Follow the service procedure to access the faulty servo motor. Carefully release the surrounding covers to avoid damaging their clips.
- Record the position of the actuator and how it connects to the flap mechanism.
- Release the connector lock and disconnect it by holding the connector body, not by pulling the wires. Check the condition of the contacts and wiring.
- Release the servo motor mounting and carefully separate it from the mechanism it operates. Do not pry against the plastic mounting tabs.
- Check the connection to the flap and, following the service procedure, verify that it moves freely. Do not force the mechanism past its end positions.
- Compare the removed part with the replacement part again. If the connector, mounting or output coupling differs, do not proceed with installation.
- Install the replacement servo motor so that the output engages correctly with the flap mechanism. Align it according to the service instructions; do not force the gears to turn, and do not tighten the screws to pull a misaligned part into place.
- Secure the servo motor according to the manufacturer’s instructions, connect the connector and route the wiring away from moving parts and sharp edges.
- Restore the power using the specified procedure. If the particular configuration requires initialization or end-position adjustment, perform this using the appropriate service procedure.
- Check operation before fully refitting the covers. Then reinstall the removed covers and trim.
4) Post-installation checks and function verification
Gradually change the heating and air conditioning settings related to the actuator being repaired. Check that the system responds and that there is no repeated clicking or gear skipping. Check that the connector and wiring are secure. After reassembly, operation can also be checked during a short test drive; test the controls only when it is safe to do so.
5) Common installation mistakes and how to avoid them
- Choosing based only on the vehicle model: also compare the markings, connector and mechanical design of the actuator.
- Replacing the part without checking the flap: first eliminate any sticking, otherwise the replacement servo motor may be overloaded again.
- Forcing the coupling into place or turning it too far: set it to the correct position according to the service procedure, rather than applying pressure to the part.
- Overtightening fasteners: follow the manufacturer’s instructions and protect the plastic mounting tabs from cracking.
- Skipping the required initialization: check whether the specific system configuration requires it and perform it if necessary.
Reasons why the part may become damaged
The following are general causes of faults that may occur in heating servo motors; they do not describe the condition observed in this particular unit:
- Gear wear caused by repeated flap adjustments.
- Sticking or jamming of the flap, which places excessive load on the actuator and its gears.
- Wear of the electric motor or position sensor, if included in the particular version.
- Moisture and corroded contacts, which can disrupt the electrical connection.
- Damage during careless removal or installation, especially broken mounting tabs or damage to the output coupling.