Description
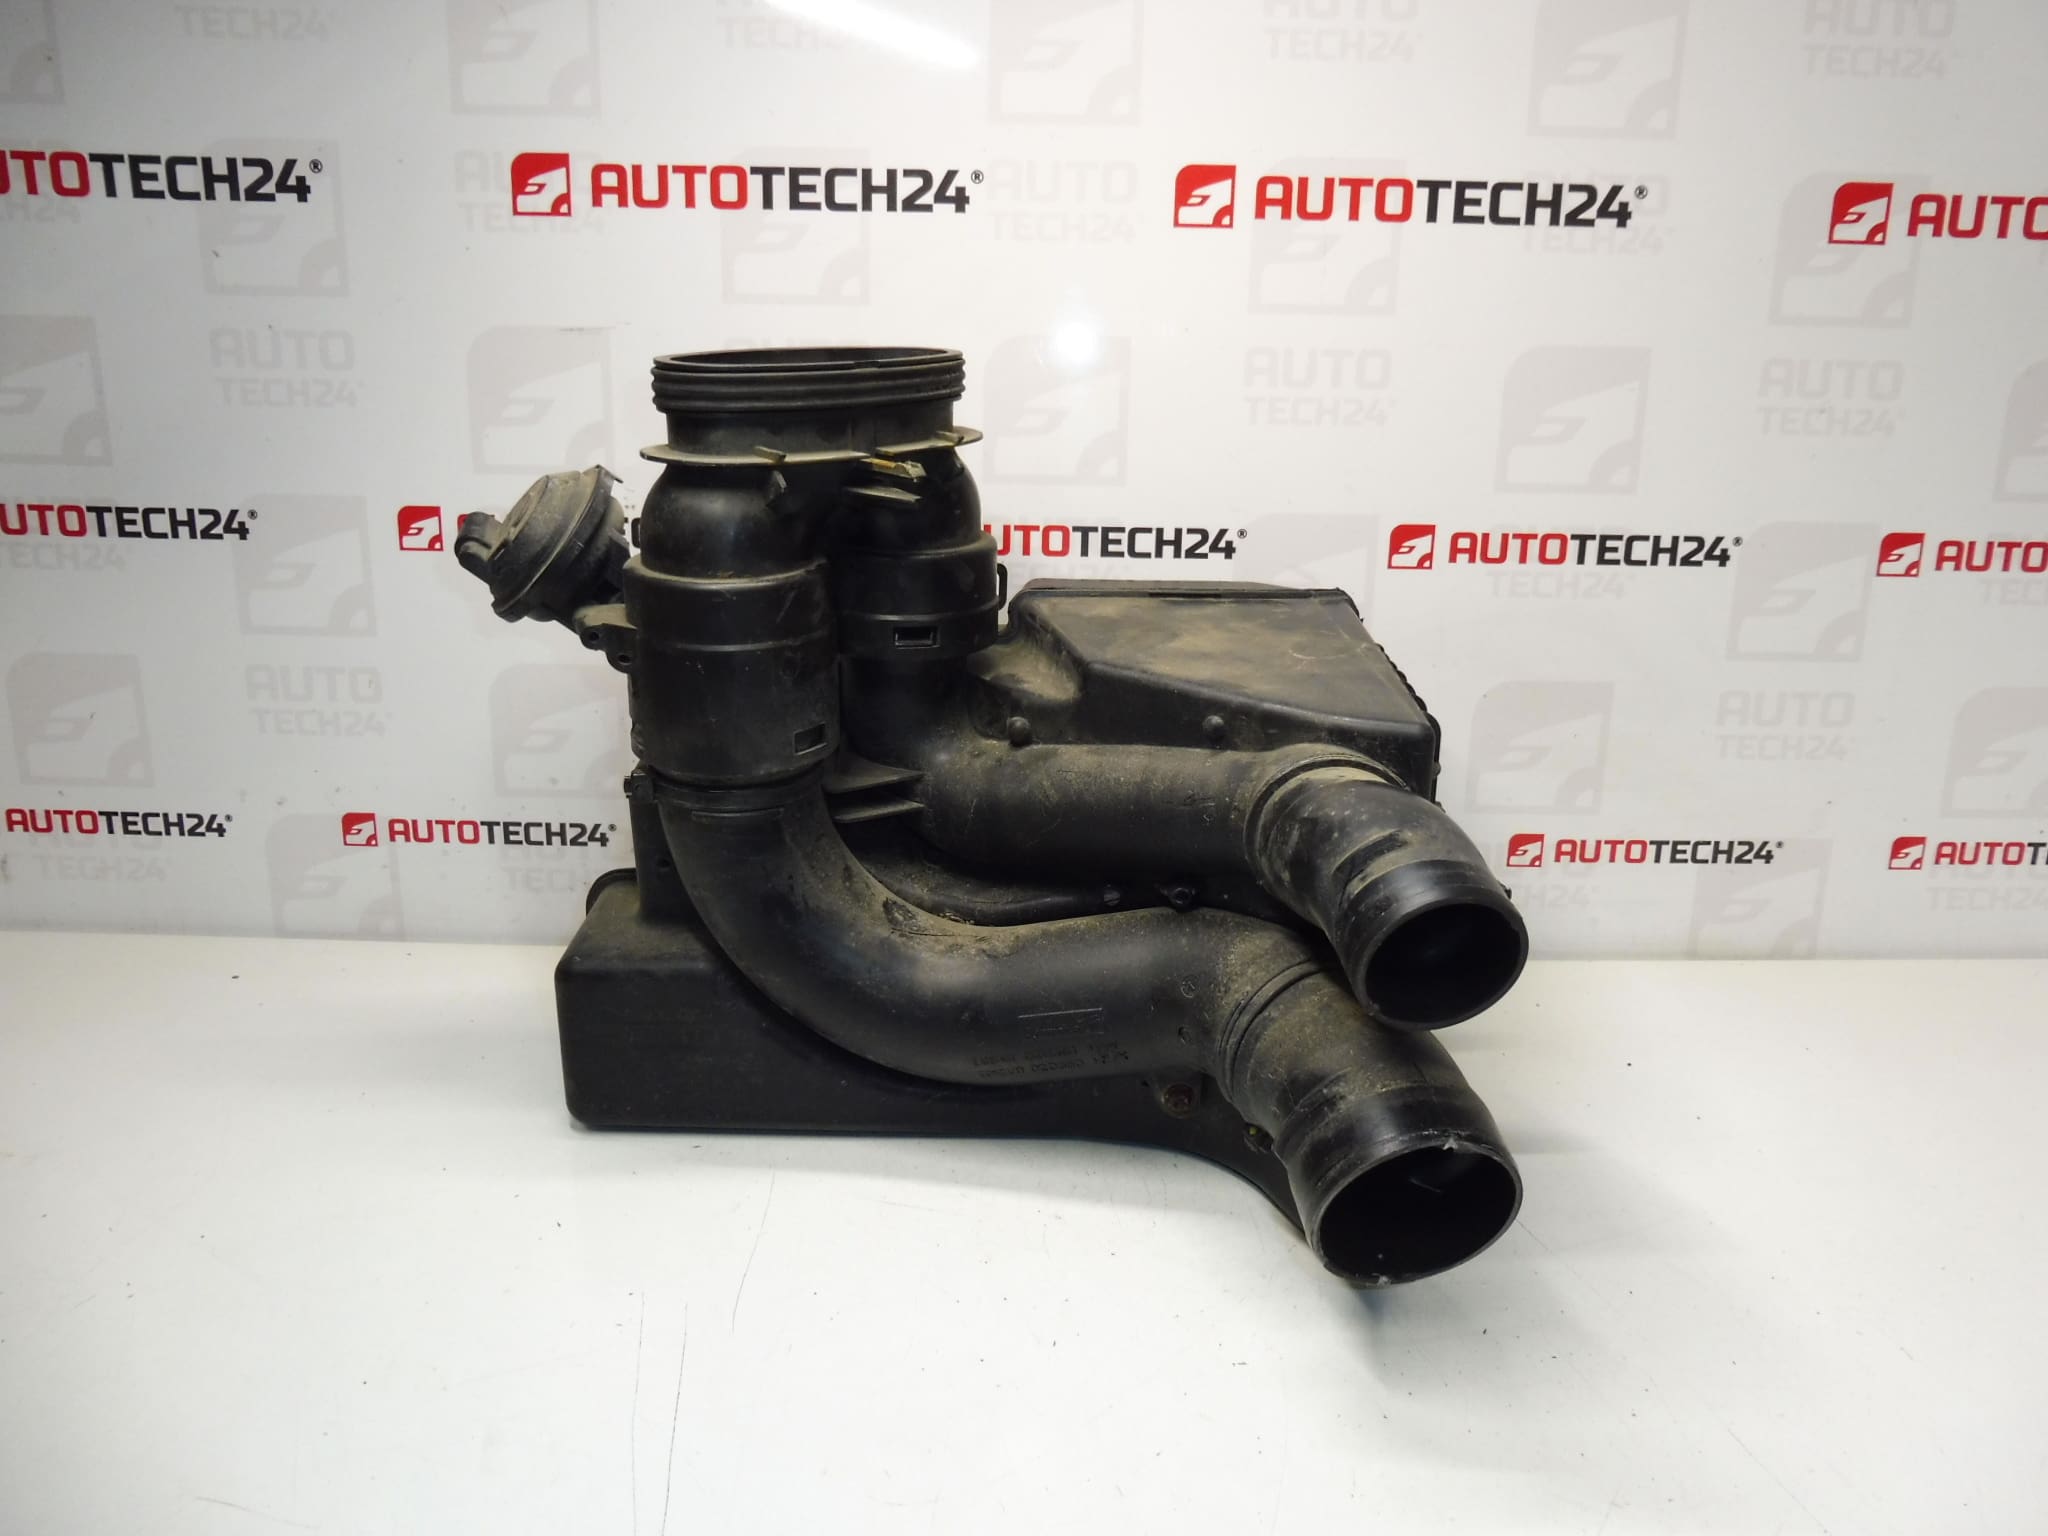
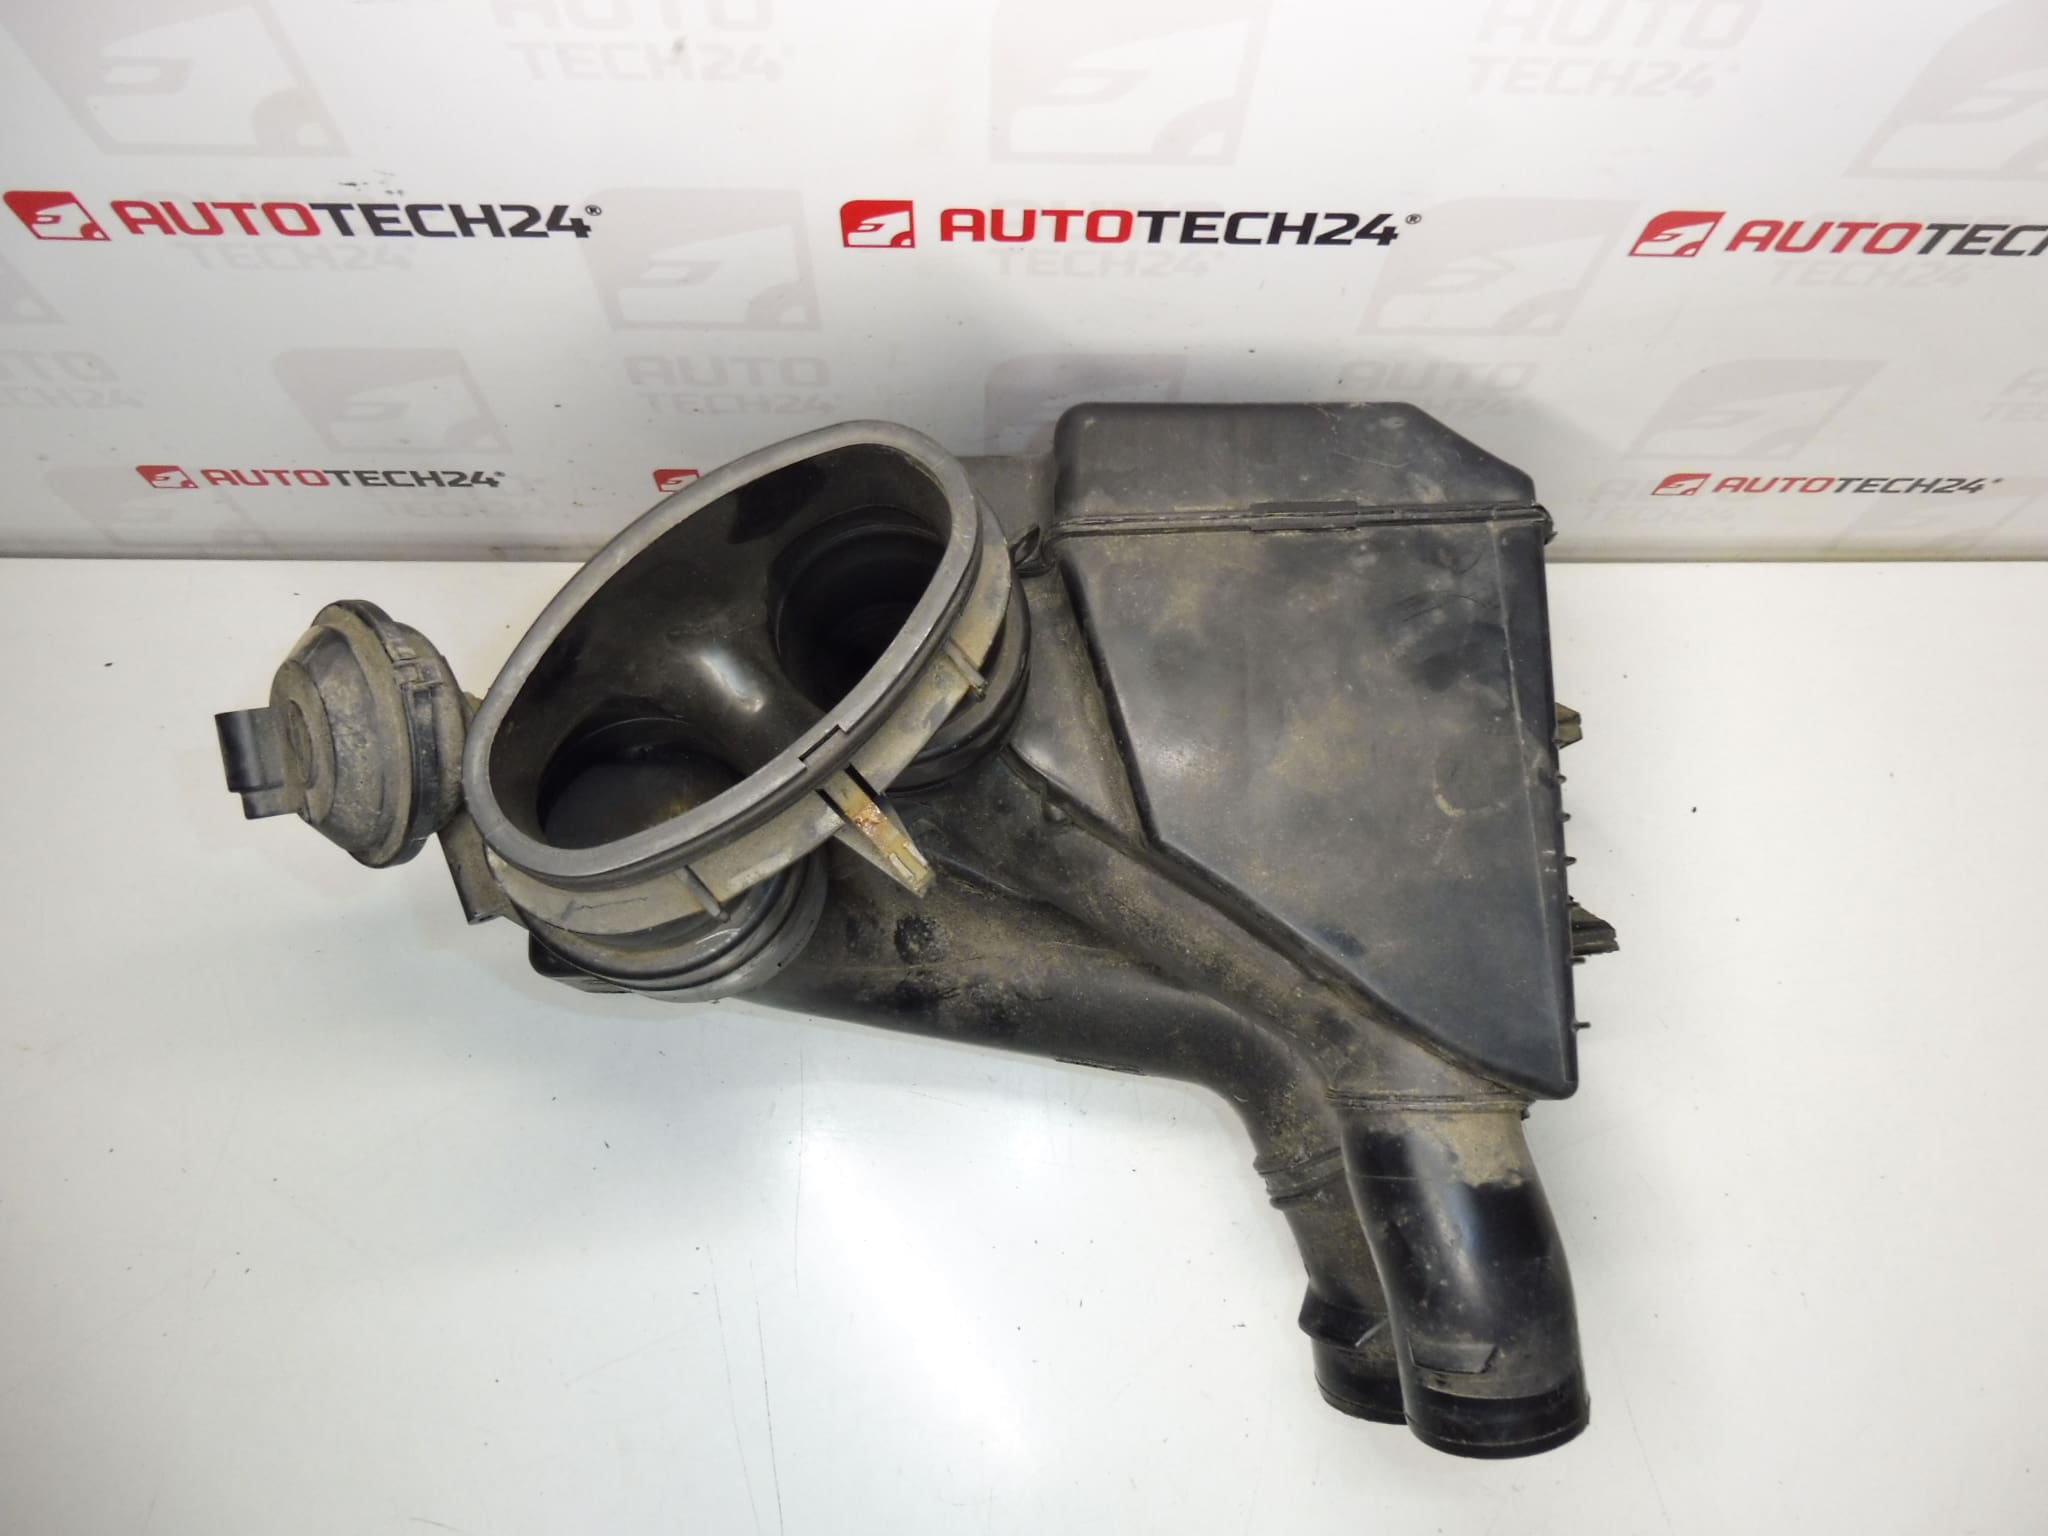
Intake air resonator with vacuum flap for Citroën C4 and Peugeot 307 with 2.0i 130 kW engines.
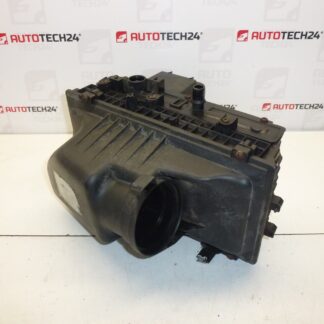
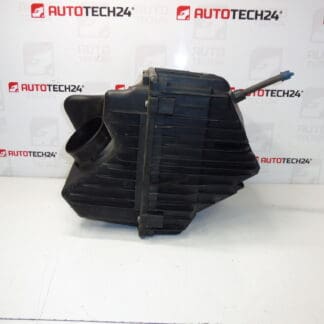
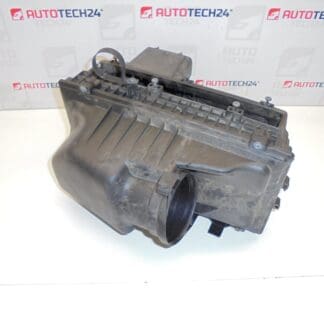
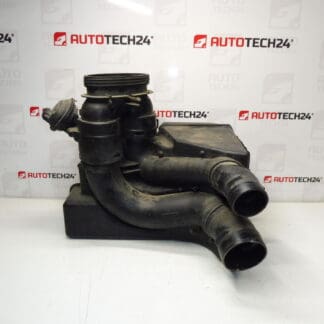
This intake air resonator (airbox resonator) with integrated vacuum‑operated flap is a direct replacement part for Citroën C4 and Peugeot 307 2.0i 130 kW petrol engines. Commonly referenced under product codes 9643586380 and 9646189680 (additional references 143450, 143439, NFP), it restores correct intake dynamics, reduces induction noise and helps maintain stable idle and throttle response. Suitable for professional workshops and experienced DIY mechanics who perform routine intake system repairs.
The resonator’s primary function is to smooth and stabilise the airflow entering the engine, dampening pressure pulses and reducing audible intake noise. The vacuum flap adjusts secondary airflow and pressure conditions at low loads to improve idle stability and emissions behaviour. When the resonator or its vacuum actuator fails, symptoms typically include rough idle, fluctuating RPM, loss of low‑end torque, increased intake noise and sometimes an illuminated engine management warning lamp due to air leak or sensor compensation.
Technical Information
- Manufacturer: Stellantis (Citroën / Peugeot)
- Model: Citroën C4; Peugeot 307 (2.0i 130 kW)
- Product Codes: 9643586380, 9646189680
- Additional Numbers: 143450, 143439, NFP
Installation Recommendations
- Prepare Basic Tools: Socket set, screwdrivers, pliers for hose clamps and trim removal tools.
- Disconnect Battery: For safety and to avoid unintended ECU faults while working on intake components.
- Remove Air Intake Tube: Loosen clamps and detach intake hoses to access the resonator on top or side of the airbox depending on vehicle variant.
- Disconnect Vacuum Line: Carefully remove the vacuum hose from the flap actuator; inspect the hose for cracks or deterioration and replace if necessary.
- Unfasten Resonator: Remove mounting screws or clips and lift out the resonator. Replace any worn gaskets or sealing rings when refitting.
- Check Seals and Clamps: Replace perished seals and use new hose clamps where needed to ensure an airtight connection.
- Reassembly and Test: Refit components in reverse order. Start the engine and check for vacuum leaks, proper idle and normal operation of the vacuum flap.
Why This Part Most Often Fails
- Plastic Fatigue And Cracking: Heat cycles and engine bay vibrations cause the resonator housing or mounting tabs to crack over time.
- Vacuum Actuator Wear Or Diaphragm Failure: The flap actuator can lose vacuum hold or the internal diaphragm may deteriorate, preventing proper flap movement.
- Degraded Seals And Hoses: Perished gaskets and vacuum hoses lead to air leaks that upset the intake pressure balance.
- Build‑Up Of Oil And Soot: Recirculated crankcase vapors and intake contamination can clog passages or cause the flap to stick.
- Mechanical Damage: Impact or improper handling during previous repairs can break mounting points or distort the resonator.
For a reliable repair, replace damaged hoses and seals at the same time as the resonator, verify vacuum supply and test the flap movement before completing the job. Proper replacement will restore intake silence, improve idle quality and help the engine run as intended under low load.