Description
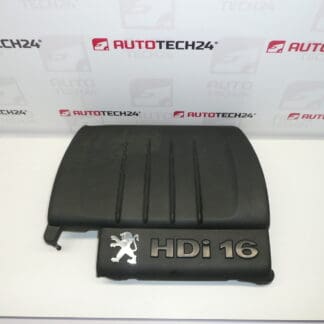
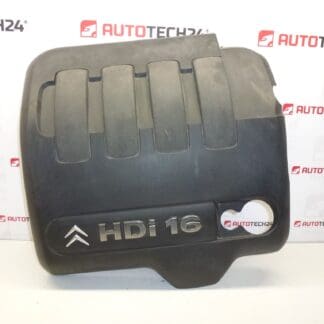
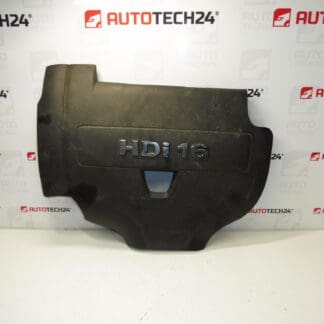
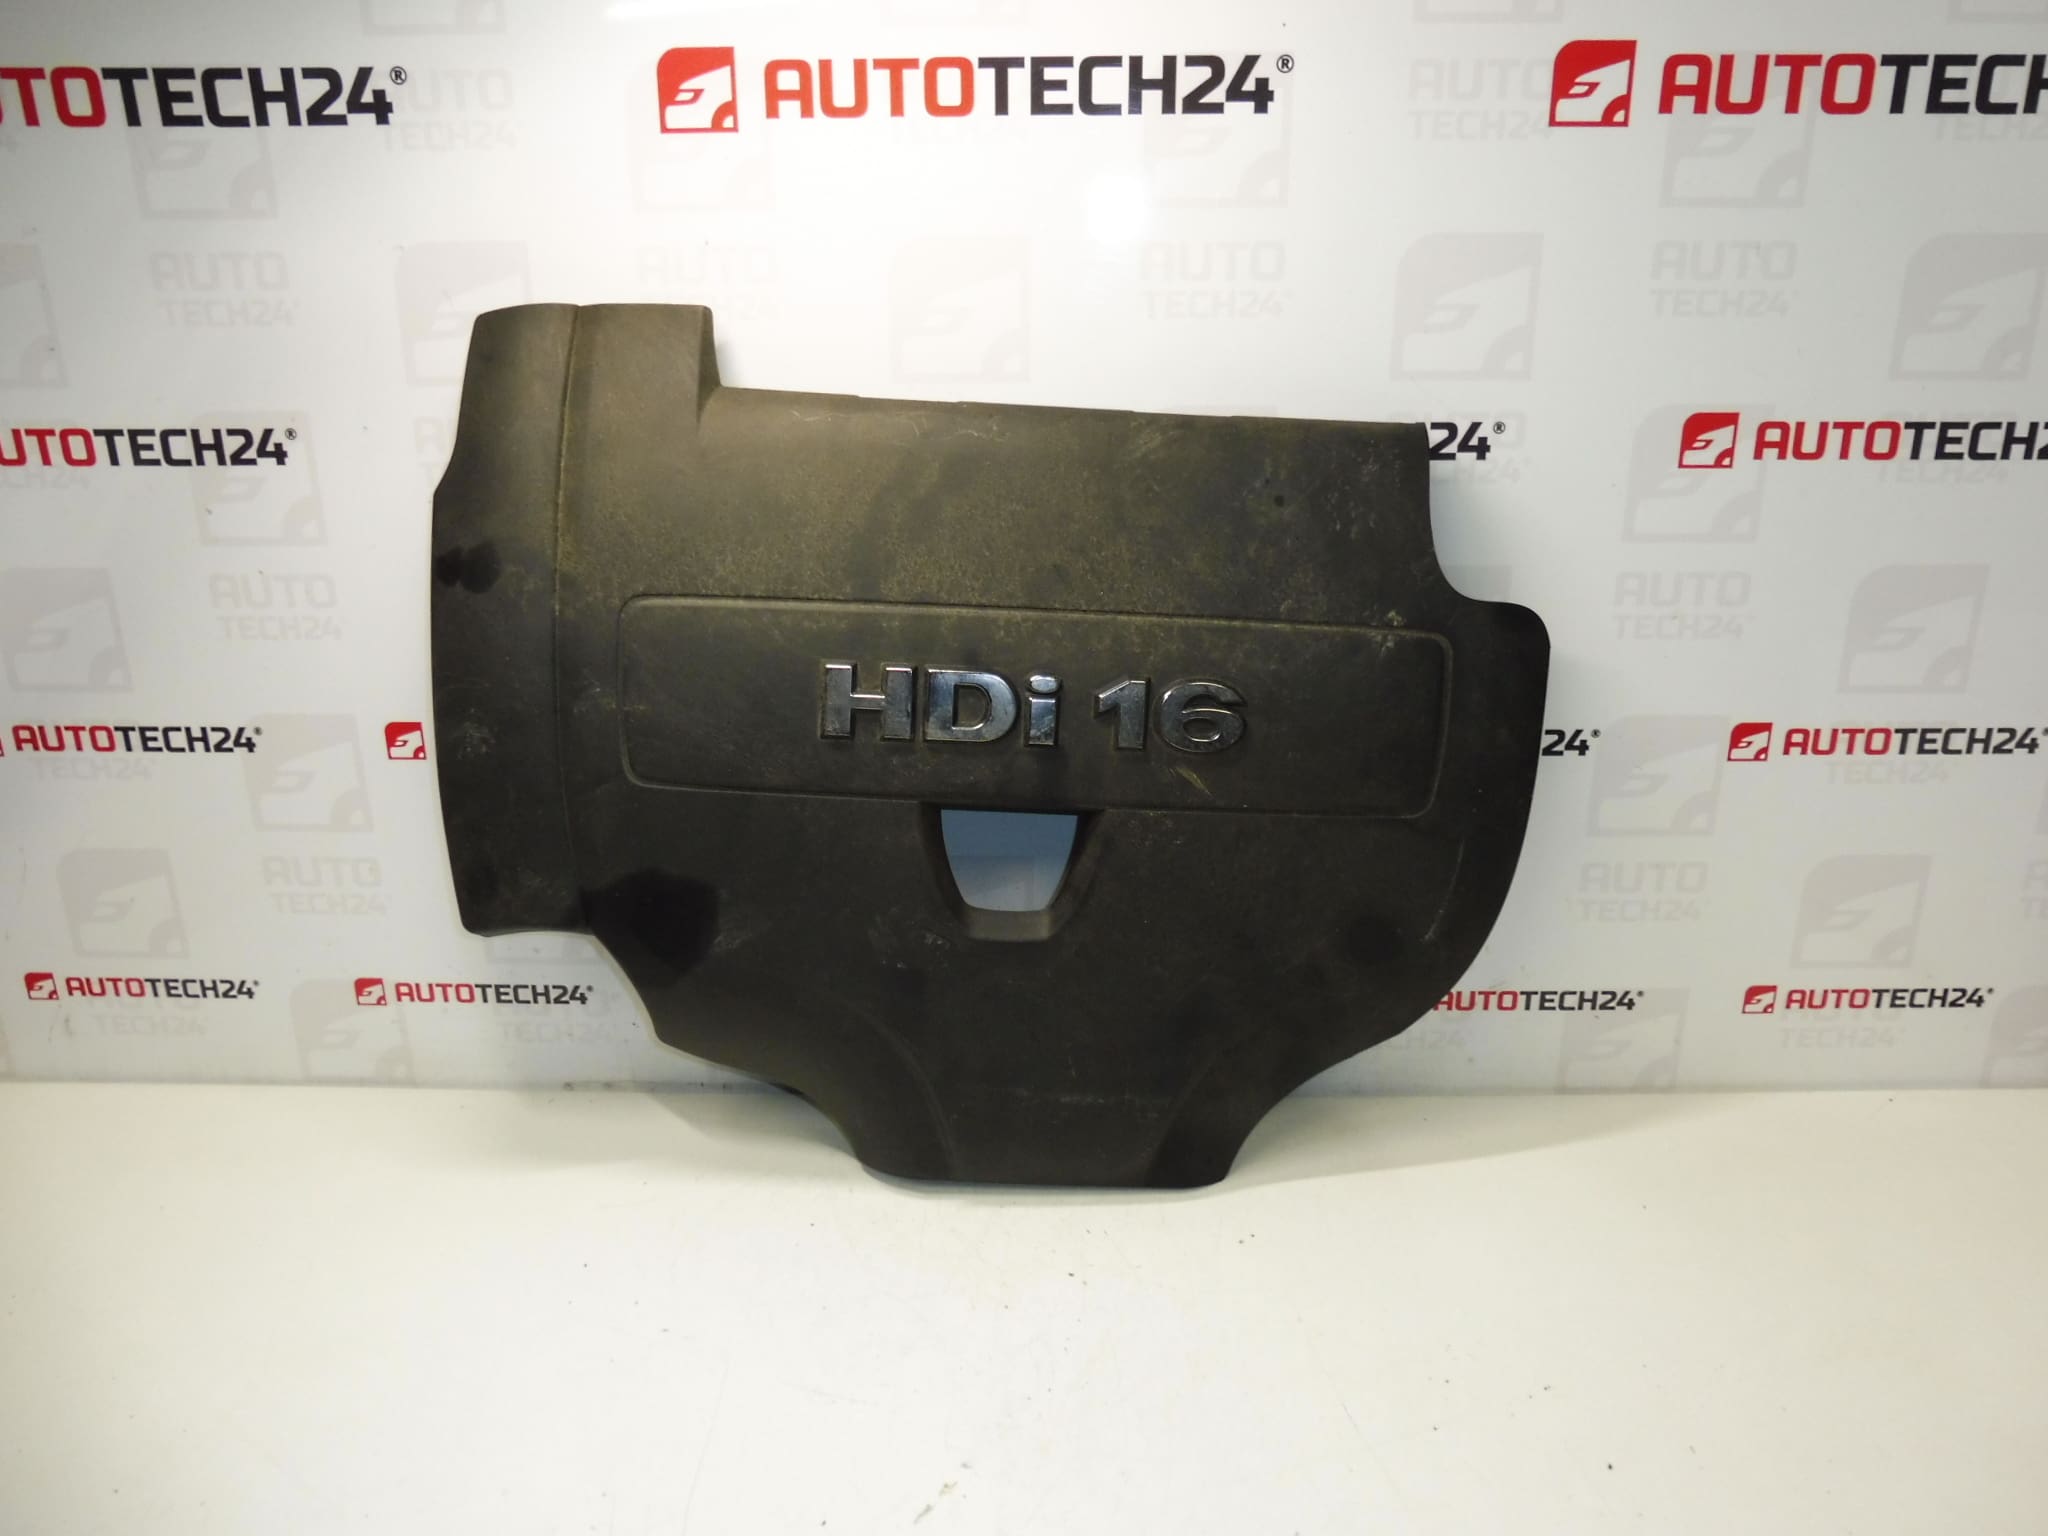
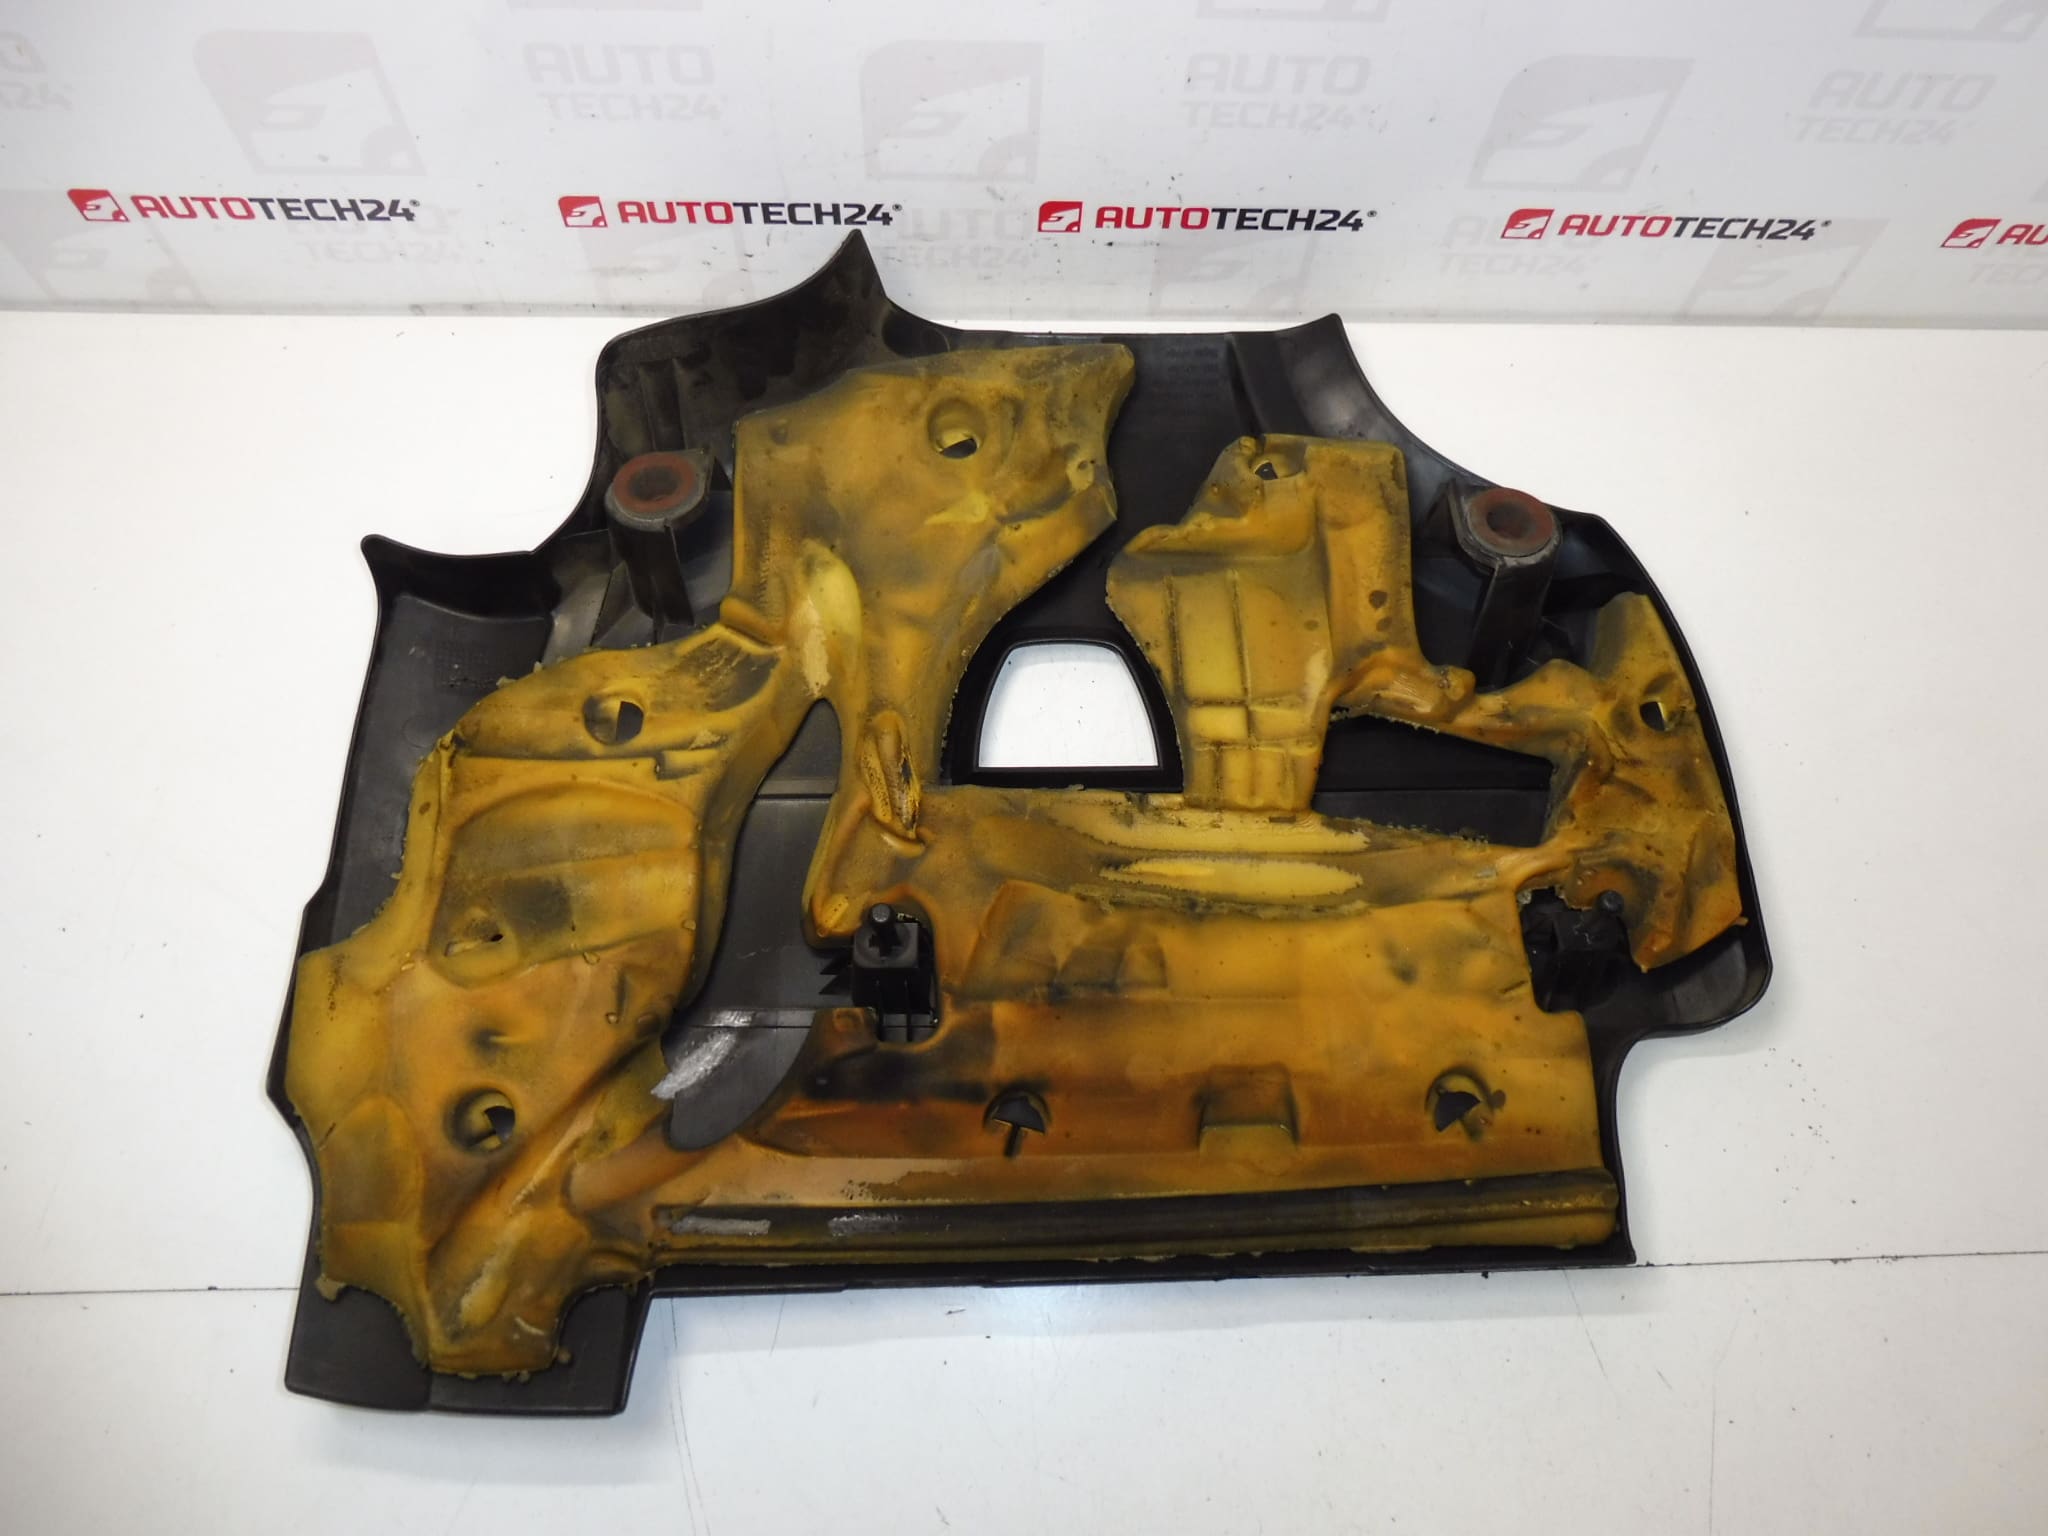
2.0 HDI RH02 engine cover for Citroën and Peugeot
Part description
This used engine cover 2.0 HDI is designed for Citroën and Peugeot cars. It is a part that helps protect the upper part of the engine from normal pollution from traffic and at the same time contributes to an organized space in the engine part of the car.
The part is also often searched by serial numbers 9673129380, 9674161080 and 0137H4, which makes it easier to find the right one when repairing or replacing the original damaged cover. It is especially suitable for mechanics and car owners who are looking for an original used car part for repair without unnecessary compromises.
Technical information
- Manufacturer: Stellantis Citroën Peugeot
- Model: 2.0 HDI RH02; Citroen C4 II, Citroën C4 PICASSO, Citroen C5 X7, PEUGEOT 3008 I, Peugeot 308, Peugeot 407, PEUGEOT 5008 I
- Other numbers: 9673129380, 9674161080, 0137H4
Product codes
Product codes: 9673129380, 9674161080, 0137H4
Models from labels and documents: Citroen C4 II, Citroën C4 PICASSO, Citroen C5 X7, PEUGEOT 3008 I, Peugeot 308, Peugeot 407, PEUGEOT 5008 I
Installation recommendations
Generally speaking, the exact replacement procedure may vary depending on the specific design of the car and the attachment of the cover. For this type of part, it is especially important to carefully compare it with the old piece and check all attachment points.
1) Before assembly
- Check that the new used cover matches the old part in terms of shape, size and location of attachment points.
- Compare all part numbers, especially 9673129380, 9674161080 and 0137H4.
- Check that the cover is not cracked, deformed or has damaged locks and seating surfaces.
- Check the condition of the fasteners on the vehicle and on the cover itself.
2) Necessary tools and materials
- common workshop tools
- detergent for removing dirt
- clean cloth or towels
- work gloves
- flashlight for checking landings
3) Step-by-step assembly procedure
- Shut off the engine and allow it to cool sufficiently.
- Open the engine compartment and gain safe access to the original cover.
- Carefully remove the old motor cover according to the type of attachment.
- When disassembling, be careful not to damage the surrounding plastic parts or attachment points.
- After removing the old part, clean the contact surfaces and surroundings from dust, oil impurities and deposits.
- Compare the old and new cover side-by-side, especially the shape, cut-outs and mounting location.
- Place the used cover in the correct position without applying excessive force.
- Check that the cover fits evenly at all points.
- Attach the cover in the original way and verify that all the fasteners are properly in place.
- After assembly, visually check that the cover does not rub anywhere, is not crooked and does not restrict the surrounding parts.
-
4) Post-assembly checks and function verification
- Check the stability of the cover by moving your hands lightly.
- After starting, observe whether the cover vibrates excessively or makes unwanted noises.
- After a short test drive, re-verify the correct fit and condition of the fastening.
5) The most common assembly mistakes + how to avoid them
- Exchanging a part based on appearance – always compare the product numbers as well.
- Mounting on dirty bearing surfaces – clean everything thoroughly before fitting.
- Use of excessive force – plastic covers may crack or deform.
- normal plastic aging and thermal stress in the engine compartment
- cracking during careless disassembly or assembly
- damage to attachment points due to engine vibration
- deformation caused by long-term operation and high temperature
- mechanical damage during service interventions around the engine