Description
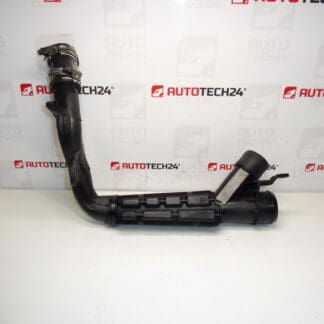
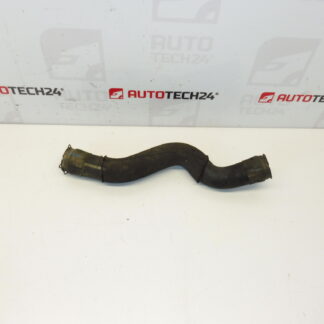
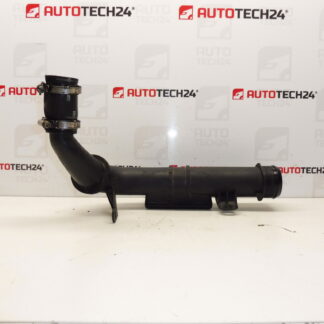
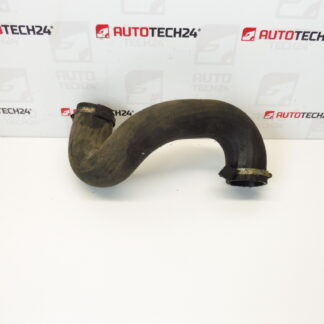
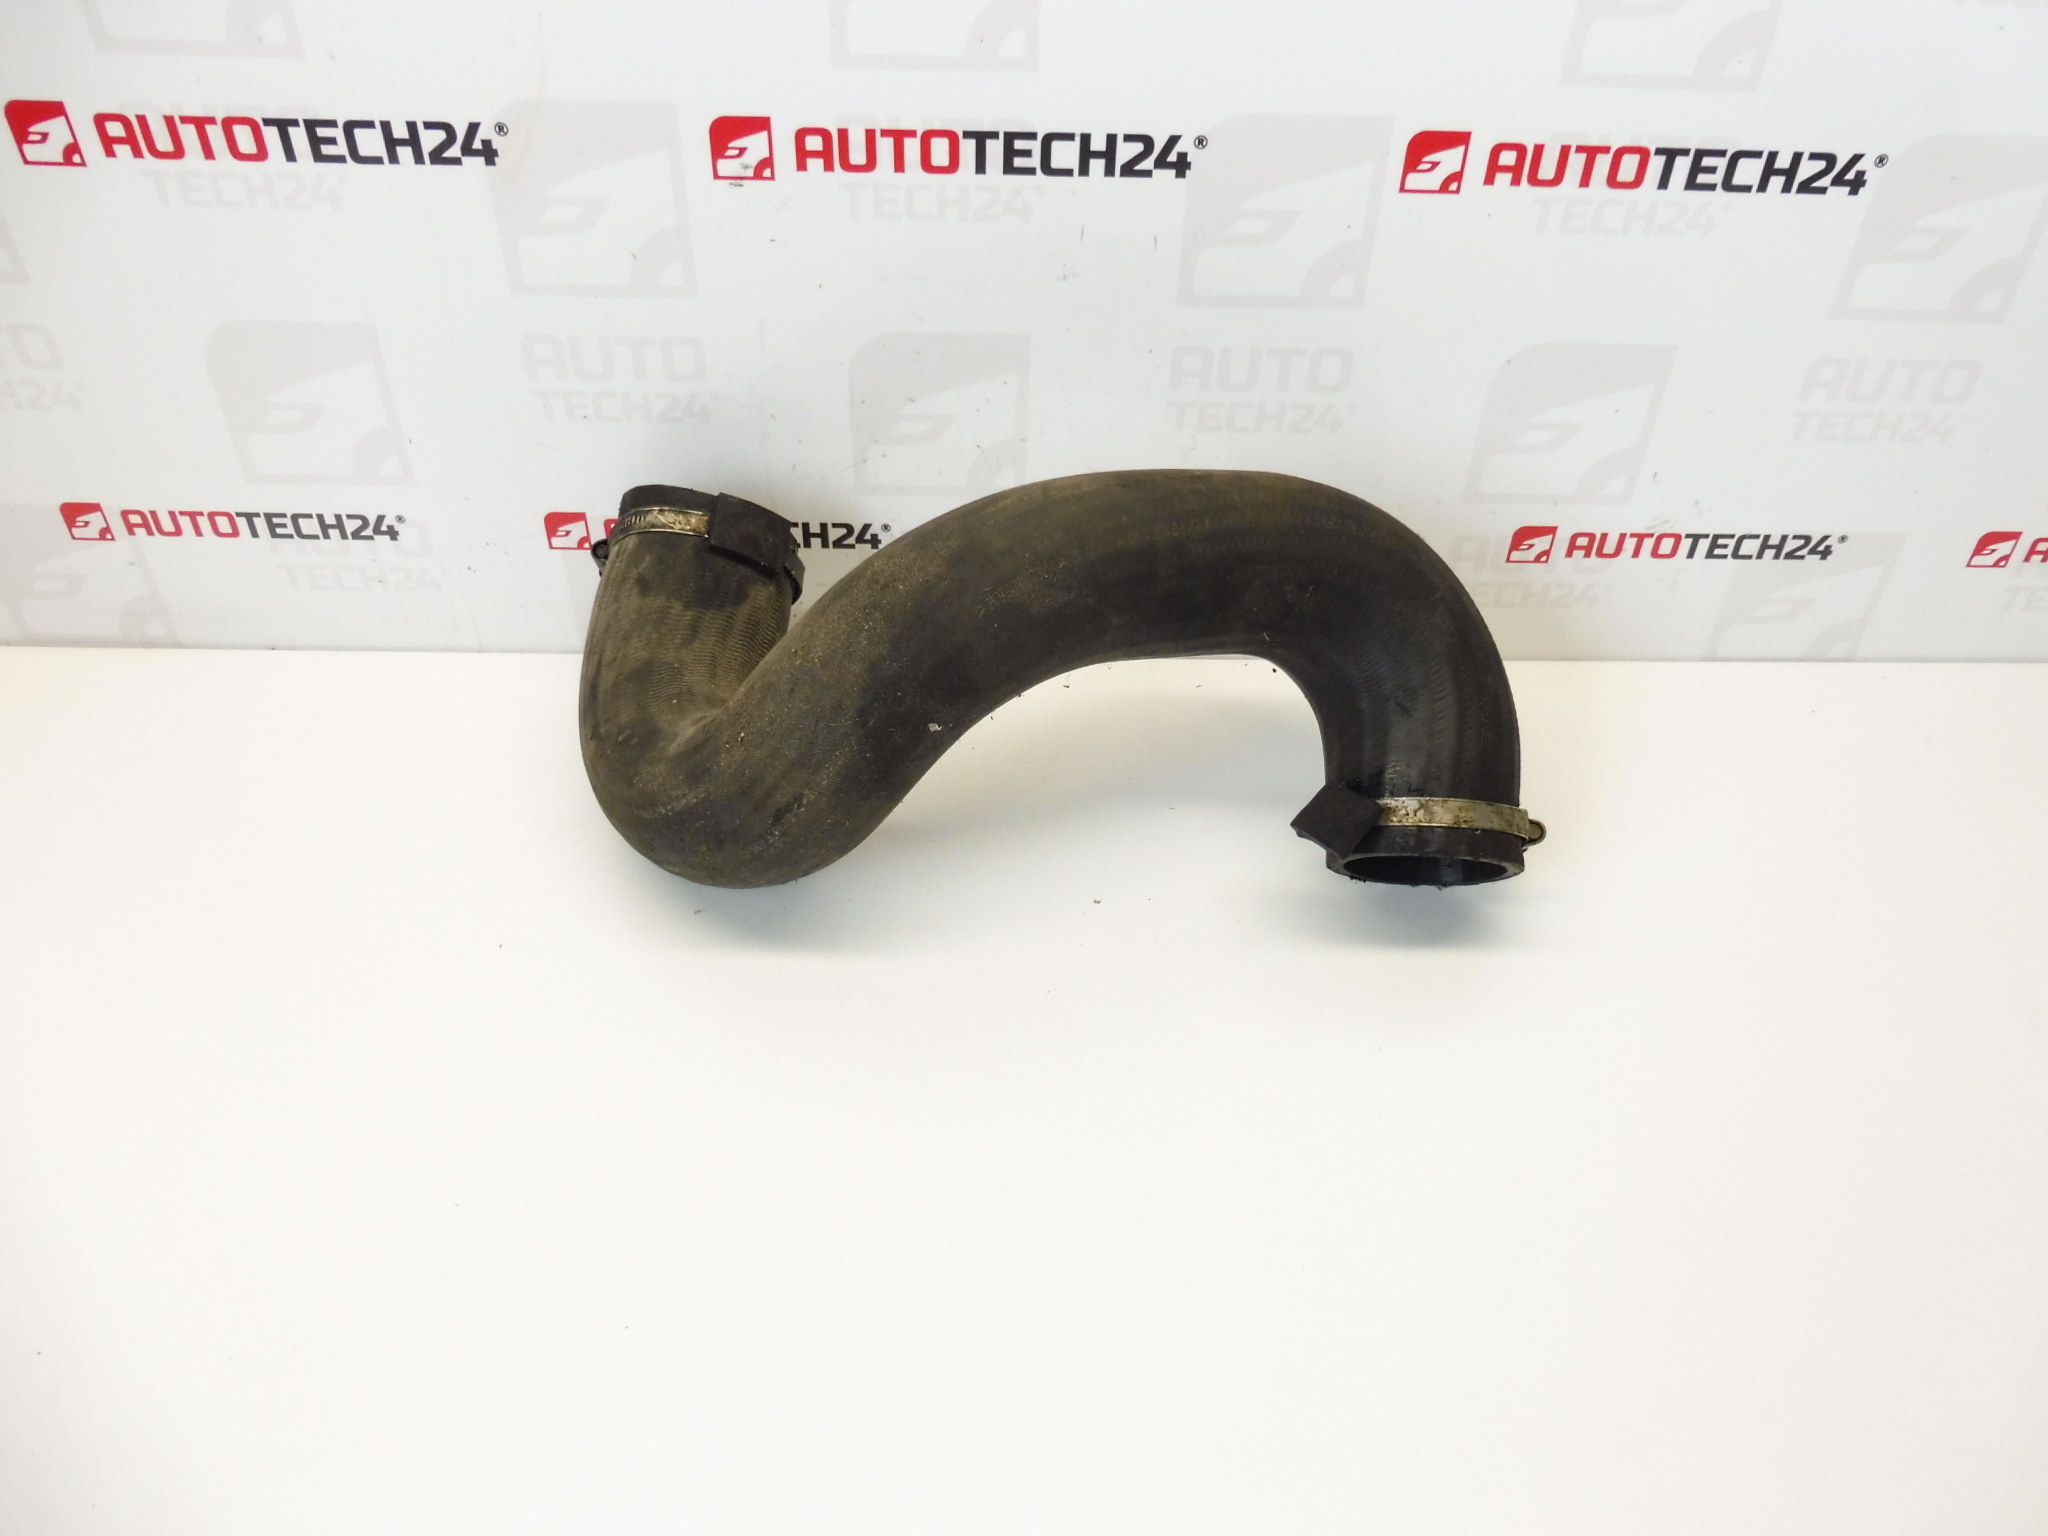
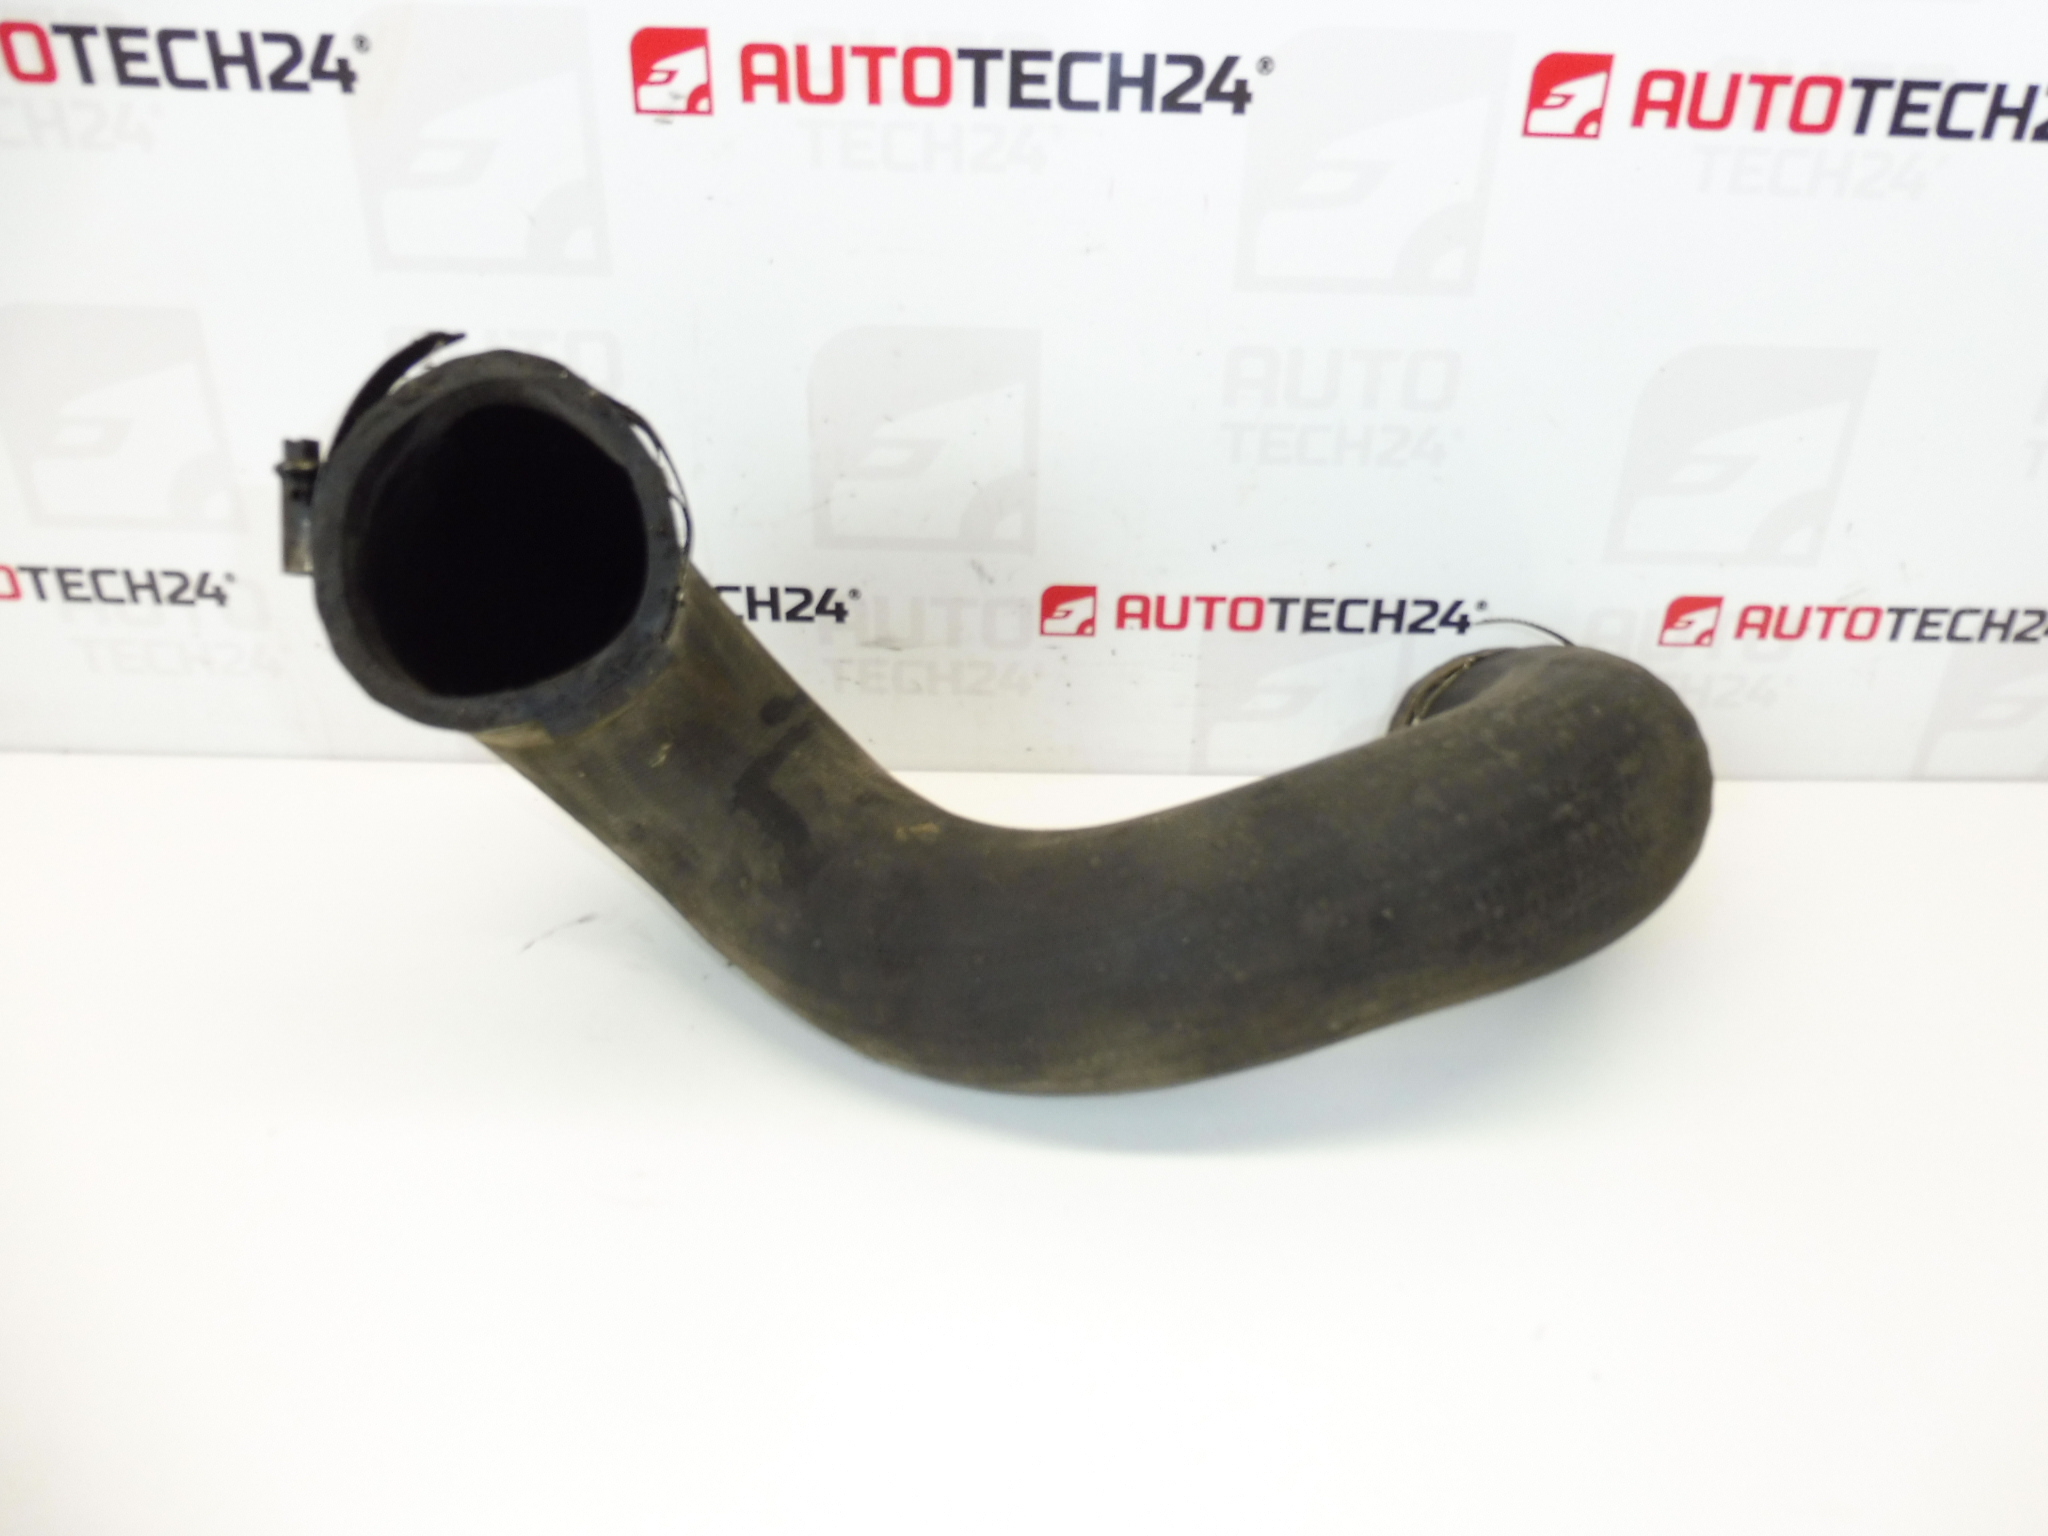
Air connection at the exchanger for CITROEN PEUGEOT cars
Part description
This hose / air connection to the exchanger is intended for turbocharged diesel engines 2.0 HDI in Citroën and Peugeot cars. In practice, it is a part of the intake and turbo system, which ensures the correct passage of compressed air between individual parts (typically connected to the exchanger). A properly sealed and undamaged hose is essential for stable engine performance and trouble-free operation without unnecessary air leaks.
The benefit of searching by number is quick identification: the key designation for this part is 0382AT (listed as NFP).
Technical information
- Manufacturer: Stellantis (Citroën / Peugeot)
- Model: Citroën C4 PICASSO, Citroën C5, Peugeot 307
- Other numbers: NFP
Product codes
- Product codes: 0382AT
Installation recommendations
Generally/typically for intake and turbo hoses the exact location and access varies by specific car model and make. Below is a practical procedure for replacing this type of part.
1) Before assembly
- Compare the new part with the old part: shape, end diameters, length, routing and attachment/clip type.
- Check the hose for cracks, punctures, bulges or a deformed neck.
- Check the mating surfaces on the mating pieces (throats, nozzles) – they must not be dirty or damaged.
2) Necessary tools and materials
- Common hand tools (screwdrivers, socket wrenches depending on the type of clips/handles)
- Pliers for buckles (according to design)
- Cleaning agent and rags for cleaning contact surfaces
- Or new clips if the original ones are tired or deformed
3) Step-by-step assembly procedure
- Allow the engine to cool and secure the vehicle against movement.
- Get access to the hose in the intake/turbo area (depending on the specific car, it may be necessary to remove covers or surrounding parts).
- Mark the position of the hose and line (e.g. with a photo) so that it does not come into contact with a sharp edge or hot part after assembly.
- Release the clips/grips on both ends of the hose.
- Remove the hose carefully from the throat – without force, so as not to damage the counterpart.
- Check the counter parts and contact points, clean them of dirt and oil film residues.
- Place the hose first on one end, then on the other, making sure it is properly seated all the way to the stop.
- Place the buckles properly in their original position and tighten/snap them evenly.
- Check that the hose does not pull anywhere, is not broken at the bend and does not rub against the surrounding parts.
- Reinstall the removed covers/surroundings.
-
4) Post-assembly checks and test drive/function verification
- Start the engine and check for air leaks (hissing) or loose connections at the connections.
- After a short ride, visually check again the hose seating and the condition of the clips.
5) The most common assembly mistakes + how to avoid them
- Not tightened or poorly seated clips → always check the position of the clip on the throat and the tight pull.
- Dirty contact surfaces → clean the grommets before assembly, the joint seals better.
- Poor hose routing (contact with edge/heat) → check that the hose has the correct position and clearance before final tightening.
- Using tired clips → if the clip does not hold securely, replace it so that the joint does not loosen over time.
Reasons why the part is damaged
- Aging of the material (swelling, loss of elasticity) due to heat in the engine compartment.
- Working with pressure and vibration in the supercharger system – gradual loosening of joints and microcracks.
- Contact with oil/oil mist in the intake can accelerate the degradation of rubber/plastic parts.
- Mechanical wear on surrounding parts due to poor routing or missing grips.
- Incompetent handling during previous repairs (prying, pulling the clip, damage to the neck).