Description
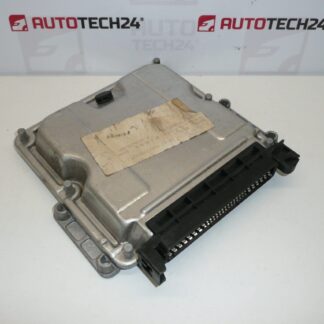
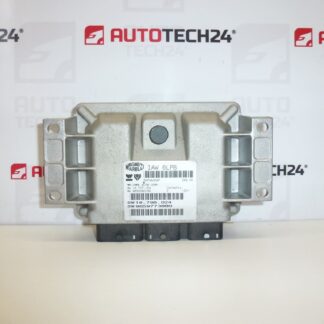
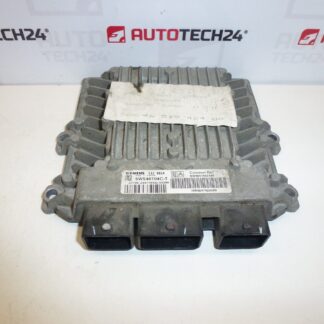
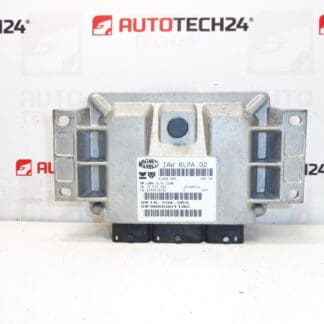
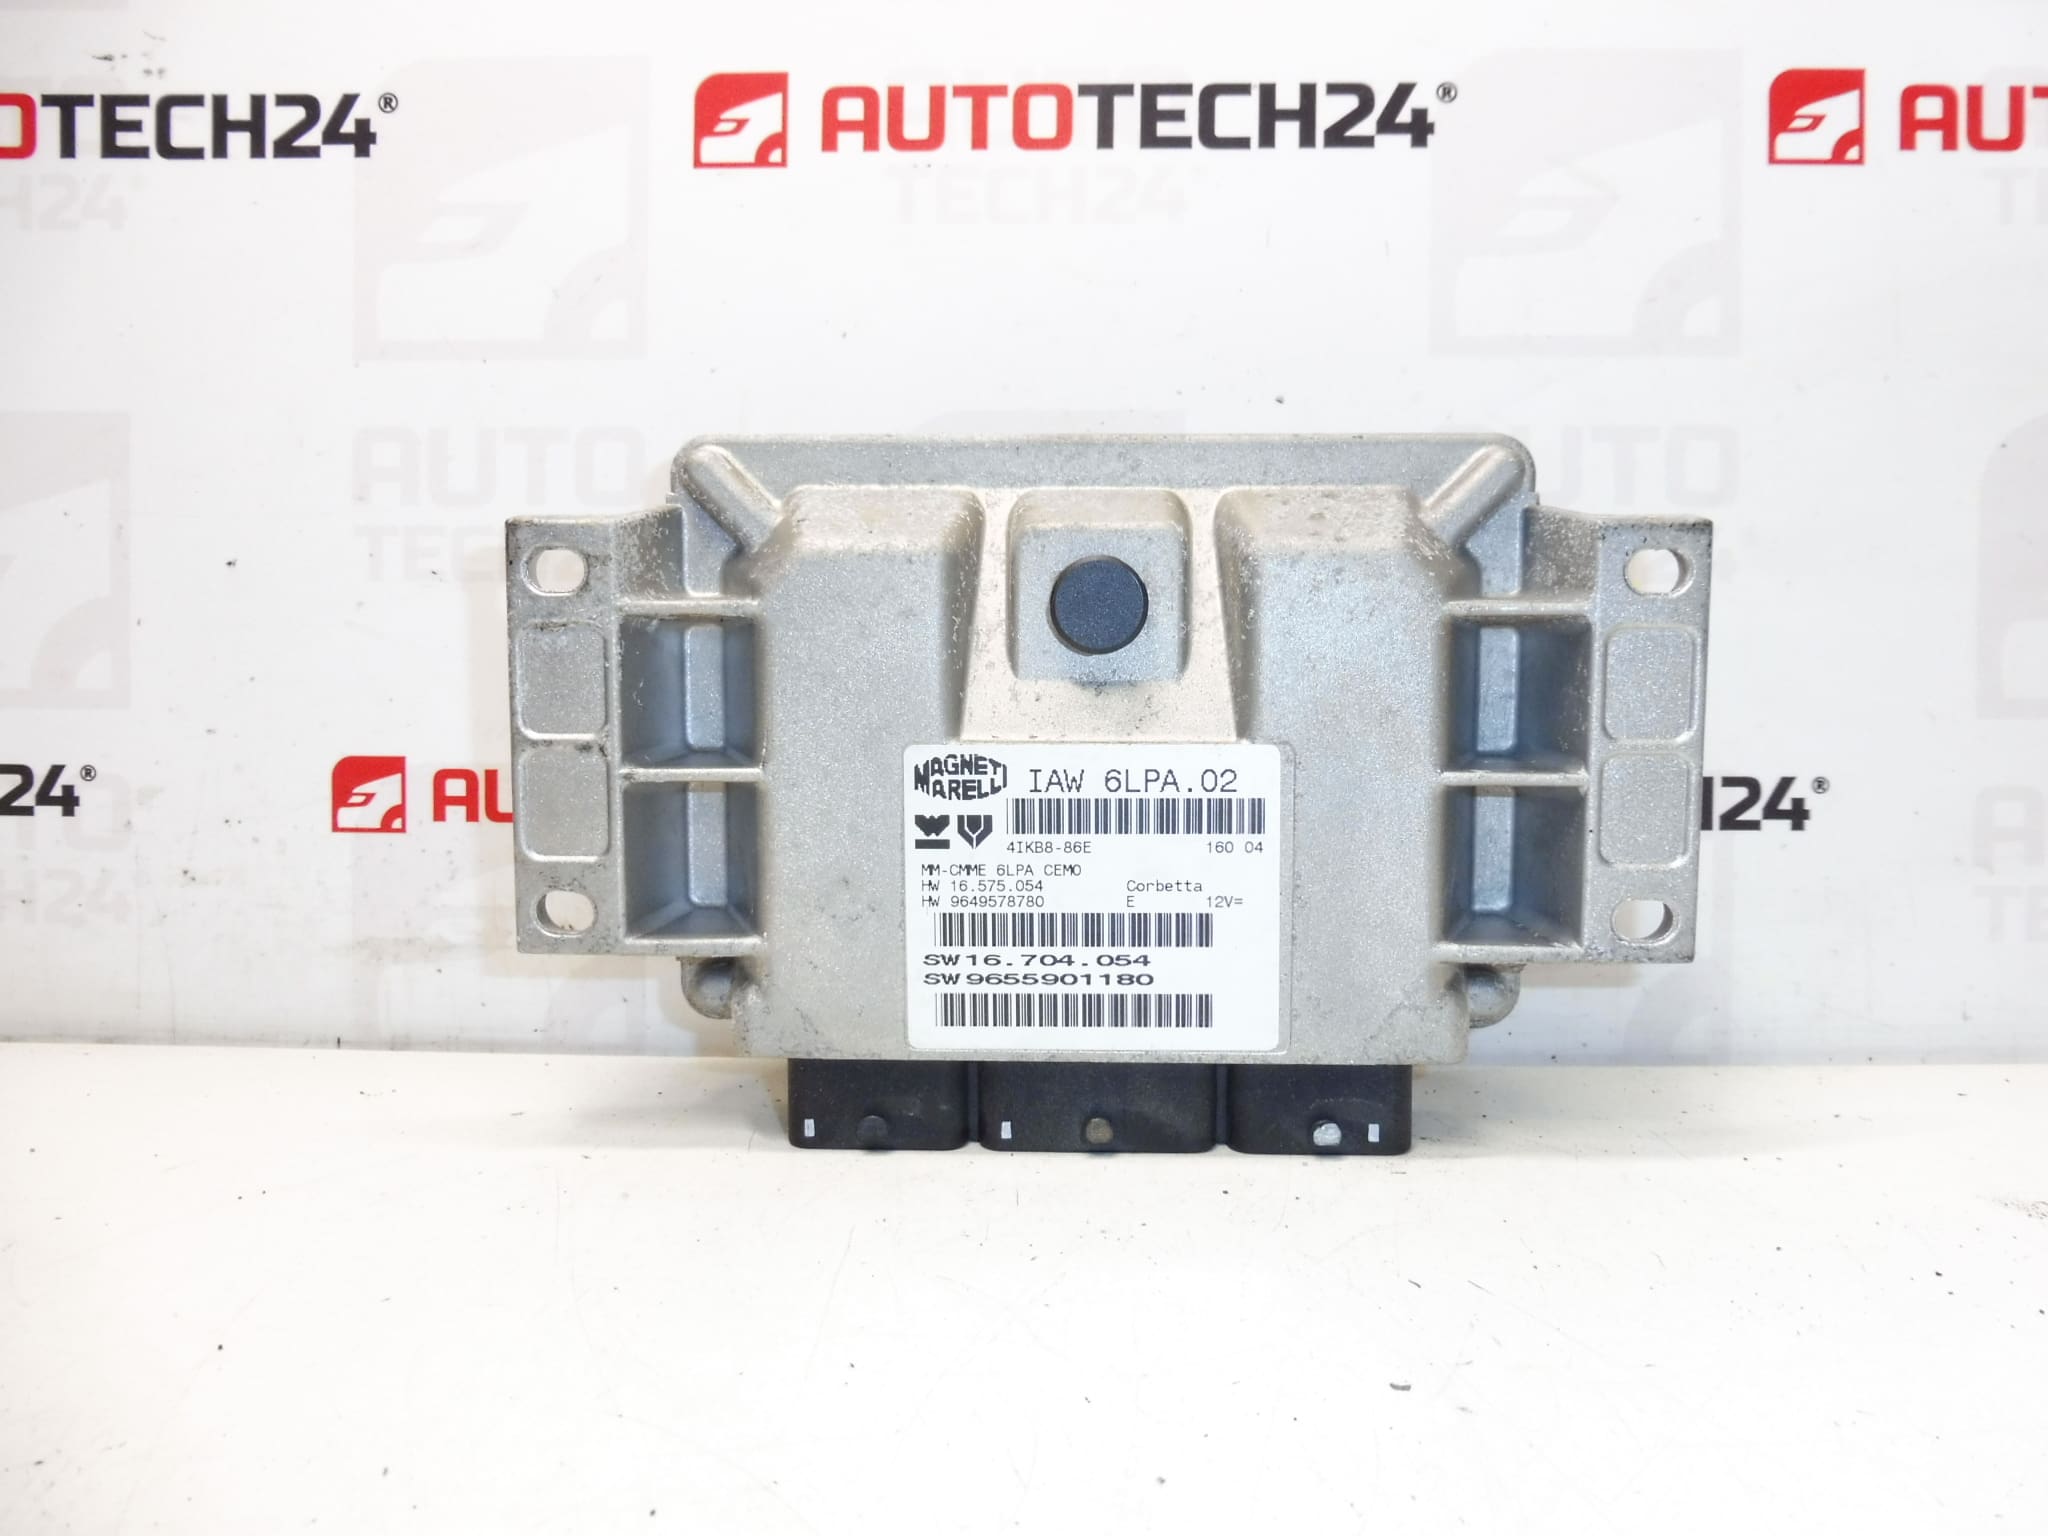
Control Unit MAGNETI MARELLI IAW IAW 6LPA.02 for 2.0i 16V 130 kW RFK engine. From Peugeot 307 CC (2004).
This Engine Control Unit (ECU) Magneti Marelli IAW 6LPA.02 is designed for petrol 2.0i 16V engines with the RFK engine code and is commonly identified by original part numbers used on Peugeot/Citroën applications. The unit manages fuel injection, ignition timing and engine diagnostics and is often searched for by its product codes (for example 9655901180 or 9649578780). Suitable for professional workshops and experienced DIY mechanics who maintain Peugeot 307 CC models with the specified engine.
Technical Information
- Manufacturer: Magneti Marelli
- Model: Peugeot 307 CC (2004), Engine 2.0i 16V 130 kW RFK
- Product Codes: 6LPA.02, 9655901180, 9649578780
- Other Numbers: 1942C8, 1942C9, NFP
Function And Benefits
The ECU controls injection timing, fuel delivery, ignition mapping and on-board diagnostics to ensure smooth running, fuel efficiency and emissions control. Replacing a faulty ECU restores correct engine management, eliminates misfires, improves drivability and clears engine management faults caused by control unit failure.
Installation Recommendations
- Disconnect Negative Battery Terminal Before Work. Ensure the vehicle battery negative is disconnected to prevent short circuits and data corruption.
- Handle With Anti-Static Care. Avoid static discharge and mechanical shock to the electronic module.
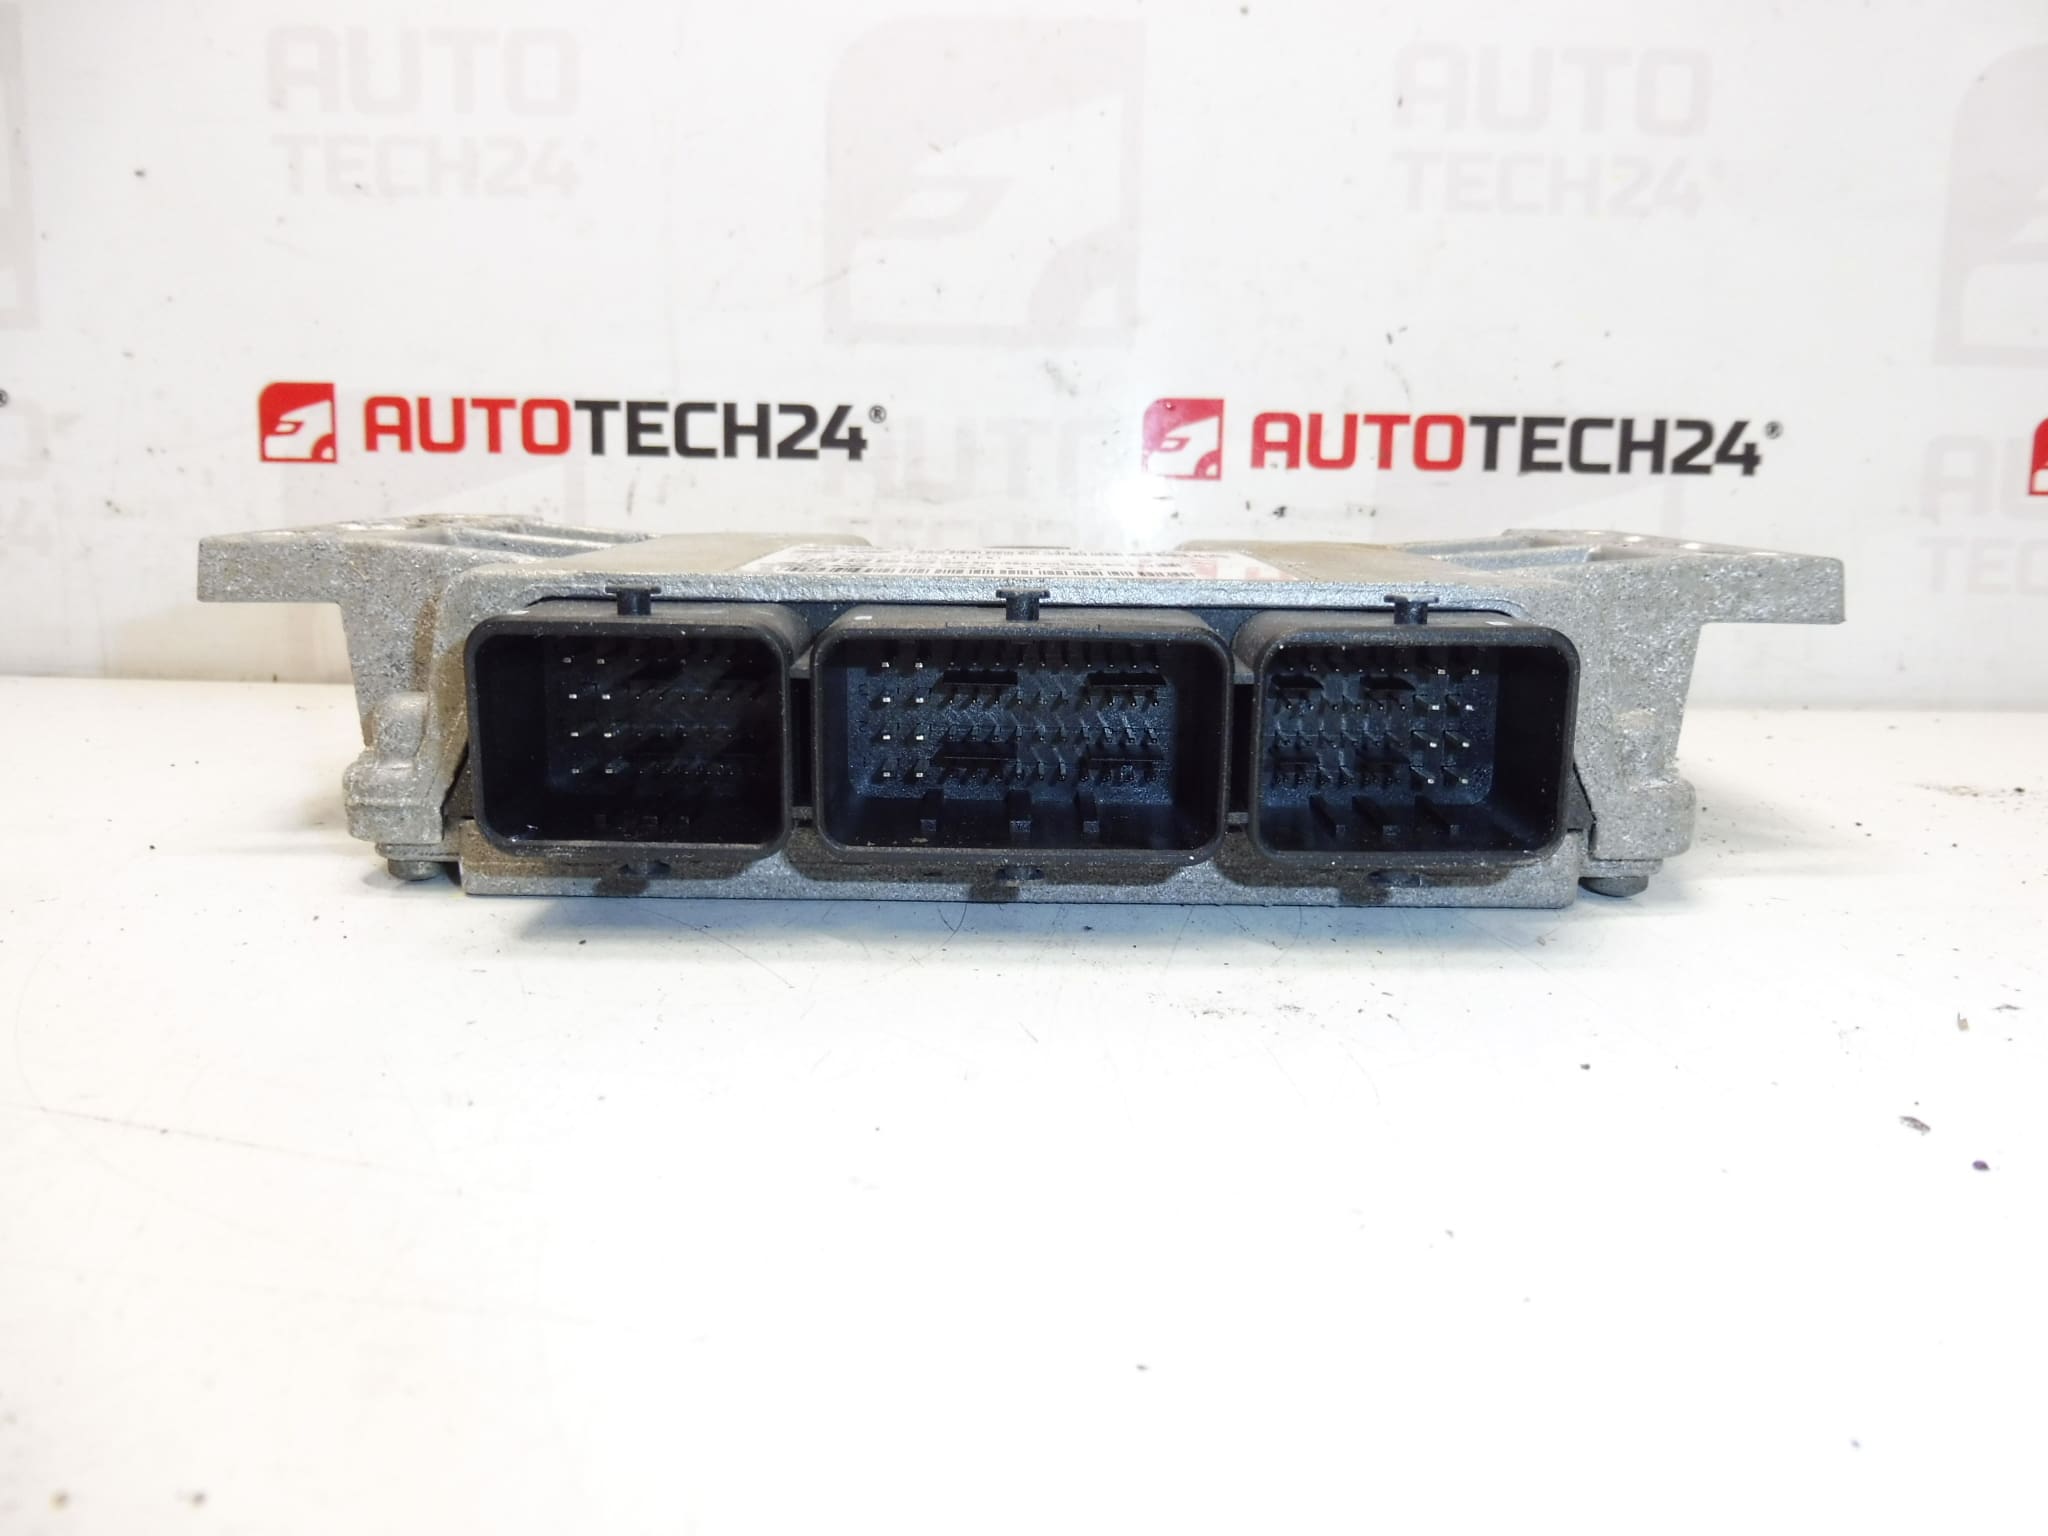
- Disconnect Connectors Carefully. Release locking tabs and inspect connector pins and seals for corrosion or damage before reconnecting.
- Secure Mounting And Sealing. Fit the unit in its original position and ensure any seals or covers are intact to prevent moisture ingress.
- Post-Installation Procedures. After fitting, restore power, clear any diagnostic trouble codes and verify sensor signals. Many vehicles require ECU immobilizer/key matching or coding with appropriate diagnostic equipment to enable engine start and correct communication with other modules.
Most Common Failure Reasons
- Water Ingress And Corrosion: Moisture or leaks into the ECU area cause connector corrosion and PCB damage.
- Thermal Stress: Repeated heating and cooling cycles can cause solder joint failure or component degradation.
- Voltage Spikes And Electrical Faults: Poor battery connections, jump-starts or alternator faults can damage internal electronics.
- Connector And Wiring Damage: Broken pins, loose pins or poor grounding lead to intermittent faults or total failure.
- Internal Memory/Data Corruption: EEPROM or flash memory faults can produce irregular engine behavior or no communication with diagnostic tools.
Maintenance And Troubleshooting Tips
Before replacing the ECU, check fuses, main power and ground connections, sensors such as the crankshaft position sensor, and wiring harness integrity—many symptoms attributed to ECUs are caused by external faults. Use the product codes listed above when searching for replacements to improve the chance of correct fitment.
Ideal For Mechanics And Experienced DIYers: The description and part numbers provided make it easier to locate the correct control unit for workshop repairs or home mechanical work on Peugeot 307 CC 2.0i 16V RFK engines.