Description
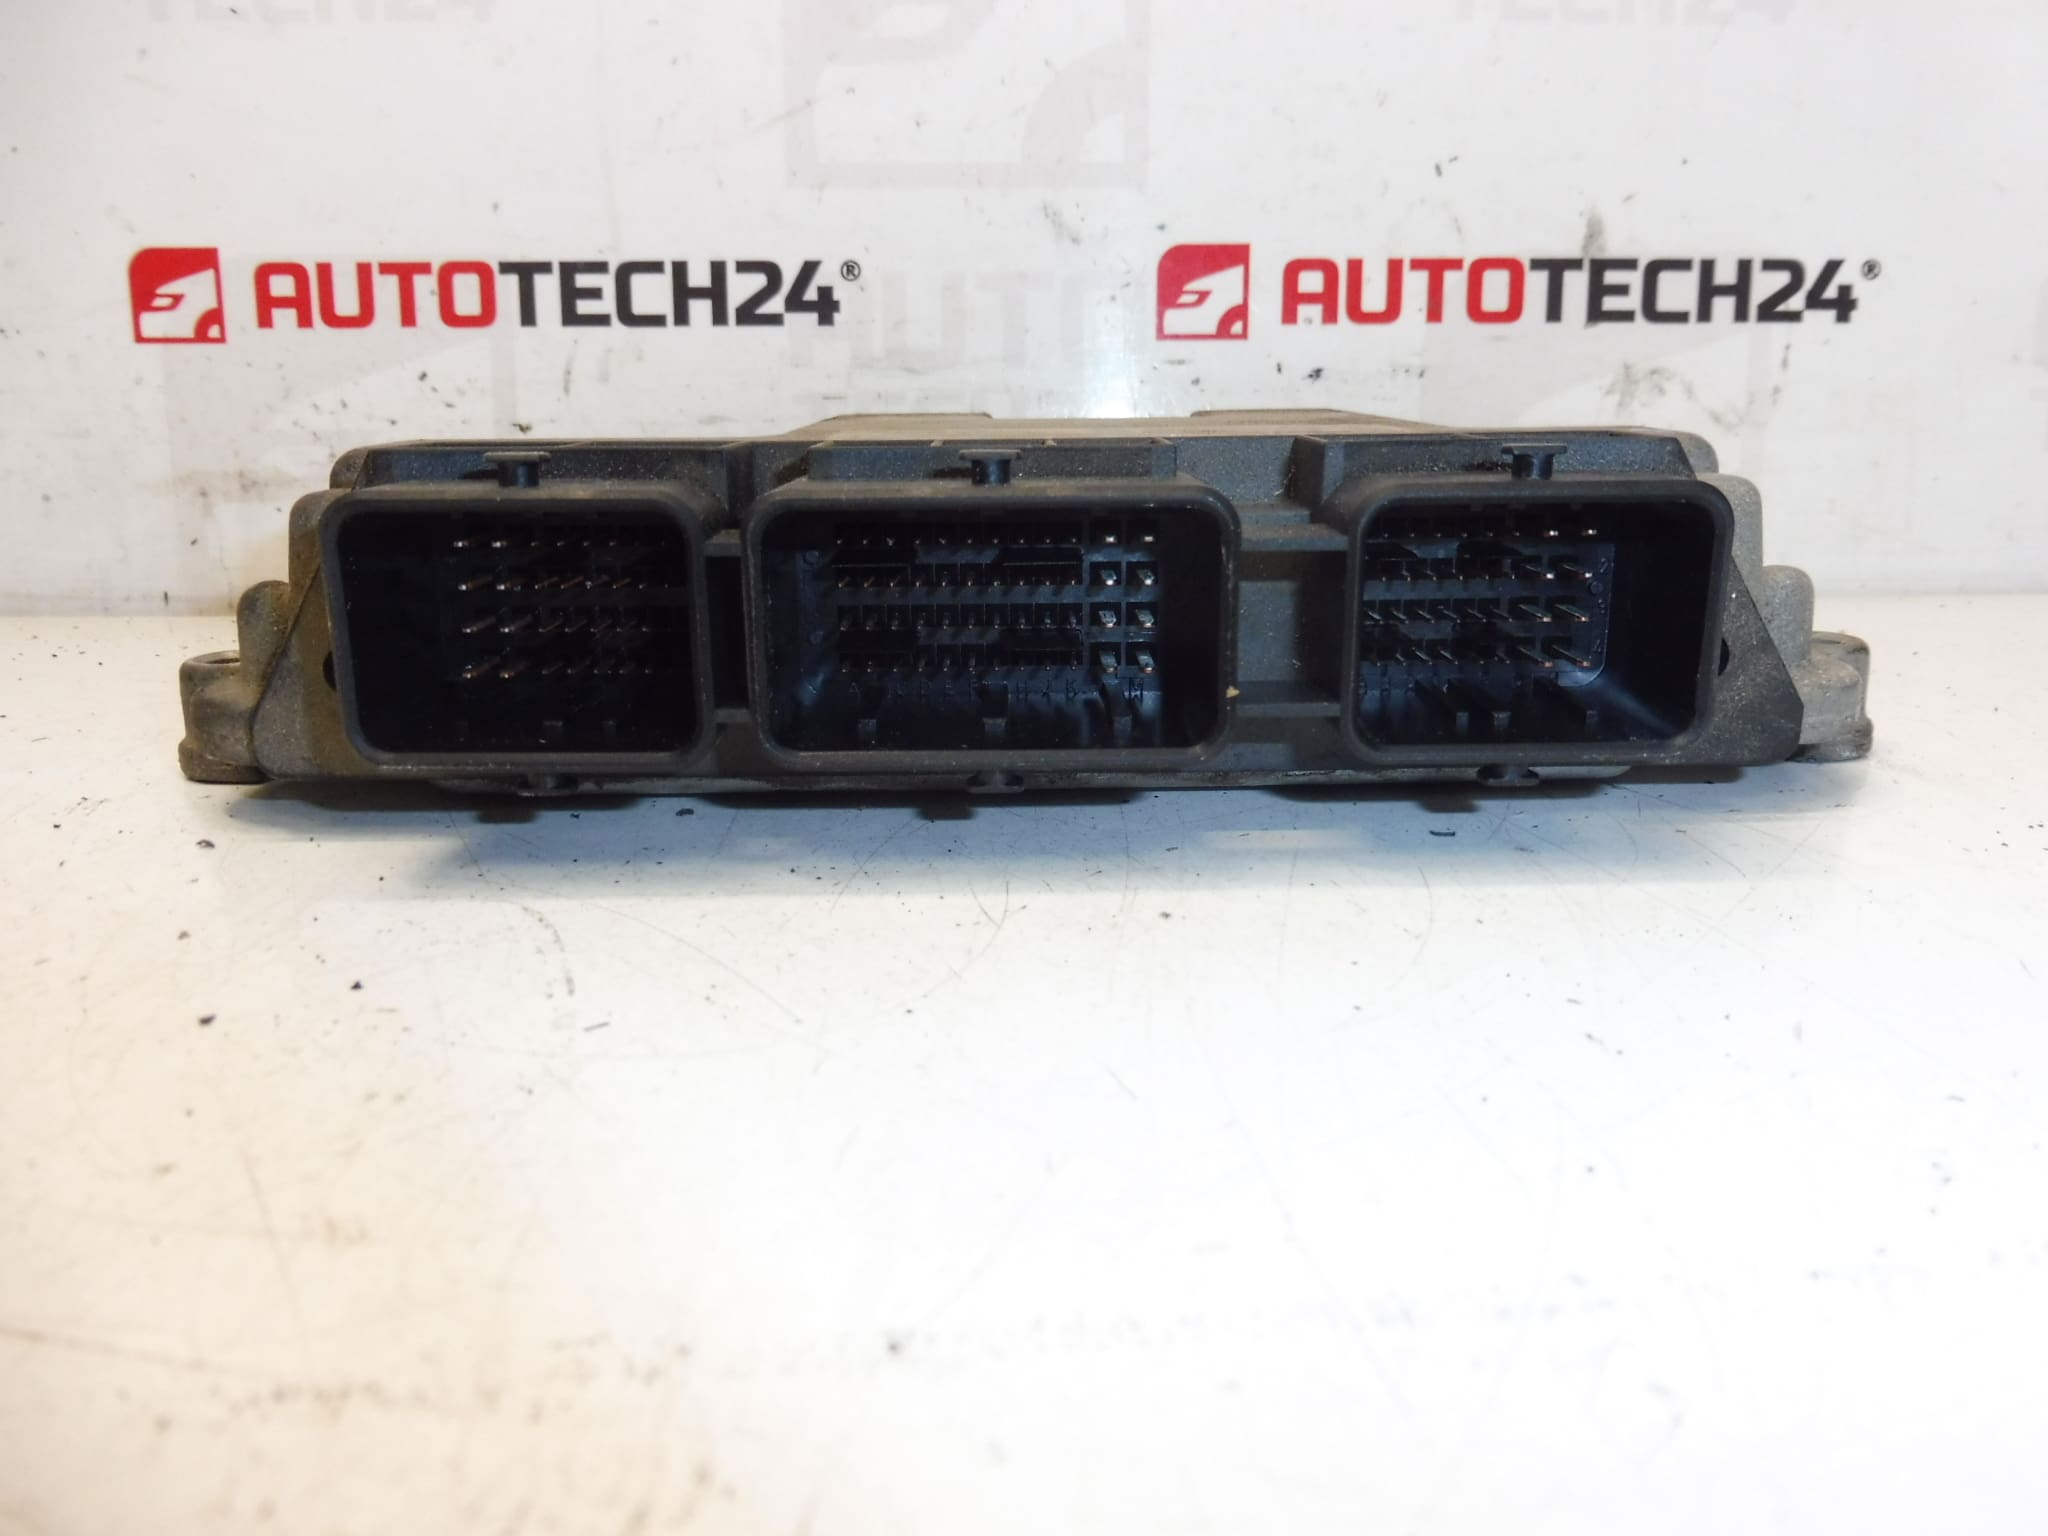
Bosch EDC16C34 Engine Control Unit for Citroën Xsara Picasso 1.6 HDi 9HZ
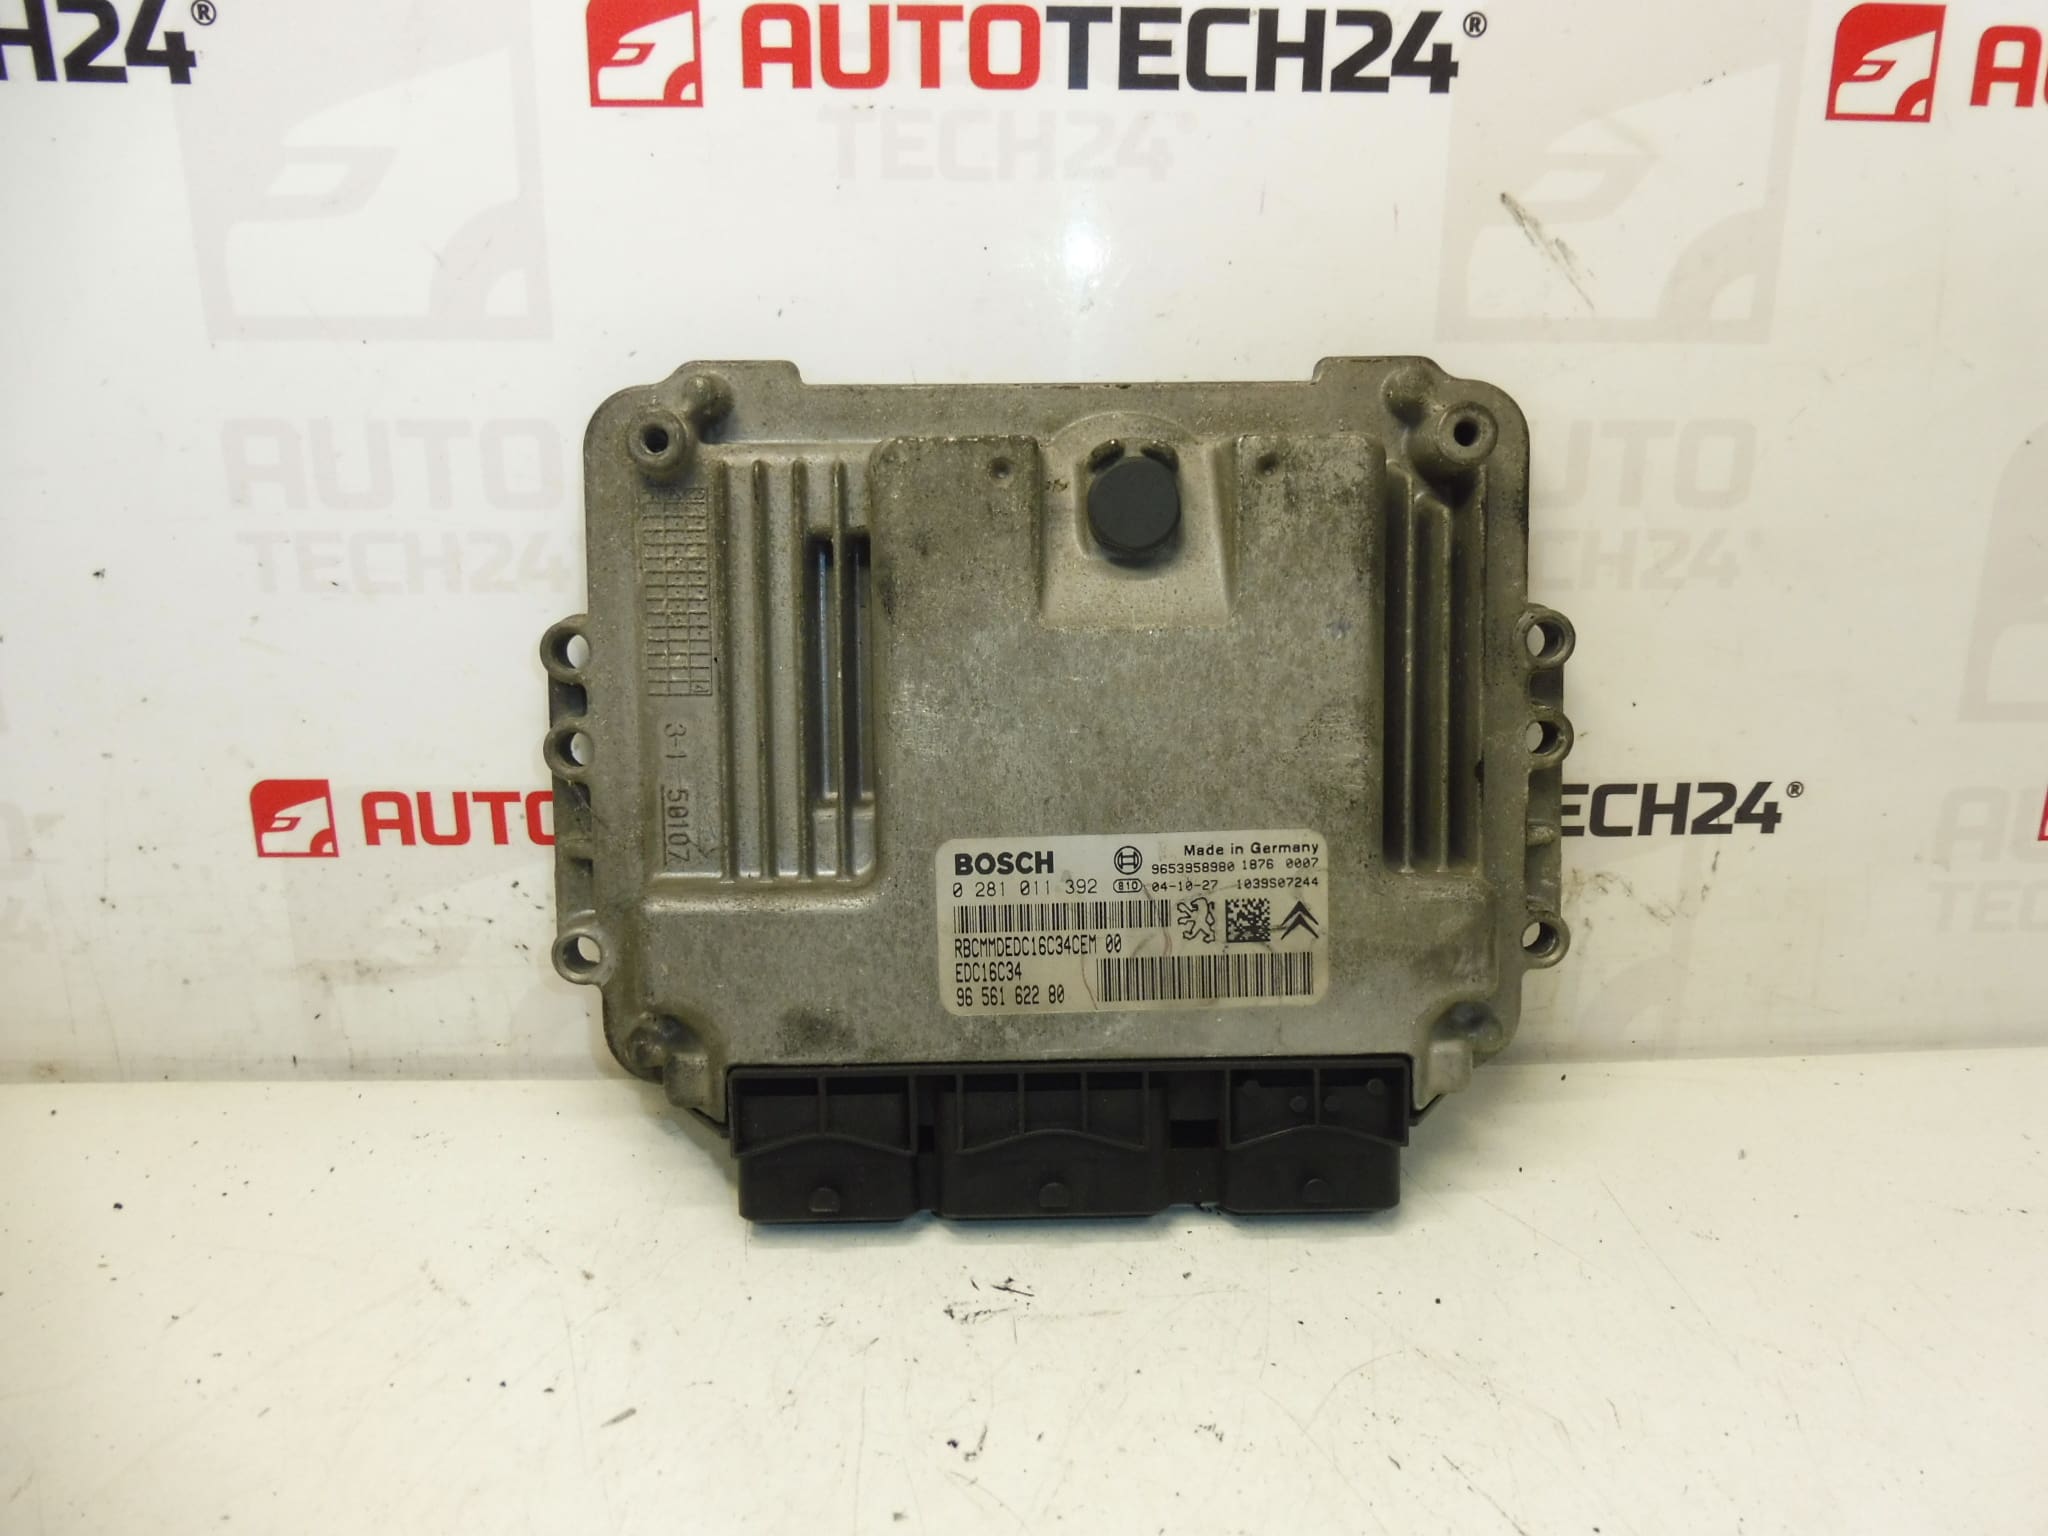
This Bosch EDC16C34 engine control unit (ECU) with manufacturer and OEM references is intended as a direct-fit replacement for Citroën Xsara Picasso 1.6 HDi engines (engine code 9HZ). The unit controls key engine functions such as common-rail fuel injection, turbo management and emission-related systems to restore engine responsiveness, fuel economy and proper exhaust behavior. The part is commonly searched by reference numbers (0281011392, 9656162280, 9653958980, 1939AR) — include these codes when searching to speed up identification.
Key Benefits
- Direct replacement for vehicles using the Bosch EDC16C34 platform — reduces diagnostic time when matched by part number.
- Precise management of fuel injection and turbo boost for smoother idle, better drivability and lower fuel consumption.
- OEM-level hardware compatibility with Citroën/Peugeot powertrains sharing these part numbers.
- Designed for professional workshops and experienced DIY mechanics who search and install parts by product code.
How It Works And Typical Application
The EDC16C34 is an engine management unit that receives input from sensors (crank/cam position, MAF/MAF-equivalents, MAP, coolant temperature, oil pressure, lambda sensors, turbo pressure) and calculates precise injector timing, rail pressure and turbo control signals. Proper operation is critical for combustion efficiency, emissions control (EGR/DPF interactions) and safe engine operation. This specific unit is fitted to Citroën Xsara Picasso 1.6 HDi with engine code 9HZ and may also be used in other PSA models that carry the same part references.
How To Replace The Unit (Overview)
- Prepare: Park on a level surface, engage handbrake and remove ignition key.
- Safety First: Disconnect the negative battery terminal before any work on the electrical system.
- Access: Remove trim panels or engine covers to reach the ECU location (under dash or engine bay depending on model).
- Unplug: Carefully disconnect wiring harnesses and mounting screws. Mark connectors if needed to avoid confusion.
- Install: Fit the new ECU, secure fasteners to manufacturer torque specs and reconnect harnesses ensuring clean, corrosion-free connections.
- Coding/Initialization: After mechanical installation, the ECU may require cloning or coding to the vehicle — see “Installation And Coding – Important” below.
Technical Information
- Manufacturer: Bosch
- Model: Citroën Xsara Picasso 1.6 HDi (Engine Code 9HZ)
- Product Codes: 0281011392
- Additional Numbers: 9656162280, 9653958980, 1939AR, NFP
Installation And Coding – Important
- The unit may be paired with the original vehicle (VIN/PIN/Keys).
- Options to commission the unit:
- Cloning data from the old unit (EEPROM/Flash) – after cloning the unit is plug and play.
- Virginization and subsequent initialization/telecoding via DiagBox (or online) + key adaptation.
- Recommended to be performed by a technician with PSA service equipment (DiagBox/Lexia/PP2000).
- Always disconnect the battery before removal/installation and follow the manufacturer’s procedure to avoid damaging the unit.
Installation Recommendations
- Disconnect the negative battery terminal and wait a few minutes before starting work.
- Avoid handling connector pins with bare hands; protect against static discharge.
- Inspect wiring harnesses, earth points and connectors for corrosion or damage and repair any faults before fitting the ECU.
- Use correct mounting hardware and torques; ensure the ECU is secured to prevent vibration-related failures.
- After installation and coding, clear fault codes and perform a full engine test including road test and live-data monitoring.
Most Common Reasons For Failure
- Water Ingress Or Corrosion: Moisture penetration or corroded connectors causing short circuits or open circuits.
- Electrical Surges Or Poor Grounding: Voltage spikes, jump-starts with incorrect polarity or bad earths damaging internal electronics.
- Wiring Harness Damage: Chafed or broken wires leading to intermittent signals that can be interpreted as ECU faults.
- Thermal Stress And Ageing: Long-term heat cycles or degraded solder joints causing intermittent failures over time.
- External Component Failures: Faulty sensors or actuators that put abnormal load on the ECU and may lead to perceived ECU failure.
ECUs are integral to modern diesel engines and typically have long service lives, but when faults occur they often present as engine warning lights, poor starting, lack of power or irregular idling. Searching by the part numbers shown above is the fastest way to identify the correct replacement unit.