Description
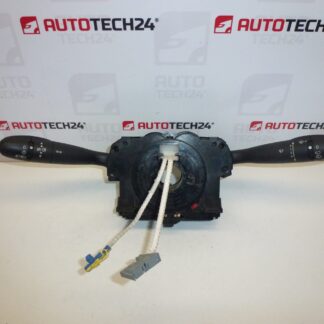
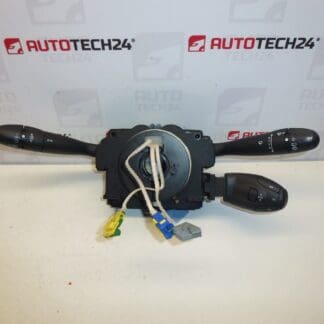
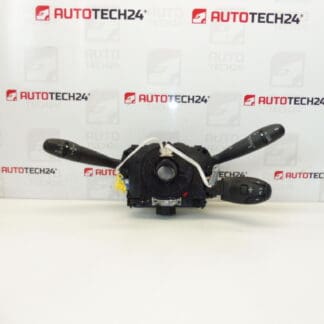
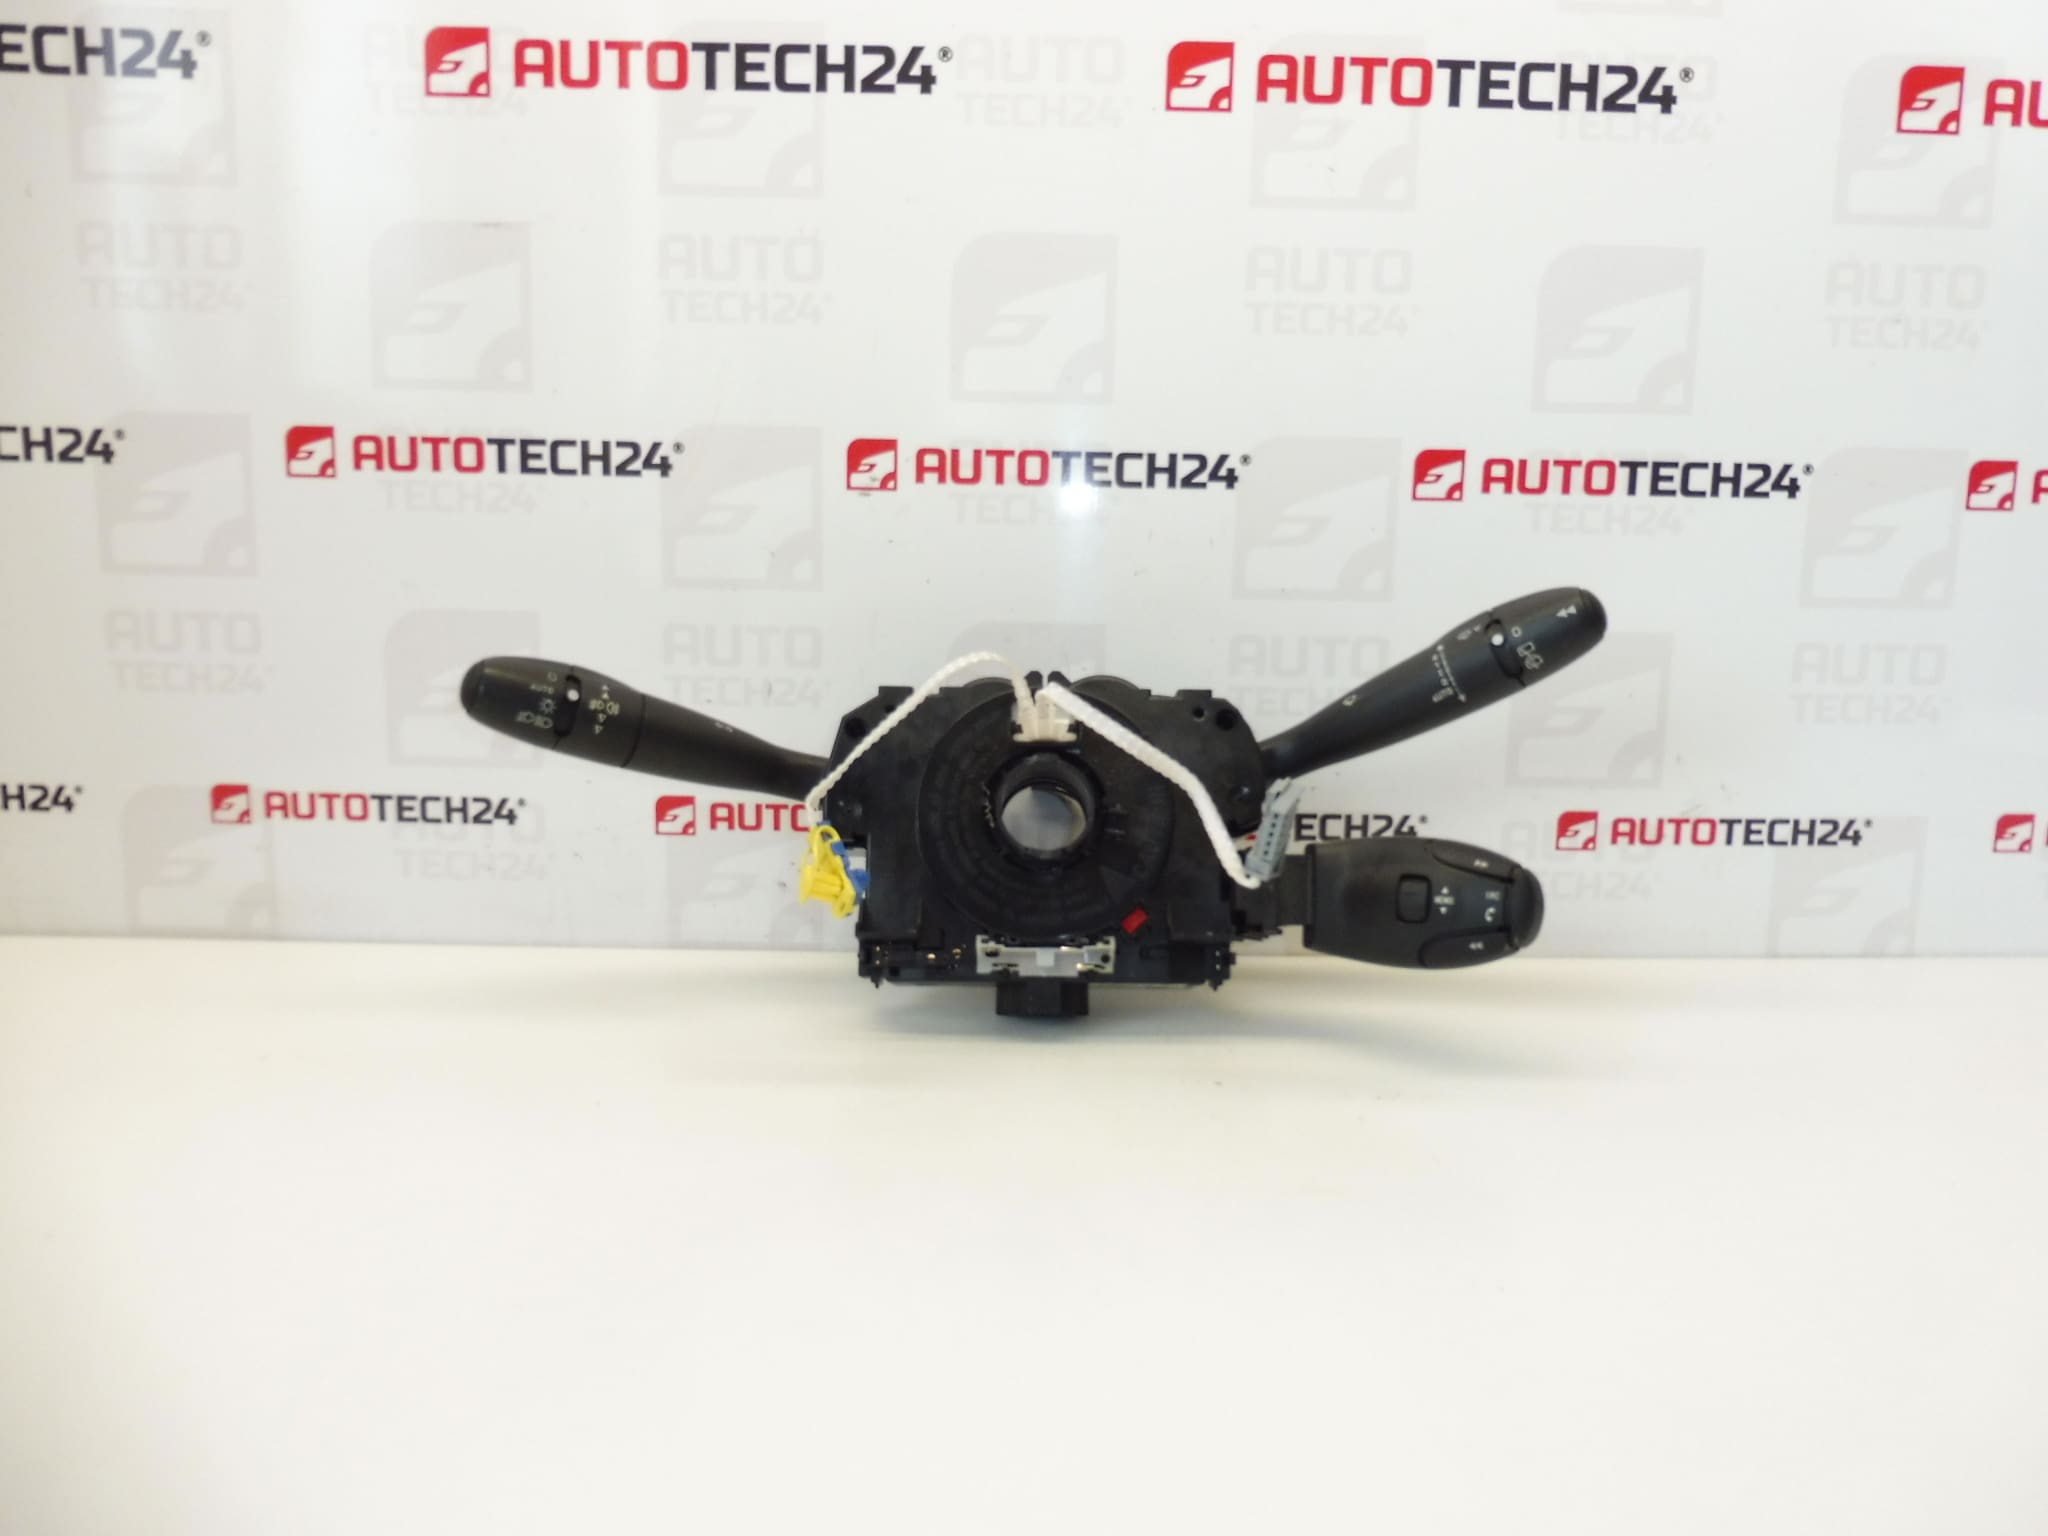
Steering Column Stalks DELPHI COM2005 For Peugeot 308 And Citroën C3 Picasso. Controls ESP, Fog Lights, Front And Rear Wipers, And Onboard Computer.
Description
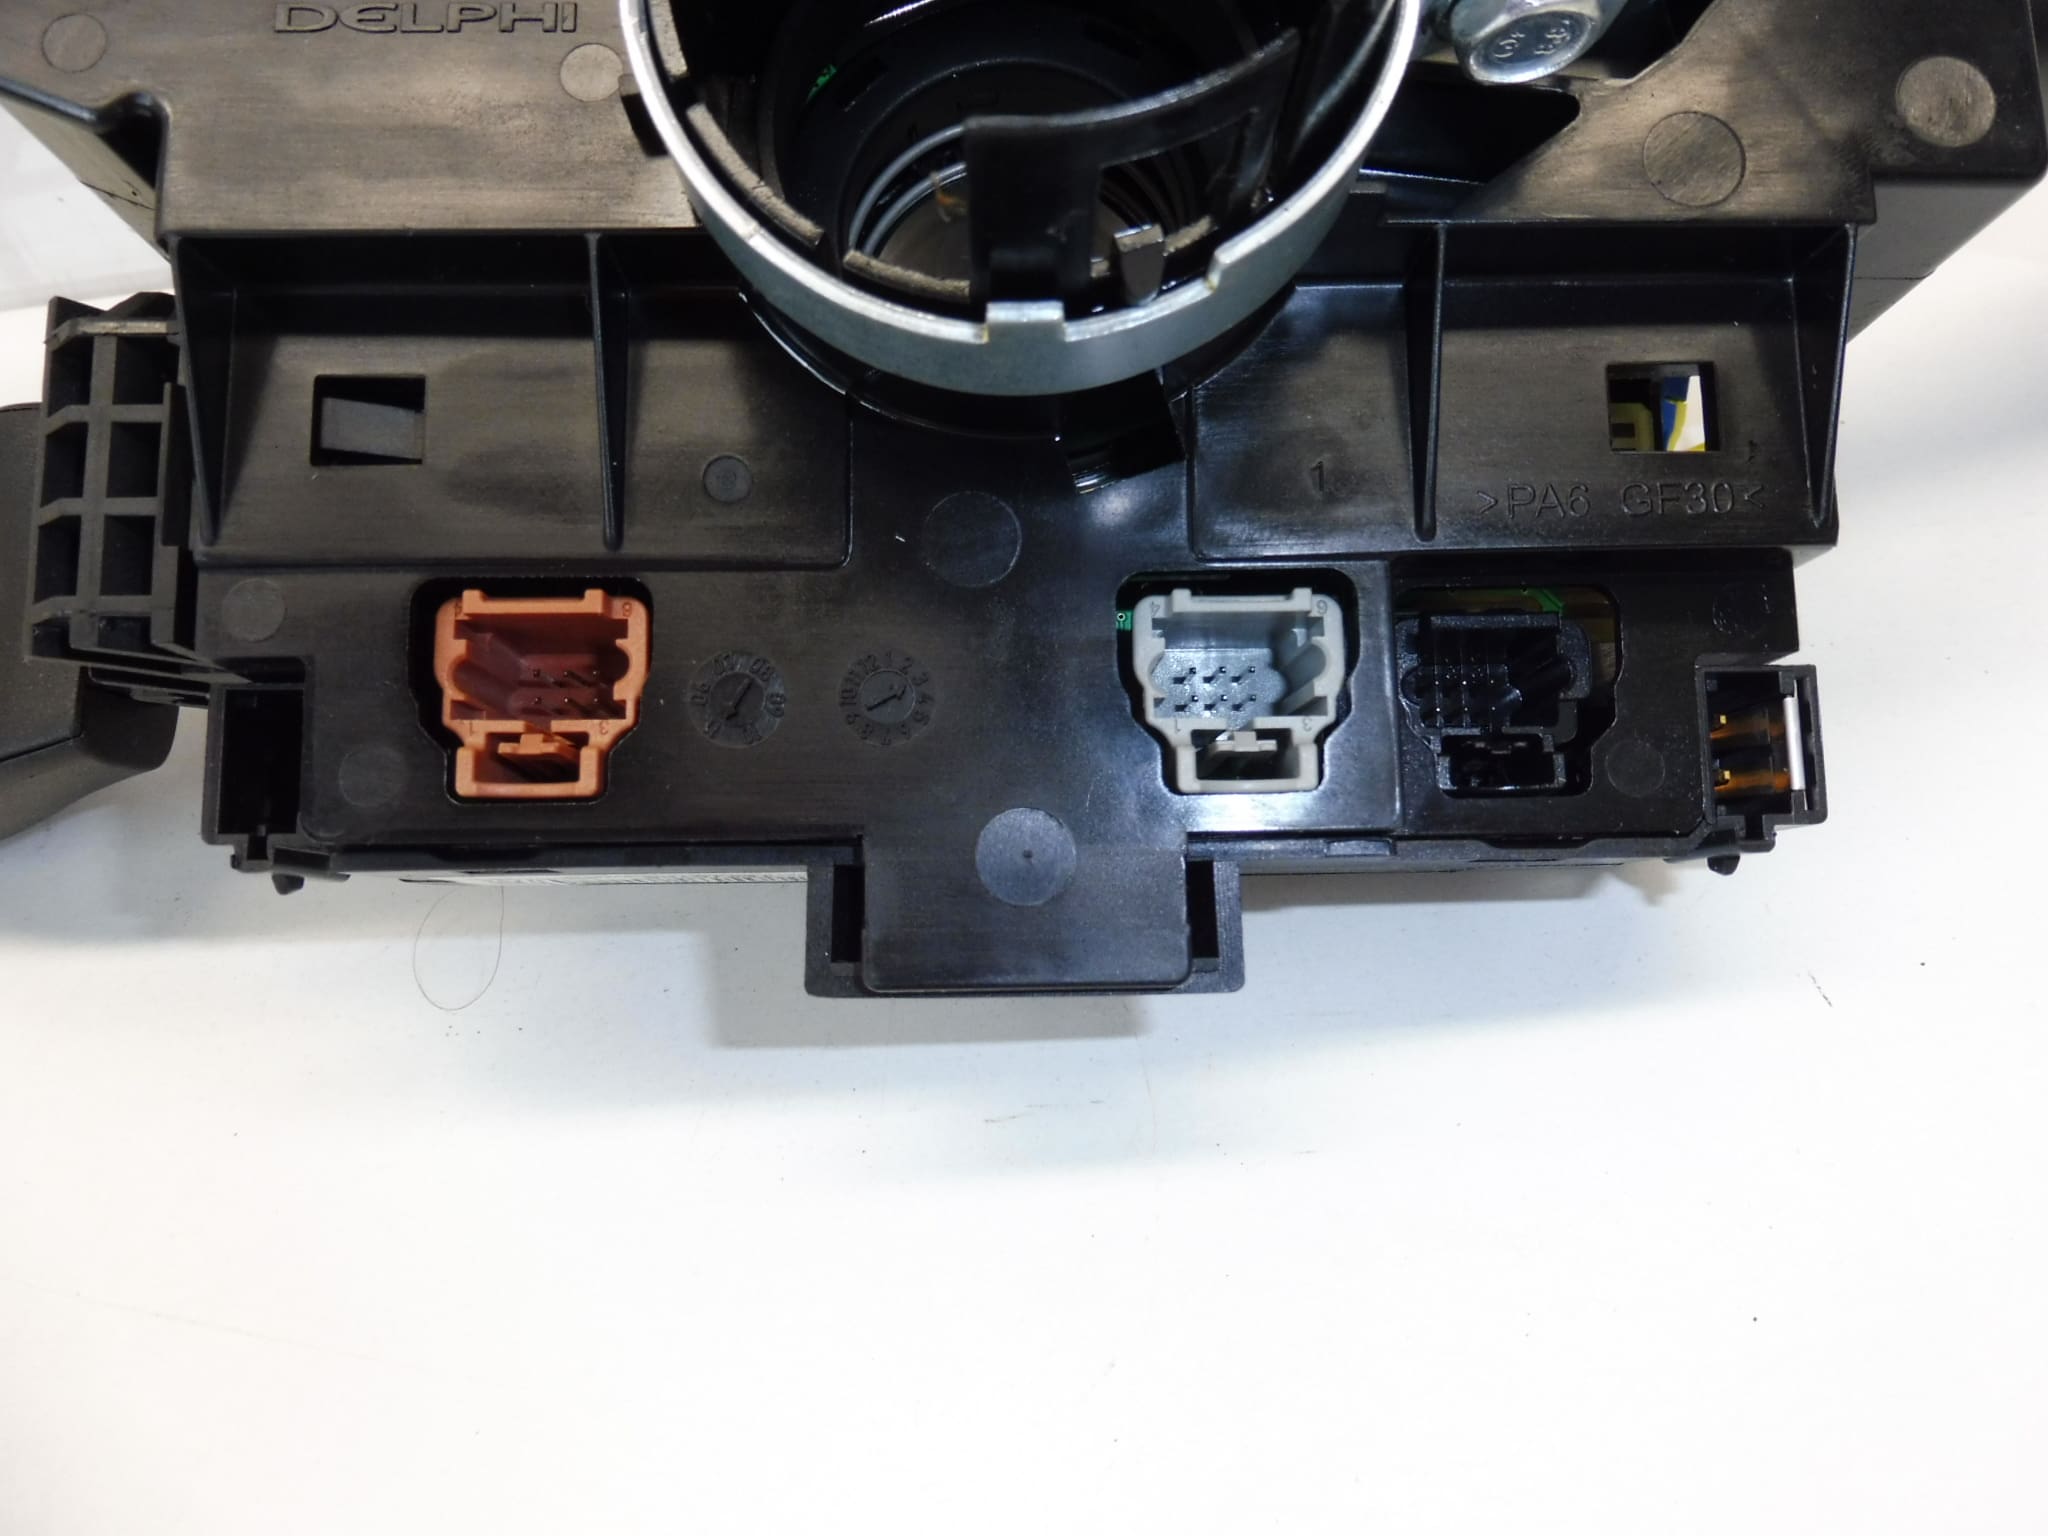
High-quality steering column stalk assembly compatible with selected Citroën and Peugeot models. The Delphi COM2005 stalks provide reliable control of vehicle stability systems (ESP), fog lights, front and rear wipers, and the onboard computer functions. This part is often searched for by its product codes 96643943XT, 98062014XT, 98016686XT, so listing the correct reference increases the chance to find the exact match for faster repairs.
Technical Information
- Manufacturer: Delphi
- Model: Peugeot 308 (First Generation), Citroën C3 Picasso
- Product Codes: 96643943XT, 98062014XT, 98016686XT
- Other Numbers: 6242PK, COM2005
Compatibility
Designed For Peugeot 308 (First Generation, Approx. 2007–2013) And Citroën C3 Picasso (Approx. 2008–2017). Verify Fitment By Matching The Product Codes Against The Unit Installed In The Vehicle.
Function And Typical Failure Modes
The stalk Assembly Houses Multiple Microswitches And Electrical Contacts That Translate Mechanical Inputs Into Signals For ESP, Lighting, Wipers, And The Instrument-Cluster Controls. Common Reasons For Failure Include Mechanical Wear Of The Microswitches, Contaminated Or Corroded Contacts, Broken Plastic Levers Or Clips, Water Ingress, And Intermittent Connector Faults. Symptoms Include Non-Responsive Wipers, Inoperative Fog Lights, ESP Warning Lights, Or Erratic Onboard Computer Controls.
Replacement Procedure
Basic Replacement Steps (Typical):
- Switch Off Ignition And Disconnect Negative Battery Terminal. Wait A Few Minutes To Allow Residual Power To Discharge.
- Remove Upper And Lower Steering Column Trim Covers (Usually Secured With Screws Or Clips).
- Disconnect Electrical Connectors From The Stalk Assembly Carefully.
- Release Retaining Clips Or Screws And Remove The Old Stalk Assembly.
- Install The New Stalk, Secure Fastenings, Reconnect Plugs, And Refit Column Covers.
- Reconnect Battery And Test All Functions: Wipers (Front/Rear), Fog Lights, ESP Switching, And Onboard Computer Controls.
Typical Replacement Time: 0.5–1.5 Hours Depending On Model And Whether Steering Wheel/Airbag Removal Is Required.
Installation Recommendations
- Always Disconnect The Battery Before Starting Work And Follow Manufacturer Procedures To Avoid Damage To Electrical Systems And Airbag Components.
- If Removal Of The Steering Wheel Or Airbag Is Necessary, Follow Correct SRS Safety Procedures Or Have The Job Performed By A Qualified Technician.
- Use Appropriate Tools (Torx, Precision Screwdrivers, Trim Tools) And Inspect Connectors For Corrosion; Apply Contact Cleaner If Needed.
- After Installation, Verify All Functions And Clear Any Related Fault Codes Using Suitable Diagnostic Equipment If Required.
Why This Part Usually Fails
Repeated Mechanical Use Causes Microswitch And Contact Wear. Environmental Factors Such As Moisture And Dirt Lead To Corrosion Or Short Circuits. Plastic Components And Clips Can Become Brittle Over Time And Break During Operation Or Removal. Electrical Surges Or Faulty Wiring May Also Cause Premature Failure.
Buying Advice
Search By Product Codes (96643943XT, 98062014XT, 98016686XT) To Find The Correct Unit Quickly. Ensure The Stalk Version Matches The Vehicle’s Equipment Level (Wiper Options, Fog Lights, Steering Controls). If You Require Professional Diagnosis Or Coding After Replacement, Book With A Workshop Equipped For PSA Vehicles.