Description
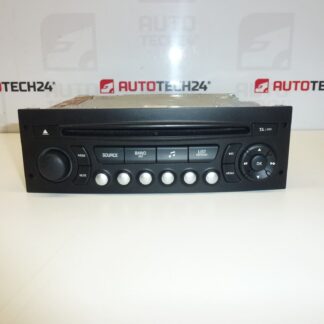
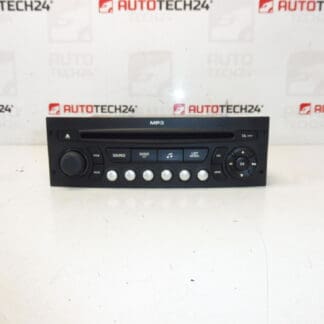
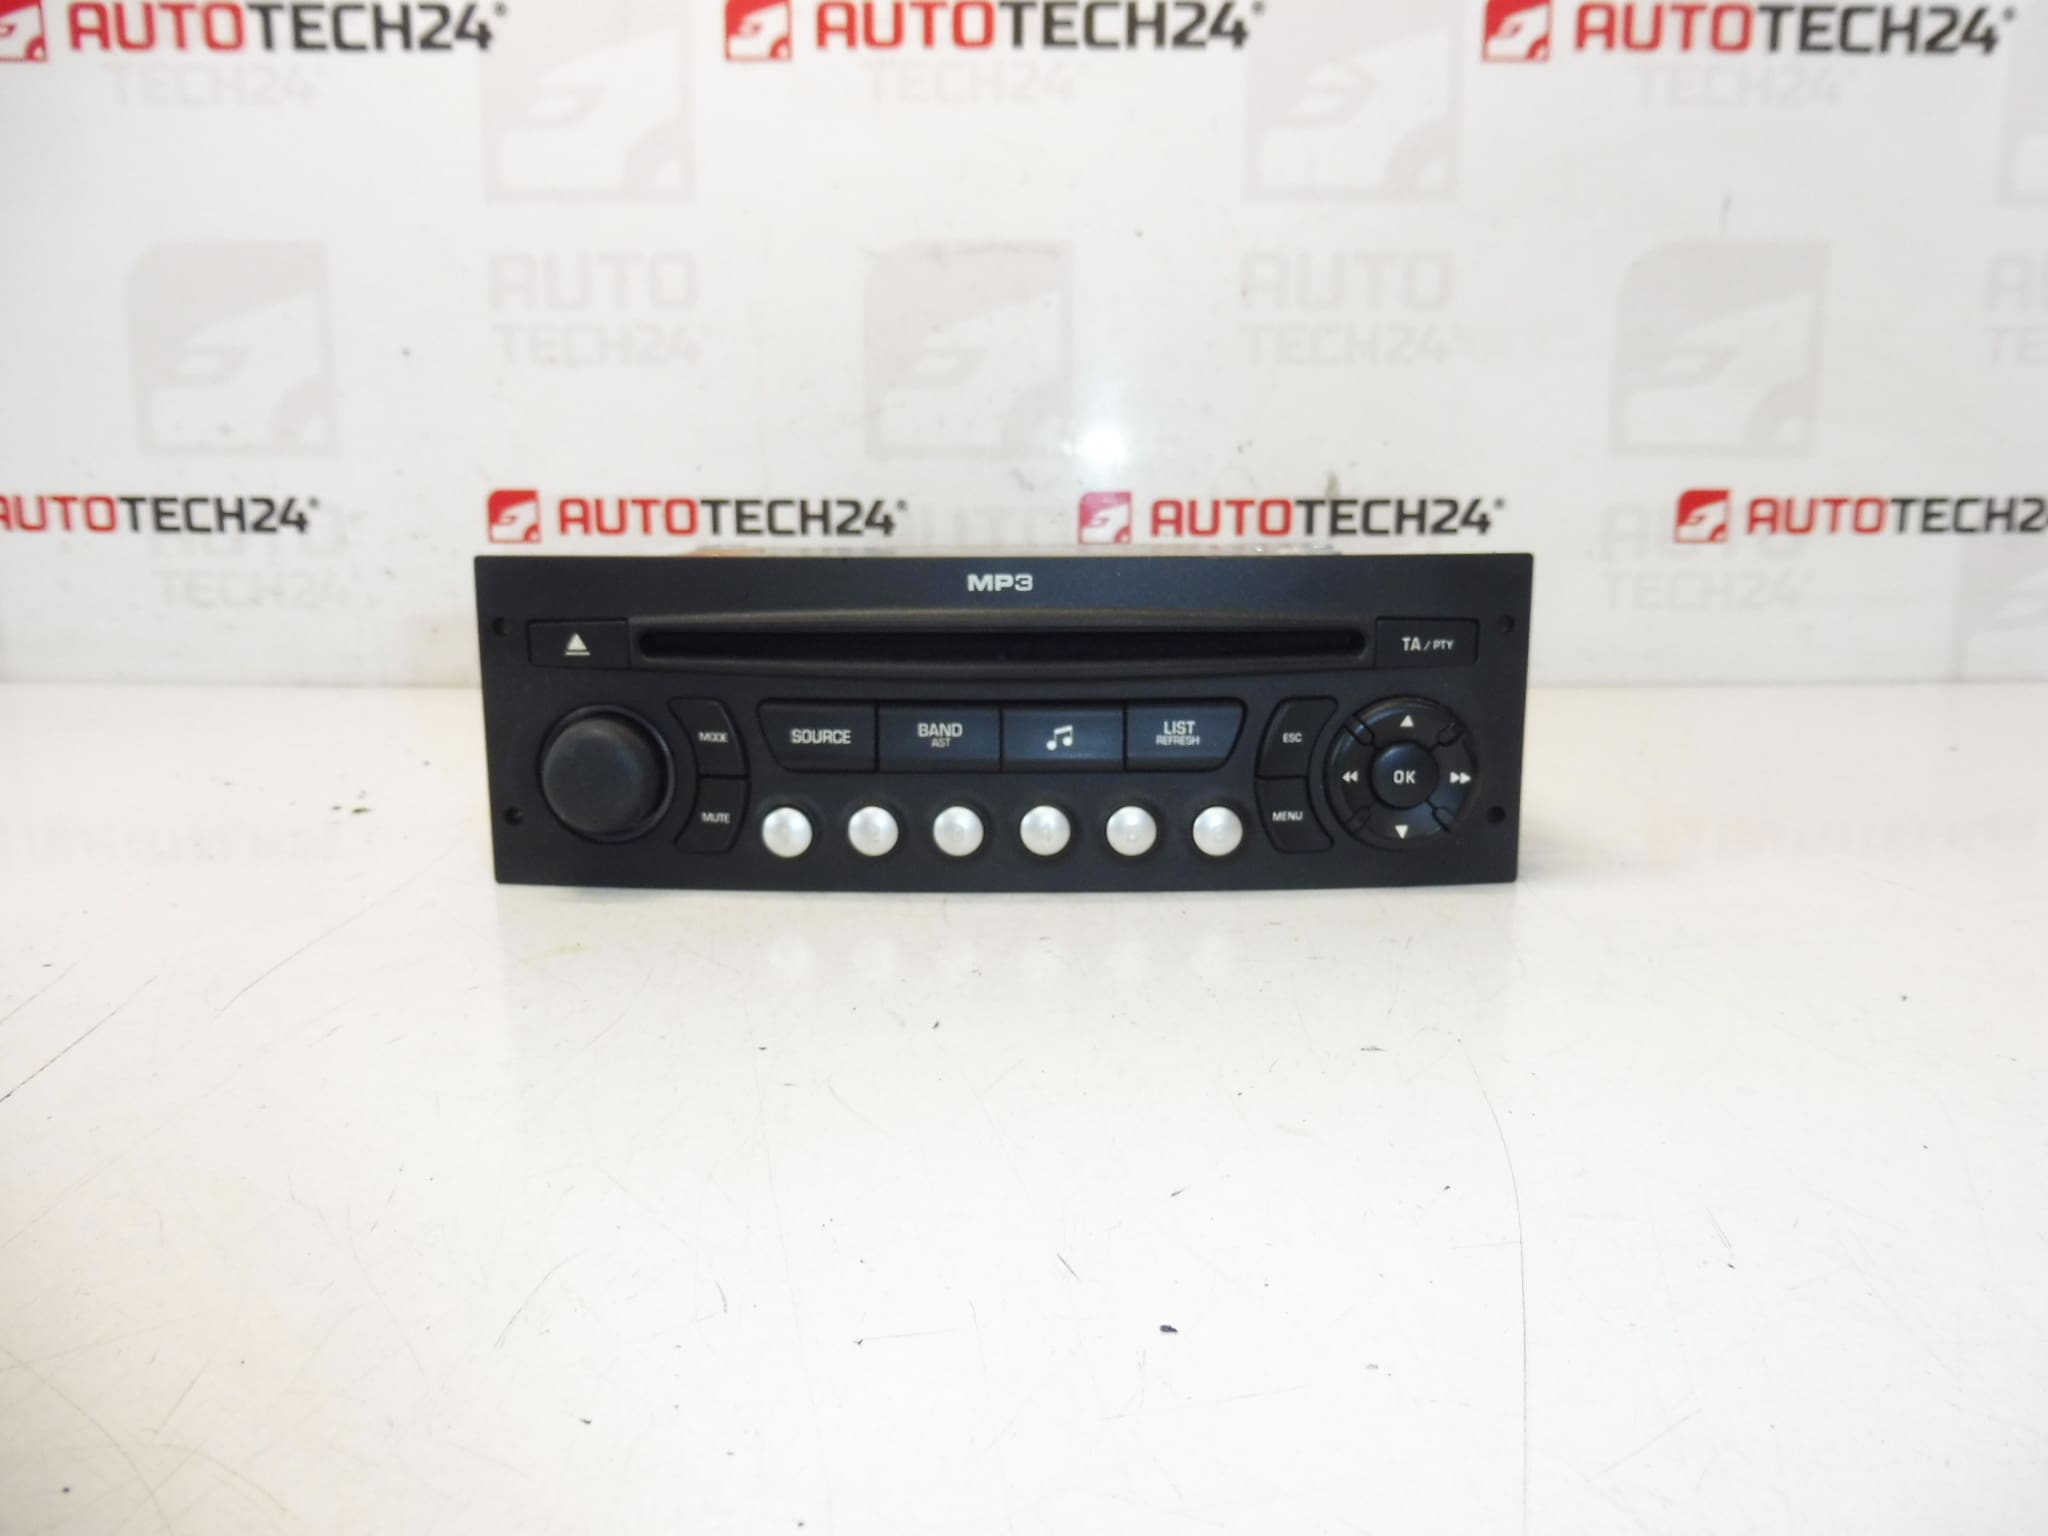
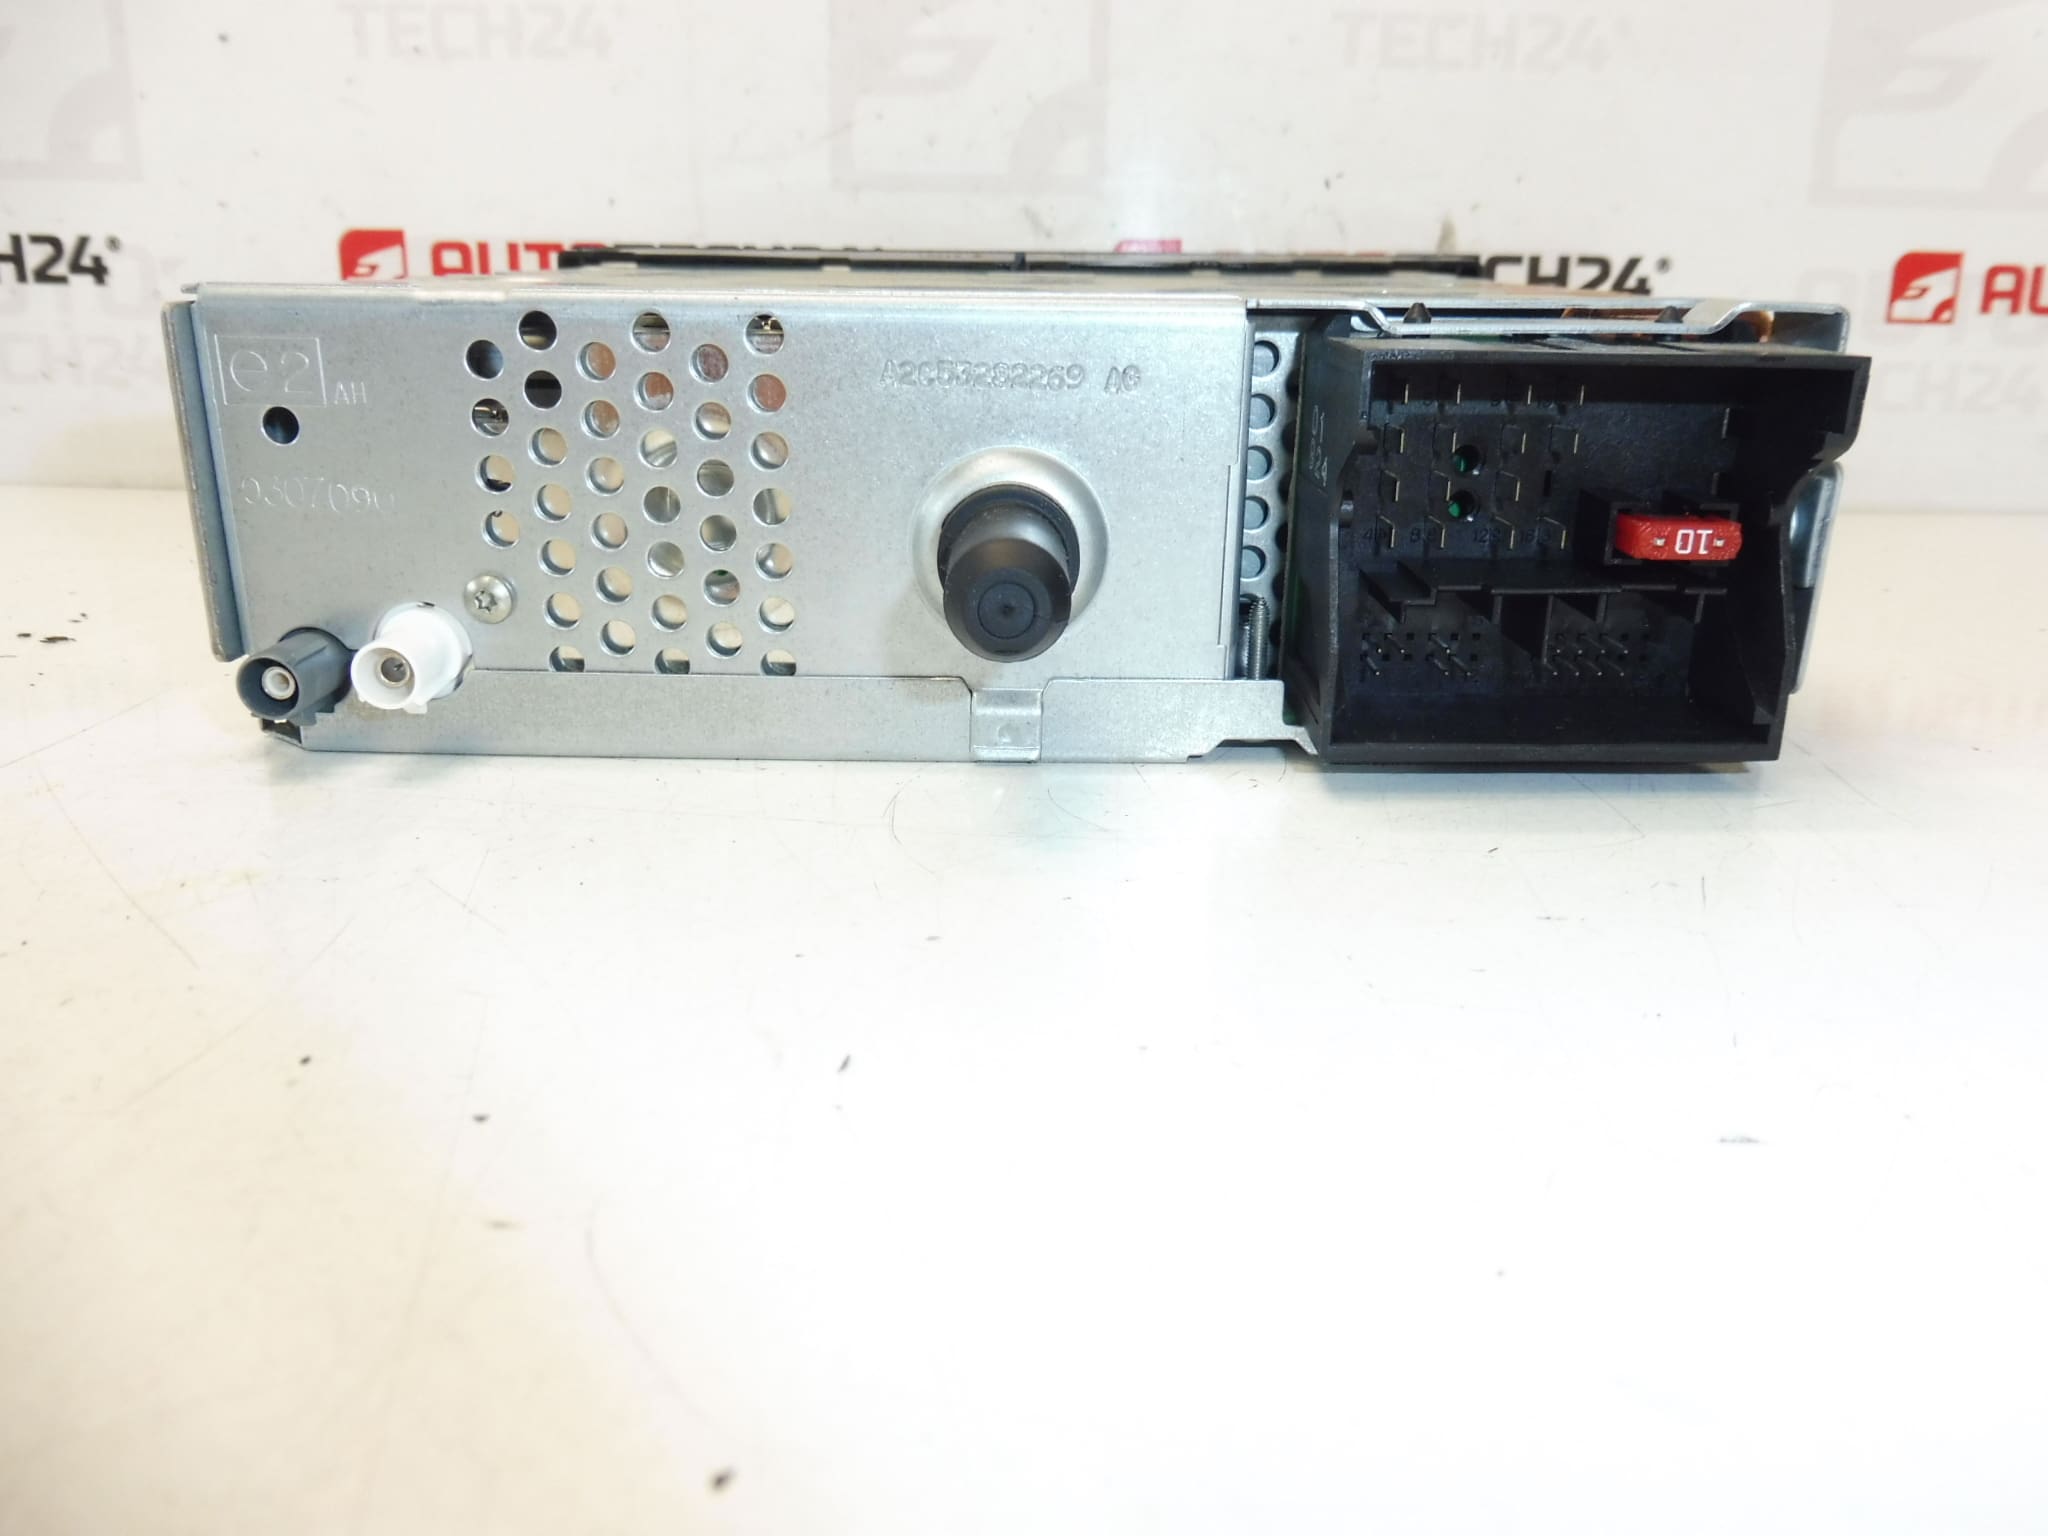
The Continental CD car radio is from a CITROEN C4 Picasso 2010
The radio must be added to the car through diagnostics
Tested and fully functional
Part description
The used Citroën Peugeot RD4N2M-03 car radio is an original Continental part designed for PSA cars. This piece is from a Citroën C4 Picasso and is suitable for customers looking for a replacement for a broken or damaged original part number radio.
The advantage is the verified functionality before disassembly and after testing. The radio is supplied as a used original car part, which is a practical choice for repairing the car without having to buy a new part. When searching, the codes 96660456XT, 16077577XT and 6574LW are often searched for.
Technical information
- Manufacturer: Continental
- Model: Citroën C4 Picasso
- Other numbers: RD4N2M-03, 96660456XT, 16077577XT, 6574LW
Product codes
- Product codes: 96660456XT, 16077577XT, 6574LW, RD4N2M-03
- Model name from labels/backgrounds: Citroën C4 PICASSO
Installation recommendations
For this part, it is explicitly stated in the documents that the radio must be added to the car with diagnostics. The procedure below is therefore general and typically applies to the replacement of this type of car radio in Citroën and Peugeot cars. The exact procedure may vary depending on the specific model of the car.
1) Before assembly
- Check that all visible tags and part numbers match the old car stereo.
- Compare the type of connectors, mounting and front design of the unit.
- Check the visual condition of the used part – damage to the front panel, connectors, locks and CD drive.
- Before starting work, we recommend turning off the ignition and safely disconnecting the car’s power according to normal service practice.
2) Necessary tools and materials
- common disassembly tools for interior parts
- tools for removing the car radio, if needed for the design
- screwdrivers or bits depending on the type of fastening
- clean cloth to protect surrounding plastics
- diagnostic equipment for connecting the radio to the car
3) Step-by-step assembly procedure
- Prepare the vehicle for work and ensure that there is no risk of damage to the interior plastics during disassembly.
- Carefully remove the cover or surrounding parts of the dashboard if it is obstructing access to the radio.
- Remove the original car radio in a manner corresponding to its attachment.
- Disconnect all electrical connectors and any antenna cables.
- Compare the old and new part – especially connectors, mounts, faceplate and product numbers.
- Connect the connectors to the installed used radio and check for proper seating without excessive force.
- Place the radio in the mounting position and check that the wiring is not pressing anywhere before final fixing.
- Do the basic mechanical fixing of the unit.
- Use diagnostics to connect the radio to the car as described in the documentation.
- After successful transfer, verify the basic functions of the radio and the response of the controls.
- Finish assembly of surrounding dismantled interior parts.
- Do a final check of fit and appearance after assembly.
-
4) Post-assembly checks and test drive/function verification
- Check radio power on and basic control functionality.
- Verify the readability of the display and the response of the buttons.
- Test radio reception and CD function if available.
- When driving for a short time or during normal operation, watch for power outages or spontaneous restarts of the unit.
5) The most common assembly mistakes + how to avoid them
- Exchange part by incomplete number – always compare all available designations on the label.
- Insufficient seating of connectors – connectors must be properly engaged and without tension.
- Damage to surrounding plastics during disassembly – use appropriate disassembly tools and work carefully.
- Omission of diagnostic download – for this radio, according to the documents, a diagnostic download to the car is required.
- Pinching of wiring during reassembly – check the cable routing before tightening and seating the radio.
Reasons why the part is damaged
- normal wear and tear of electronics and mechanical parts during long-term use
- outages or power fluctuations in the vehicle
- damage to connectors during unprofessional disassembly or assembly
- wear of buttons, controls or CD drive
- moisture, dust or dirt in the interior of the vehicle
- damage after previous unprofessional interventions in the electrical installation