Description
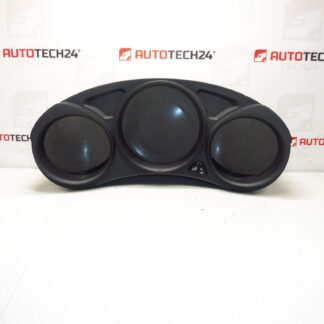
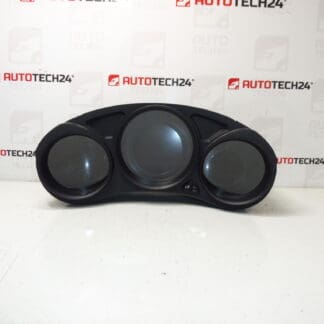
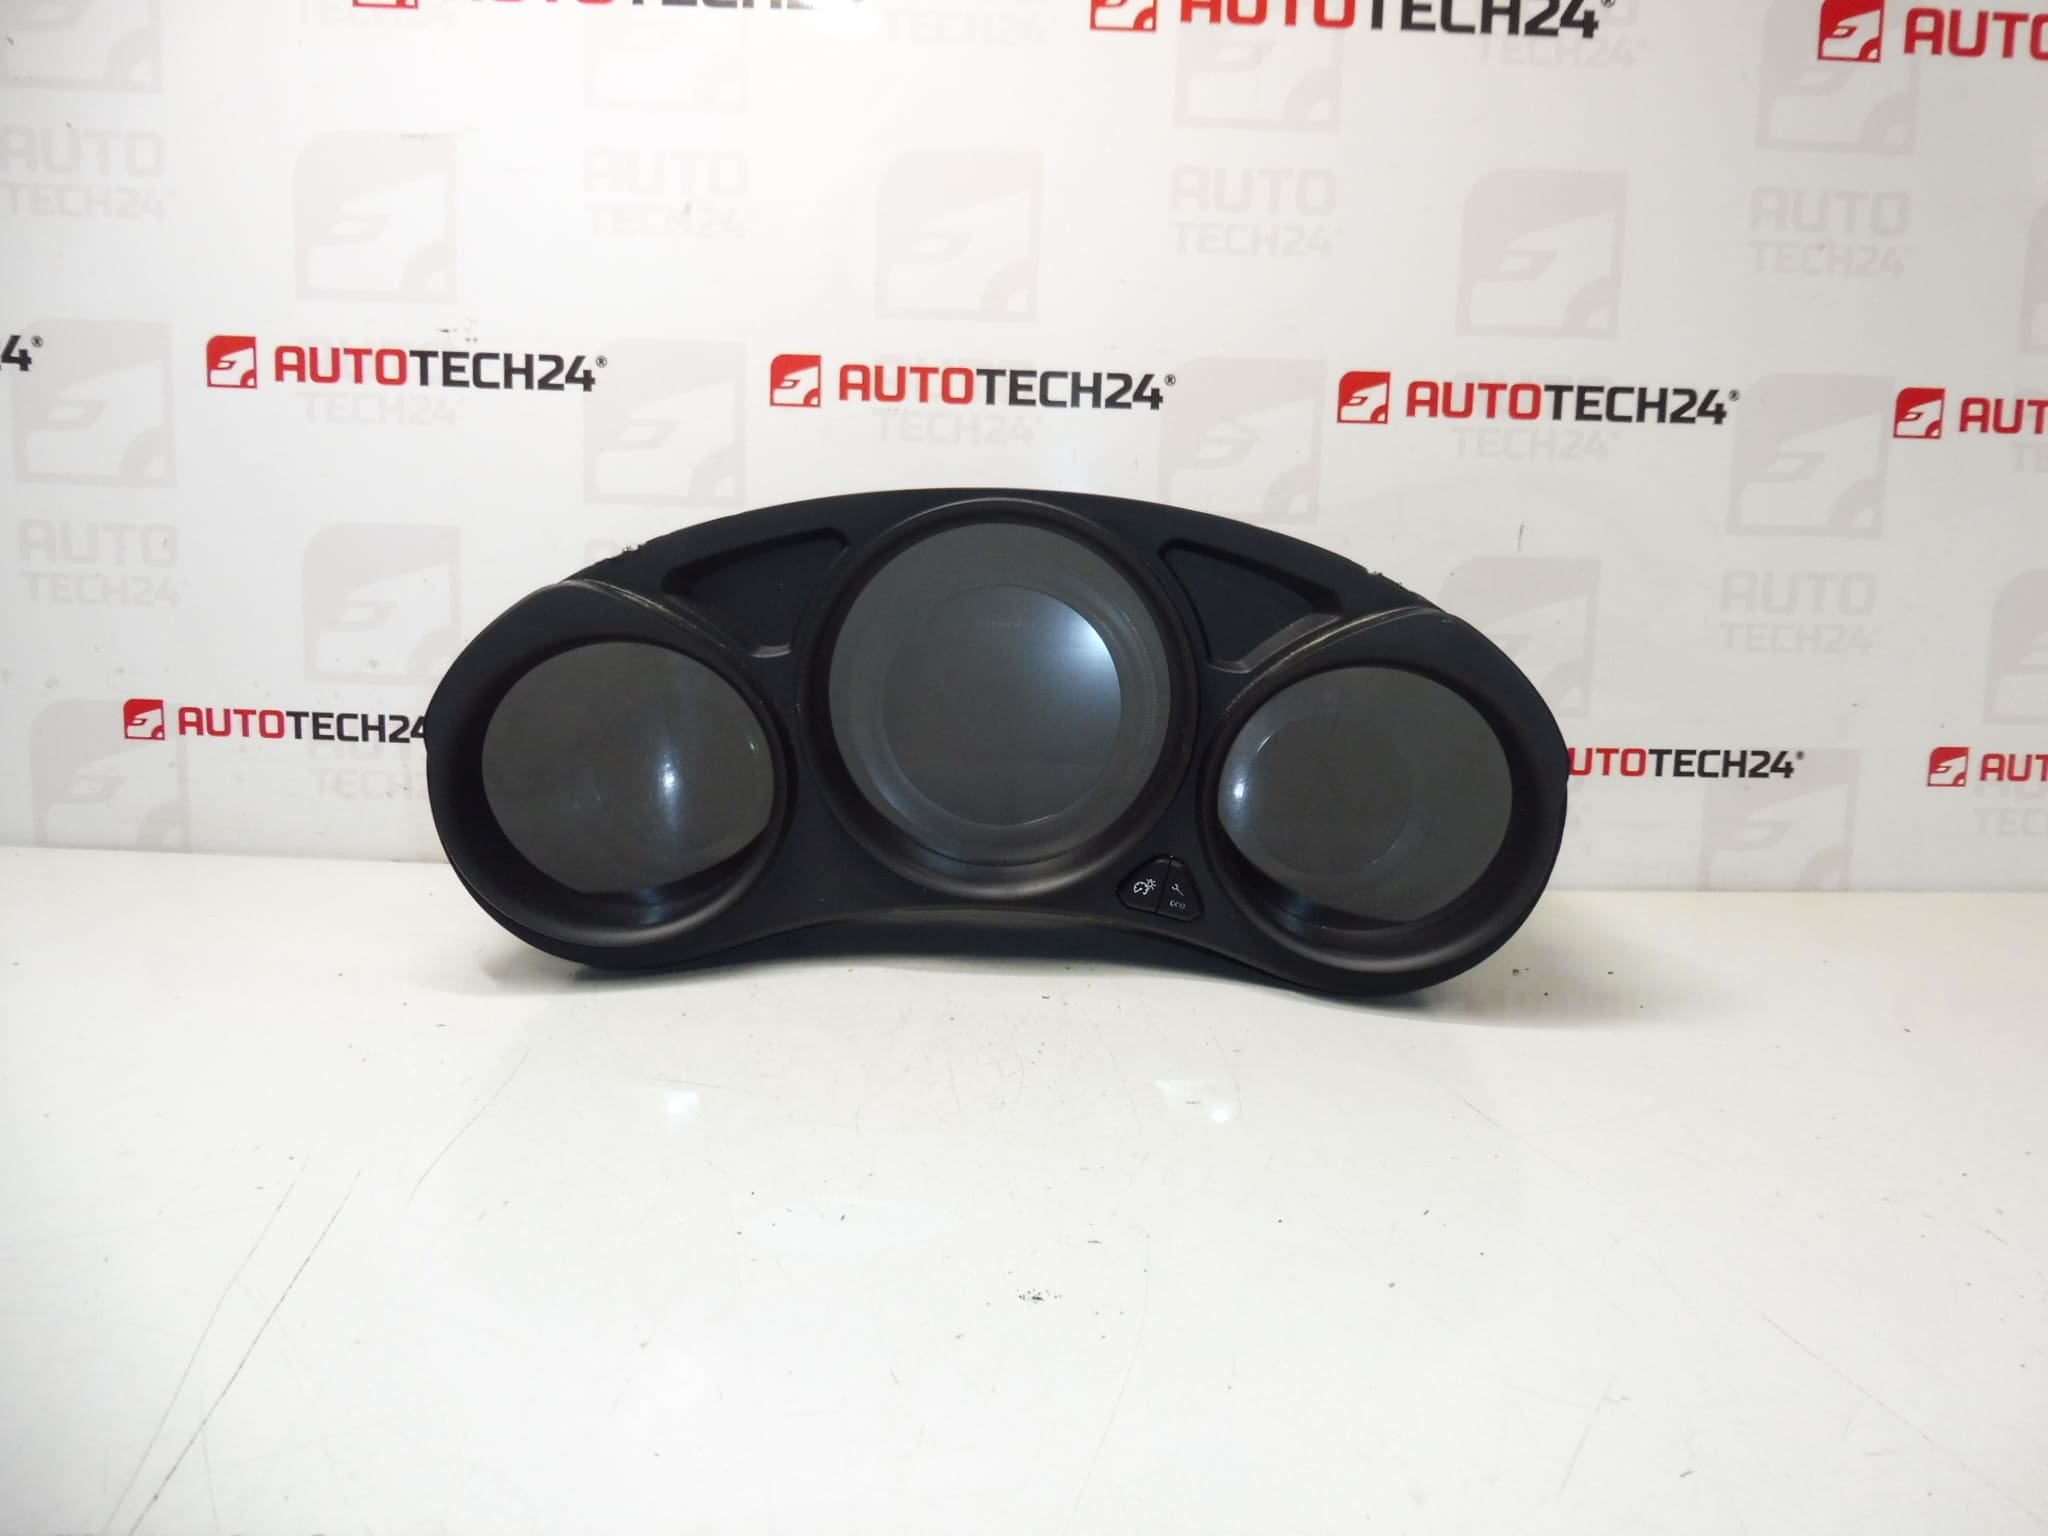
Combined instrument cluster for CITROEN C4 B7. Vehicle had approximately 110,000 km ± 3,000 km.
Premium used instrument cluster suitable for Citroën C4 II (B7) owners and professional workshops. This combined instrument displays vehicle speed, engine RPM (tachometer), odometer reading and warning indicators. The unit is a direct-fit replacement referenced under several OE numbers and is ideal for mechanics and DIY enthusiasts looking for an original equipment style cluster. Common search terms include Citroën C4 instrument cluster, tachometer 96657316XT, speedometer 6103QC and instrument cluster 9812831980.
Technical Information
- Manufacturer: Stellantis (Citroën)
- Model: Citroën C4 II (B7)
- Product Codes: 96657316XT, 9812831980
- Additional Numbers: 6103QC, 6103QE
Function And Application
The instrument cluster provides the driver with speedometer and tachometer readings, odometer/trip information and visual warnings (engine, ABS, airbag, etc.). It is designed for Citroën C4 II chassis (internal B7 designation) and fits the original dashboard mounting points and electrical connectors used by the model.
Common Faults And Causes
- Intermittent display or dead segments — often caused by failed LEDs or display driver faults.
- Incorrect or non-updating odometer/trip readings — can result from worn internal stepper motors or contact faults.
- Loss of gauges or flickering needles — frequently due to cracked solder joints on the cluster PCB from vibration and thermal cycling.
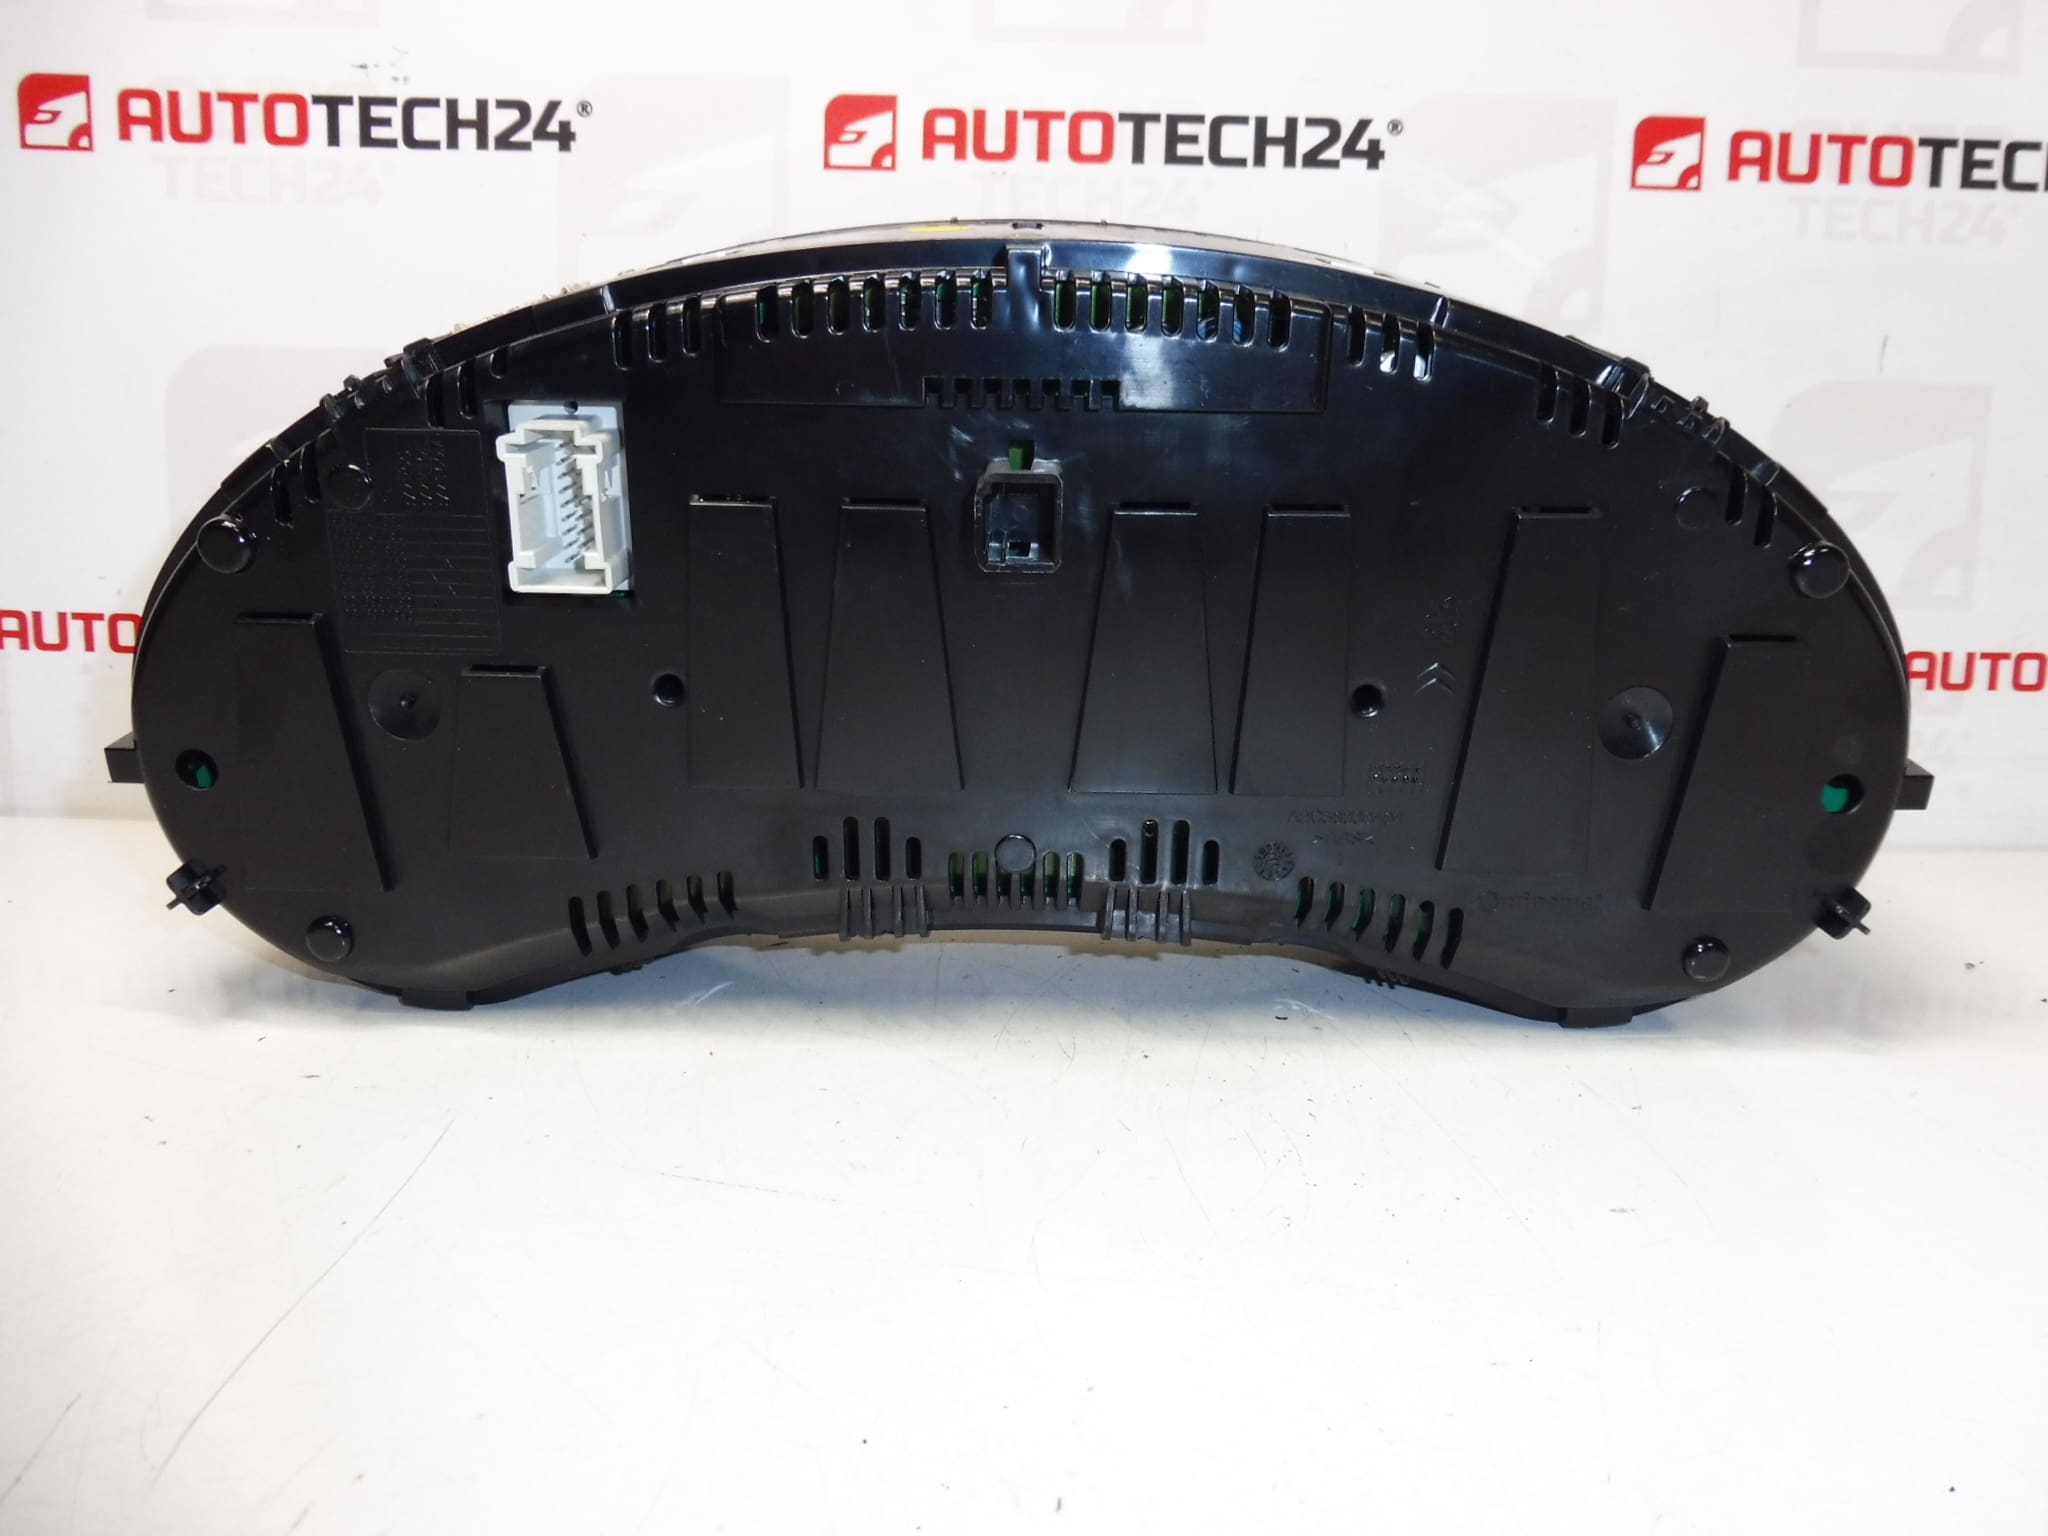
- Connector corrosion or damaged pins — moisture ingress or poor electrical contact at the loom plug.
- Electronic failures after short circuits or battery disconnects done incorrectly.
Replacement Procedure (Overview)
- Park vehicle on level surface and engage parking brake.
- Disconnect negative battery terminal and wait a few minutes to avoid electrical damage.
- Remove trim pieces and steering column covers to access instrument cluster screws.
- Unscrew mounting screws and gently pull cluster forward to reach electrical connectors.
- Release connectors and remove the unit. Fit the replacement cluster, reconnect plugs and secure with screws.
- Reconnect battery, start vehicle and check that all gauges and warning lights function correctly.
- When required, perform adaptation/coding with PSA diagnostic tools (DiagBox/PP2000) to ensure correct mileage display and vehicle settings.
Installation Recommendations
- Always disconnect the battery before starting work and follow manufacturer removal procedures to prevent damage.
- Handle the cluster carefully; avoid touching PCB contacts and display surfaces.
- Inspect loom connectors and pins for corrosion or damage and clean contacts before reconnection.
- If the vehicle shows immobilizer or communication errors after swap, use appropriate PSA diagnostic tools for initialization and coding.
- For permanent repairs of display or gauge issues, have solder joints and connectors inspected by a qualified electronics technician.
Why This Part Is Useful
Replacing a faulty instrument cluster restores accurate speed and RPM information, re-enables warning indicators and returns full dashboard functionality. Using an original-style cluster with matching product codes ensures proper mechanical fit and reduces integration work for professional installers and experienced DIY mechanics.