Description
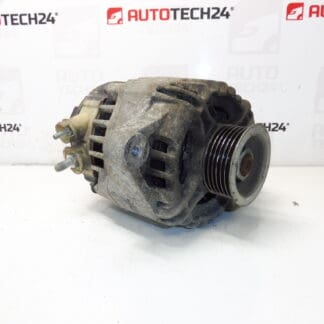
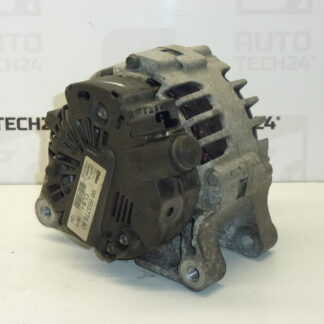
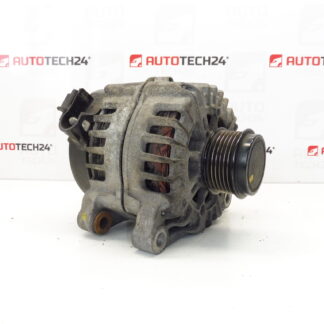
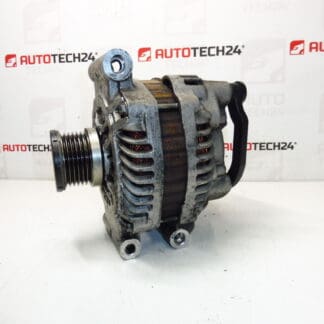
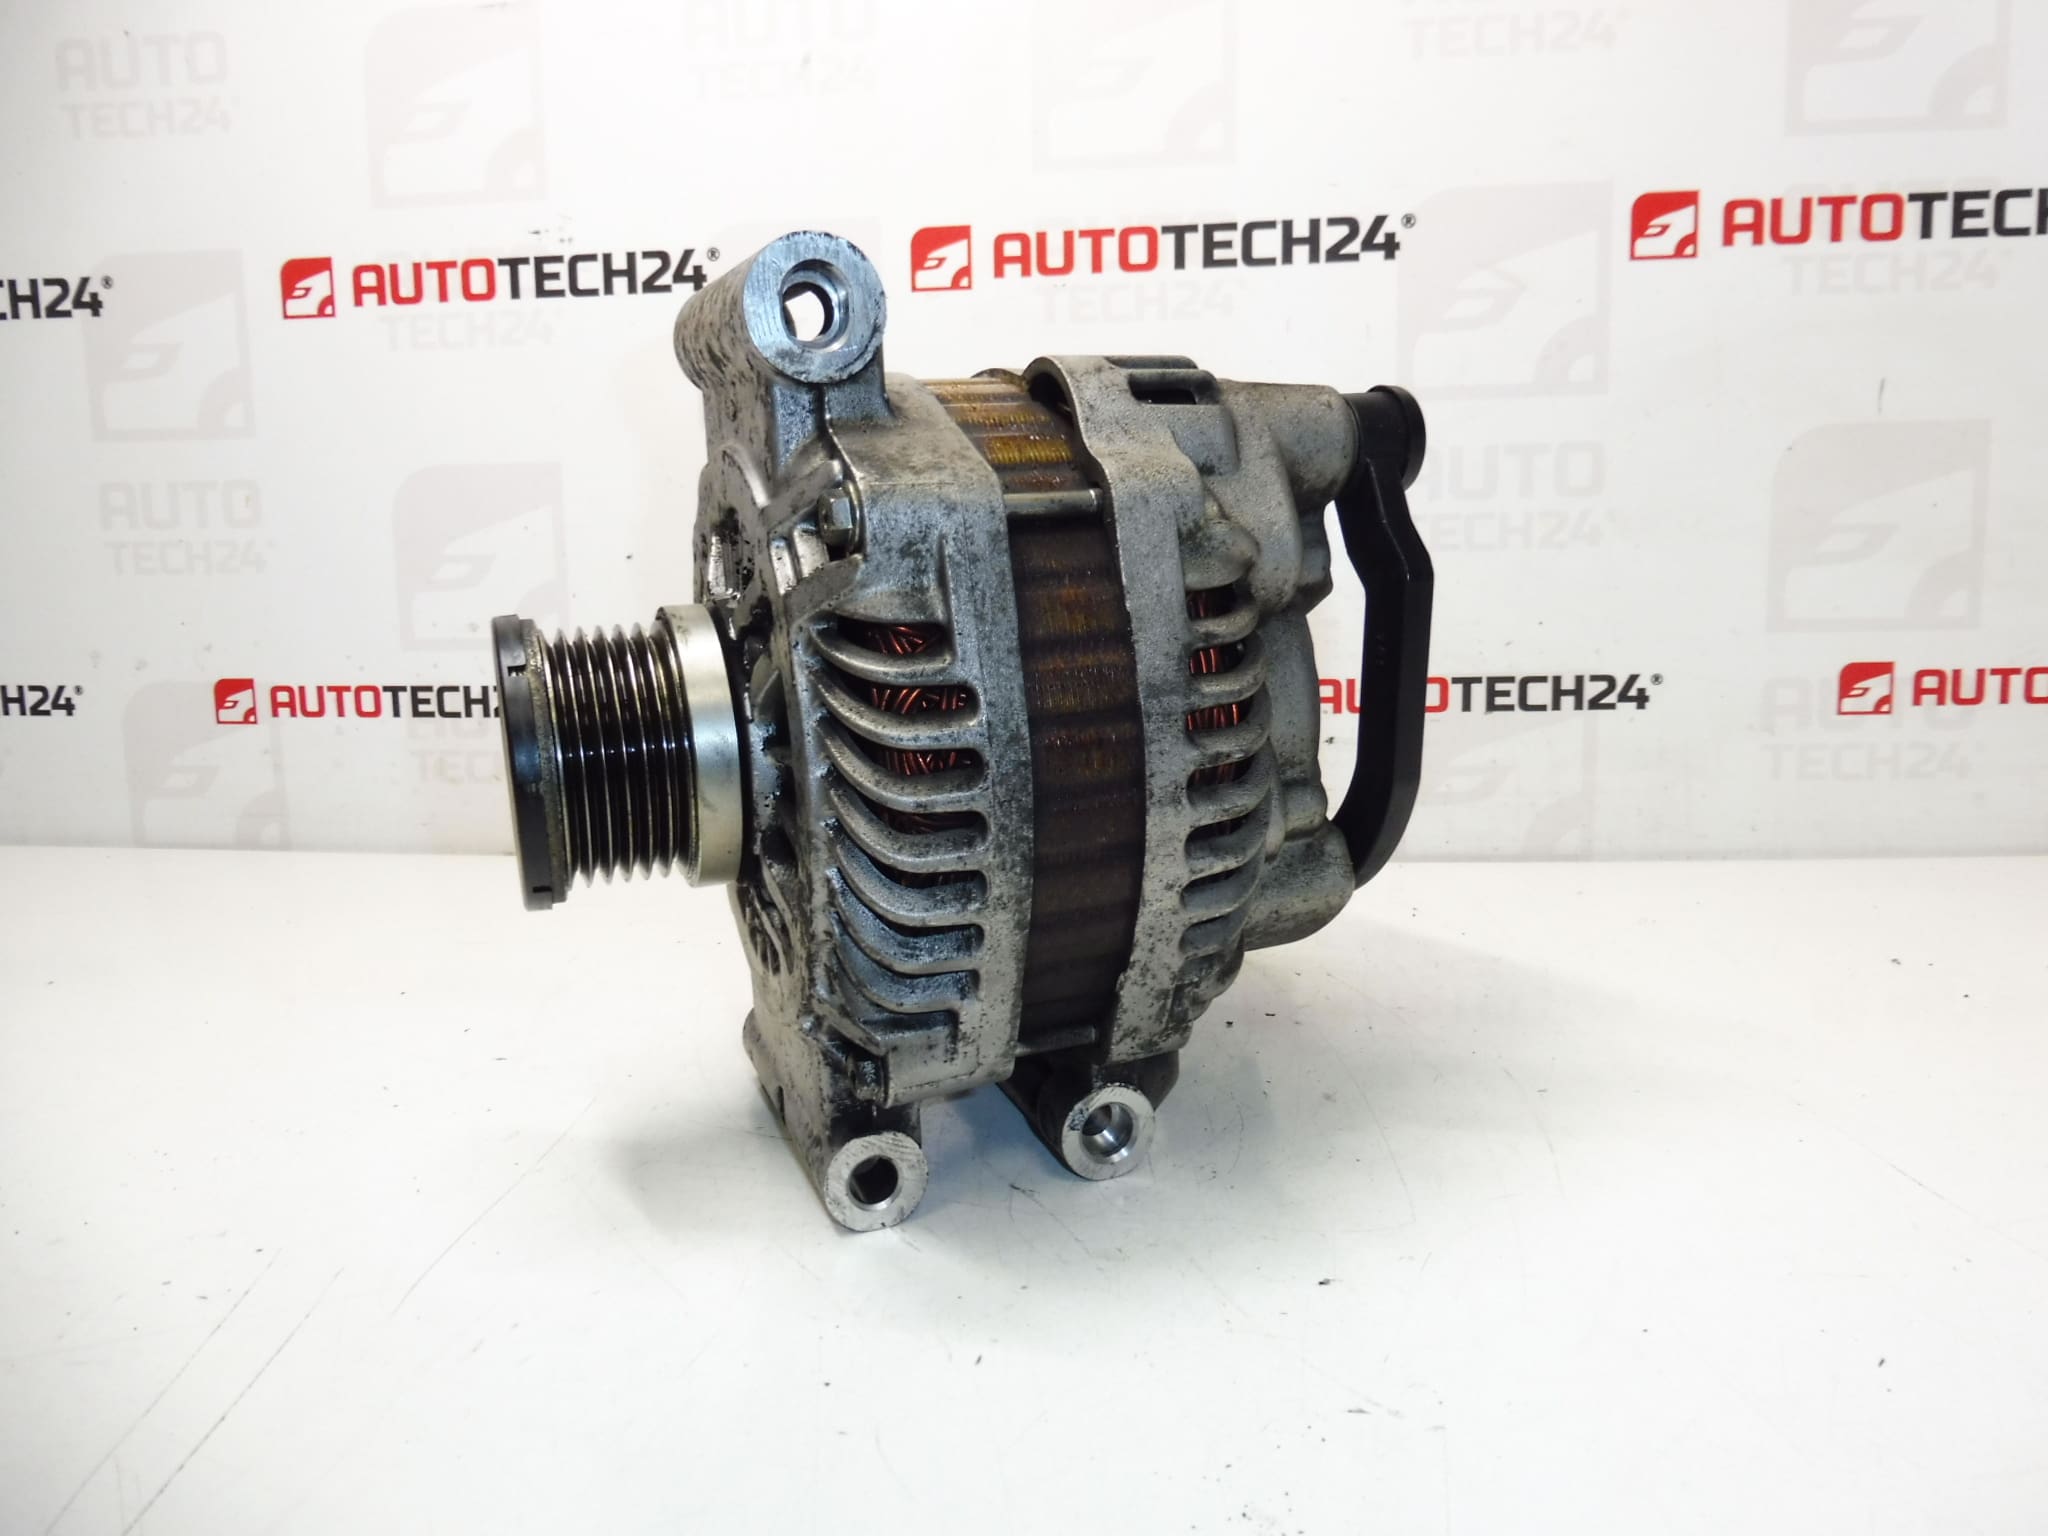
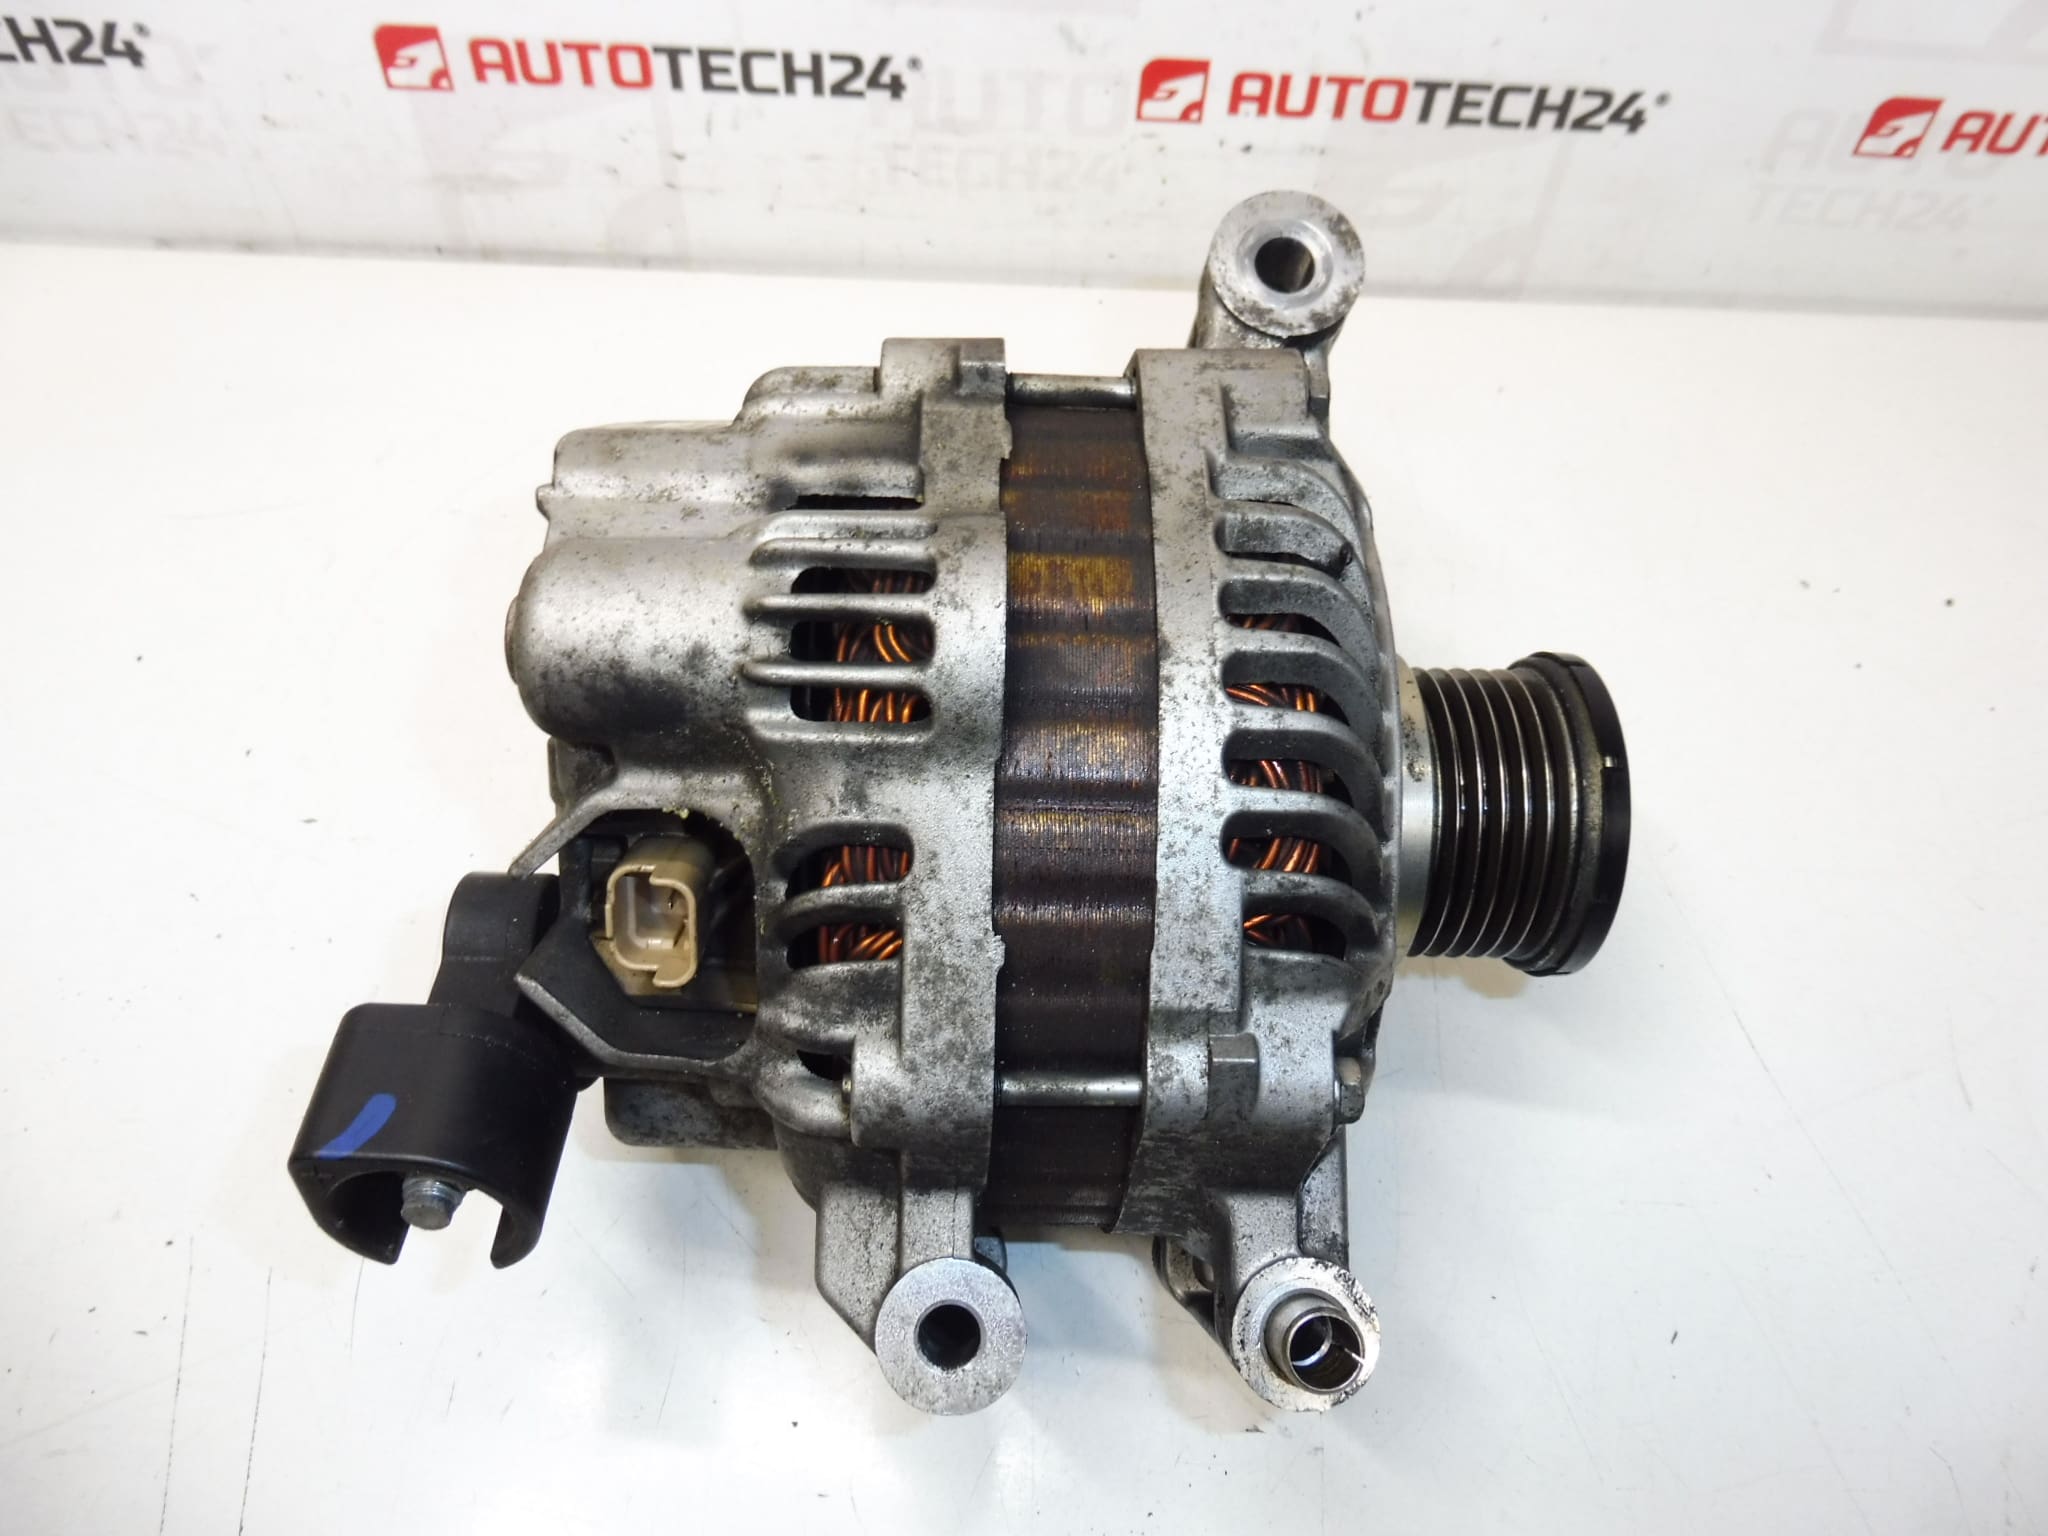
Mitsubishi CL12 alternator for Peugeot and Citroën vehicles with 1.4 VTi and 1.6 VTi engines.
This Mitsubishi CL12 alternator is a direct-fit charging unit commonly used on Stellantis vehicles (Citroën and Peugeot) equipped with 1.4 VTi and 1.6 VTi petrol engines. Ideal for professional workshops and experienced do-it-yourselfers, the unit is frequently searched by part number (V757692180, A003TG5281ZE, 5705KG and related references). The alternator restores reliable 12V charging, helps maintain battery state of charge during normal and heavy electrical loads, and offers an OEM-compatible solution for vehicles listed below. If you are replacing a failing alternator, choosing the correct part number speeds up diagnosis and fitment.
Technical Information
- Manufacturer: Mitsubishi (Used On Stellantis Vehicles)
- Model: CL12 Alternator
- Product Codes: V757692180, A003TG5281ZE, 5705KG
- Additional Numbers: 1638095080, 9819187680, 5702J0
- Applications / Compatible Models: Citroën C3, Citroën C3 Picasso, Citroën C4 II, Peugeot 207, Peugeot 301, Peugeot 308 — Engines: 1.4 VTi, 1.6 VTi
- Electrical System: 12V charging system (standard alternator for petrol VTi engines)
Installation Recommendations
- Disconnect Negative Battery Terminal Before Work To Avoid Short Circuits.
- Release Drive Belt Tensioner And Remove Serpentine Belt From Alternator Pulley.
- Disconnect Electrical Connectors And Remove Mounting Bolts; Take Note Of Bracket Orientation For Correct Refit.
- Inspect Belt, Tensioner, And Pulley Condition; Replace Worn Components To Prevent Premature Alternator Damage.
- Refit Alternator, Reinstall Belt And Set Correct Tension. Reconnect Electrical Connectors And Battery.
- Verify Charging System Operation After Installation: Typical Charging Voltage Should Be Approximately 13.8–14.5 V With Engine Running.
- Use Proper Tools And Follow Manufacturer Procedures To Avoid Damaging Terminals Or Housing.
Why This Part Fails Most Often
- Brush And Slip-Ring Wear: Brushes wear over time, causing poor contact and reduced charging output.
- Voltage Regulator Fault: Internal regulator failure leads to under‑ or overcharging of the battery.
- Bearing Wear: Noisy bearings or seized pulley reduce efficiency and can cause mechanical failure.
- Belt Or Tensioner Issues: Slipping belts or weak tensioners reduce alternator speed and charging capability.
- Contamination: Oil leaks, coolant leaks, or corrosion shorten alternator life and damage internal components.
- Electrical Overload Or Short Circuits: Excessive aftermarket electrical loads or wiring faults can overload the alternator.
Practical Tips For Mechanics And DIYers
- When Replacing, Compare Part Numbers Carefully — These Units Are Often Searched By Code.
- Always Check Battery Condition And Charging Cables; A Weak Battery Increases Strain On A New Alternator.
- Listen For Bearing Noise And Inspect Slip Ring Condition On The Old Unit To Confirm Failure Mode.
- Perform A Charging Load Test After Installation To Ensure Proper Operation Under Real Conditions.
- Keep Electrical Connections Clean And Secure To Prevent Intermittent Faults.
Service Life And Replacement Notes
Service life Depends On Driving Conditions, Electrical Load And Maintenance. Many Alternators Provide Years Of Service; However, High Mileage, Frequent Short Trips And Contamination From Oil Or Coolant Can Accelerate Wear. Replace The Alternator When Charging Output Is Unstable, Bearings Are Noisy, Or Brushes/Regulator Have Failed.
Keywords For Search
Alternator Mitsubishi CL12, V757692180, A003TG5281ZE, 5705KG, 1638095080, 9819187680, 5702J0, Alternator For Citroën, Alternator For Peugeot, 1.4 VTi Alternator, 1.6 VTi Alternator