Description
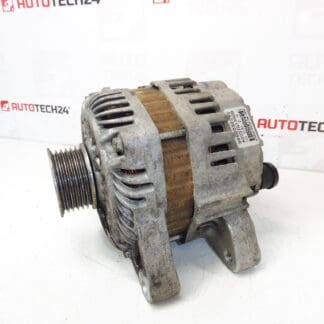
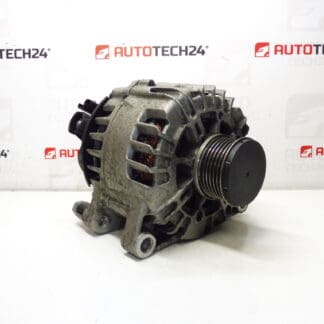
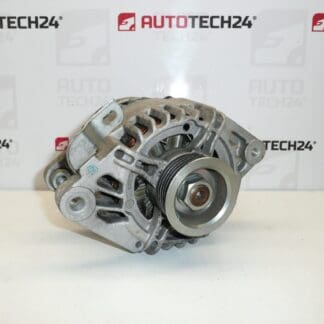
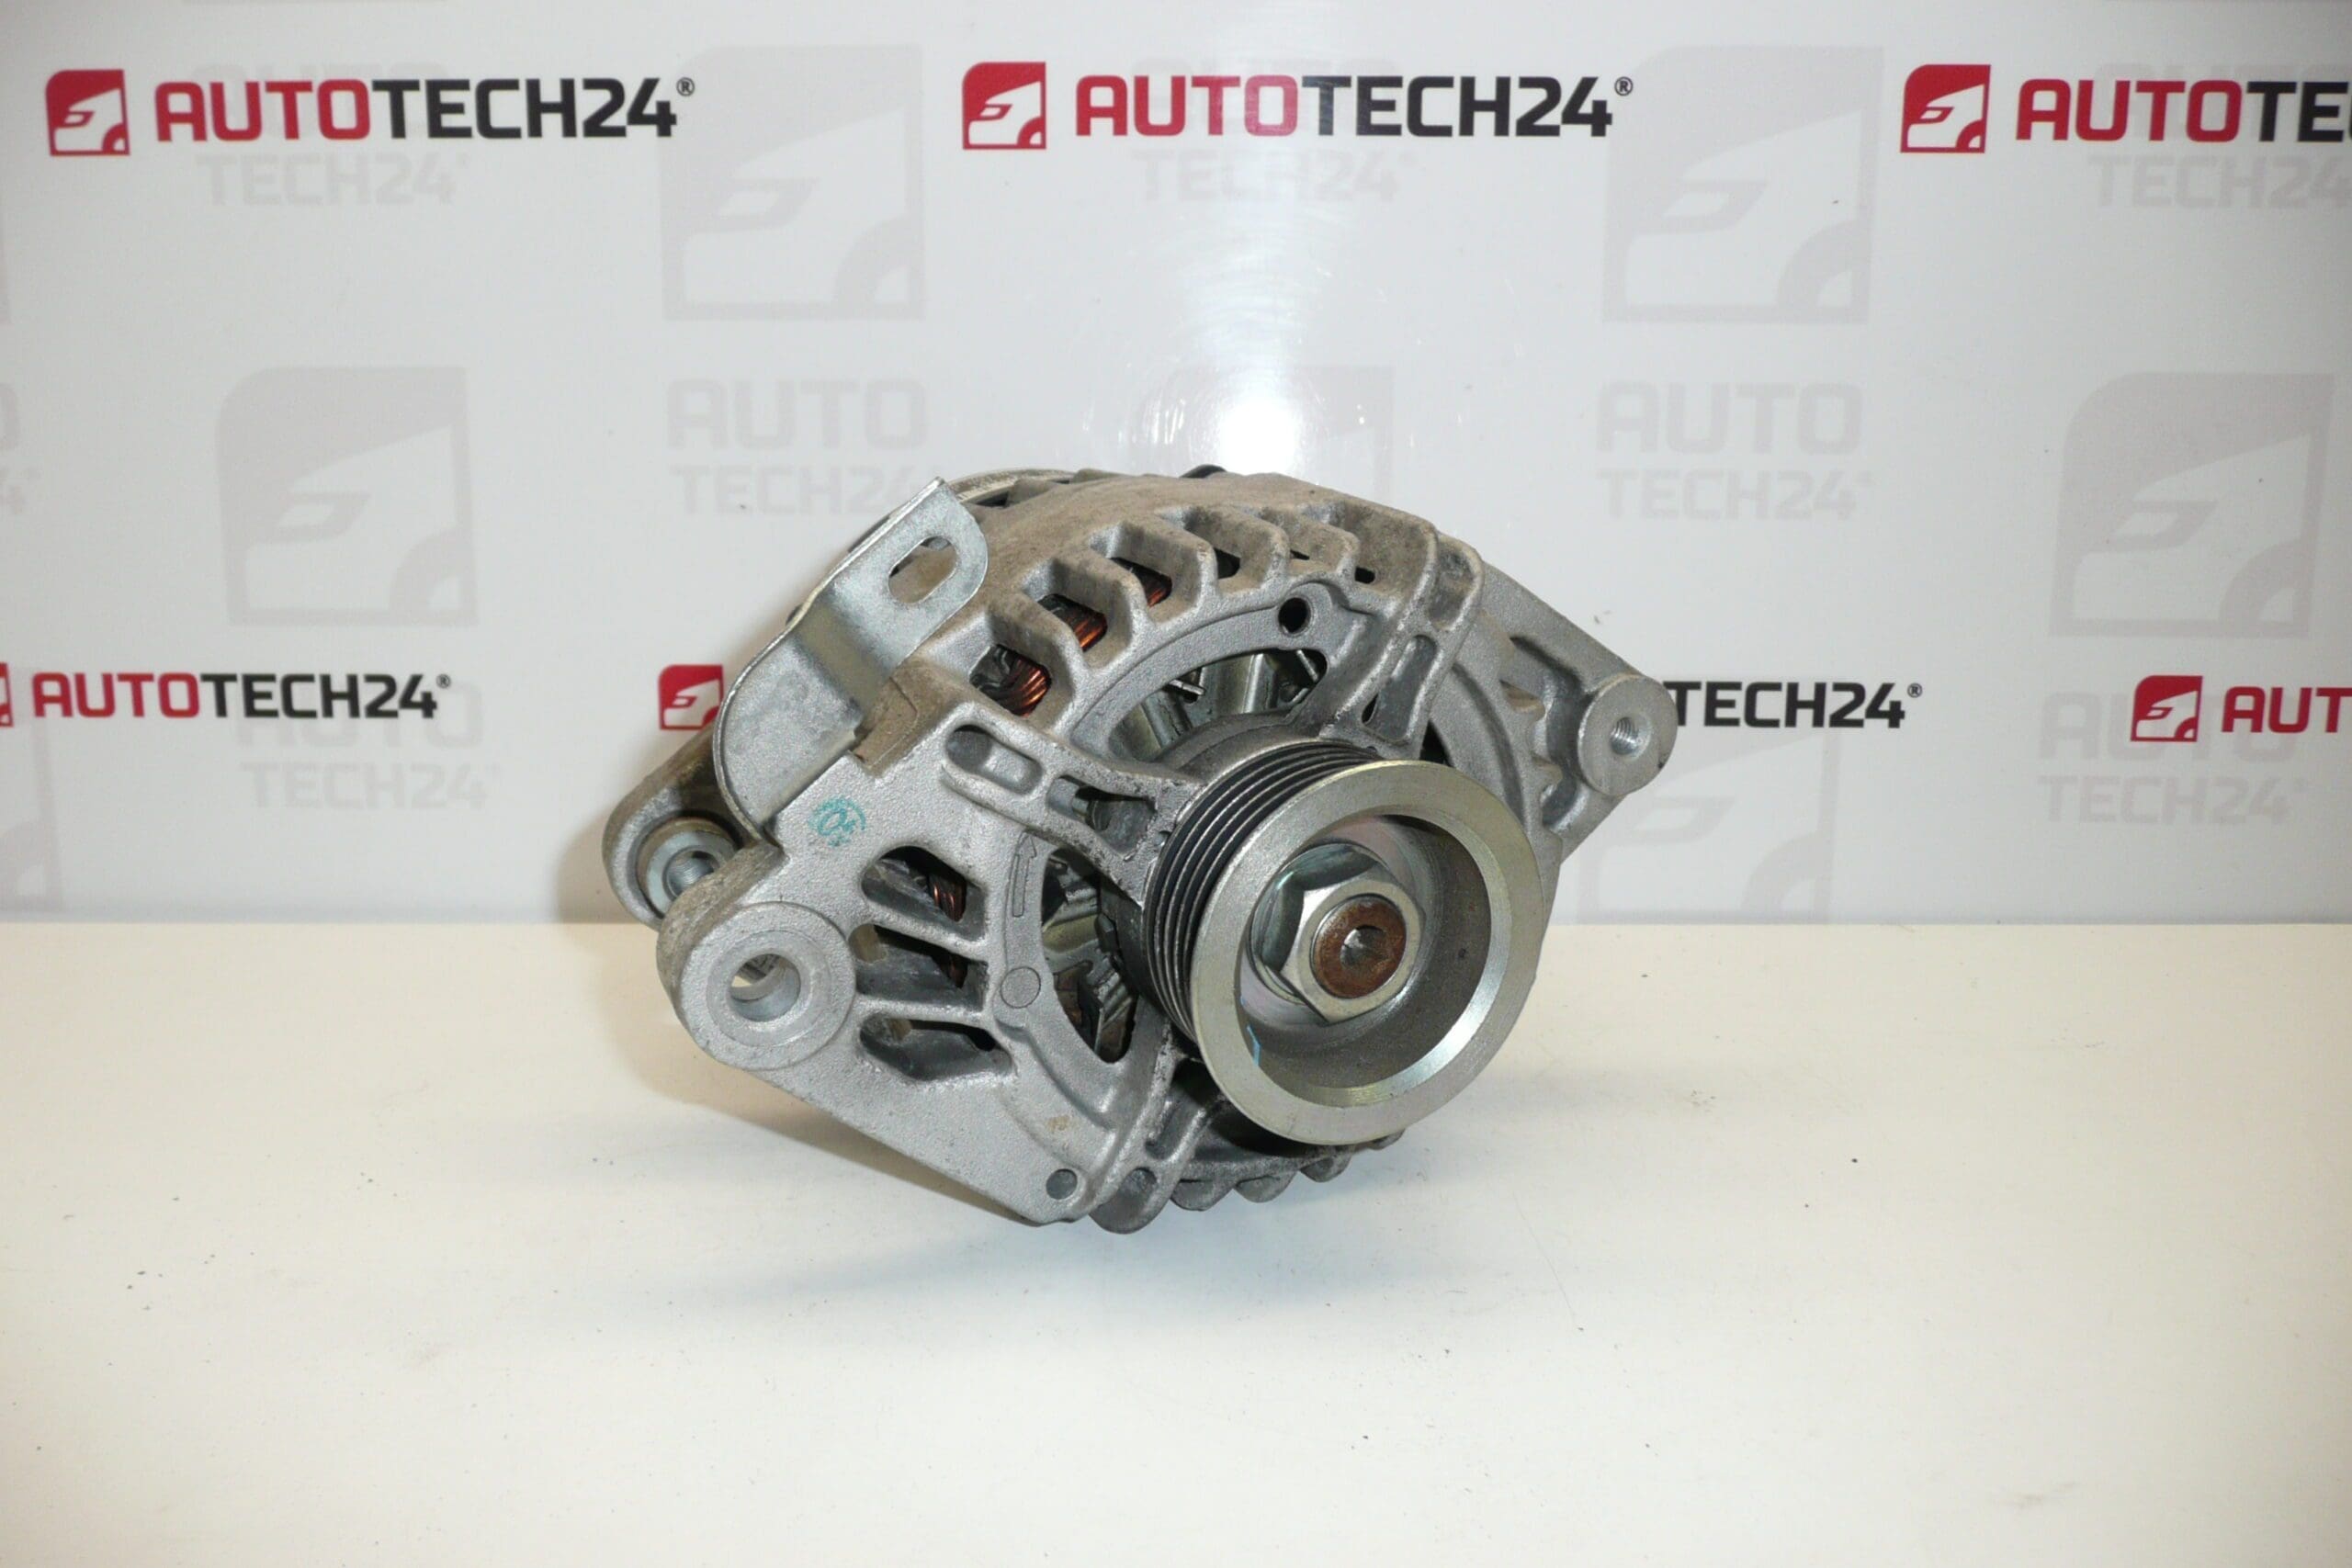
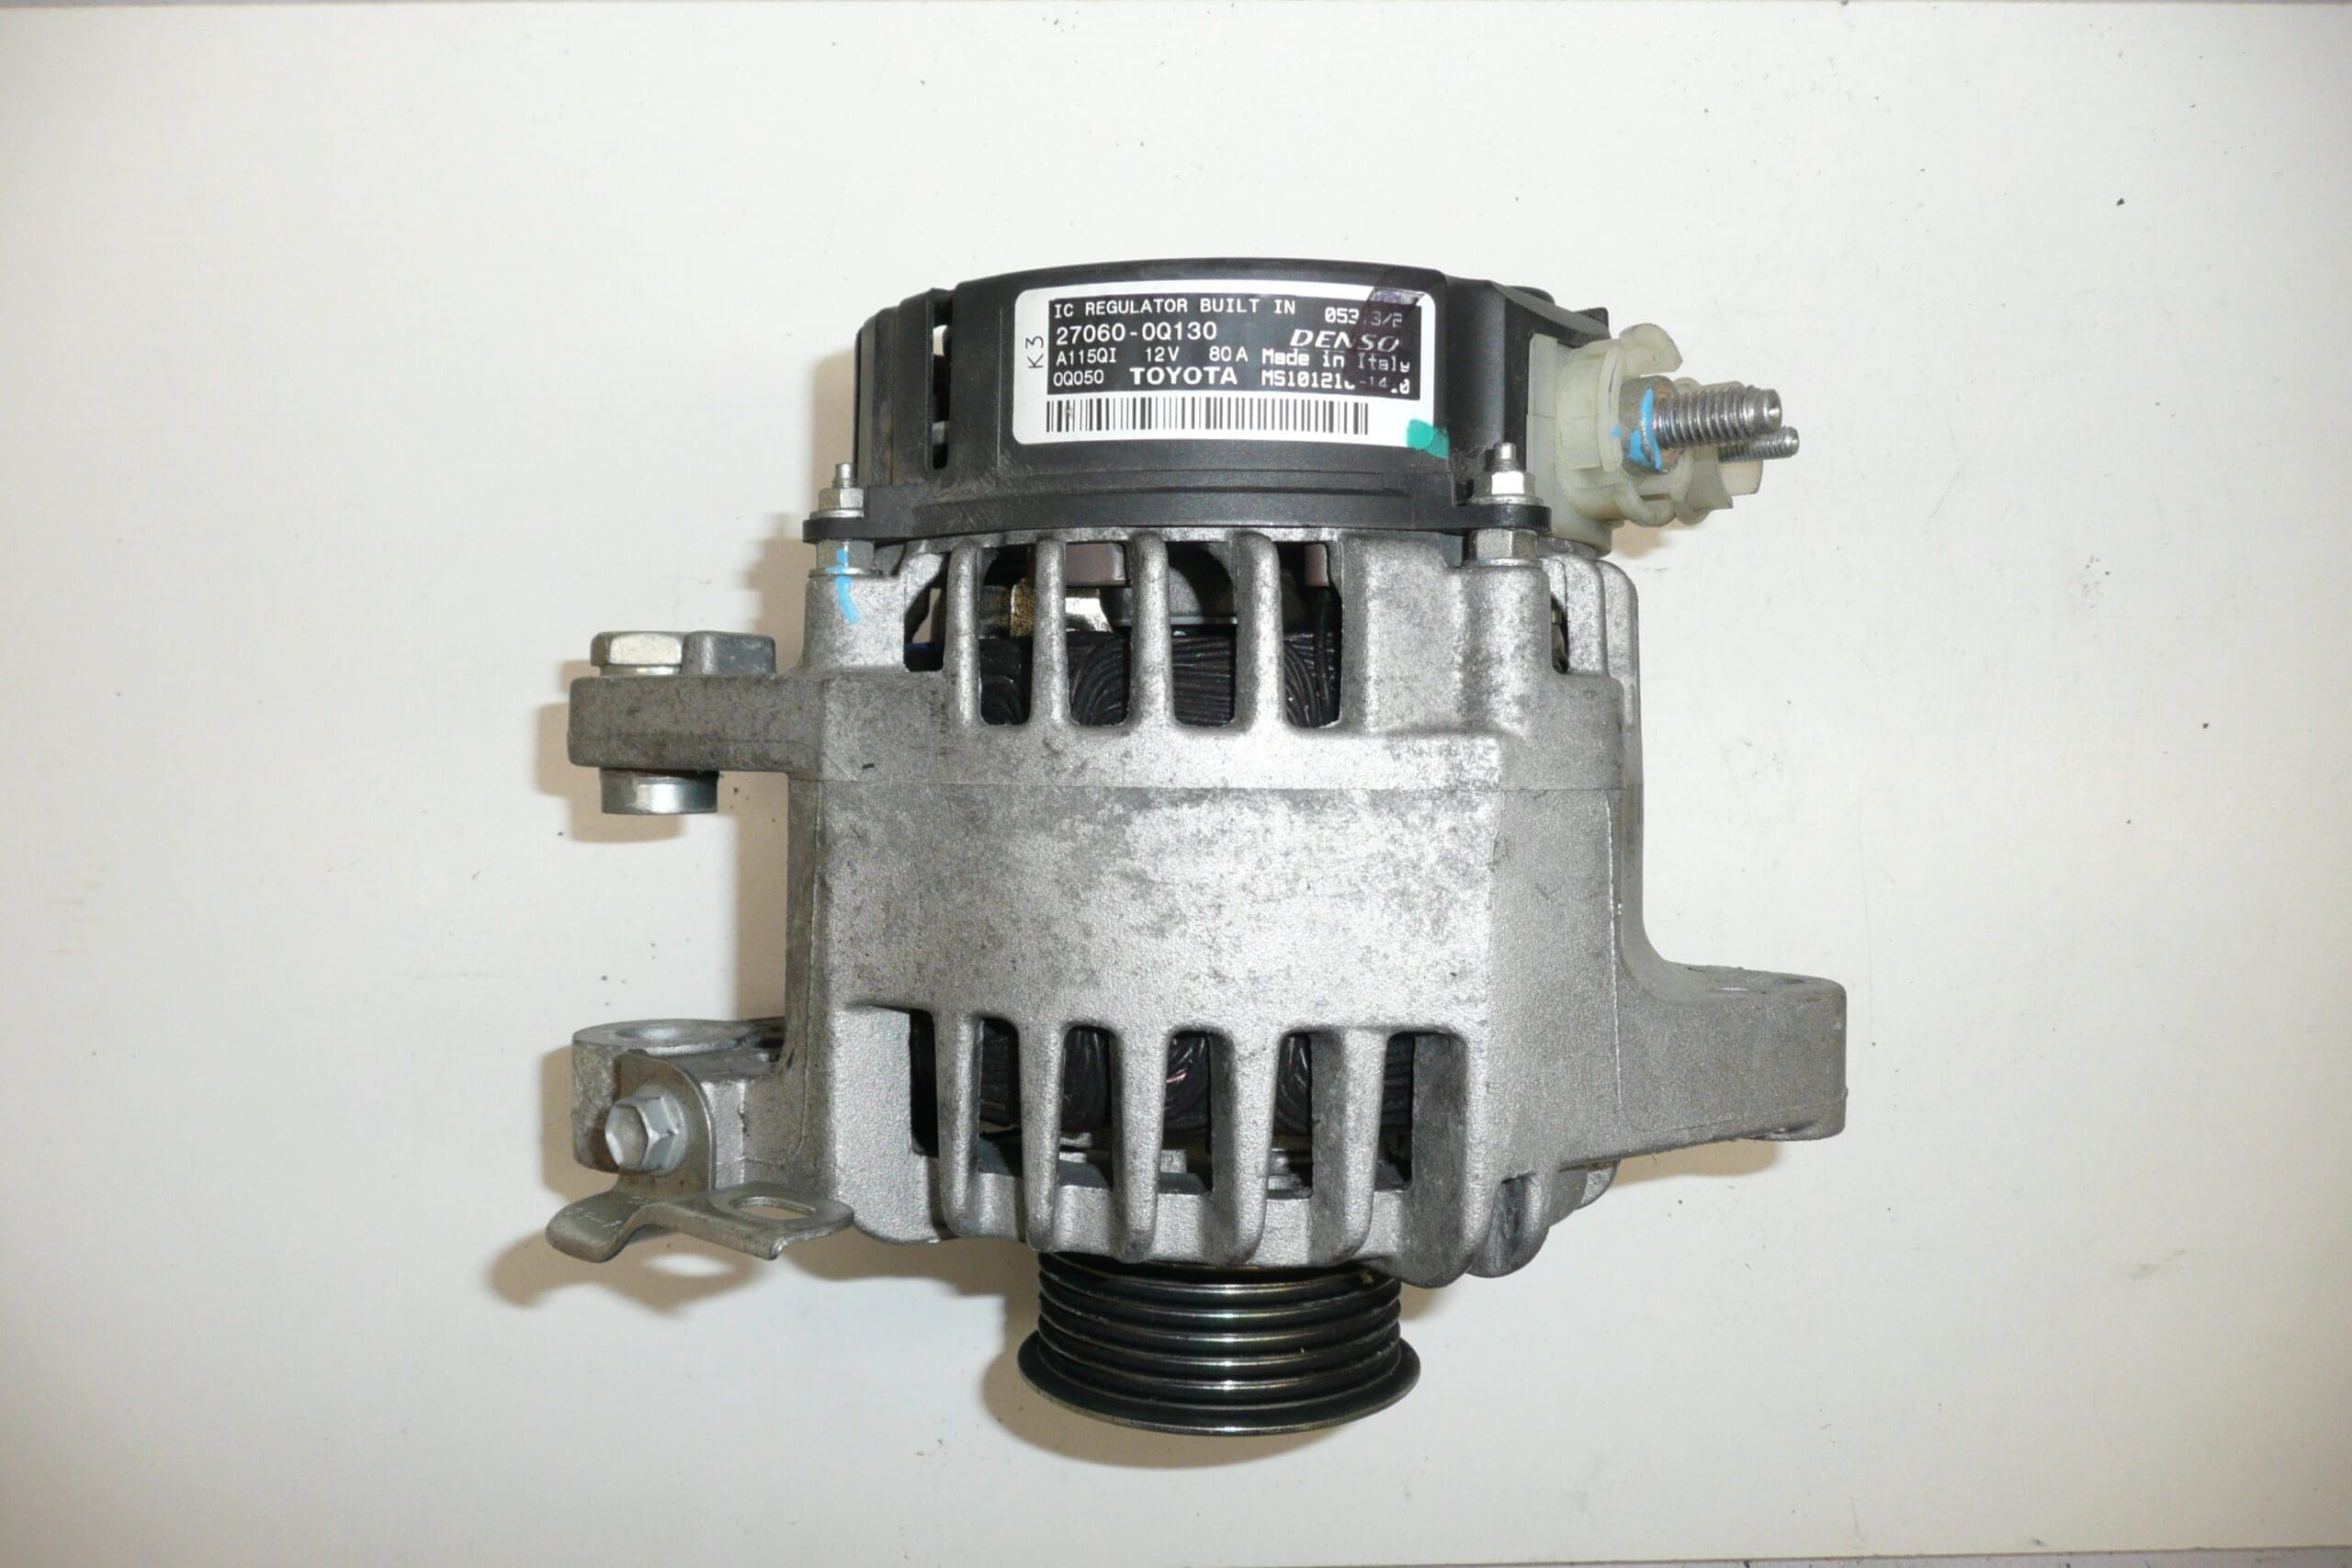
DENSO Alternator with Part Number 27060-0Q021 is compatible with Citroën C1, Peugeot 107 and Toyota Aygo. This is a used part.
High-quality DENSO alternator designed for the compact Citroën C1 and Peugeot 107 family (shared platform with Toyota Aygo). Ideal for professional mechanics and experienced DIYers looking for a direct-fit replacement with original-style mounting and electrical connections. The alternator restores charging performance, reduces battery drain and ensures reliable operation of lights, ignition and accessories.
Technical Information
- Manufacturer: Denso (OEM For Stellantis)
- Model: Citroën C1, Peugeot 107, Toyota Aygo
- Product Codes: 27060-0Q021
- Other Numbers: 5702J2, 5702L1, 5705KJ, 5705NP
Function
The alternator converts mechanical energy from the engine into electrical energy to recharge the vehicle battery and supply the electrical system while the engine is running. Key internal components include the rotor and stator, voltage regulator, diode rectifier and brushes. Proper alternator function is essential for stable voltage, dependable starts and uninterrupted operation of all on-board electronics.
Replacement Procedure
- Disconnect The Battery Before Starting To Avoid Short Circuits And Damage.
- Release Or Loosen The Drive Belt Tensioner And Remove The Serpentine/Drive Belt From The Alternator Pulley.
- Disconnect Electrical Connectors And The Battery Cable On The Alternator (Main Power Terminal And Smaller Plug).
- Remove Mounting Bolts, Lower The Alternator From Its Bracket And Replace With The New Unit.
- Refit Mounting Bolts And Reinstall The Drive Belt, Adjusting Tension To Manufacturer Specifications.
- Reconnect The Battery And Start The Engine; Verify Charging Voltage And Listen For Unusual Noises.
Installation And Recommendations
- Always Disconnect The Battery Before Any Work On The Charging System.
- Inspect Drive Belt Condition And Tension; A Worn Or Slipping Belt Causes Poor Charging.
- Check Electrical Connections For Corrosion And Secure Tightness; Clean Terminals If Needed.
- After Installation, Measure System Voltage With Engine Running To Confirm Proper Charging (Typically Around 13.5–14.8V For Most 12V Systems).
- Follow Manufacturer Torque Specifications For Mounting Bolts; If Unsure, Use A Repair Manual Or Service Documentation.
Why It Fails Most Often
- Mechanical Wear: Bearing Failure Caused By Age, Contamination Or Excessive Load Results In Noise Or Seizure.
- Electrical Wear: Worn Brushes Or A Faulty Voltage Regulator Leads To Undercharging Or Overcharging.
- Diode Pack Failure: Rectifier Diodes Can Short Or Open, Causing Battery Drain Or Electrical Disturbances.
- Heat And Moisture: Prolonged Exposure Can Degrade Insulation And Internal Components.
- Drive Belt Problems: Slipping Or Broken Belts Prevent Proper Alternator Rotation And Charging.
Notes For Buyers
This listing is for a used alternator—cosmetic wear or light surface corrosion may be present. Verify the product codes listed match your application. Suitable For Professional Installers And Competent DIYers Familiar With Vehicle Charging Systems.