Description
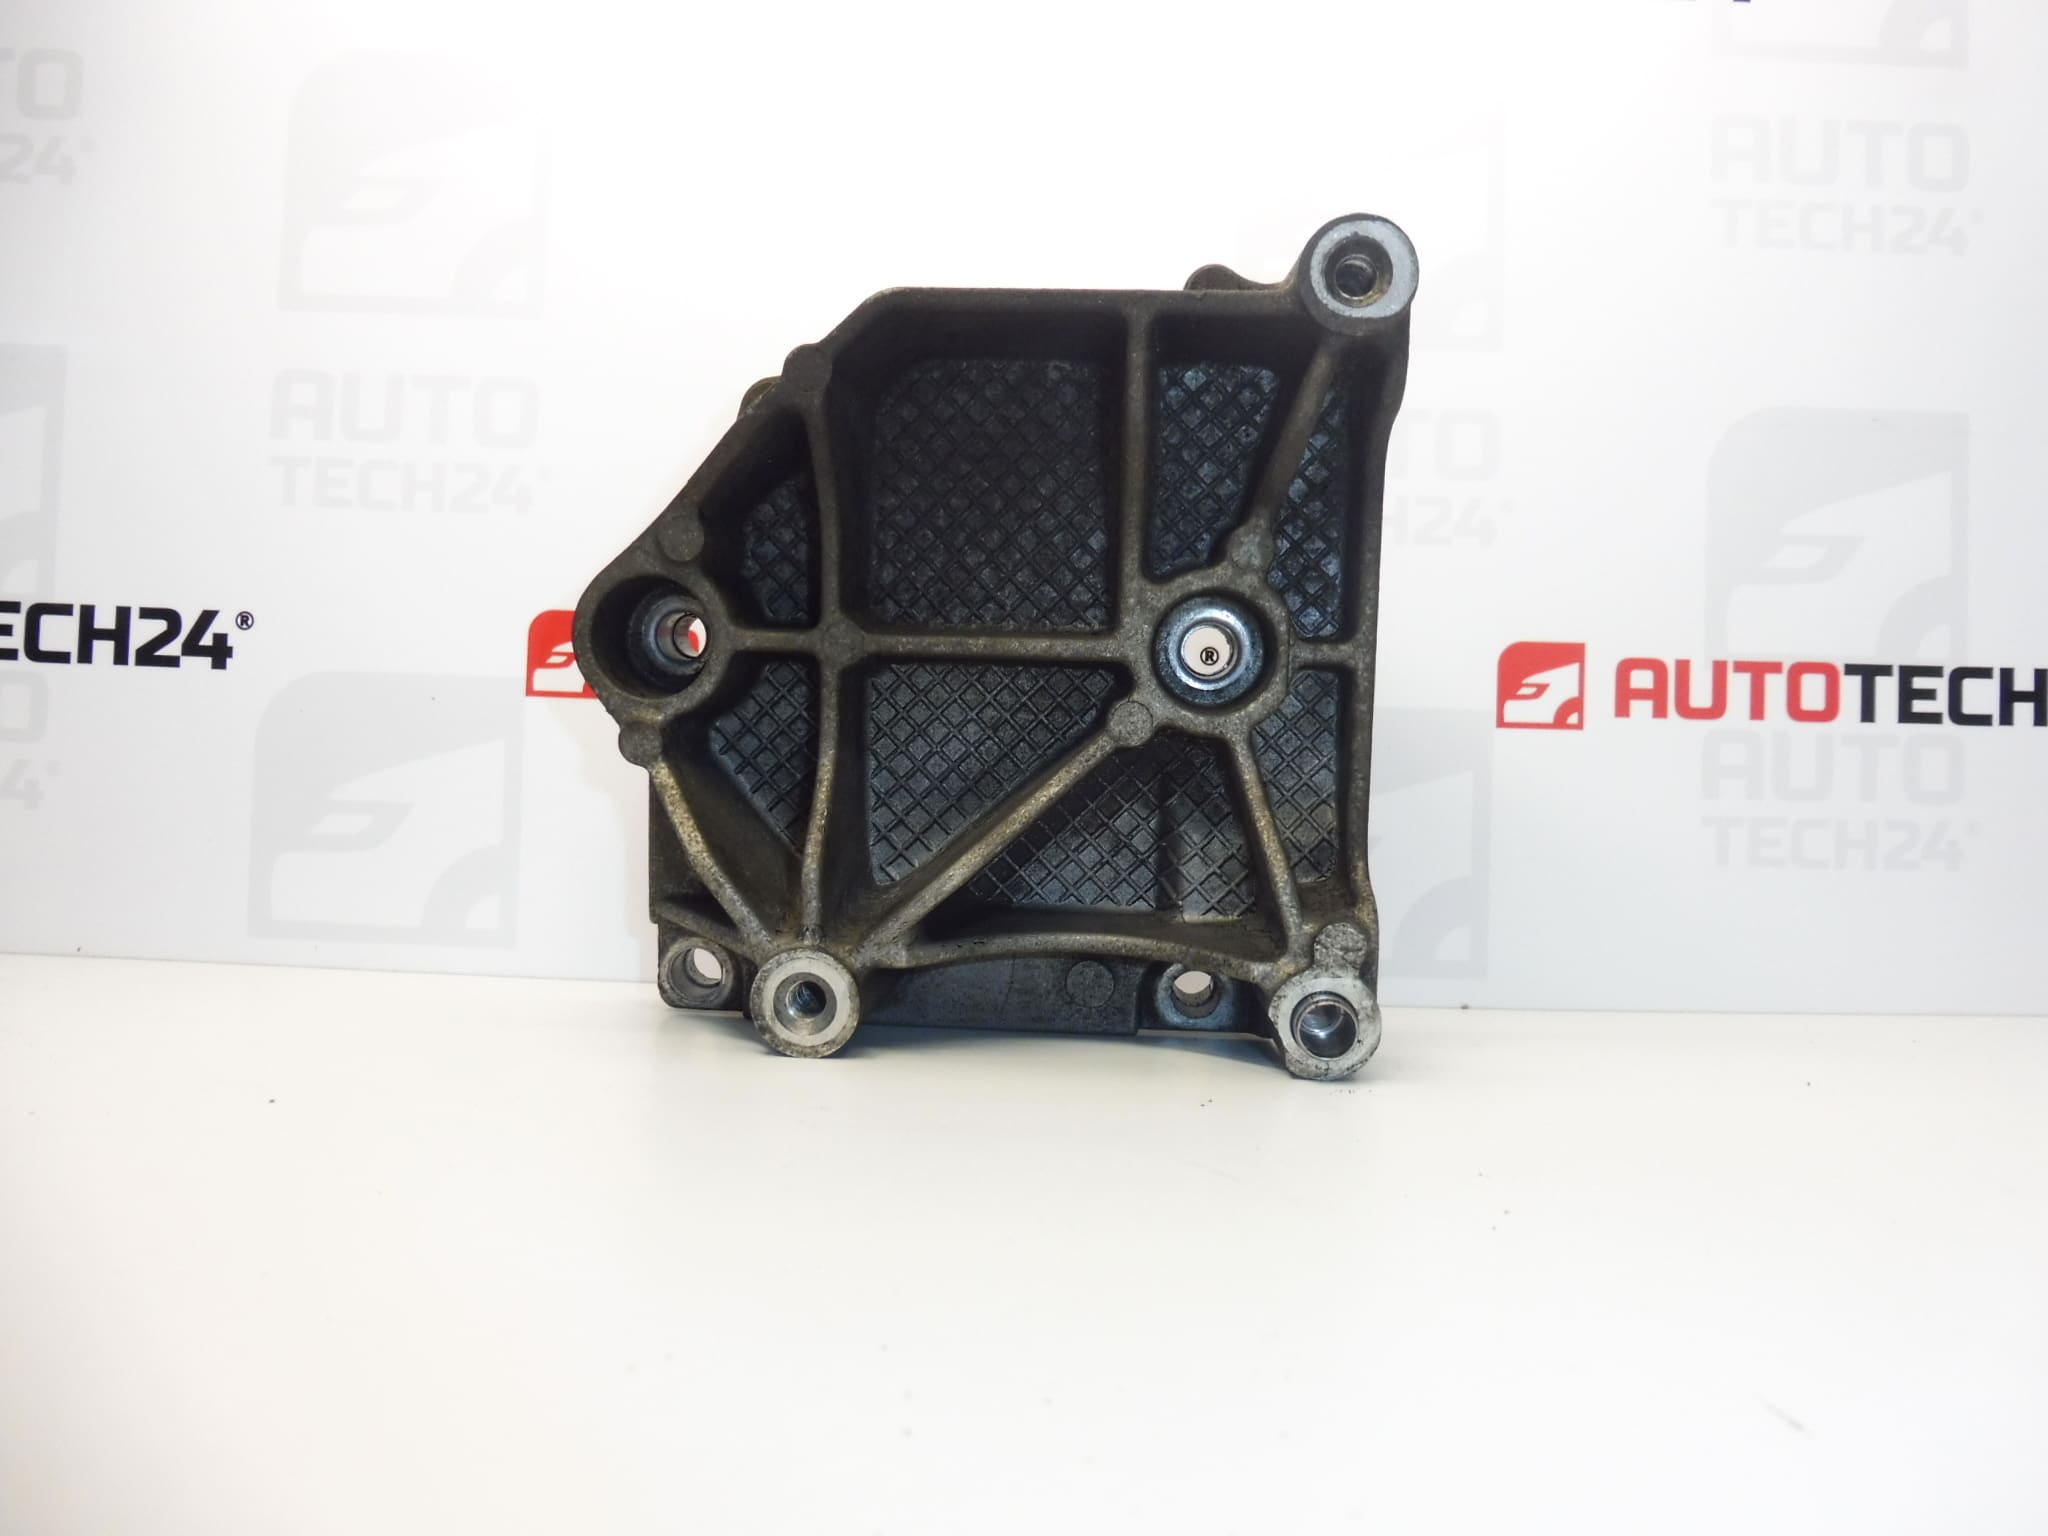
Compressor Bracket For Citroën And Peugeot Vehicles With 1.6 16V NFU Engine
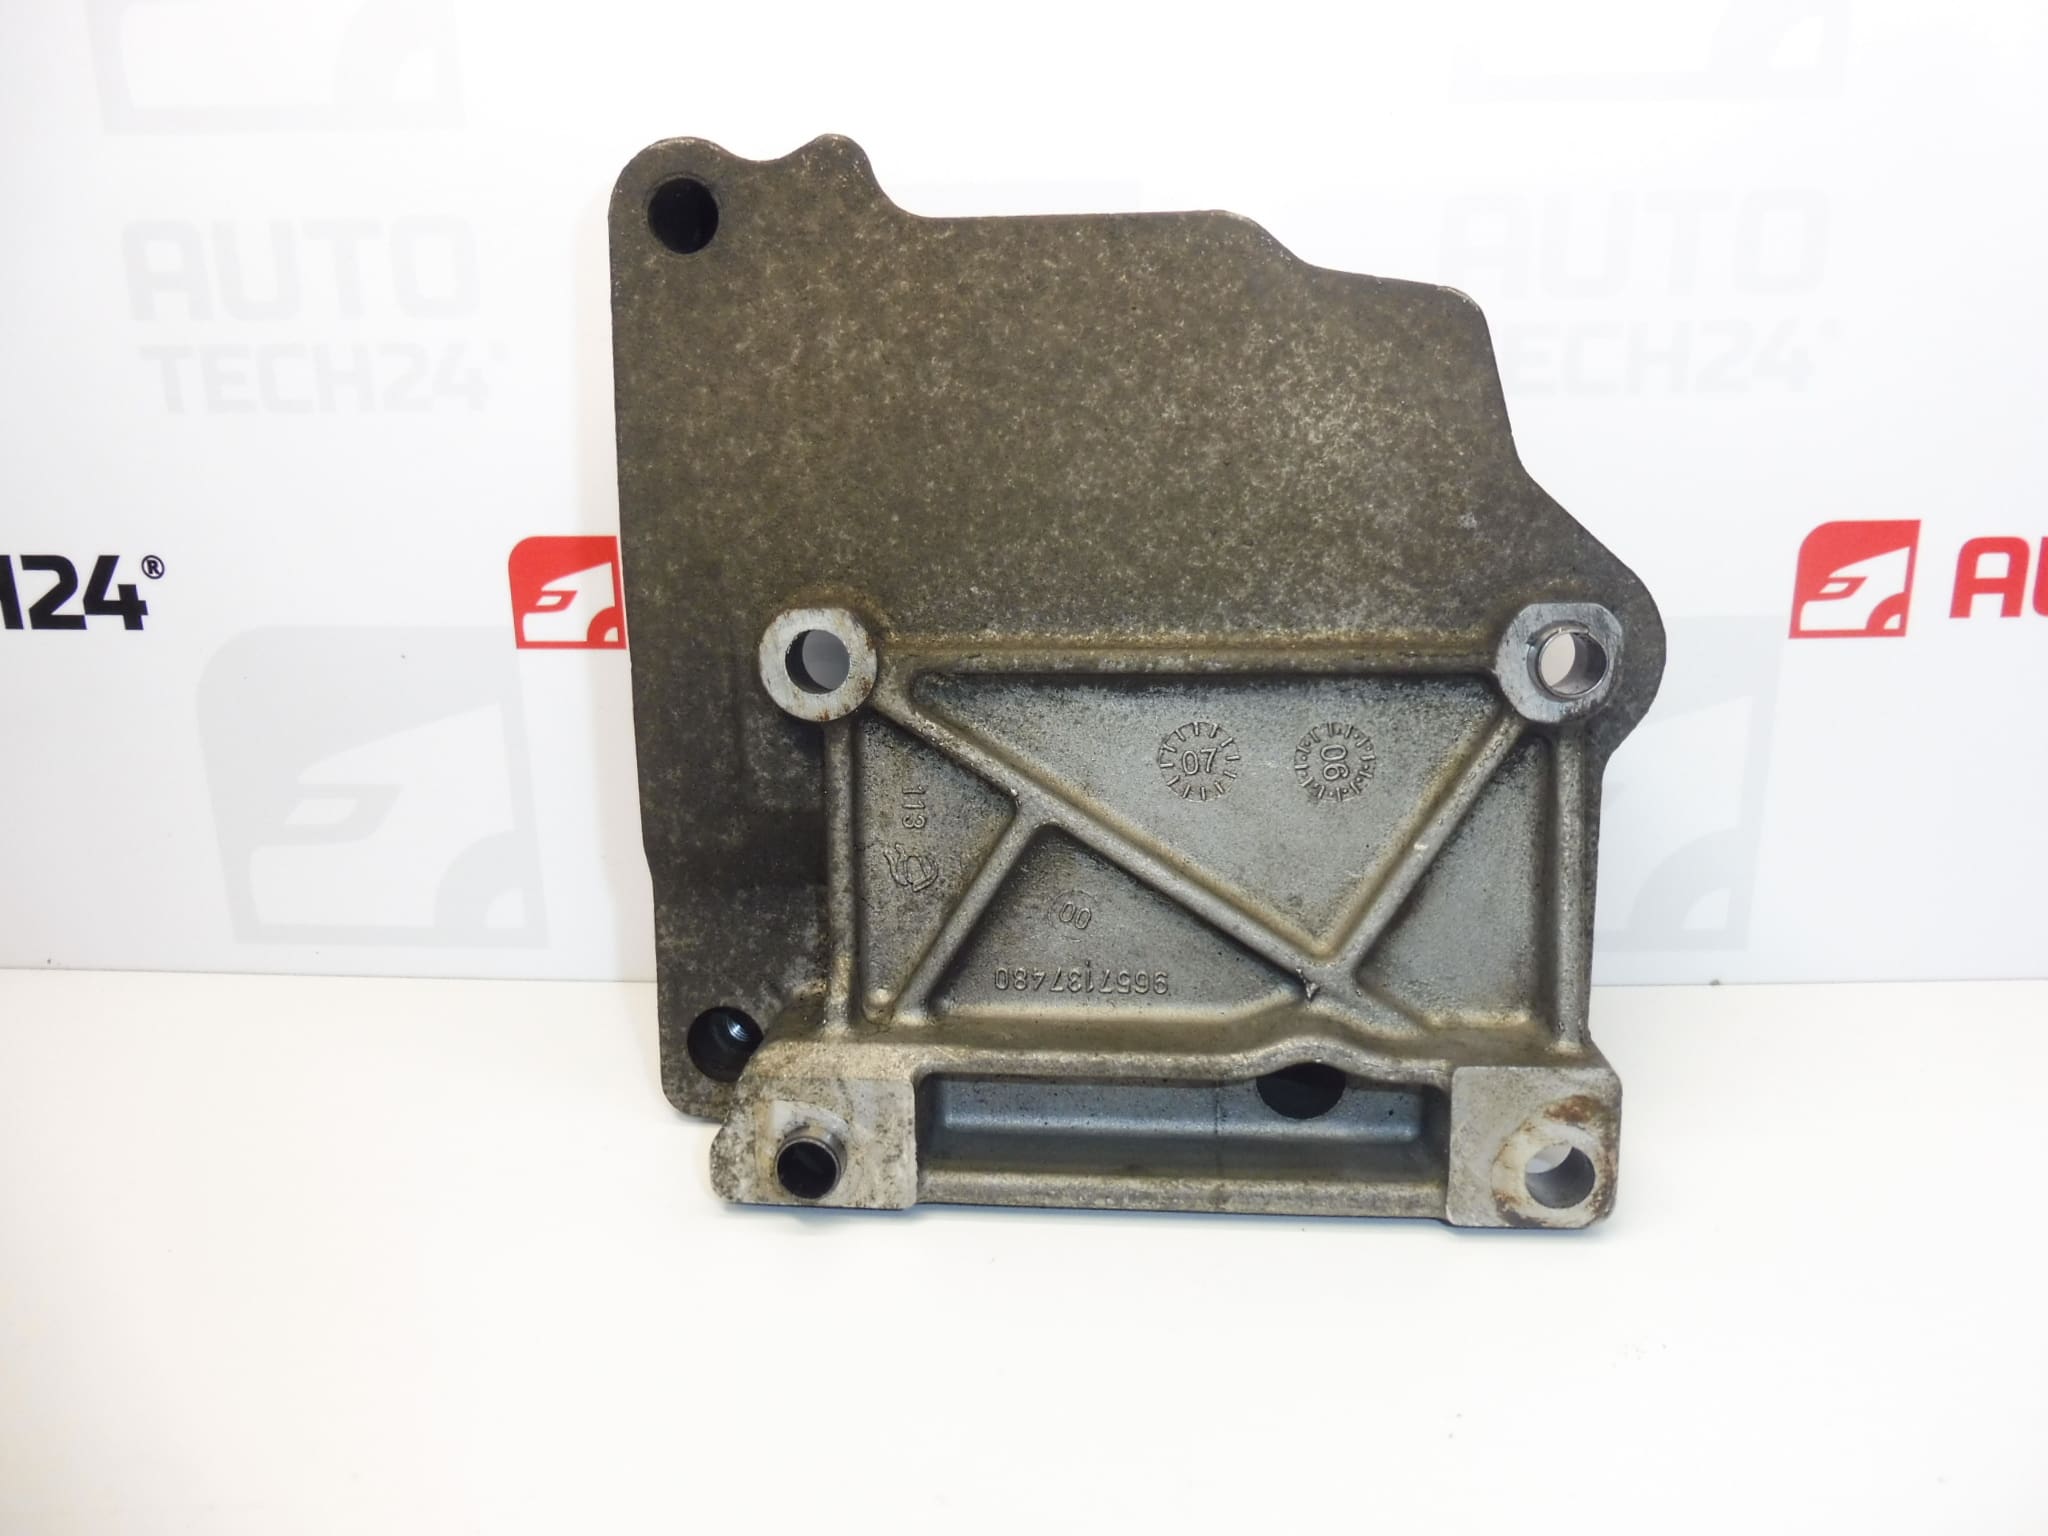
OE Replacement compressor bracket designed for Citroën and Peugeot 1.6 16V NFU engines. Supplied under part numbers 9657137480 and 6453KG, this mount restores correct compressor fixation, belt alignment and reduces vibration and noise caused by worn or damaged brackets. Ideal for professional workshops and experienced DIY mechanics searching by part number or vehicle model.
Technical Information
- Manufacturer: Stellantis (Citroën / Peugeot)
- Model: 1.6 16V NFU Engine Applications
- Product Codes: 9657137480, 6453KG
- Other Numbers: OE/Cross-References – 9657137480 (format variants may appear as 9657 137 480), 6453.KG
Fitment / Compatible Vehicles
Commonly fitted to a range of Citroën and Peugeot models with the 1.6 16V NFU petrol engine, including but not limited to:
- Citroën Berlingo
- Citroën C3 / C3 Pluriel
- Citroën C4
- Peugeot 206 / 206+
- Peugeot 207
- Peugeot 307
- Peugeot Partner
Function And Symptoms
The compressor bracket secures the air conditioning compressor to the engine block and maintains correct pulley alignment for the serpentine/drive belt. A failing bracket can cause unusual vibration, belt squeal, misalignment of the belt system, increased compressor movement or, in severe cases, damaged mounting threads. Customers often notice noise under load, AC malfunction or visible deformation on inspection.
Common Causes Of Failure
- Corrosion and rust on mounting points (especially in regions with road salt).
- Metal fatigue or cracks from long-term vibration and engine movement.
- Stripped or damaged bolt threads due to over-torquing or repeated removals.
- Impact damage from collisions or engine/transmission service incidents.
Installation Recommendations
Intended for fitment by qualified technicians or experienced DIY mechanics. Typical replacement steps:
- Support The Engine: Use a suitable engine support or jack with a wood block under the oil pan to relieve load from the mount area.
- Remove Drive Belt: Loosen the belt tensioner and remove the drive belt for safe access.
- Unbolt Compressor/Bracket: Carefully unbolt the compressor from the old bracket if needed and then unfasten the bracket from the engine block. Keep any spacers or washers for correct reassembly.
- Fit New Bracket: Position the new bracket, transfer any mounting hardware as required, and tighten bolts to the manufacturer’s torque specifications.
- Check Alignment And Operation: Refit the belt, verify proper pulley alignment, and start the engine to confirm quiet operation and absence of abnormal vibration.
Use new bolts if originals show wear or thread damage. Always follow the vehicle manufacturer’s service manual for torque values and safety procedures. Wear appropriate personal protective equipment and ensure the vehicle is securely supported before starting work.
Why The Part Usually Fails
Failure is typically caused by long-term exposure to vibration and environmental factors (moisture and road salts) that lead to corrosion and metal fatigue. Repeated removal/installation and incorrect torque during past repairs can strip threads or distort the bracket, accelerating failure.
Recommendation
When replacing the compressor bracket, inspect associated components—compressor mounting ears, bolts, belt, tensioner and nearby engine mounts—and renew any worn items to avoid repeat failures. Using an OEM-equivalent bracket like this ensures correct fit and alignment, helping to restore reliable AC operation.