Description
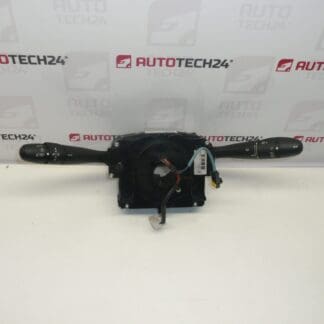
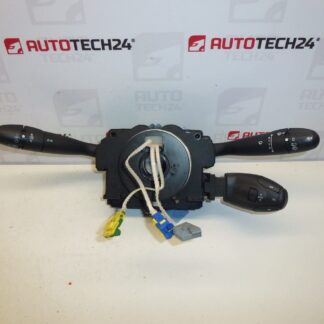
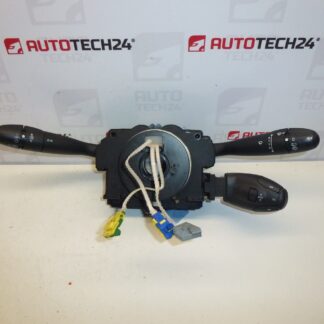
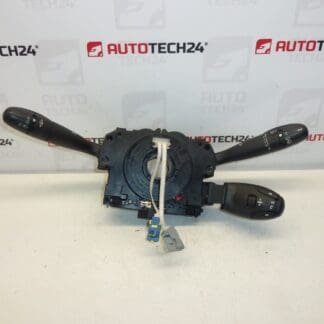
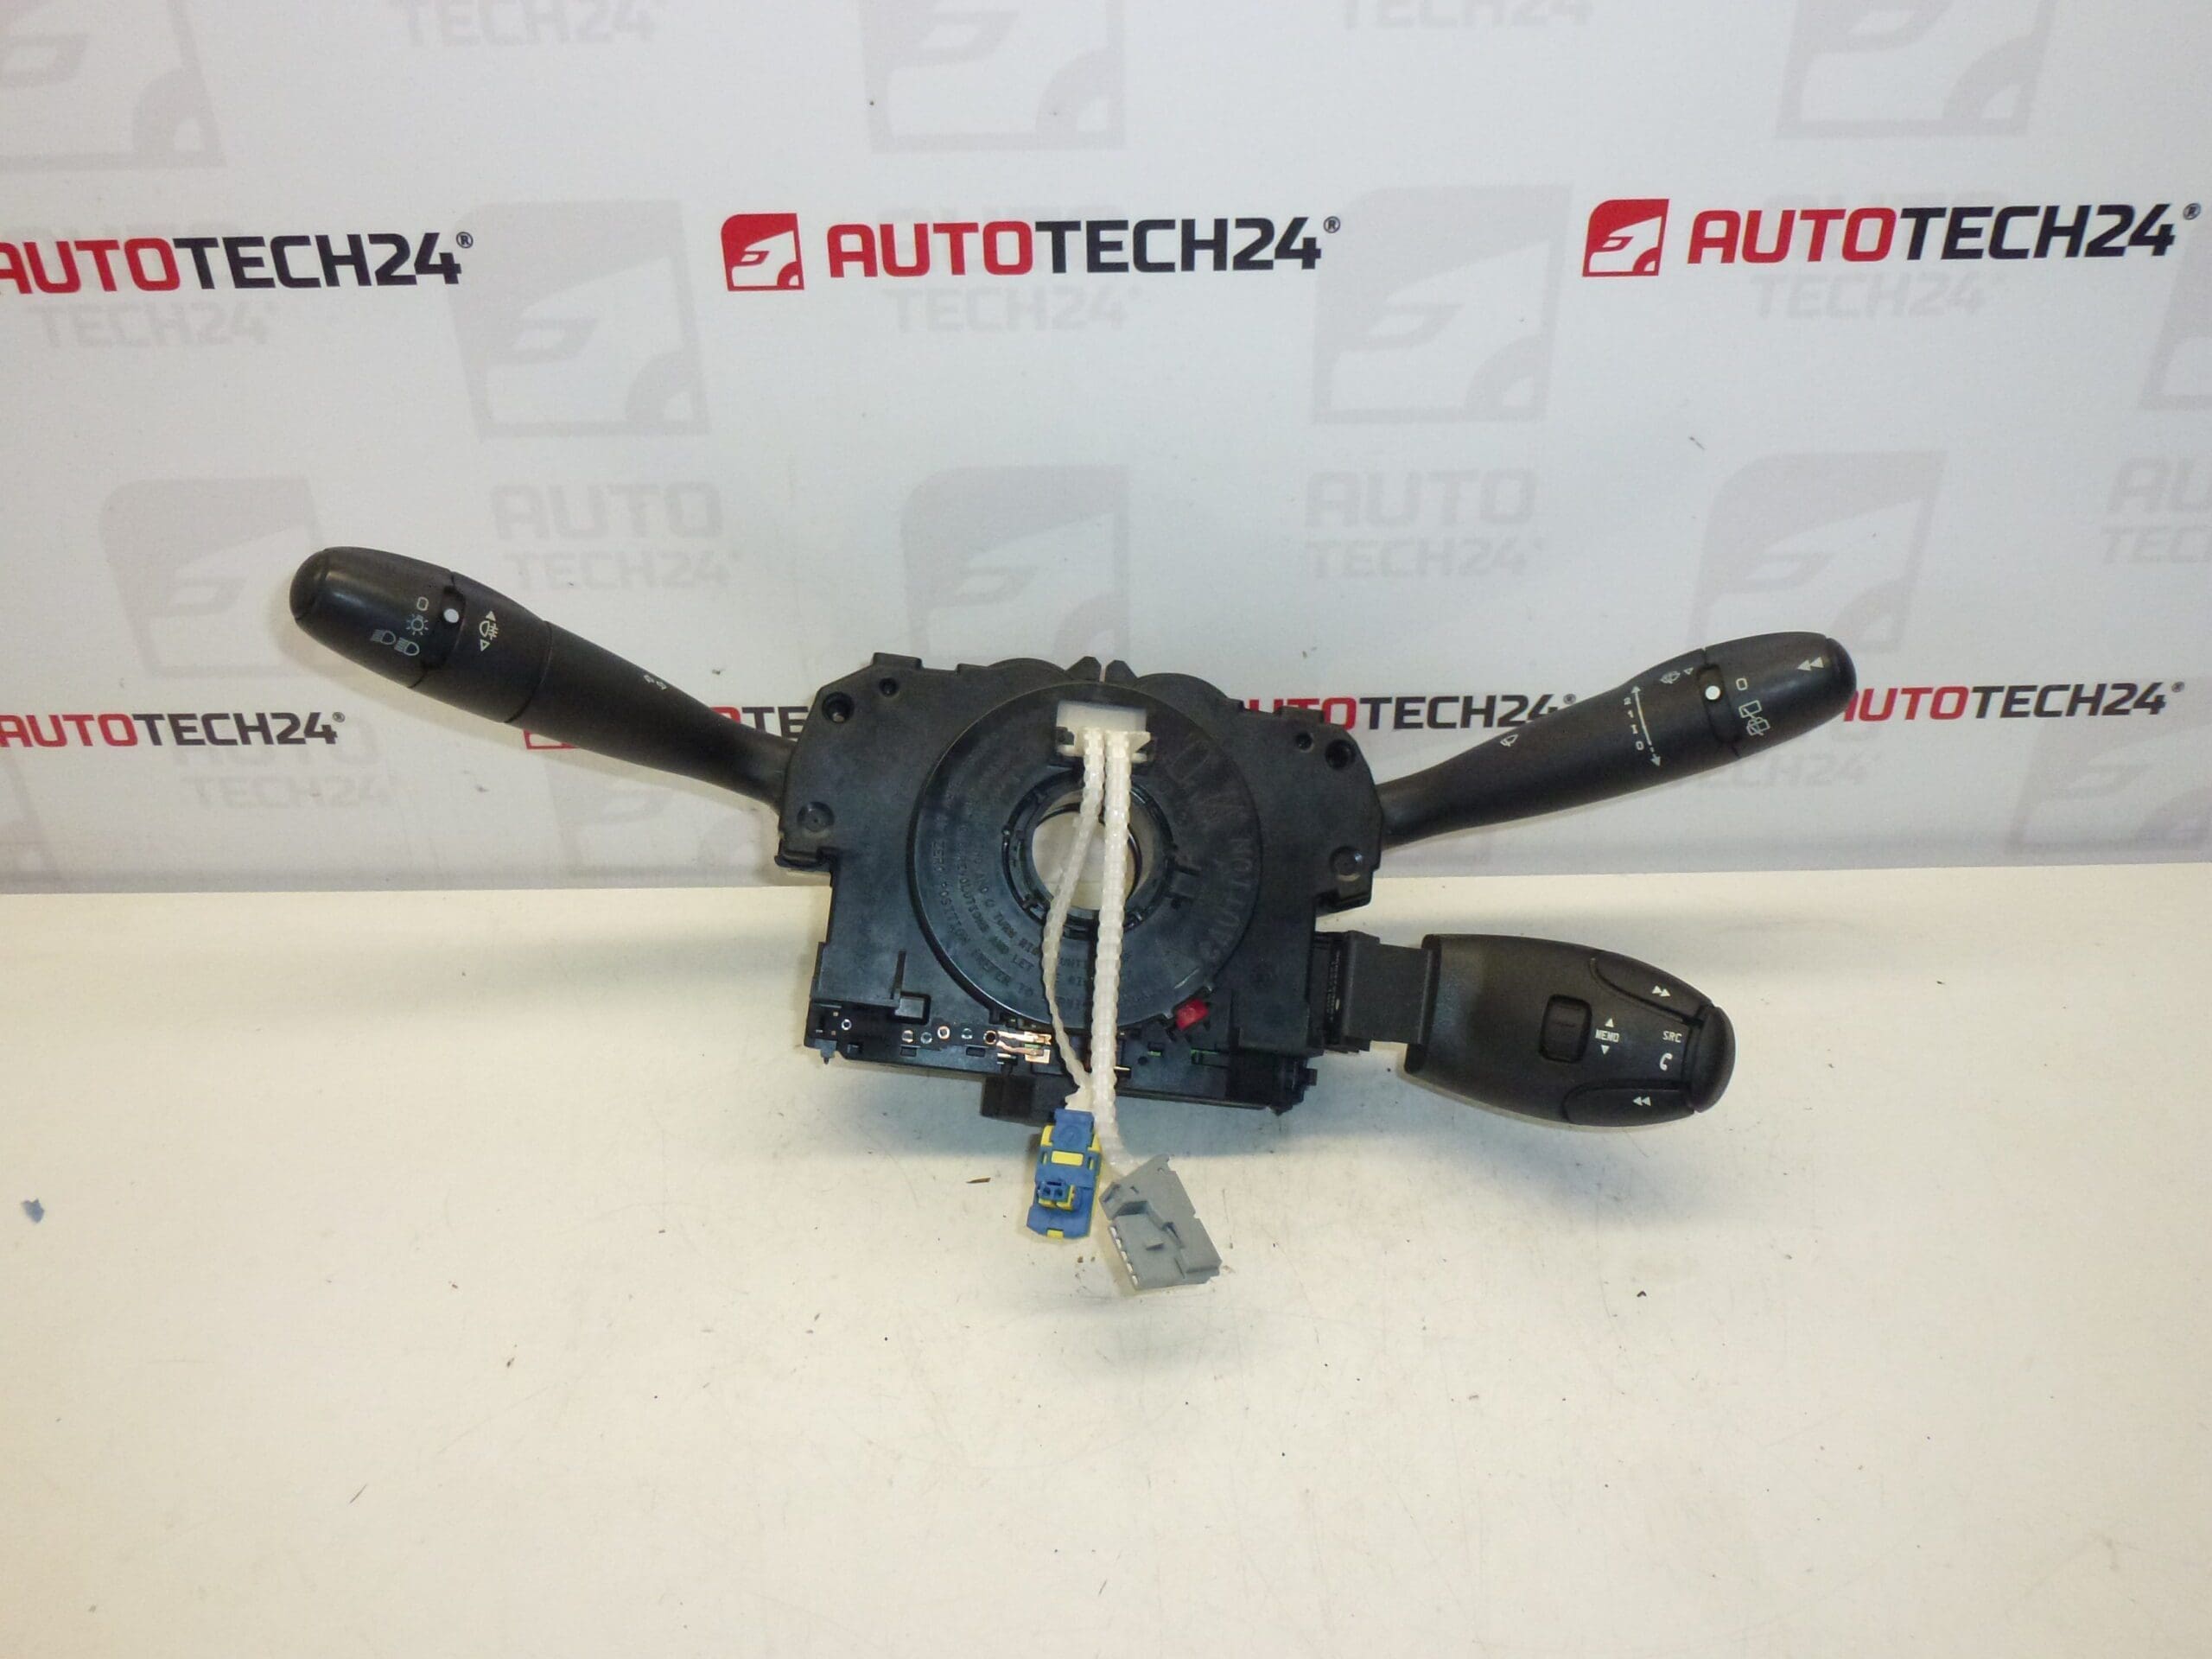
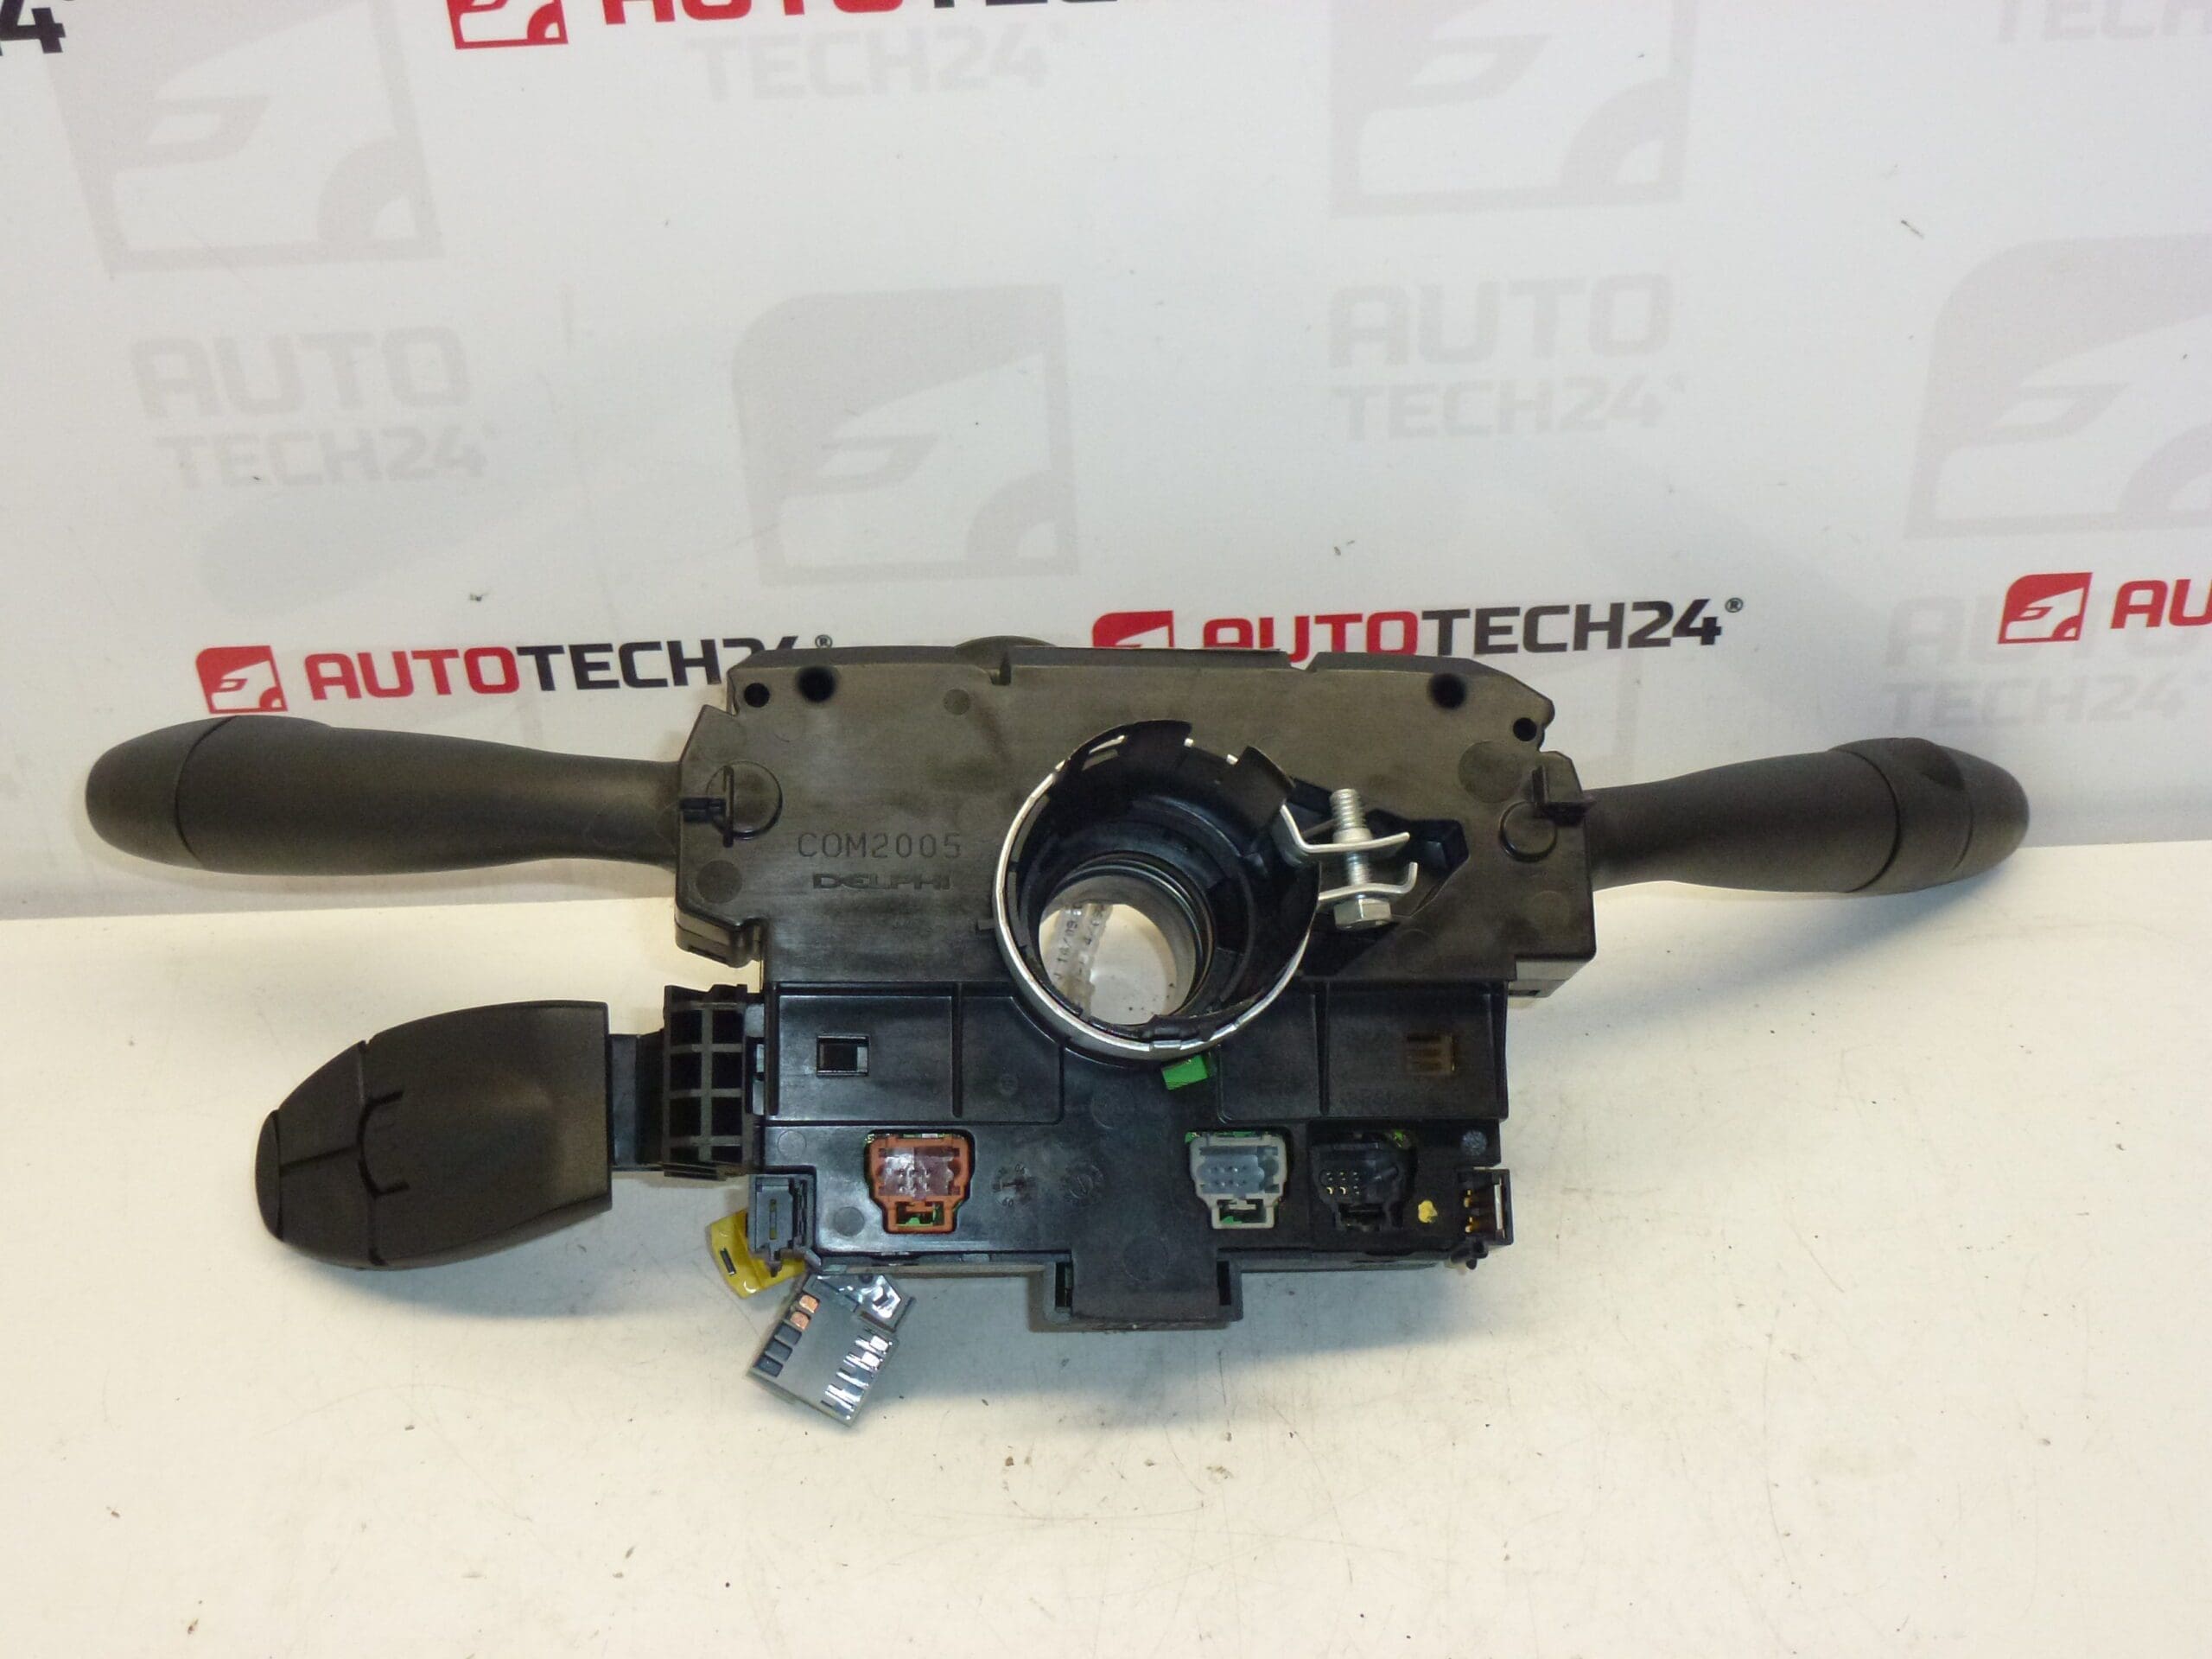
Controls under the steering wheel, levers DELPHI COM2005 for PEUGEOT 307, 308
They control the fog lights, front and rear wiper, on-board computer
Cruise control and car radio can be purchased extra
Part description
Used DELPHI COM2005 steering wheel controls for Peugeot 307 and Peugeot 308 are used to operate fog lights, front and rear wipers and on-board computer. They are a suitable choice when replacing an assembly with damaged levers or an unreliable response of the control elements, if a defect is confirmed directly in the controller.
When choosing, compare in particular the product number 96651589XT, the design of the connectors and the functions of the original assembly. The same car model alone is not enough to determine the correct design. The cruise control and car radio can be purchased separately; are not listed as part of this offer.
Technical information
- Manufacturer: DELPHI
- Model: Peugeot 307, Peugeot 308
- Part Type: steering wheel control and lever assembly
- Assembly label: COM2005
- Functions listed: control of fog lights, front and rear wipers and on-board computer
- Condition: used part
- Main Product Number: 96651589XT
- Other numbers: 6242CR, 98069975XT
- Years and engines: not specified
Product codes
- Product codes: 96651589XT, 6242CR, 98069975XT
- Models: Peugeot 307, Peugeot 308
The given codes help in finding a spare part. Before replacing, compare them with the designation of the original assembly and also take into account its equipment and design.
Installation recommendations
The following procedure is general for this type of controls under the steering wheel. The exact method of disassembly, extent of disassembly and any adjustments depend on the specific model and design of the car. The work may interfere with the steering wheel and airbag area; if their disassembly is necessary, follow the manufacturer’s service documentation and, if you lack experience, entrust the replacement to an expert.
1) Before assembly
- Verify that the cause of the problem is indeed the controller and not the cabling, connectors or downstream equipment.
- Compare part numbers, COM2005 designations, connectors, mounts, lever symbols and available features with the old assembly.
- Inspect the used part: check the cover, fasteners, contacts and smoothness of movement of the levers. Look for cracks, corrosion or signs of overheating.
- In advance, find out the prescribed procedure for disconnecting the battery and safe work with the restraint system of the given car.
2) Necessary tools and materials
- Common hand tools with suitable screw attachments according to the connections used.
- Plastic disassembly tools for covers, lamp and container for small fasteners.
- A clean lint-free cloth, or a product suitable for electrical contacts and plastics.
- Service documentation of a specific car; diagnostic equipment if it is prescribed by the exchange procedure or is needed to evaluate the defect.
3) Step-by-step assembly procedure
- Stop the car safely, secure it against movement and record any signs of failure before starting work.
- Adjust the steering wheel and wheels to the position prescribed by the service procedure. Turn off the ignition and follow the electronics sleep procedure.
- Disconnect the battery according to the manufacturer’s instructions and wait the prescribed time before working near the airbag system.
- Carefully remove the covers needed to access the controls. Release the latches with a suitable tool, not by forceful prying.
- If access is obstructed by the steering wheel or airbag, proceed only according to the model-specific service procedure. Do not touch the airbag connectors with the measuring probes of a regular multimeter.
- Document the wiring and connector connections. Release their fuses and disconnect them by pulling on the connector body, not the wires.
- Unfasten the original assembly and remove it without stressing the surrounding components. If the working space includes a rotating contact connection of the steering wheel, prevent it from turning unintentionally.
- Compare both sets side by side again. If there is a difference in connectors, mounting or functions, do not proceed to force fit the part.
- Sit the replacement controls without tension, fasten them according to the documentation and connect the connectors until their fuses are securely engaged.
- Store the wiring so that it is not pinched or interferes with moving parts. Reassemble the removed parts and covers according to the manufacturer’s procedure.
- Connect the battery as prescribed. If the service documentation requires an initialization, adjustment or diagnostic check, perform them before normal use of the car.
-
4) Post-assembly checks and function verification
- First, with the vehicle stationary, check the operation of the levers and the reaction of the fog lights, front and rear wipers and control of the on-board computer. Test the wipers on wet glass.
- Check any other functions whose controls were interfered with during operation and watch for any warning messages.
- Check that the covers are firmly in place, that the wiring is not stretched and that nothing obstructs the movement of the steering wheel.
- Do a short test drive only after a successful on-site inspection. If there is an airbag warning or a steering problem, do not use the car until the cause has been rectified.
5) The most common assembly mistakes and how to avoid them
- Select by model name only: also compare product codes, connectors and controlled functions.
- Failure to follow battery disconnection procedure: always respect manufacturer’s rules for electronics and airbag system.
- Damage to latches or contacts: first loosen the fuses and never connect the connectors by force.
- Rotating the rotary contact connection, if present: maintain the prescribed position and securing method according to the documentation.
- Pinched wiring and stretched connections: before covering, check the wiring and fasten according to the service manual.
- Skip the functional test: check the individual functions separately before driving.
Reasons why the part is damaged
For this type of controller, the following influences are the main cause of malfunctions. These are general causes, not a description of the condition of the item being offered.
- Mechanical wear: frequent use gradually puts a strain on the switching mechanisms, locking and moving parts of the levers.
- Wear or contamination of the contacts: can cause blackouts or irregular reactions during operation.
- Excessive force during operation: Violent shifting or hitting the lever can damage the plastic parts and internal mechanism.
- Moisture and unsuitable cleaning agents: penetration into the assembly may disrupt the contacts or damage the materials.
- Improper disassembly or assembly: pulling on cables, damaging connectors and incorrect seating can cause other defects.