Description
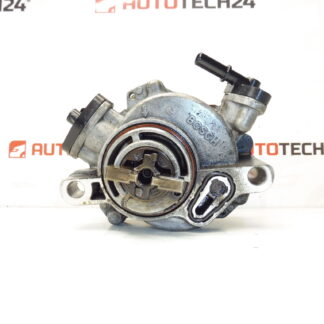
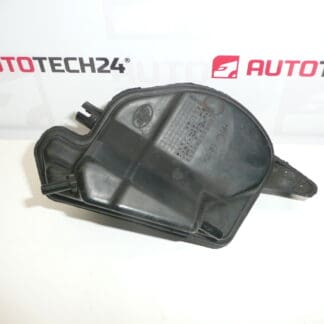
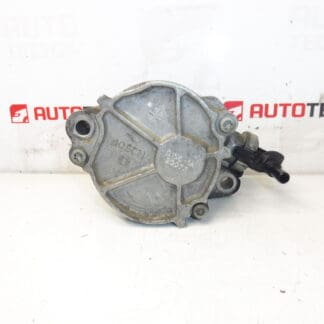
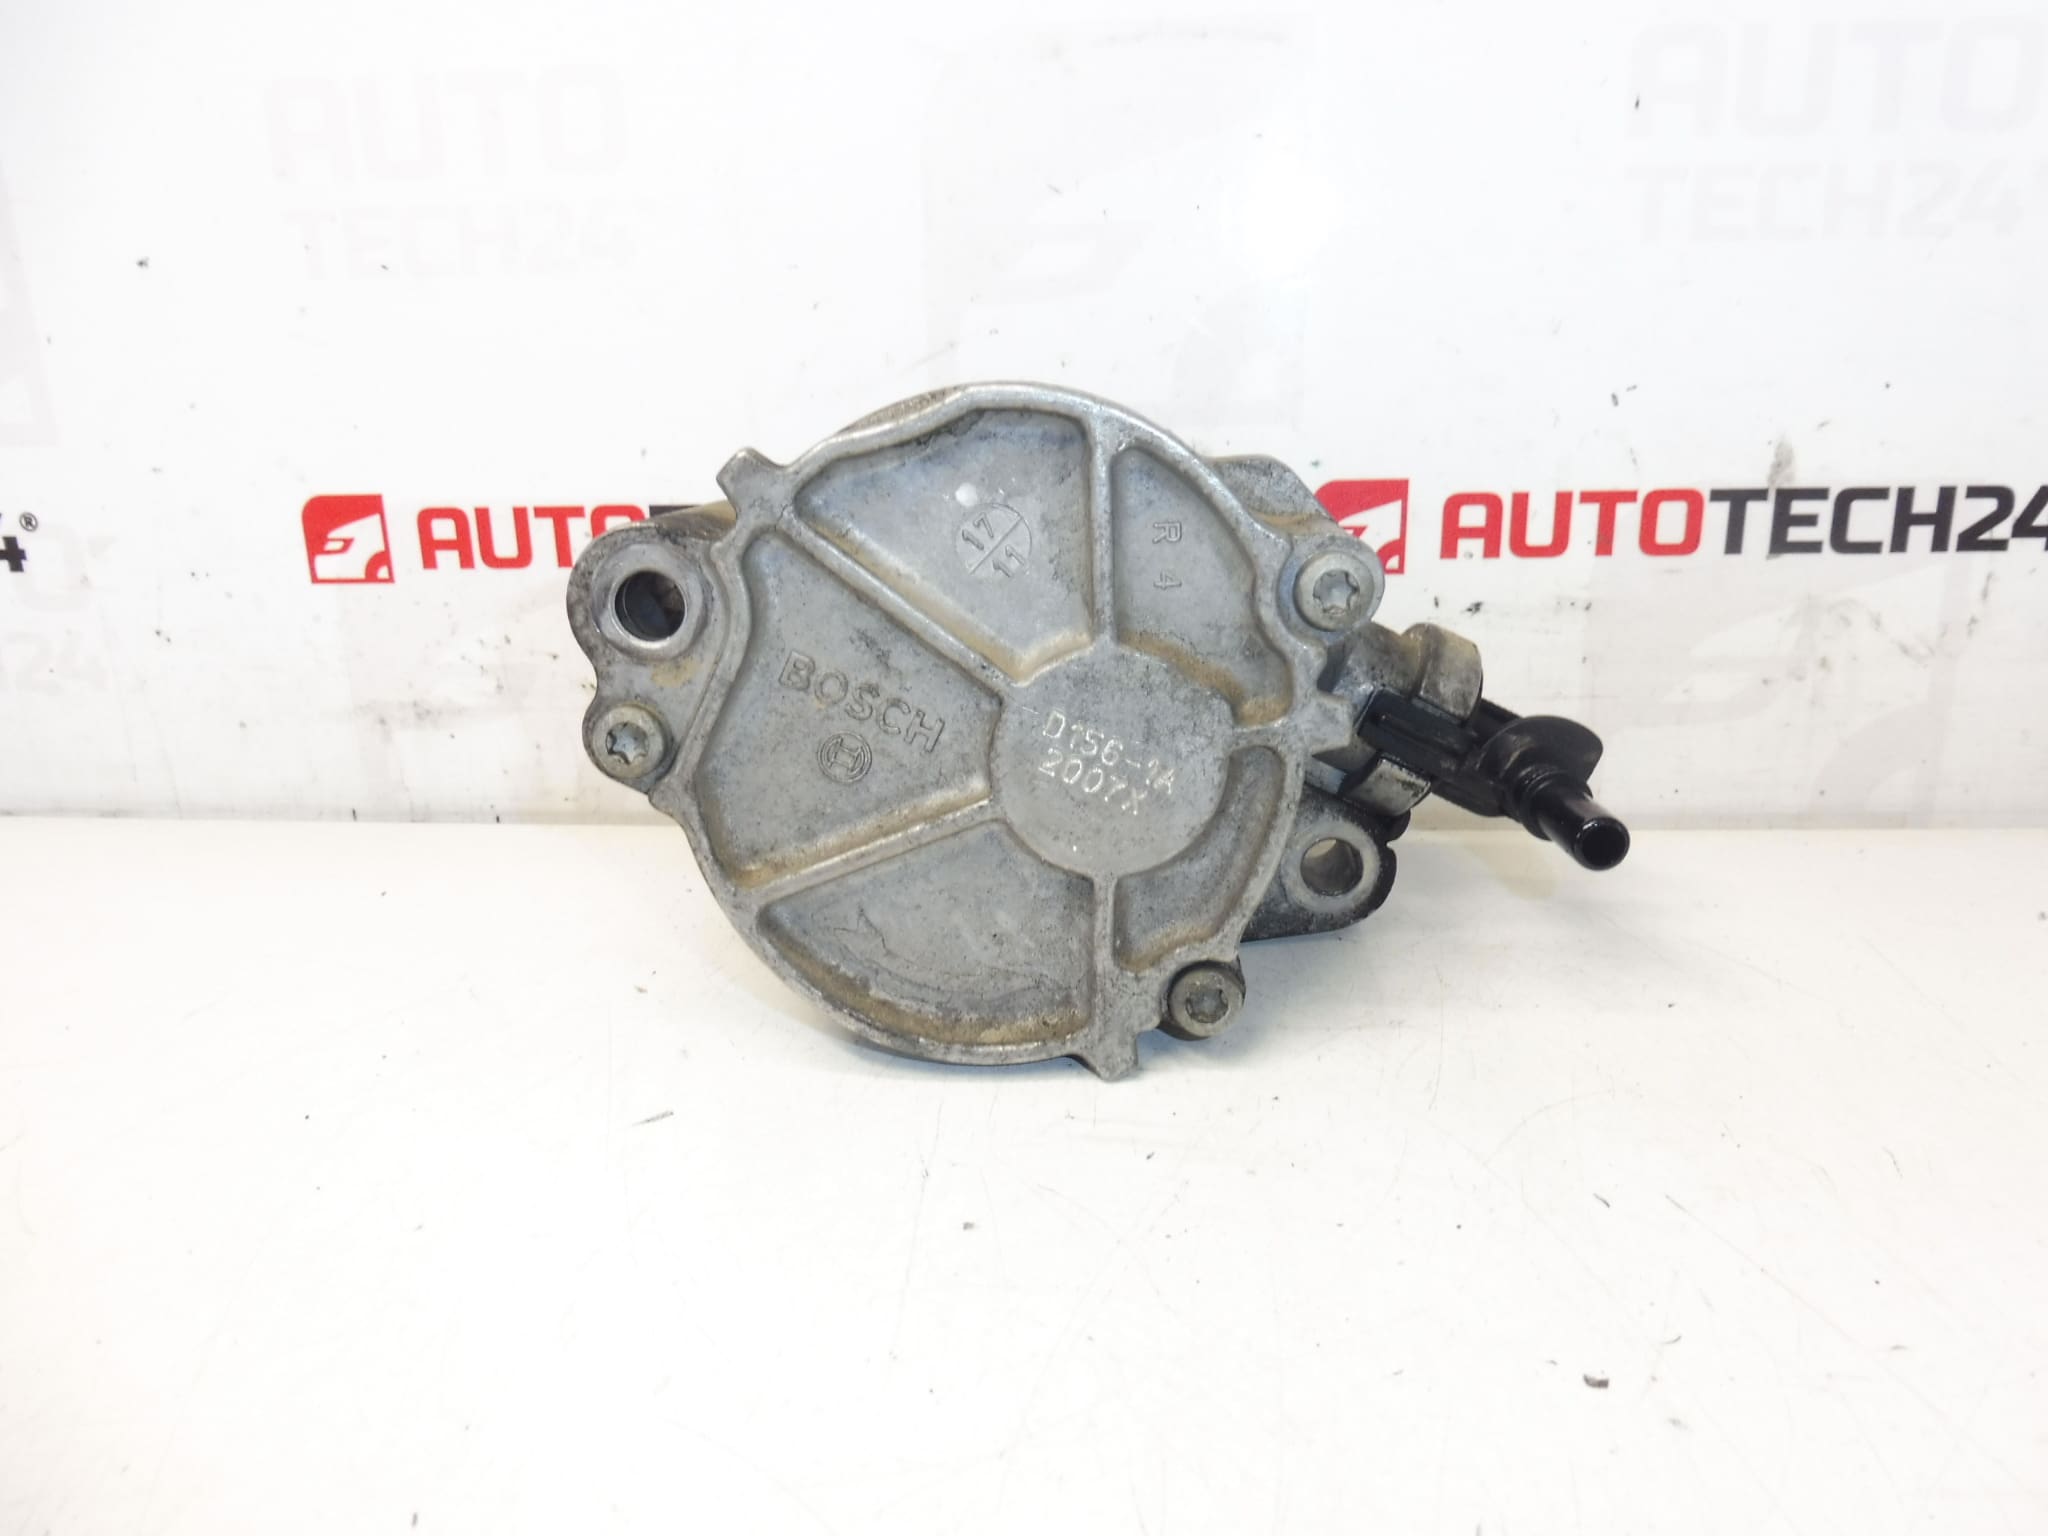
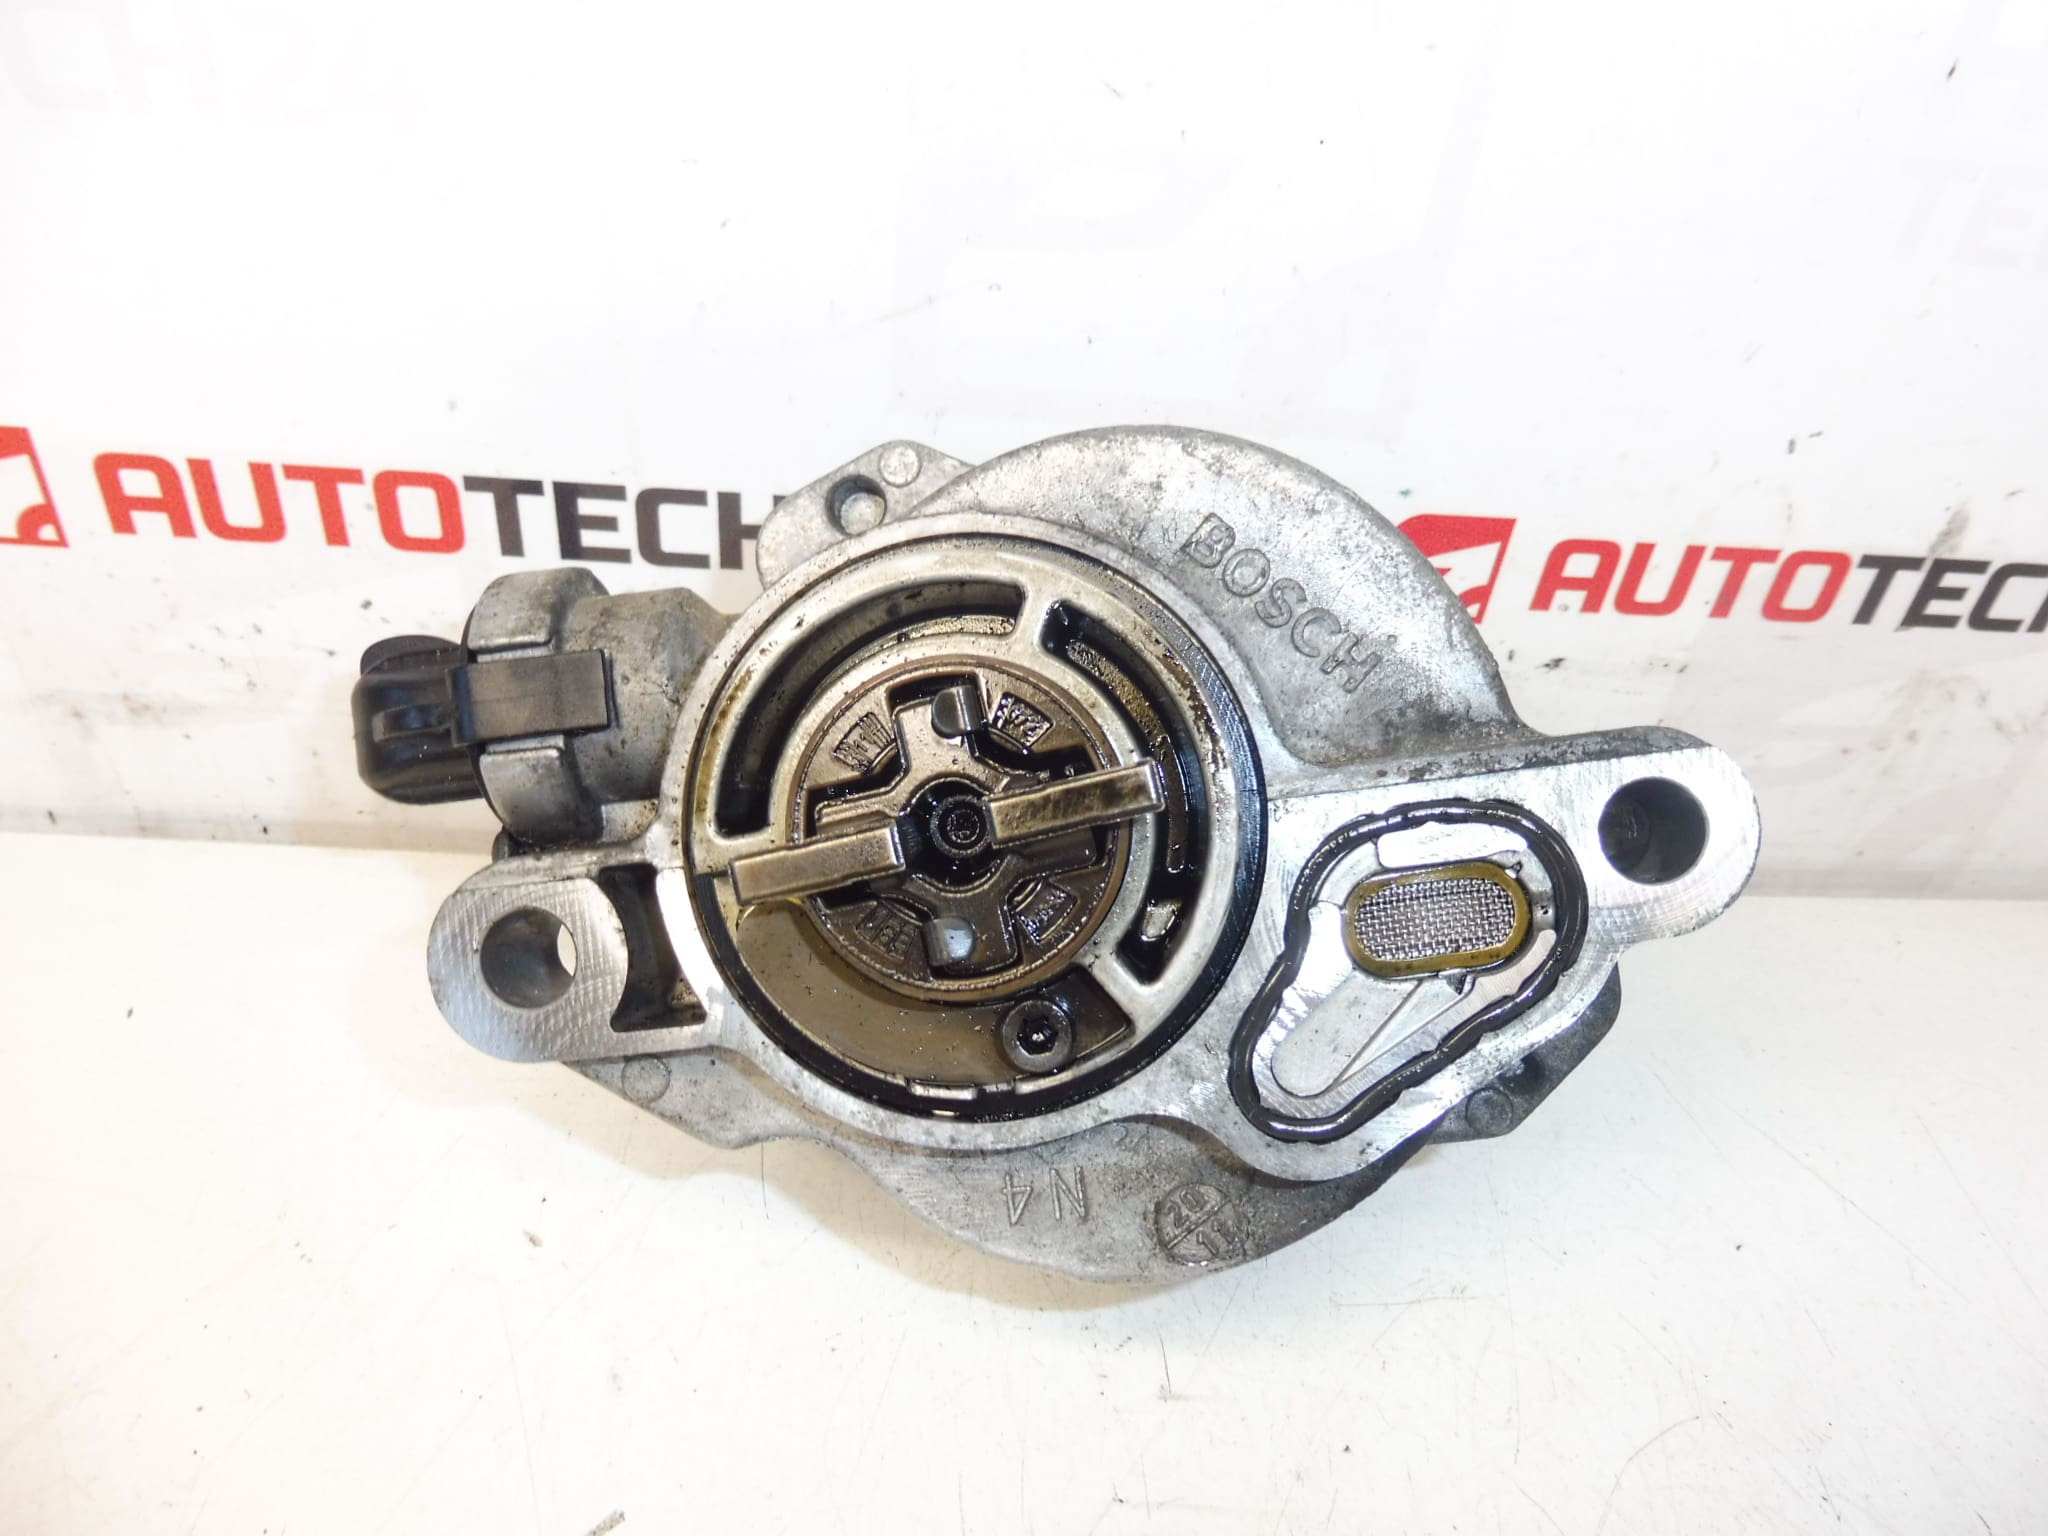
BOSCH vacuum pump for 1.6 HDI 16V CITROEN and PEUGEOT engines
Part description
The used vacuum pump 1.6 HDI is an important engine part designed for Citroën and Peugeot cars. This type of vacuum pump ensures the vacuum required for the proper functioning of the car’s downstream systems. Thanks to the BOSCH marking and the given numbers, the part can also be easily traced by product code, which facilitates selection during repair and replacement.
If you are looking for a car part by number, this part is associated with 9653898080, 965390680, 456570 and 96417772. It is especially suitable for mechanics and home repairs, where it is important to compare the original part with the dismantled part according to markings and structural design.
Technical information
- Manufacturer: BOSCH
- Model: Citroën Peugeot 1.6 HDI 16V
- Other numbers: 9653898080, 965390680, 456570, 96417772
Product codes
- Product codes: 9653898080, 965390680, 456570, 96417772
- Model names: CITROEN, PEUGEOT
Installation recommendations
Generally/typically for vacuum pump replacement, the exact procedure may vary depending on the specific model and make of the car. Below is a safe and practical general procedure for this type of part.
1) Before assembly
- Check if the used vacuum pump matches the old part in terms of shape, mounting, connection points and product numbers.
- Inspect the body of the part for cracks, excessive contamination or mechanical damage.
- Check the seating surfaces and the condition of the connection holes.
- Compare the old and new part also in terms of orientation and connection design.
2) Necessary tools and materials
- Set of common hand tools
- Clean rags or towels
- Preparation for cleaning contact surfaces
- Suitable work lighting
- Protective gloves
- New gasket if the design of the part requires it
3) Step-by-step assembly procedure
- Shut off the engine and let it cool down.
- Ensure access to the assembled part according to the layout of the specific car.
- Carefully dismantle the old vacuum pump, while observing the routing of connected hoses or other connected parts.
- After disassembly, clean the seating surface and remove dirt or remnants of the old gasket.
- Compare the used part with the old one again just before assembly.
- If a seal is part of the joint, check its correct seating and the cleanliness of the contact surfaces.
- Place the vacuum cleaner in place without using excessive force and make sure it fits correctly.
- Install the fasteners evenly so that the part fits properly and is not under tension.
- Reconnect all disconnected hoses and other connected parts back to their original position.
- Check that there are no loose fasteners, tools or debris left anywhere.
-
4) Post-assembly checks and test drive/function verification
- After starting, observe for leaks, unusual noises or other signs of improper assembly.
- Verify that the part works smoothly and without visible problems.
- After a short test drive, visually check the surroundings of the part and the fastening again.
5) The most common assembly mistakes + how to avoid them
- Exchanging a part based on similar appearance – always compare the numbers and design.
- Mounting on a dirty bearing surface – clean everything thoroughly before mounting.
- Overlooked damage to connections or hoses – check downstream parts before assembly.
- Uneven seating of the part – assemble the part calmly, without force and with a check of seating.
- Omission of final inspection – always perform a visual inspection and functional verification after assembly.
Reasons why the part is damaged
- Normal wear and tear from long-term use.
- Clogging with dirt or operational deposits.
- Leaks or inappropriate condition of connected parts.
- Mechanical damage during disassembly or improper assembly.
- Long-term load and age of the part.