Description
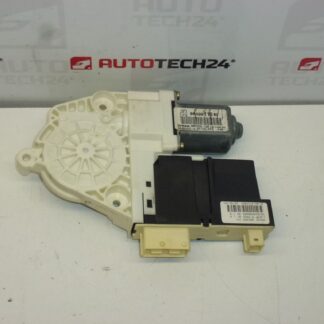
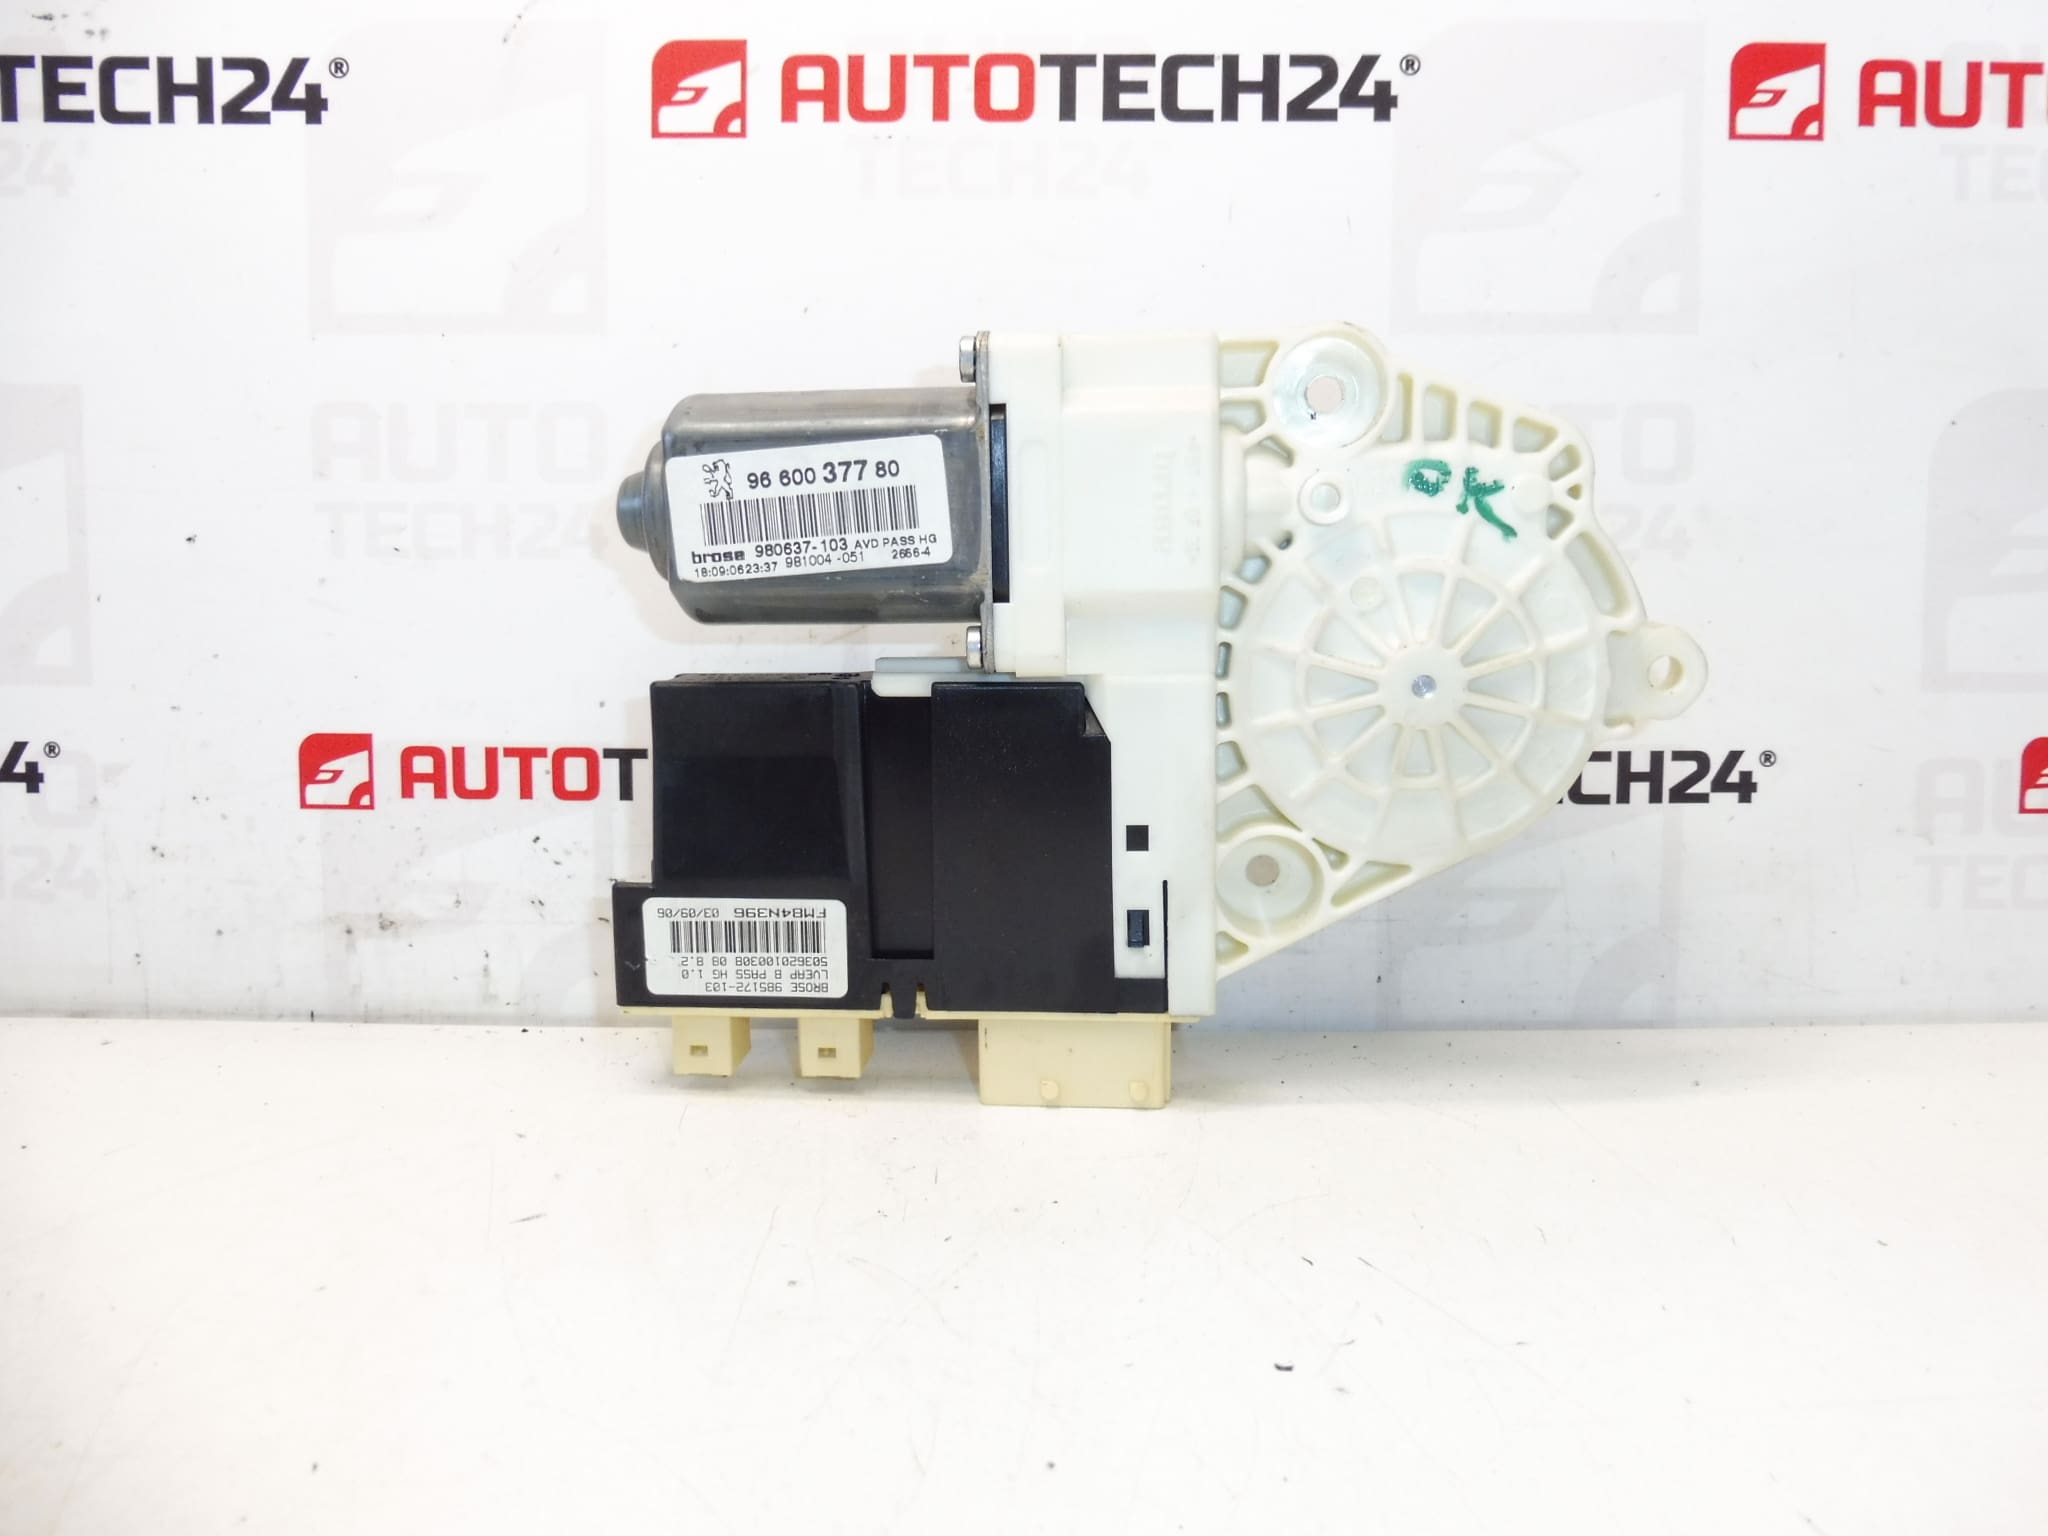
Right Front Window Motor For PEUGEOT 307 CC From 2005
With Mirror Fold Function Linked To The Vehicle And Handle Control
Tested, Fully Functional
Passenger Door
Description
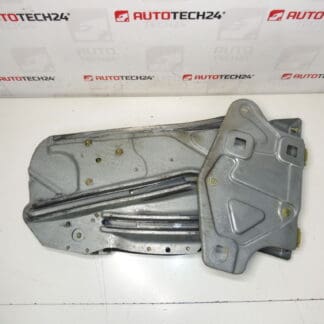
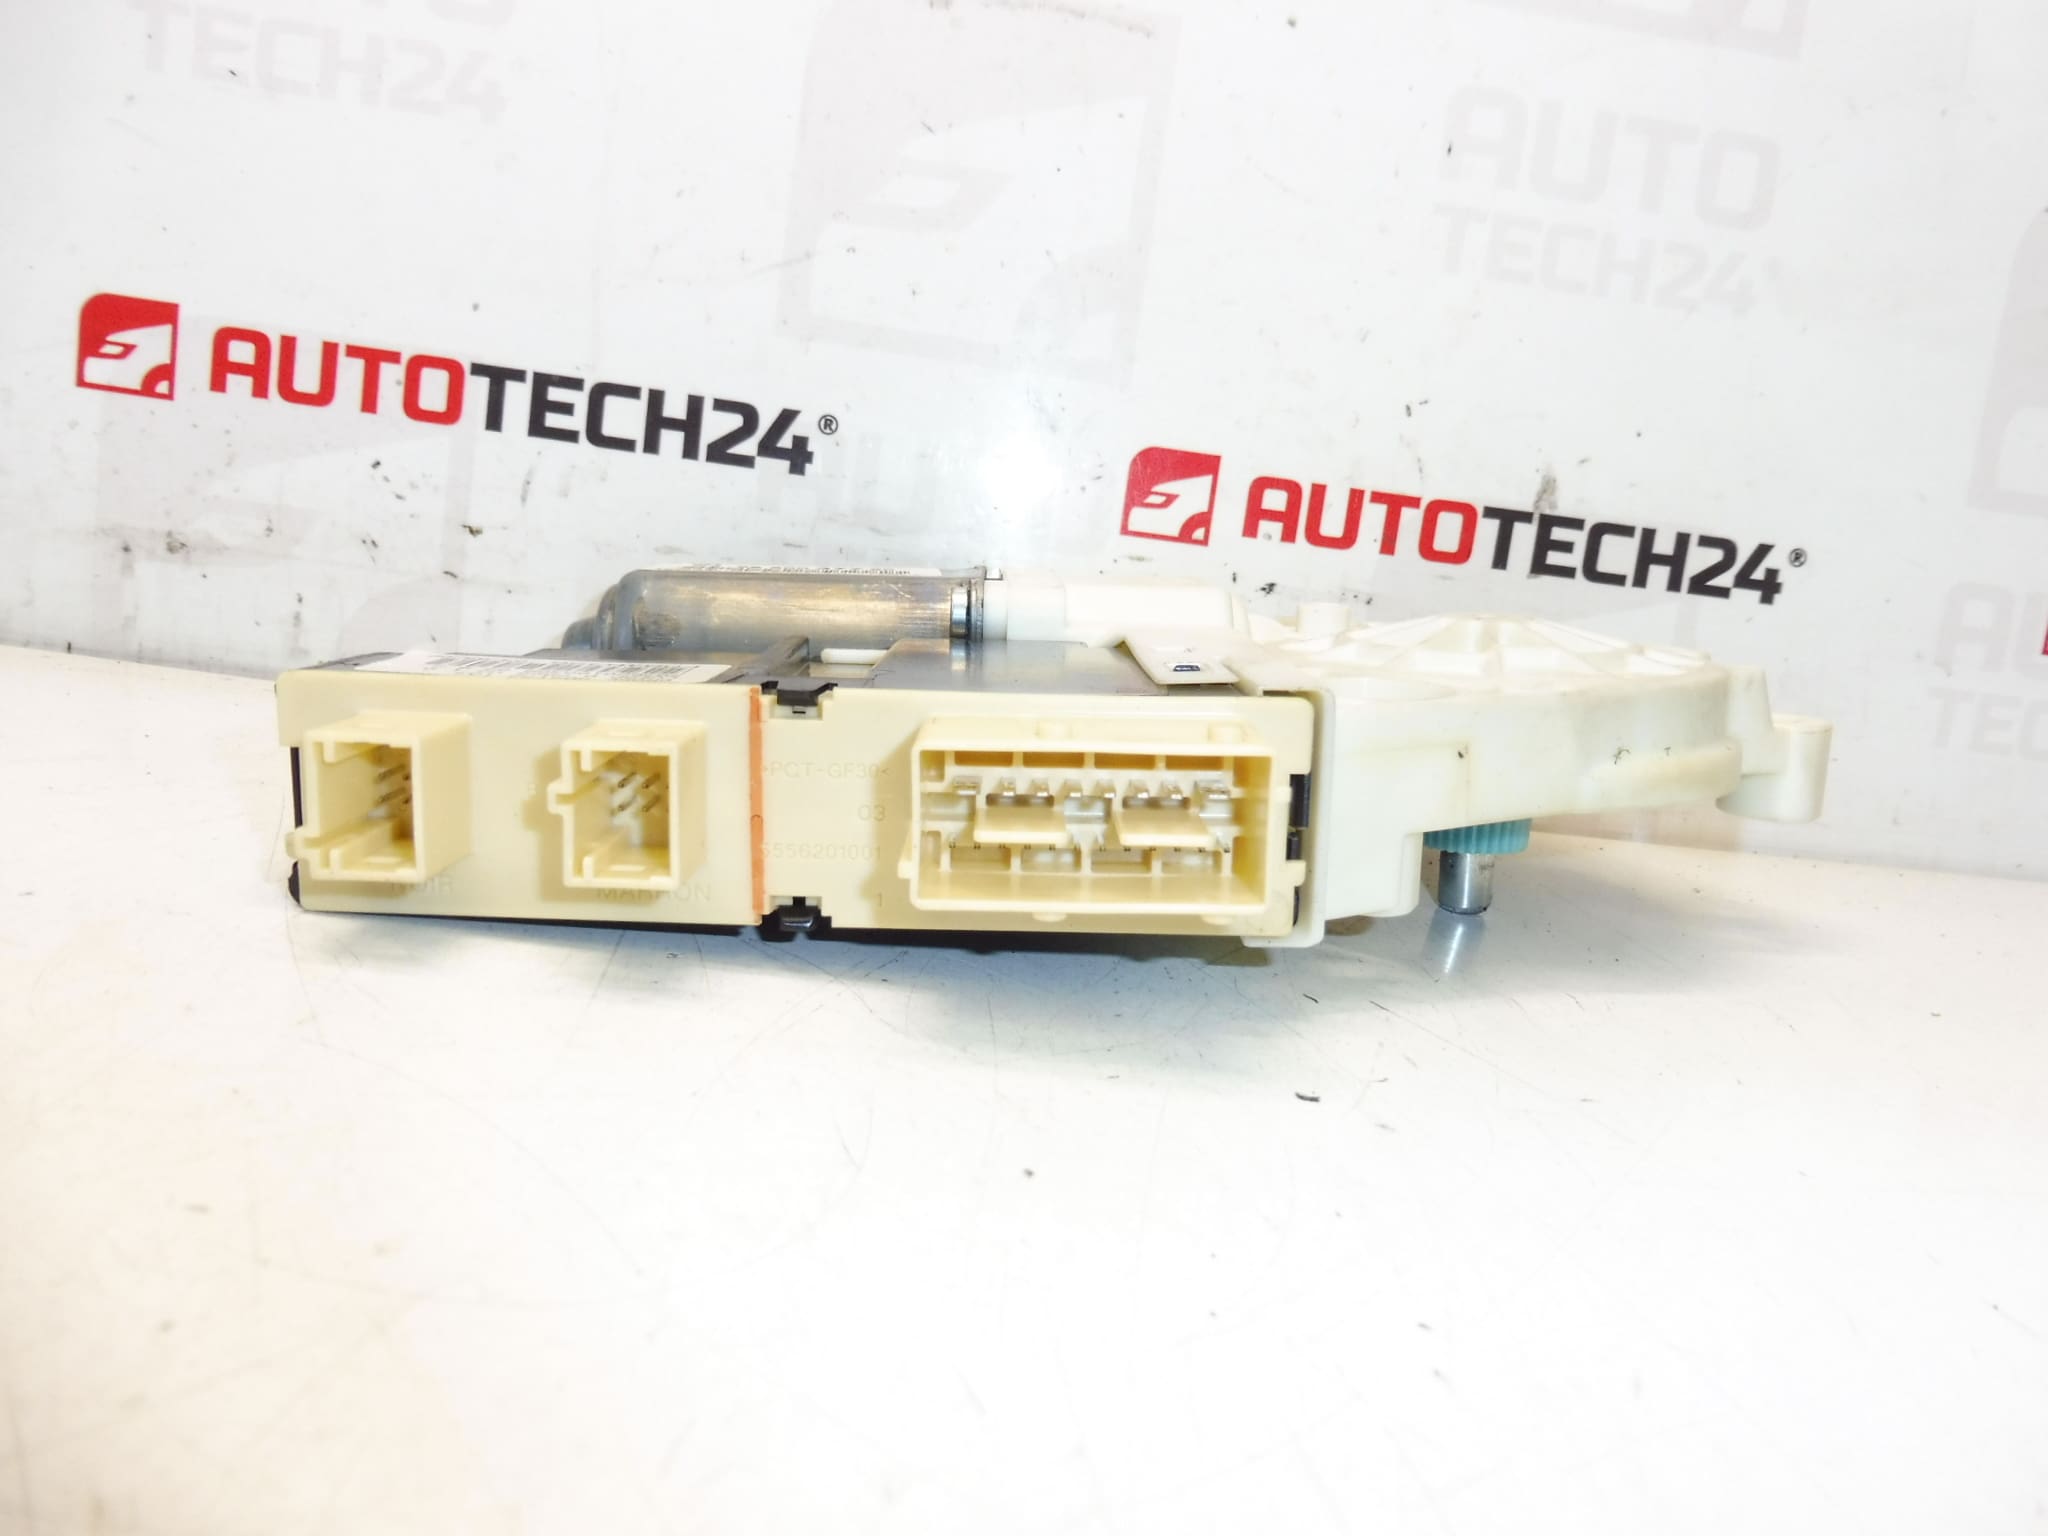
This electric window motor is designed for the right front (passenger) door of the Peugeot 307 CC (Convertible) from 2005. It drives the window regulator mechanism to raise and lower the glass smoothly and is supplied with the additional mirror folding function as indicated in the original listing. The unit is suitable for professional workshops and experienced DIY technicians who expect a direct replacement that restores reliable window operation.
Technical Information
- Manufacturer: Stellantis / Peugeot / Citroën
- Model: Peugeot 307 CC (from 2005)
- Product Codes: 9660037780, 9222CL
- Additional Numbers: NFP
Fitment
Intended For: Peugeot 307 CC (Convertible) – Right Front (Passenger) Door, from 2005. Check the part numbers above against the vehicle’s existing unit to confirm a match before installation.
Installation Recommendations
Recommended For Professional Mechanics And Experienced DIYers. Typical replacement steps:
- Disconnect The Battery Before Starting Work.
- Remove The Interior Door Trim And Protective Vapor Barrier Carefully To Avoid Damage.
- Support The Glass Securely Before Detaching The Regulator To Prevent Dropping.
- Unplug The Electrical Connector And Remove The Fasteners Securing The Motor To The Regulator.
- Install The New Motor, Align The Gear Teeth With The Regulator, And Refit Fasteners To The Correct Tightening Specification.
- Reconnect The Electrical Connector And Reconnect The Battery; Operate The Window Several Times To Verify Smooth Movement Before Reassembling The Door Trim.
- Use Appropriate Tools, Protective Gloves, And Eye Protection. Follow Manufacturer Procedures Where Available.
Why The Part Commonly Fails
Window motors typically fail due to a combination of mechanical wear and environmental factors. Common causes include:
- Wear Of Internal Brushes And Commutator Causing Loss Of Power Or Intermittent Operation.
- Gear Wear Or Stripped Teeth Within The Motor Or Regulator Assembly.
- Water Ingress Or Corrosion Of Electrical Contacts, Especially On Older Doors Or Damaged Seals.
- Regulator Binding Or Cable Failure Creating Excessive Load On The Motor.
- Overheating From Repeated Heavy Use Or Jam Conditions.
Service Advice
There Is No Fixed Replacement Interval; Lifespan Depends On Usage, Environmental Conditions, And Maintenance. In Regular Use, Failures Are More Likely After Several Years (Often 8–15 Years) Or After High Mileage. When Replacing The Motor, Inspect The Regulator, Glass Run Channels, And Wiring For Wear Or Damage To Prevent Repeat Failures.
Notes
The Unit In The Original Listing Was Described As Tested And Fully Functional. Ensure The Product Codes Listed In The Technical Information Match Your Vehicle For Correct Fitment.