Description
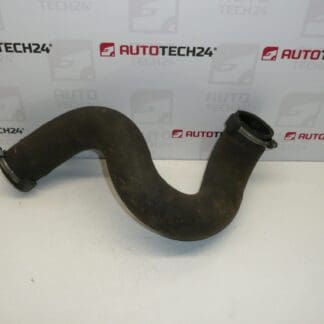
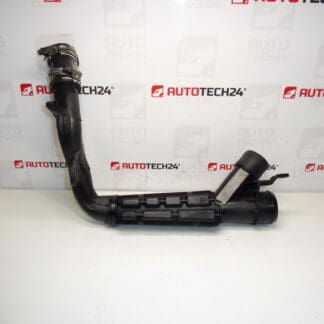
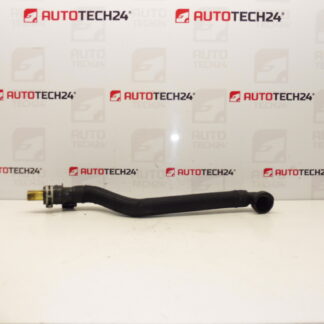
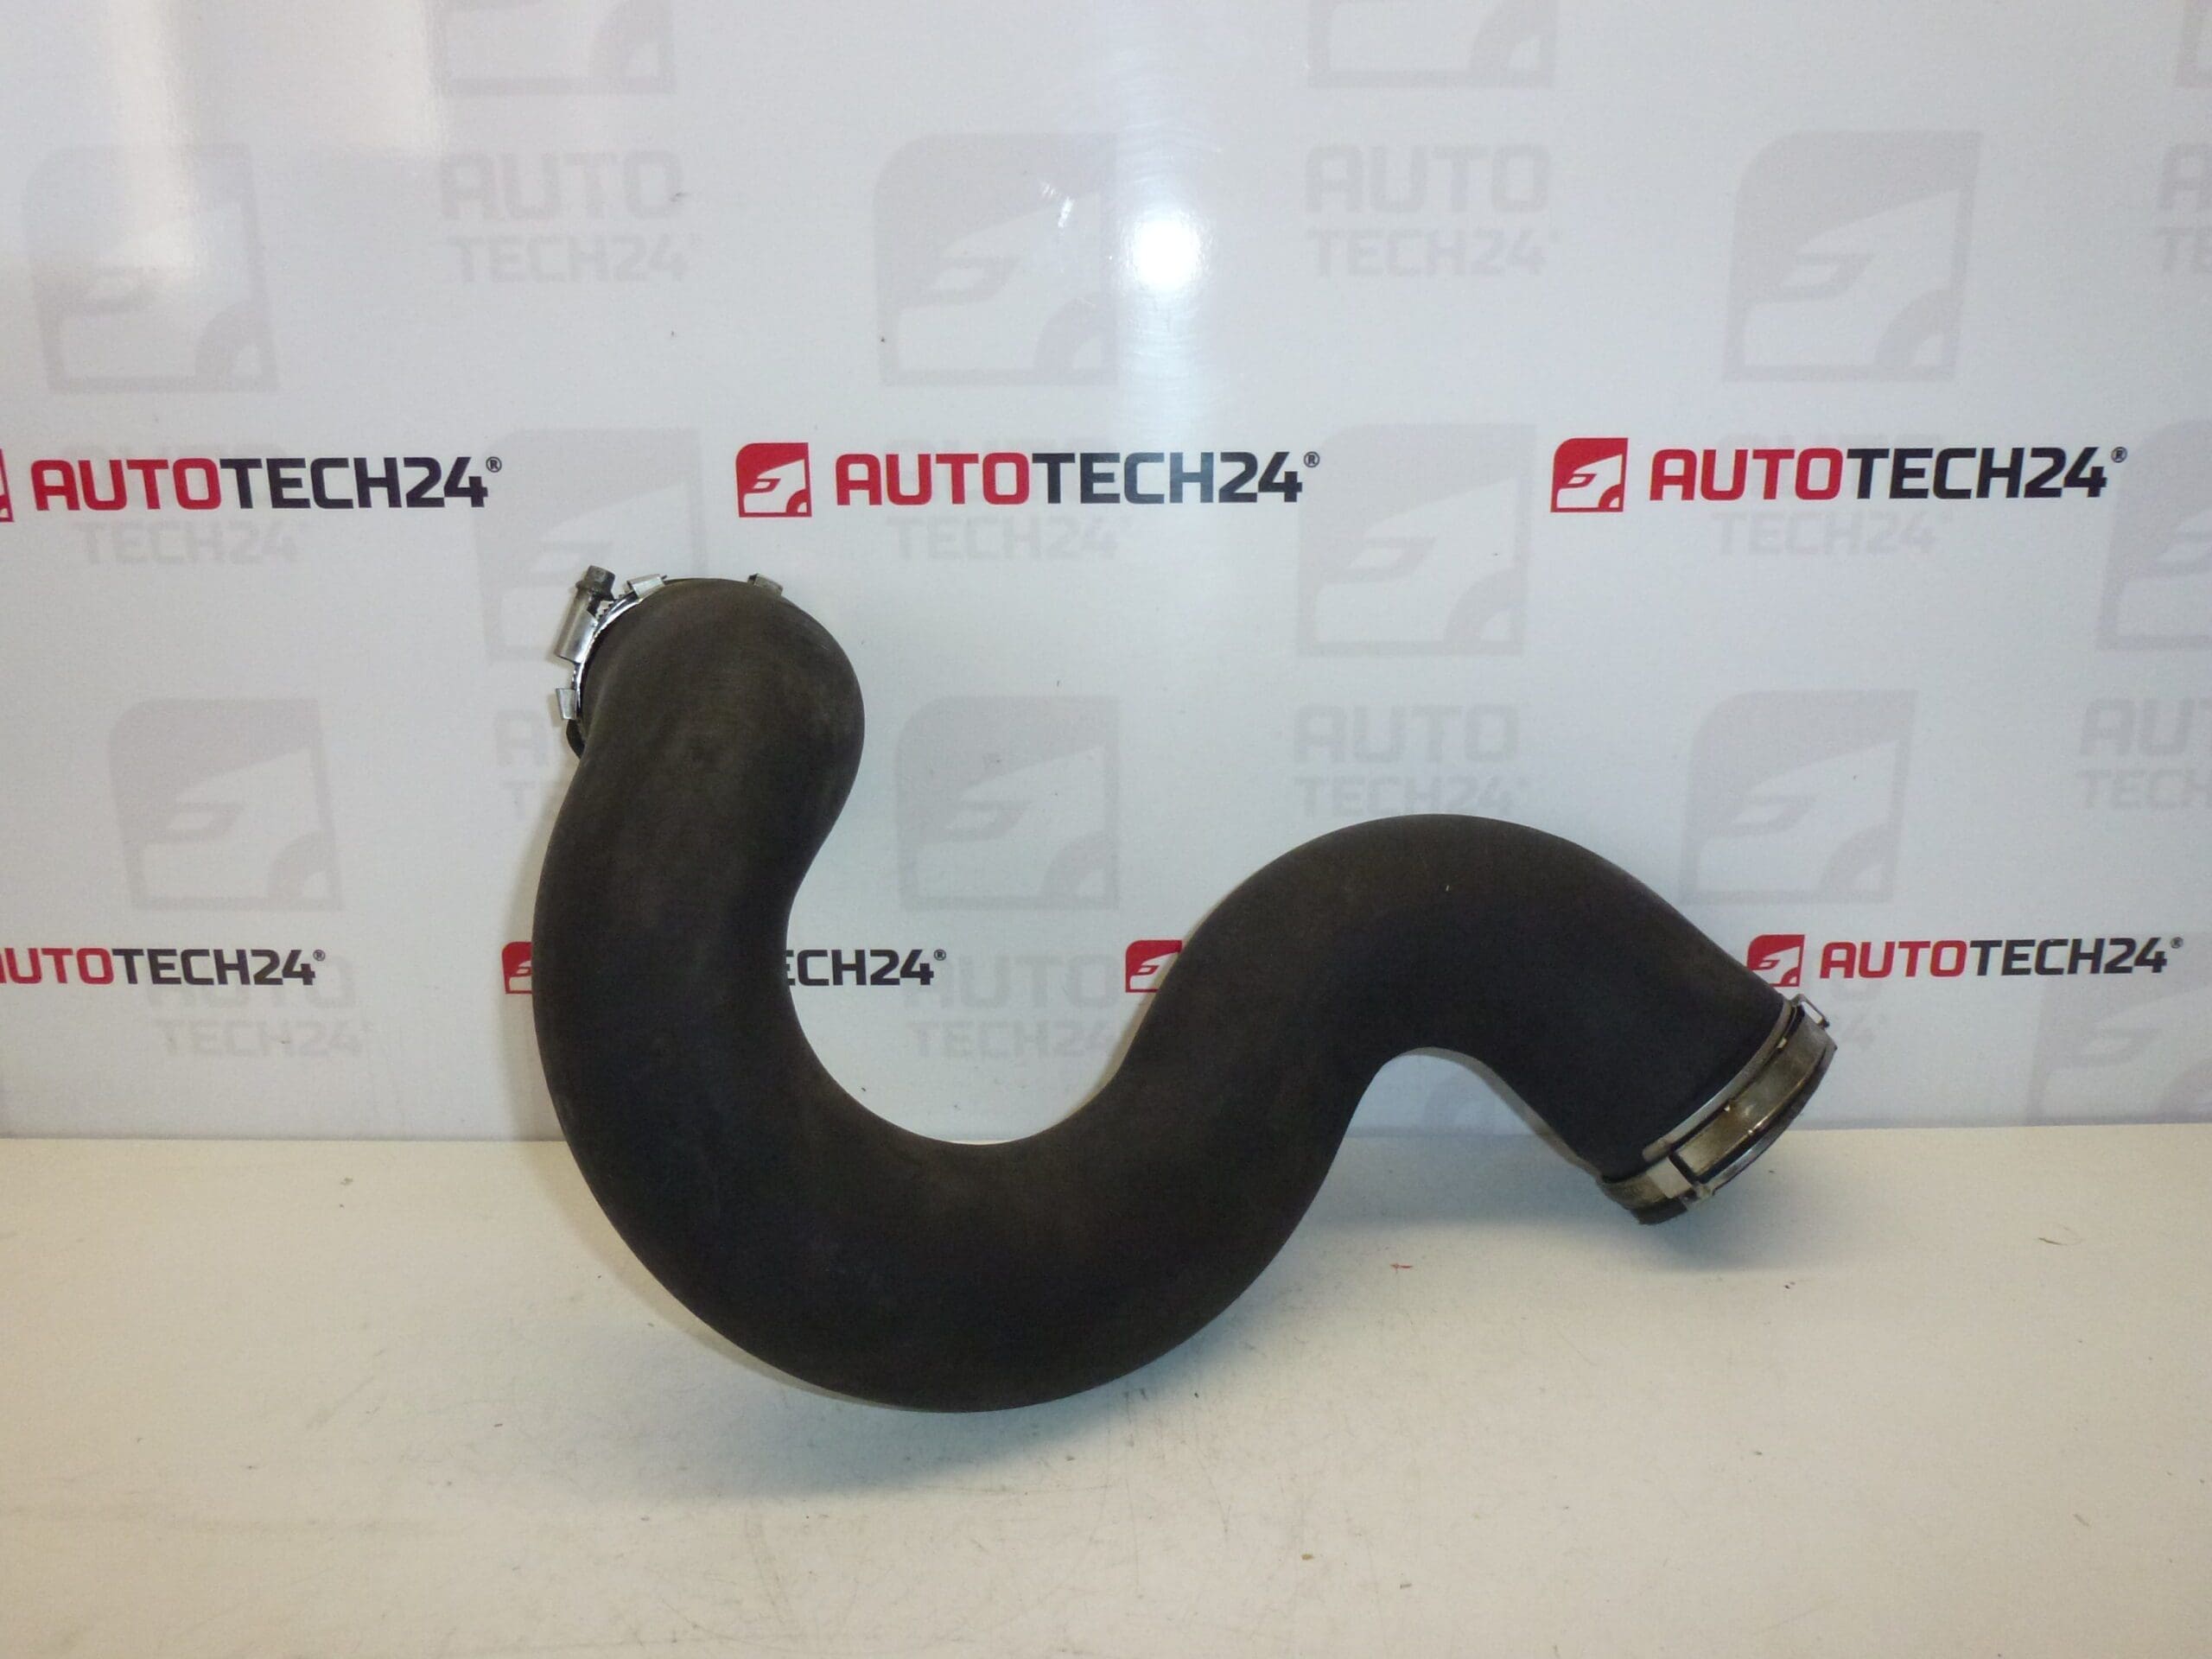
Air connection at the exchanger for CITROEN PEUGEOT cars
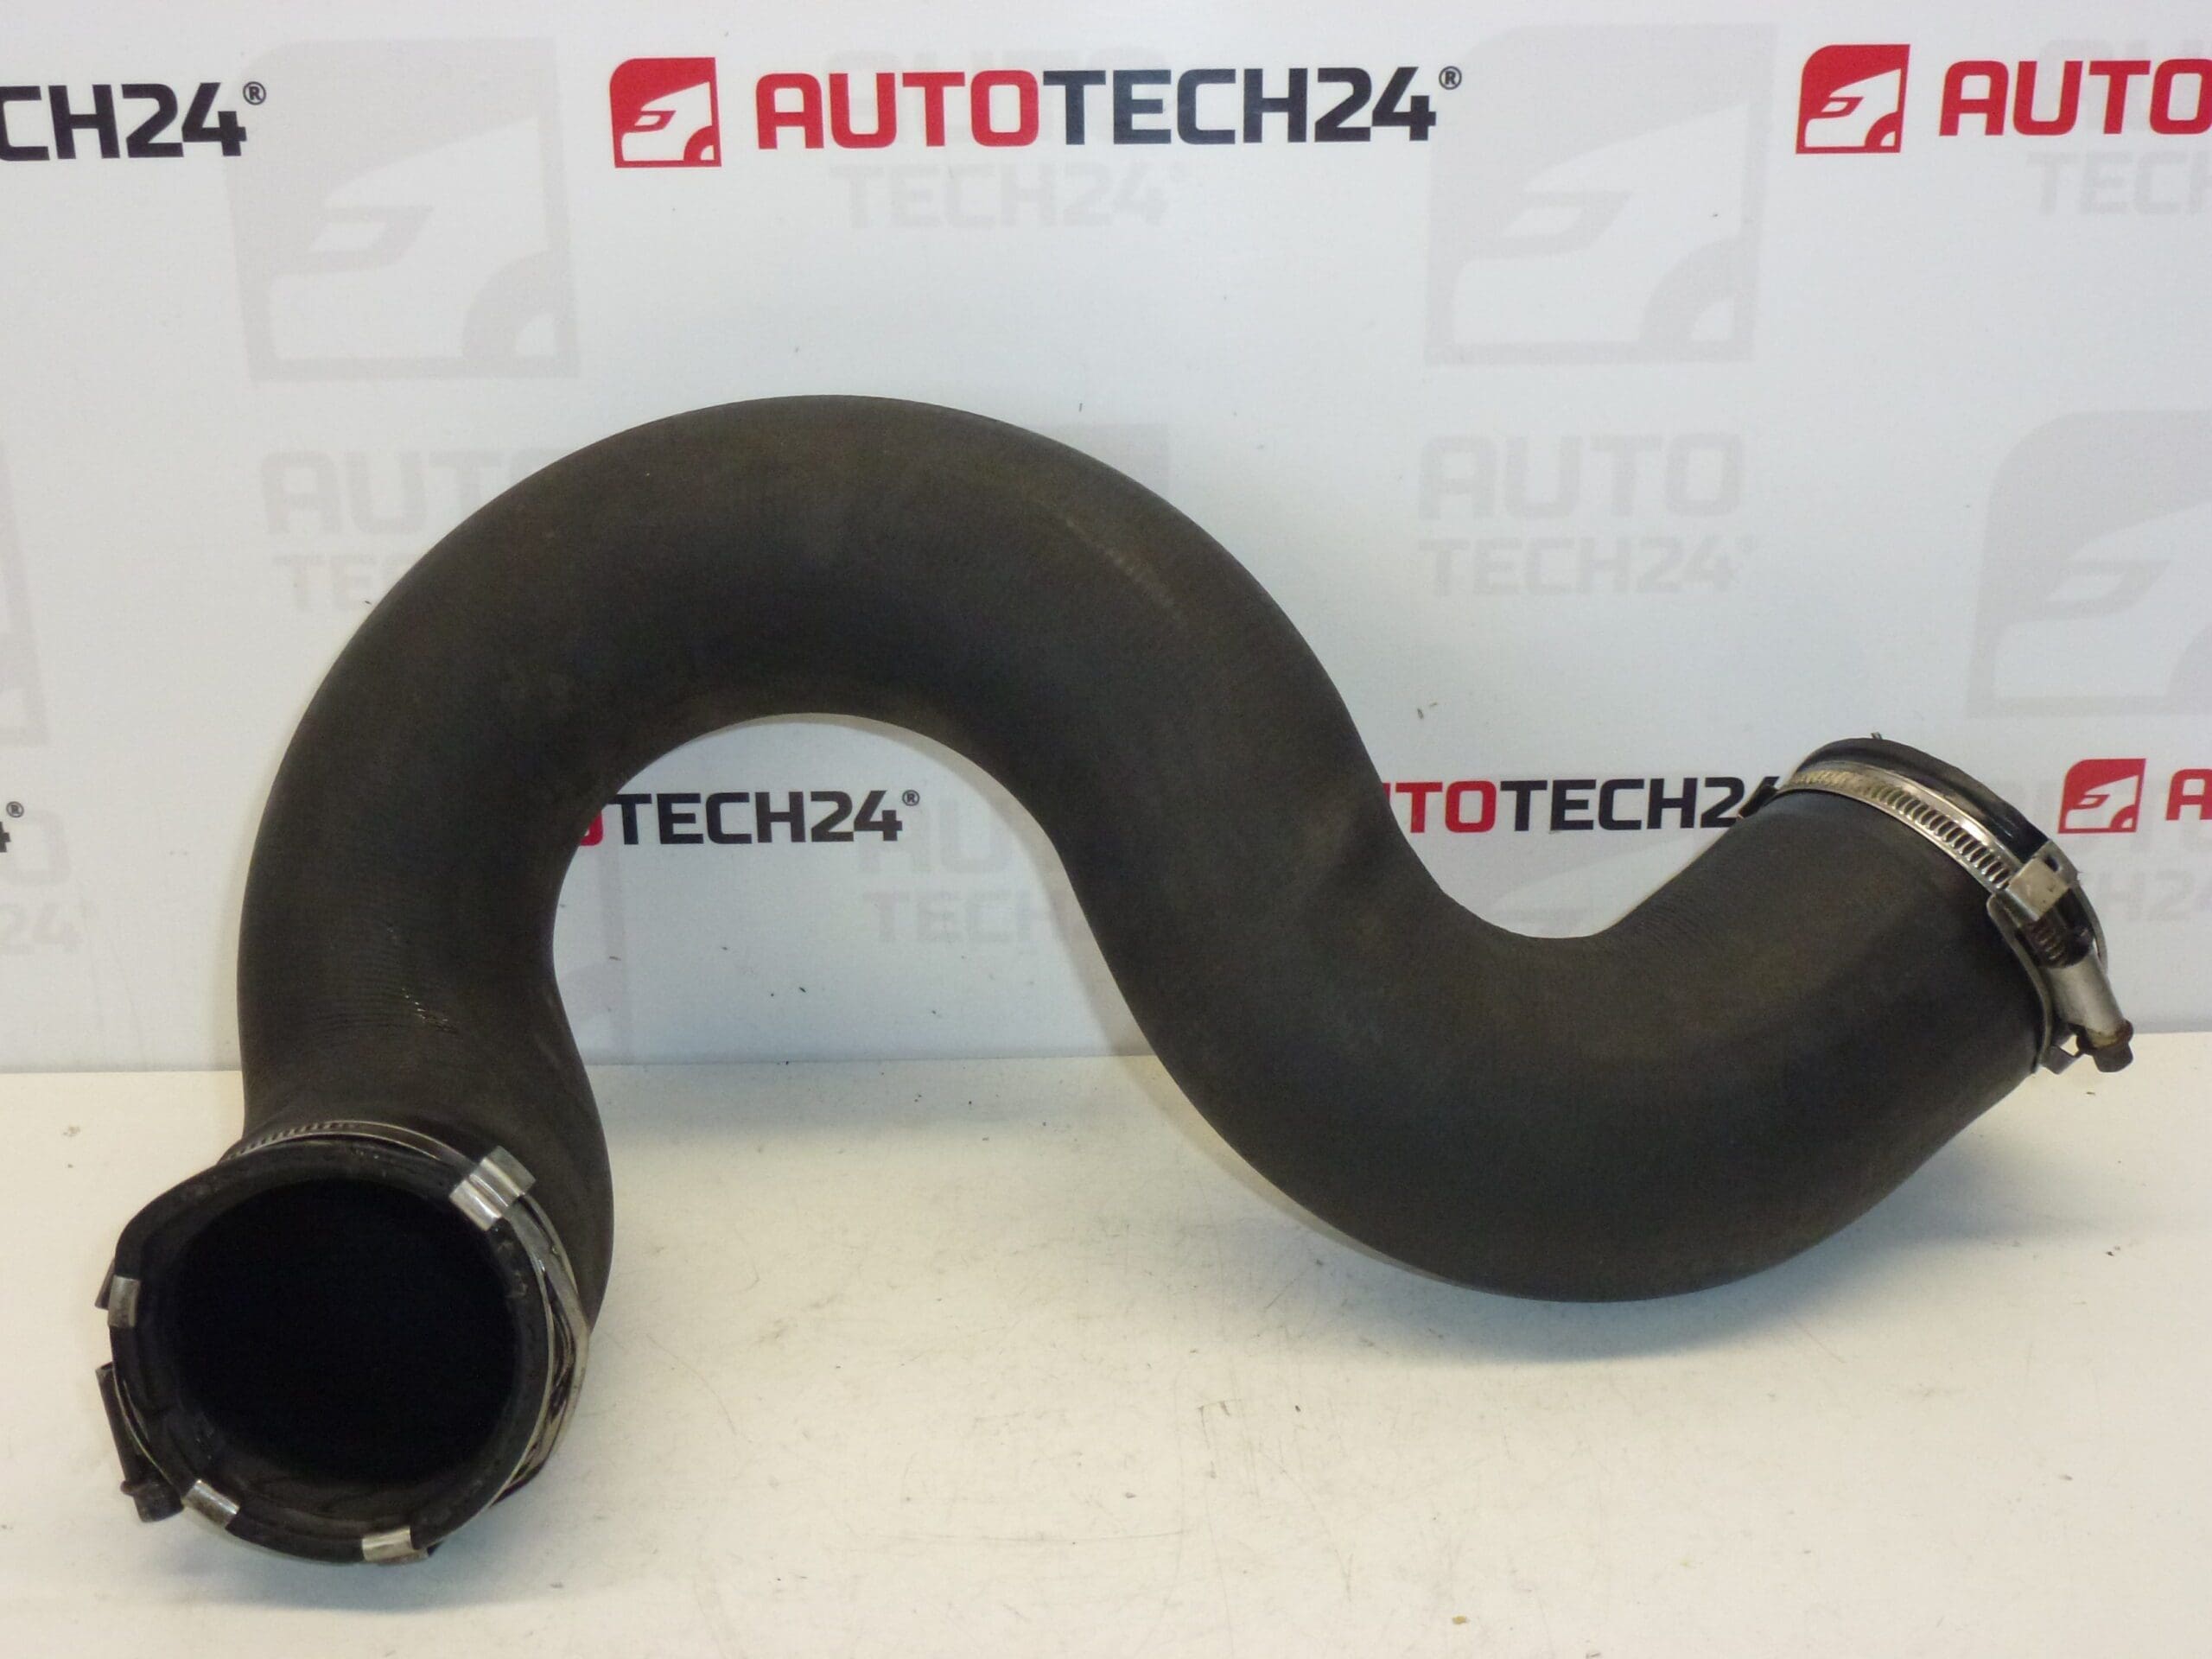
Part description
This hose / air connection to the exchanger is intended for Citroën and Peugeot cars in the intake and turbo category (2.0 HDI). It is used to guide compressed air in the supercharging system, where tightness and proper seating are key – even a small leak can result in a drop in power, worse response to gas or increased smoke.
The advantage of using the correct part according to the code is a quick and certain exchange without unnecessary modifications. If you are looking for a part by part number, the most important is the number 0382AV (NFP).
Technical information
- Manufacturer: Stellantis
- Model: Citroën C4; Citroën C4 PICASSO; Peugeot 307
- Other numbers: NFP
Product codes
- Product codes: 0382AV
Installation recommendations
Generally/typically for intake and turbo hoses, the most important thing is the correct orientation of the part, undamaged contact surfaces and secure tightening of the clamps. The exact procedure may vary depending on the specific design of the car and the access in the engine compartment.
1) Before assembly
- Compare the new part with the old part: shape, end diameters, length, number and position of connections, type of attachment/fastening.
- Check the condition of the ends of the hose (deformation, cracks, hardening), or whether the abutting edges are damaged.
- Check the patency and cleanliness of the part (without dirt, oil sludge and foreign objects).
2) Necessary tools and materials
- Common hand tools (screwdrivers, pliers, gola depending on the type of clip/fastening).
- Detergent and rags for cleaning the contact surfaces.
- Or new clips/sleeves if the original ones are tired or deformed (general recommendation).
3) Step-by-step assembly procedure
- Allow the engine to cool and secure the vehicle against movement.
- Get access to the replacement point (depending on the car design, it may be necessary to remove the covers).
- Mark the orientation of the original hose (e.g. position in relation to surrounding parts) so that you install the new one in the same way.
- Undo the clips/sleeves at both ends and release any cable retainers.
- Remove the hose carefully – do not pull on the surrounding plastic nozzles to avoid damaging them.
- Clean the mating surfaces of the counters (sockets/connections) from dirt and residual deposits.
- Place the hose in the correct orientation and check that it fits all the way around and is not under tension.
- Place the clips in the correct position (typically behind the hem/at the designated spot) and tighten evenly.
- Check the hose routing: it must not rub against sharp edges or come into contact with very hot parts.
- Reinstall the removed covers/fixtures and perform a visual inspection of the entire route.
-
4) Post-assembly checks and test drive/function verification
- After starting, check that there is no hissing of air and that the hose does not “inflate” anywhere outside of the connection.
- Perform a short verification under load (test drive) and then recheck the tightening of the clips and any traces of leakage (oil film around the joints).
5) The most common assembly mistakes + how to avoid them
- Wrong hose orientation → note the position and compare the shape with the original part before disassembly.
- Untightened or crooked buckles → place the buckles in the correct place and tighten them evenly.
- Uncleaned contact surfaces → dirt causes leakage, always clean before assembly.
- Contact with a sharp edge / inappropriate routing → check that the hose is not rubbing anywhere and is not in tension.
Reasons why the part is damaged
- Aging of the material due to heat in the engine compartment – hardening, cracking, loss of elasticity.
- Pressure stress in the turbocharger system – gradual loosening of joints and material fatigue.
- Oil vapors and deposits in the intake – softening/weakening of the material, worse sealing at the ends.
- Vibration and poor positioning – abrasion against surrounding parts, penetration or cracking in a stressed area.
- Incorrect installation (crooked clip, overstretching, bad wiring) – quick leakage.