Description
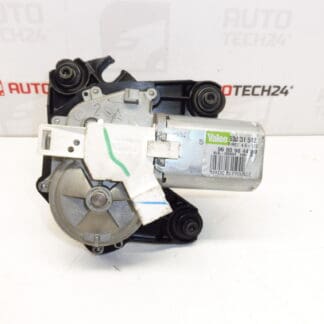
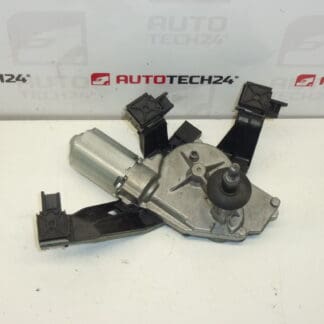
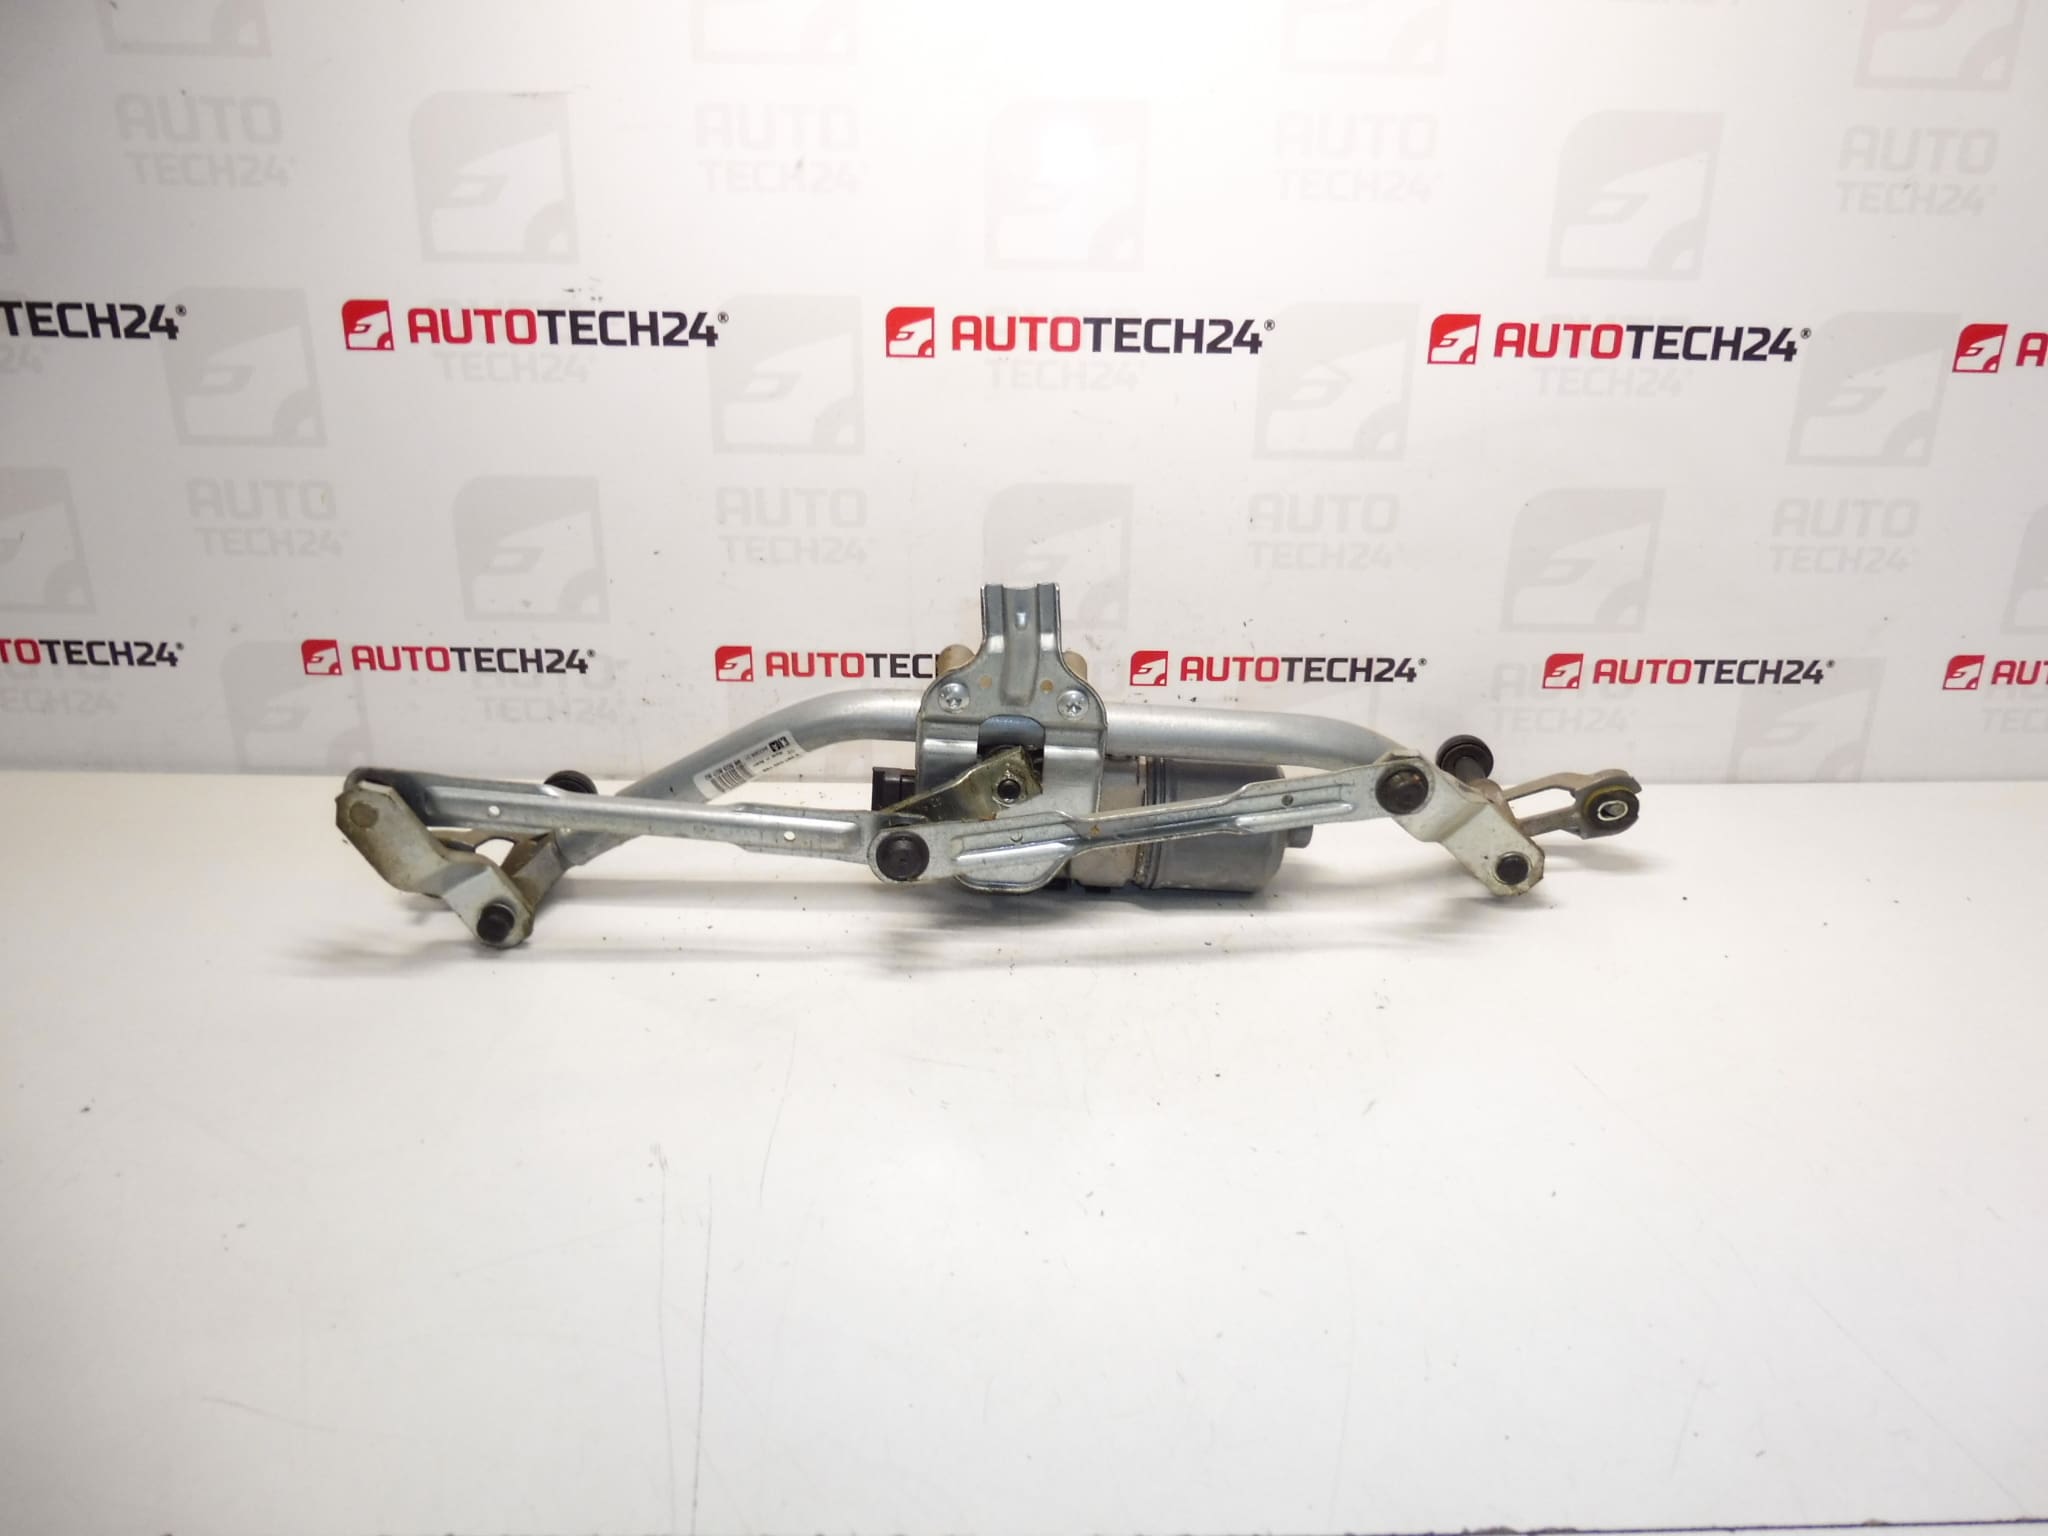
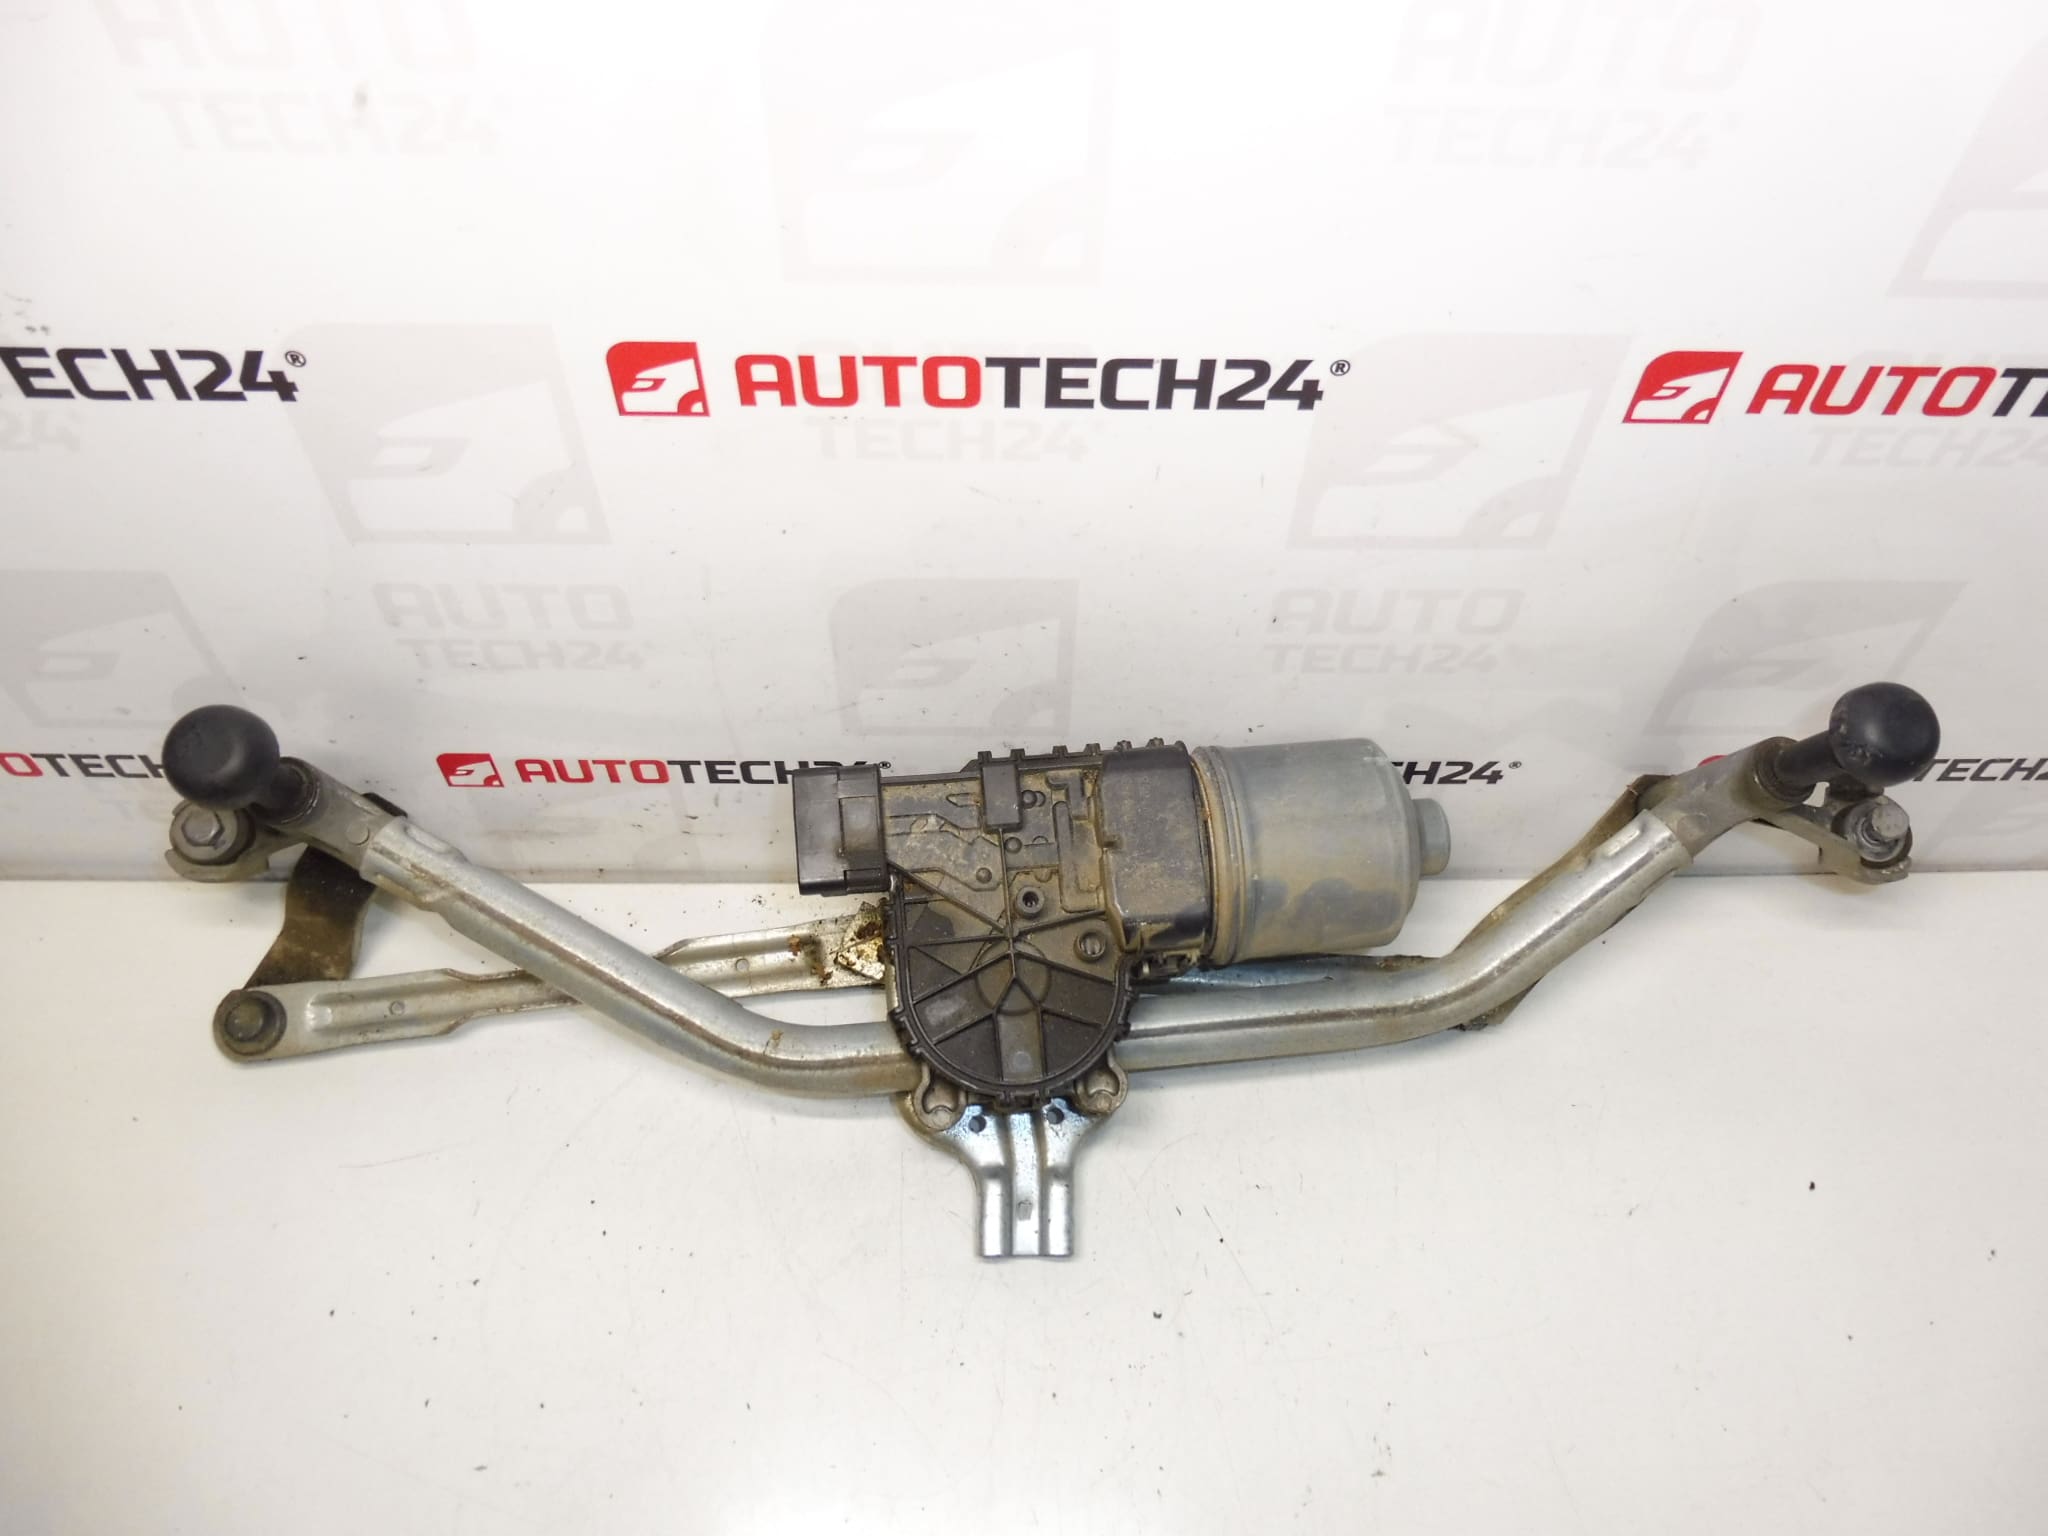
Rear wiper motor for PEUGEOT 207 cars
Part description
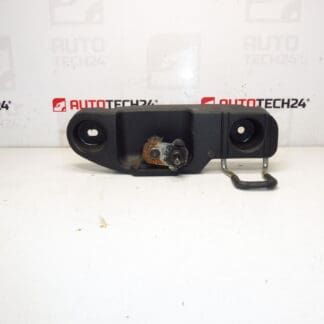
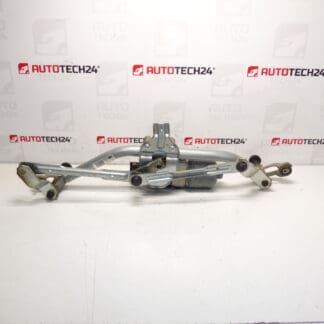
Used wiper motor intended for Peugeot 207 in the wiper mechanism category. It is an electrical component that drives the wiper mechanism – in the event of a malfunction, it is typically manifested by non-functional wiping, irregular operation or stopping in an inappropriate position. If you are looking for a part by number, you can find all product numbers listed in the description below for quick pairing.
Technical information
- Manufacturer: Stellantis (CITROEN / PEUGEOT)
- Model: Peugeot 207
- Other numbers: 3397020769, 6405CH
Product codes
- Product codes: 9650380780, 3397020769, 6405CH
Installation recommendations
Generally/typically for this type of part, the exact steps may vary depending on the specific car design and wiper mechanism used.
1) Before assembly (checks of the used part, what to compare with the old part)
- Check if the part number (9650380780, or 3397020769, 6405CH) matches the old engine or the marking on the original part.
- Compare connector (shape, number of pins, locking) and mechanical attachment.
- Inspect the motor body for cracks, damage to the threads/mounts and the condition of the contacts (oxidation).
- Make sure the wiper mechanism is not hardened/rusted – overstressing will often destroy even a new motor.
2) Necessary tools and materials (in general, without specific extra parts)
- Basic set of keys and sockets
- Screwdrivers / plastic pry bar for removing covers and upholstery
- Pliers, or a small clip hook
- Electrical contact cleaner (recommended)
- Protective gloves, rag
3) Step-by-step assembly procedure
- Turn off the ignition and secure the vehicle against movement.
- Disconnect the negative terminal of the battery (recommended for electrical parts due to short circuits and installation errors).
- Get access to the wiper motor by removing the relevant covers/trimmings (depending on the car model).
- Disconnect the motor electrical connector – do not pull on the wiring, release the connector fuse first.
- Mark the position/placement of the part (e.g. cable routing and mounting) so that the installation is the same.
- Undo the motor mounting screws/mounts and remove the motor.
- Check the condition of the mechanism, rods and moving parts – they must move freely, without binding.
- Clean the connector contacts and the attachment area from dirt and corrosion.
- Install the motor in its original place and secure it with fasteners.
- Connect the electrical connector and check that the latch clicks properly.
- Reinstall all the removed covers/trims and check that nothing rubs and the wiring is not pinched.
- Connect the battery.
-
4) Post-assembly checks and test drive/function verification
- Verify the function of the wiper in all available modes (switching, interval, return to rest position – depending on the car’s equipment).
- Check if the operation is slow, irregular or excessively noisy.
- After a short drive, double check that everything is firmly attached and that the trim has not come loose anywhere.
5) The most common assembly mistakes + how to avoid them
- Pinched or twisted wiring – run the harness as originally and check the grommets.
- Non-snap connector – always pull gently after plugging in to verify locking.
- Assembly without checking the mechanism – stiffened mechanism overloads the motor and shortens its life.
- Contaminated/oxidized contacts – clean the connector, you will prevent blackouts and transient resistances.
Reasons why the part is damaged
- Stiff wiper mechanism (corrosion, dirt) → the engine is working in overload.
- Water and moisture in the engine compartment → corrosion, short circuits, damage to electronics/commutator.
- Wear of carbons and commutator in older pieces.
- Oxidation of connectors and increased transition resistance → blackouts or overheating.
- Mechanical damage during unprofessional disassembly (broken handles, damaged connectors).