Description
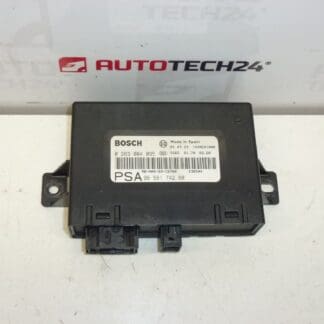
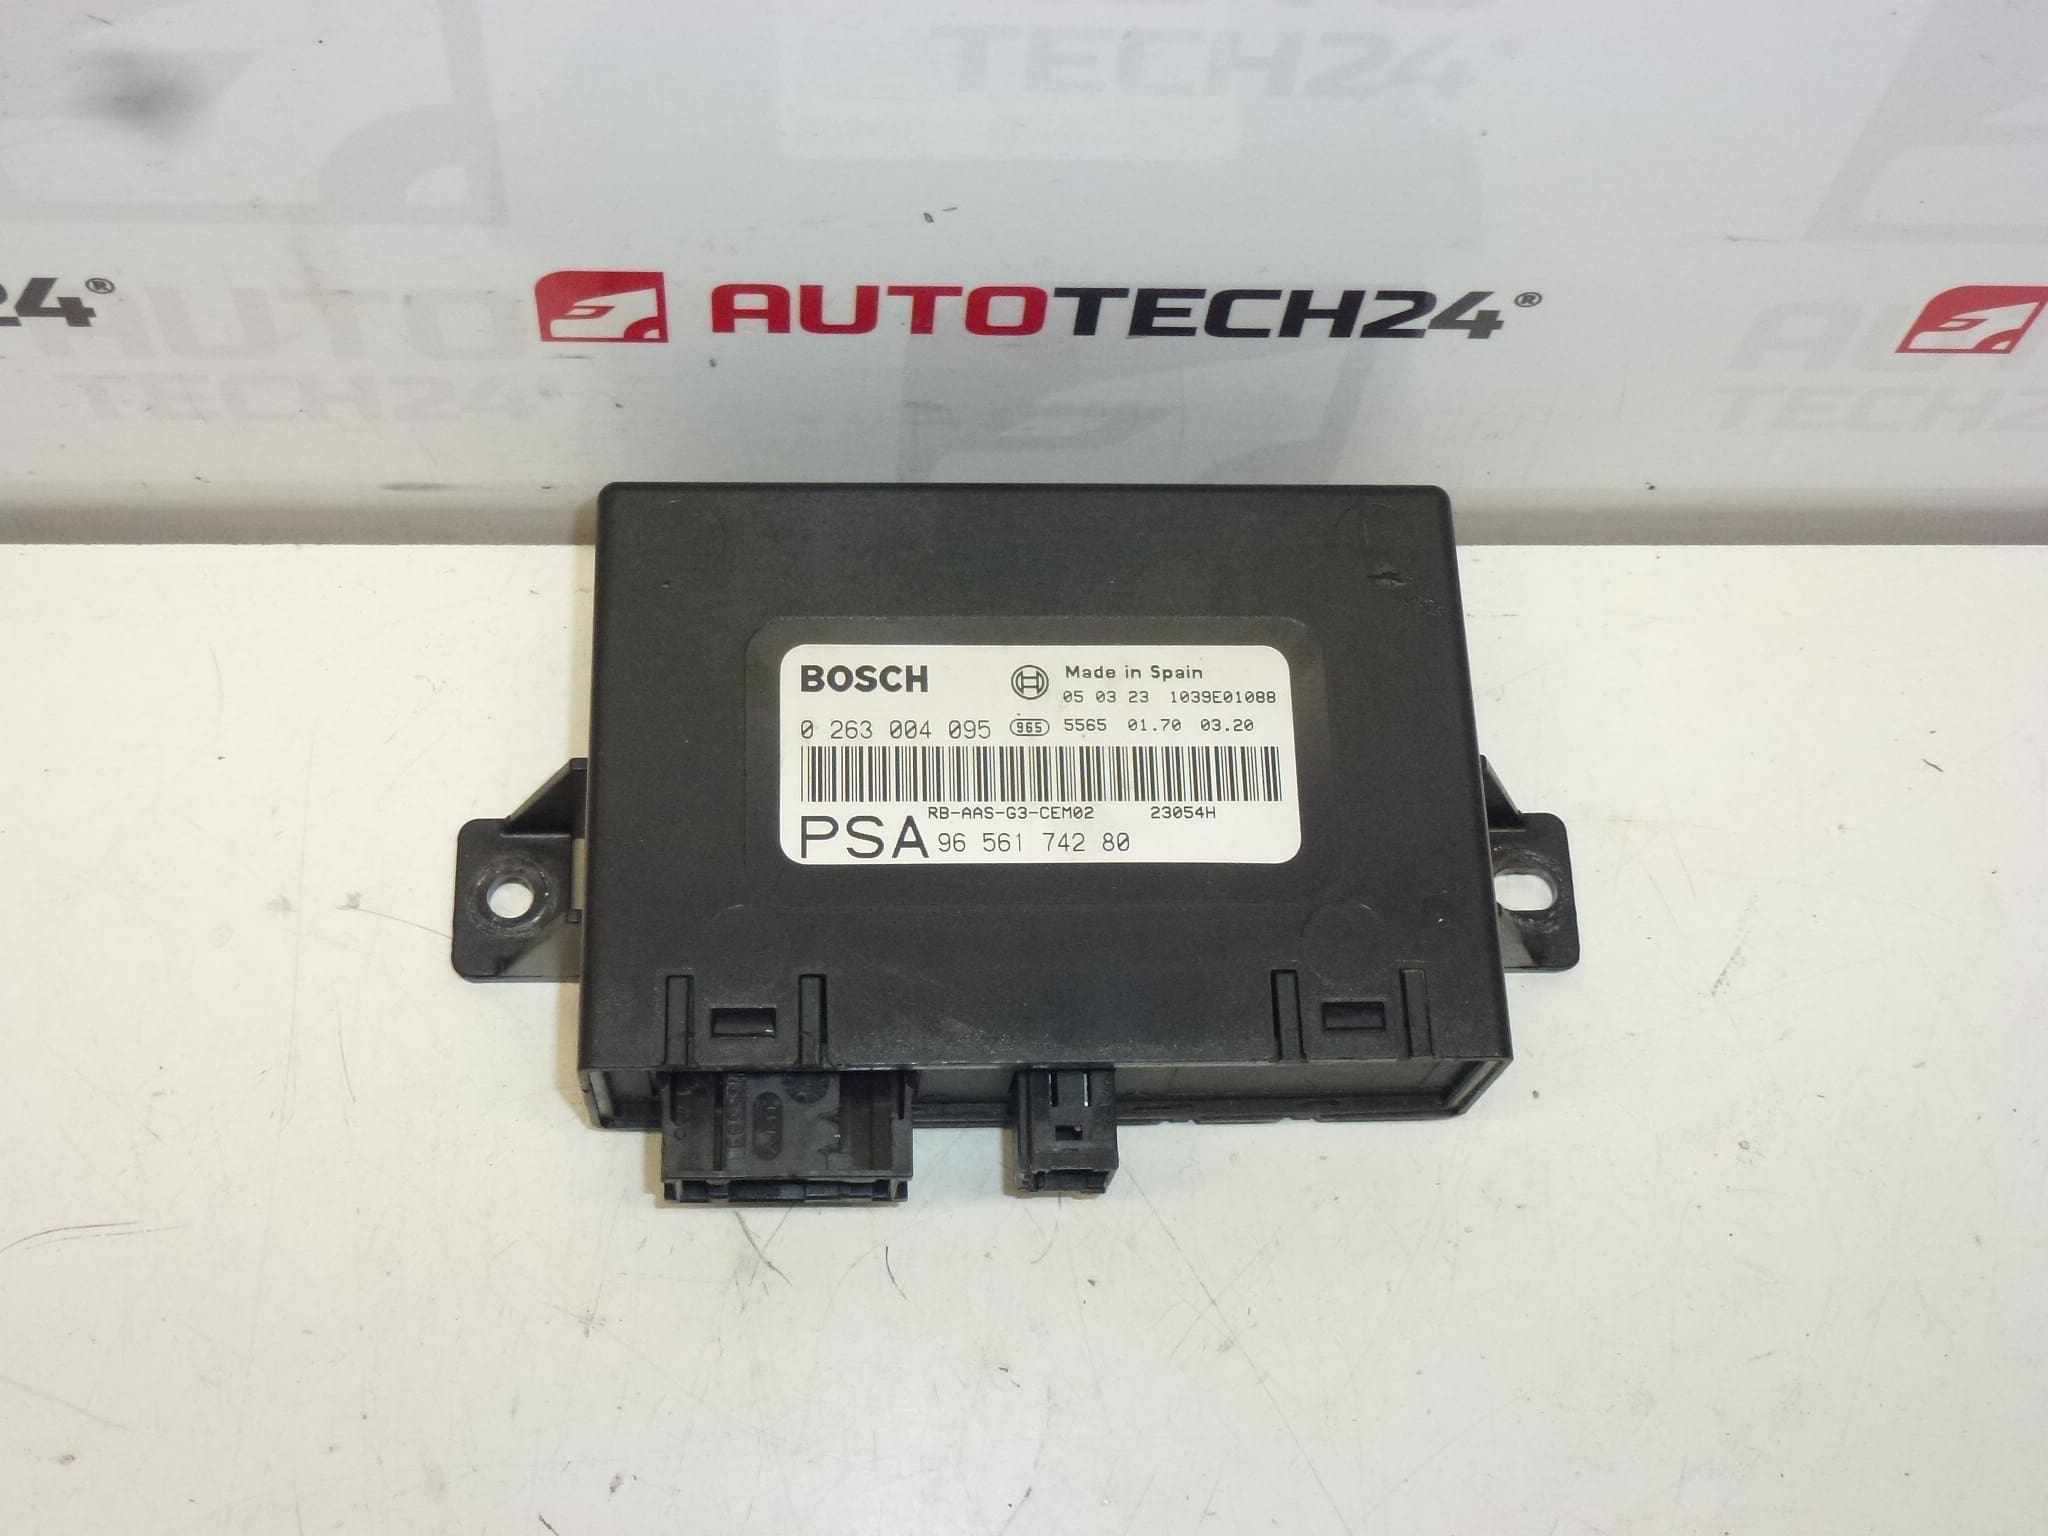
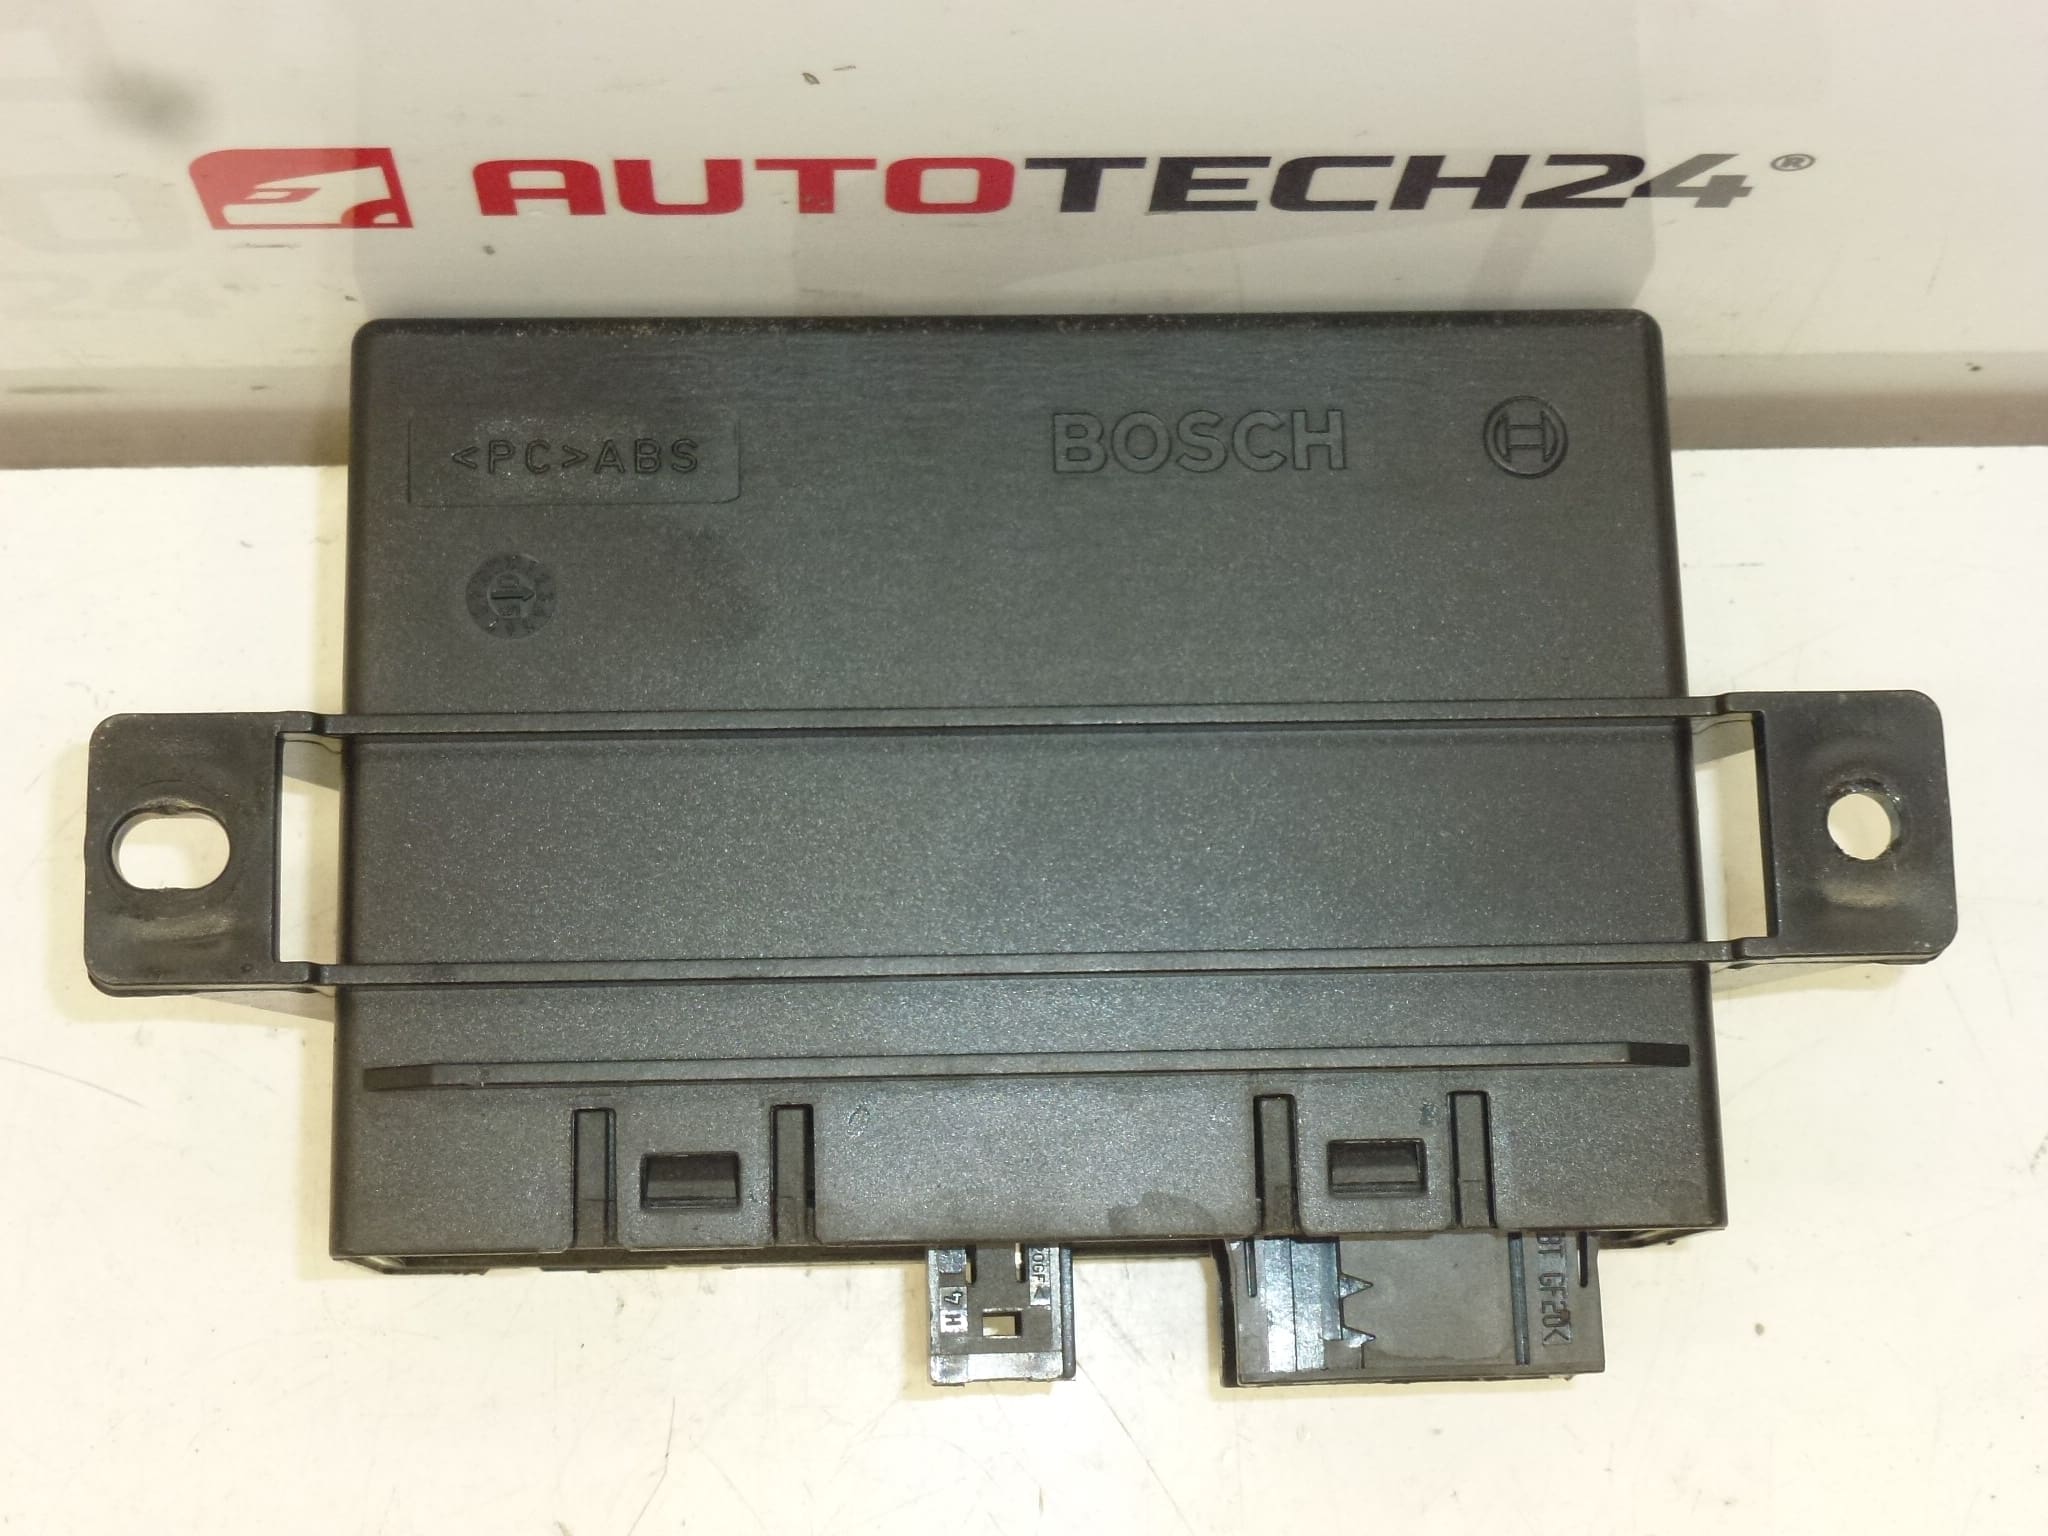
BOSCH parking assist control unit for PEUGEOT 407 vehicles
Part description
This parking assist control unit is designed for Peugeot 407 vehicles and controls the function of the PDC system. It is an important electrical component that processes signals from the parking assist system and ensures that the individual system components work together correctly.
This part is primarily searched for by its manufacturer and catalogue numbers, making it particularly suitable for mechanics and DIY enthusiasts looking for a replacement part by its exact designation. With used electronic parts, it is always important to compare the numbers on the original and replacement parts.
Technical information
- Manufacturer: BOSCH
- Model: Peugeot 407
- Additional numbers: 9656174280, 9659350680, 0263004095, 6590L7, 6590T5
Product codes
- Product codes: 0263004095, 6590L7, 6590T5, 9656174280, 9659350680
- Models: Peugeot 407
Installation recommendations
Generally, and typically for this type of part, the exact replacement procedure may vary depending on the specific vehicle version and equipment. When working with electronic parking assist components, proceed carefully to avoid damaging the connectors, wiring or control unit itself.
1) Before installation
- Check that all the numbers on the original and replacement parts match.
- Inspect the condition of the connectors, pins and plastic housing of the control unit.
- Check that the used part is not mechanically damaged, cracked or affected by moisture.
- Compare the connector layout and mounting points with the old part.
2) Tools and materials required
- Basic set of hand tools
- Screwdrivers and, if necessary, a plastic trim removal tool for removing covers
- Electrical contact cleaner
- Work gloves and lighting
3) Step-by-step installation procedure
- Park the vehicle in a safe place and switch off the ignition.
- Disconnect the battery to prevent a short circuit or damage to the electronics while working on the electrical system.
- Gain access to the area where the original parking assist control unit is located.
- Carefully remove any covers or brackets obstructing access to the control unit.
- Disconnect the electrical connectors from the old control unit without forcing them, and check their condition.
- Remove the original control unit from its bracket or mount.
- Compare the old and new parts by their markings, connectors and housing shape.
- Position the replacement control unit and secure it correctly.
- Connect the connectors, ensuring they are fully seated and secured.
- Reinstall all covers and fasteners.
- Reconnect the battery.
- Switch on the ignition and check the basic operation of the parking assist system.
4) Post-installation checks and test drive/functional verification
- Check that the system responds without interruptions.
- Check that there are no signs of malfunction in the operation of the parking assist system.
- During testing, observe whether the system responds correctly to obstacles.
- After a short drive, check the security of the mounting and the condition of the connectors again.
5) Common installation mistakes and how to avoid them
- Choosing a part based on appearance instead of its numbers – always compare all markings.
- Damaging connectors during removal – release connectors carefully and do not force them with a pry tool.
- Installation without disconnecting the battery – with electronic components, this creates an unnecessary risk of damage.
- Overlooking corrosion or moisture – check the contacts and surrounding wiring before installation.
- Insufficiently securing the control unit – a poorly seated part may be susceptible to vibration and subsequent faults.
Reasons why the part gets damaged
- prolonged exposure to moisture or water
- oxidation of electrical contacts and connectors
- wiring damage or voltage fluctuations in the electrical system
- mechanical stress, shocks and vibration during operation
- improper removal or installation
- a fault in other components of the parking assist system