Description
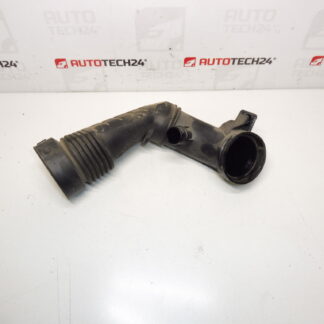
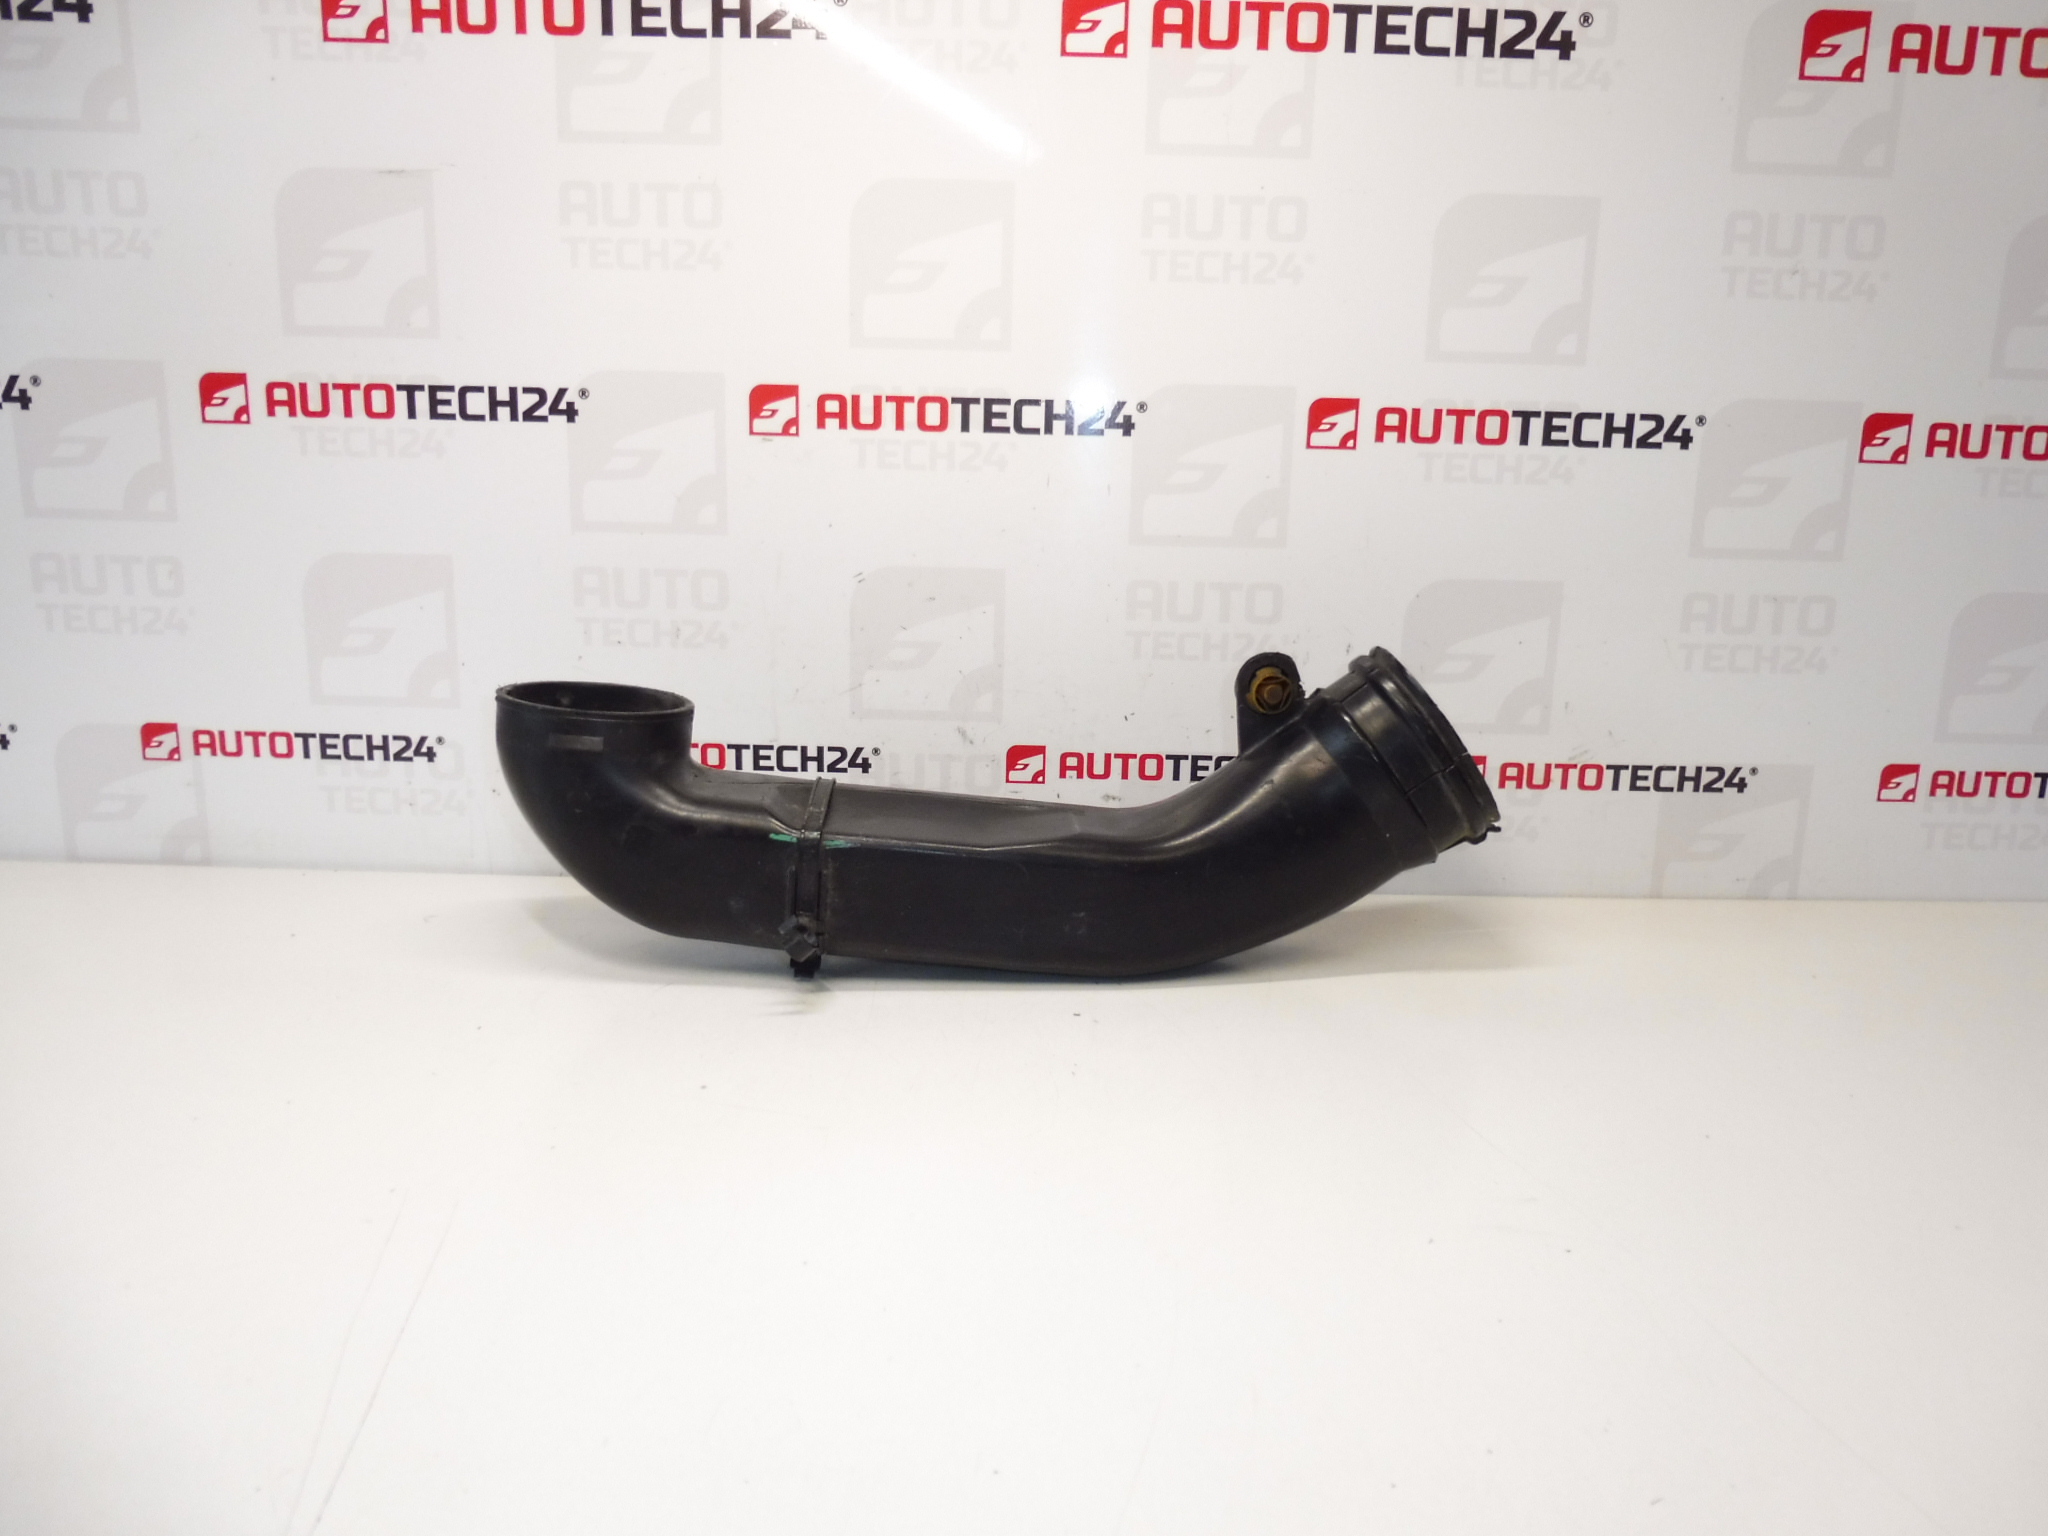
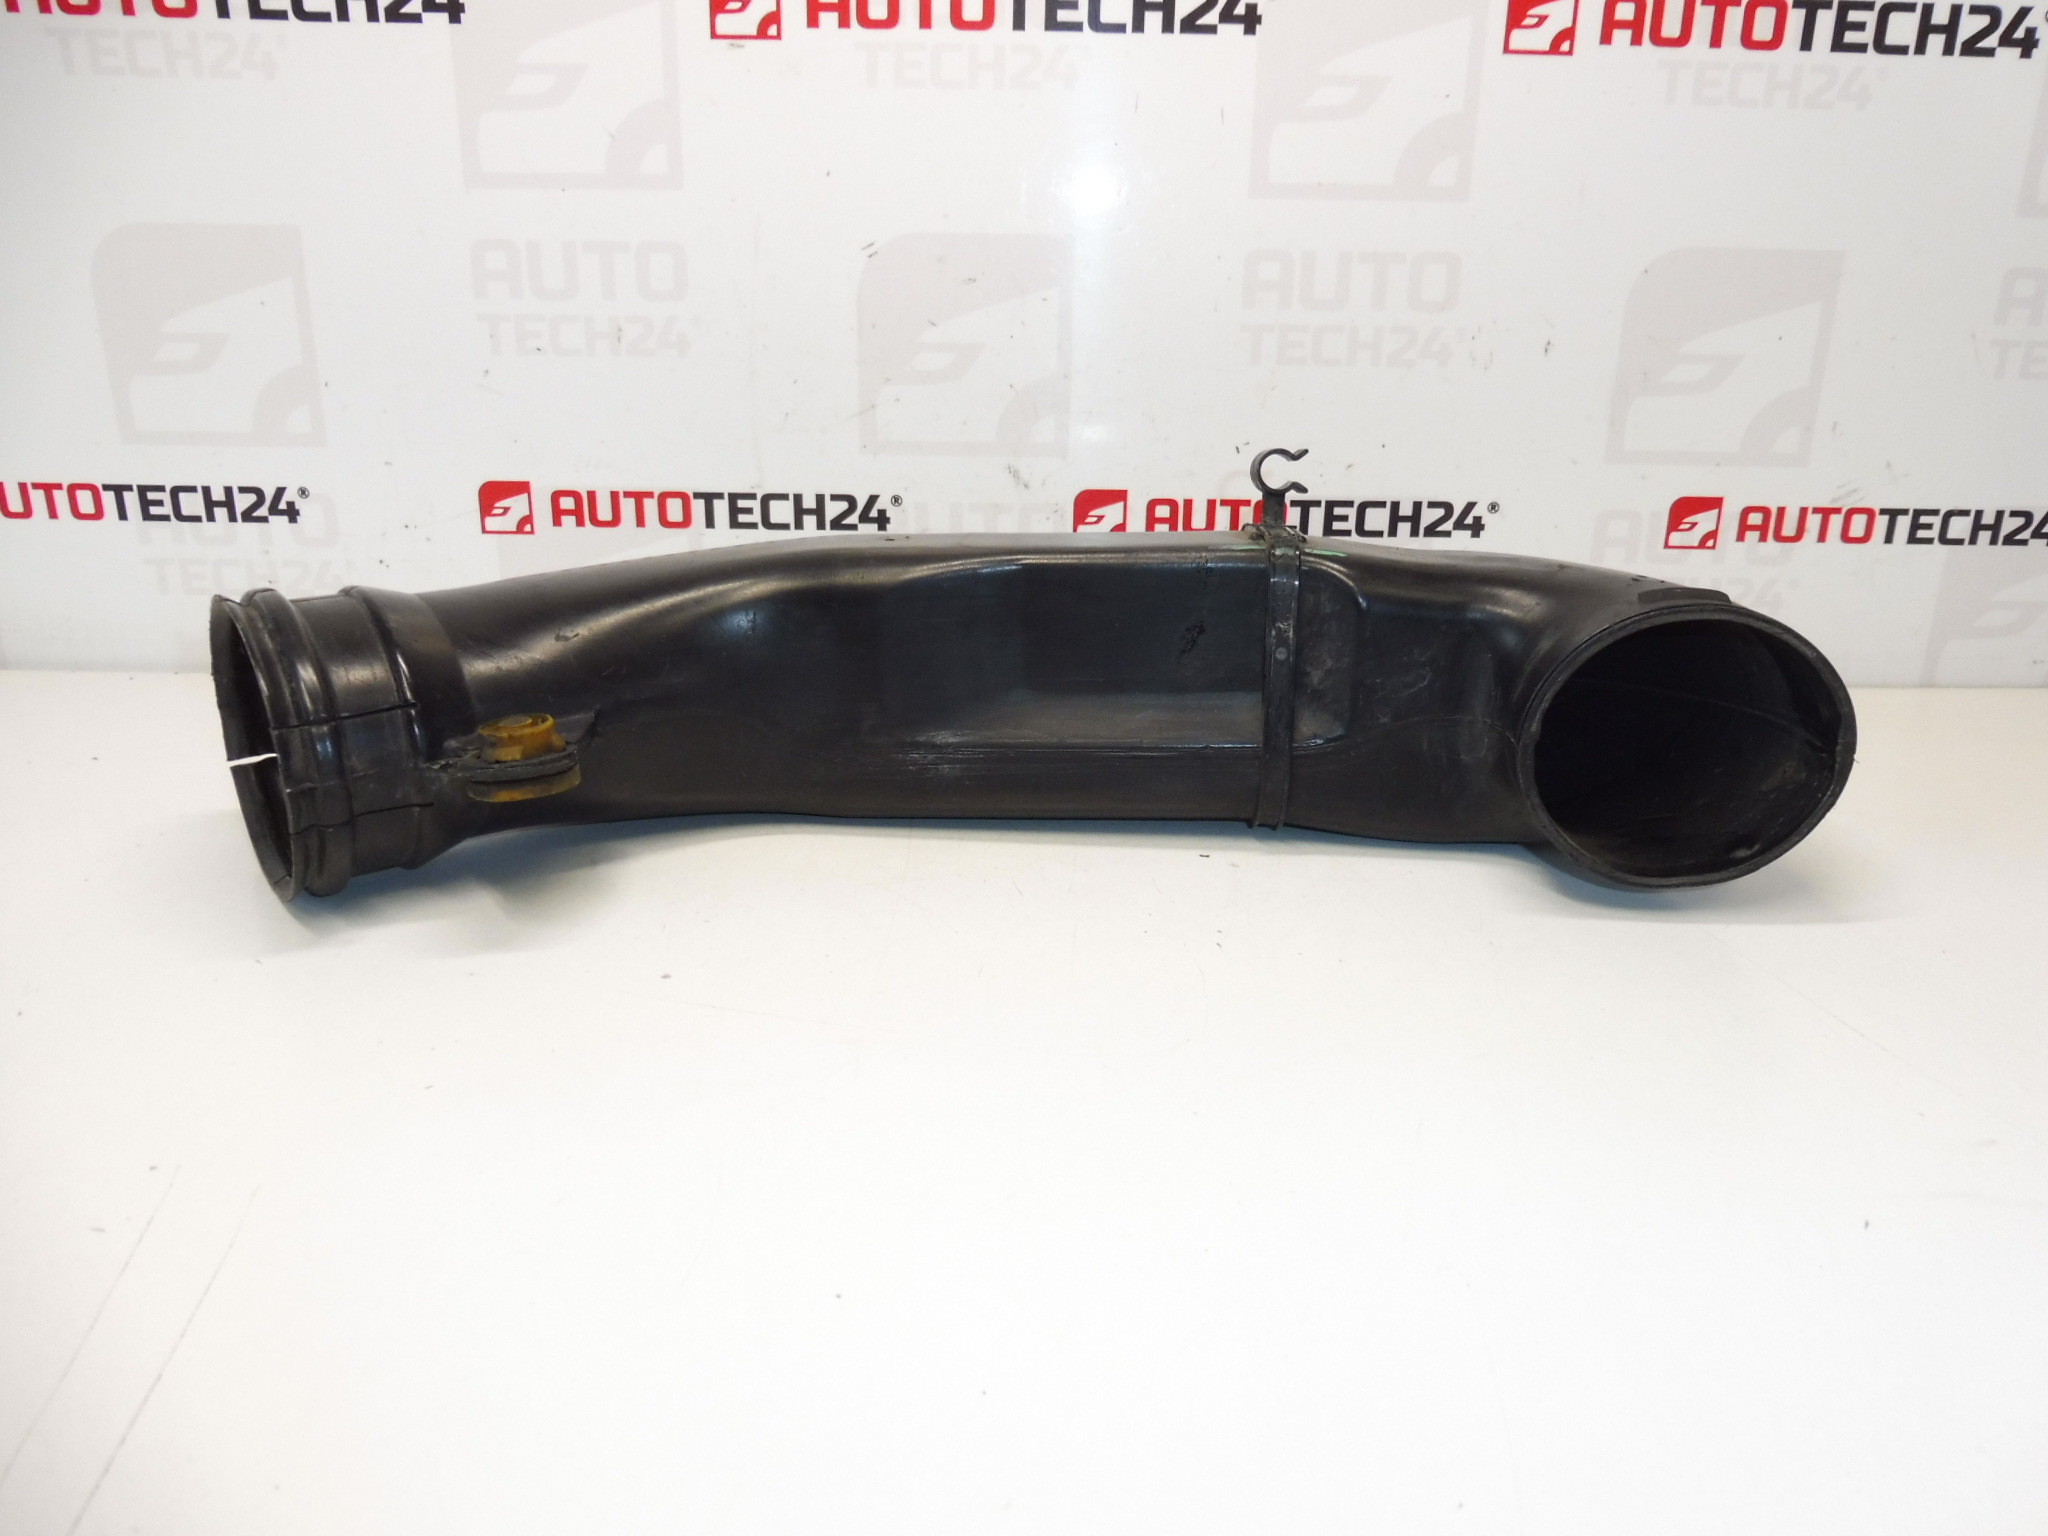
Air intake hose 1.4 HDI 66kw for CITROEN and PEUGEOT cars
Part description
This air intake hose is designed for the 1.4 HDI (66 kW) engine in Citroën and Peugeot cars. It is a part from the group hose, intake pipe and turbo, which is used to safely guide the intake air in the engine intake system. When replacing an old cracked or leaky hose, it will help restore proper suction function and reduce false air intake.
The part is usually searched for by the number 9646926280 or 143422 – ideal for quick tracking in practice and when comparing with an old piece.
Technical information
- Manufacturer: Stellantis
- Model: Citroën C3; Peugeot 1007
- Other numbers: NFP
Product codes
- Product codes: 9646926280, 143422
Installation recommendations
Generally/typically for intake hoses, the exact routing and attachment may vary according to the specific design of the car. Take the procedure below as a practical basis, which should be adapted to the current layout of the intake system.
1) Before assembly
- Compare the new and original part: shape, length, end diameters, number and type of connections, possible bosses/grooves for clips.
- Check the condition of the hose: cracks, brittleness, penetration, deformation of the ends and contact surfaces.
- Verify that you have the correct product number 9646926280 / 143422 according to the markings from the old part or documentation.
2) Necessary tools and materials
- Screwdrivers / socket wrenches according to the type of clips
- Hose clip pliers (if flexible clips are used)
- A clean rag or a mild cleaner to degrease the contact surfaces
- Torch to check seating and leaks
3) Step-by-step assembly procedure
- Allow the engine to cool and secure the vehicle against movement.
- Get access to the suction hose (depending on the design, it may be necessary to loosen covers or surrounding parts).
- Mark the orientation of the hose (e.g. with a marker) for correct rotation during installation.
- Loosen the clamps/sleeves on both ends of the hose.
- Remove the hose carefully from the attachments – do not pull on the surrounding plastic outlets so they don’t crack.
- Check the mating sockets and clean them of dirt and oil film so that the hose seals well.
- Slide the hose onto the first end to full seating depth.
- Put the hose on the other end and make sure it is turned correctly without twisting.
- Place the clips in their original positions (typically behind the shoulder/groove) and tighten/snap evenly.
- Check that the hose is not rubbing against sharp edges anywhere and is not under tension.
-
4) Post-assembly checks and test drive/function verification
- Visually check the connections around the entire perimeter to ensure that the hose ends are evenly seated.
- After starting, watch for running irregularities and listen for typical symptoms of intake leakage (hissing).
- After a short ride, recheck the tightening/position of the clips and whether the hose has moved.
5) The most common assembly mistakes + how to avoid them
- Incorrect hose rotation → note the orientation before disassembly and ensure that it is not twisted during assembly.
- Clip outside the landing zone → place the clip in the correct groove/behind the seat, otherwise there is a risk of leakage or slipping.
- Insufficiently cleaned contact surfaces → impurities cause leakage; wipe the throat before assembly.
- Damage to the plastic attachments during disassembly → release the hose gradually and sensitively, do not pry aggressively.
Reasons why the part is damaged
- Aging of the material (heat in the engine compartment) → embrittlement, cracking.
- Vibration of the engine and tension of the hose when it is not seated properly → microcracks and subsequent leaks.
- Contact with oil mist/liquids in the intake → gradual degradation of rubber/plastic and softening.
- Mechanical abrasion against surrounding parts or sharp edges → penetration of the hose wall.
- Incompetent handling during the previous repair (prying, overstretched clips) → deformation of the ends and leakage.