Description
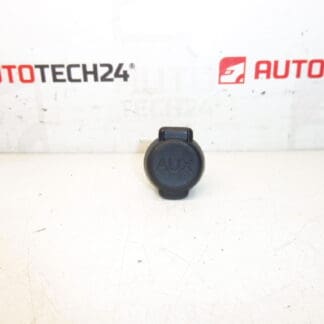
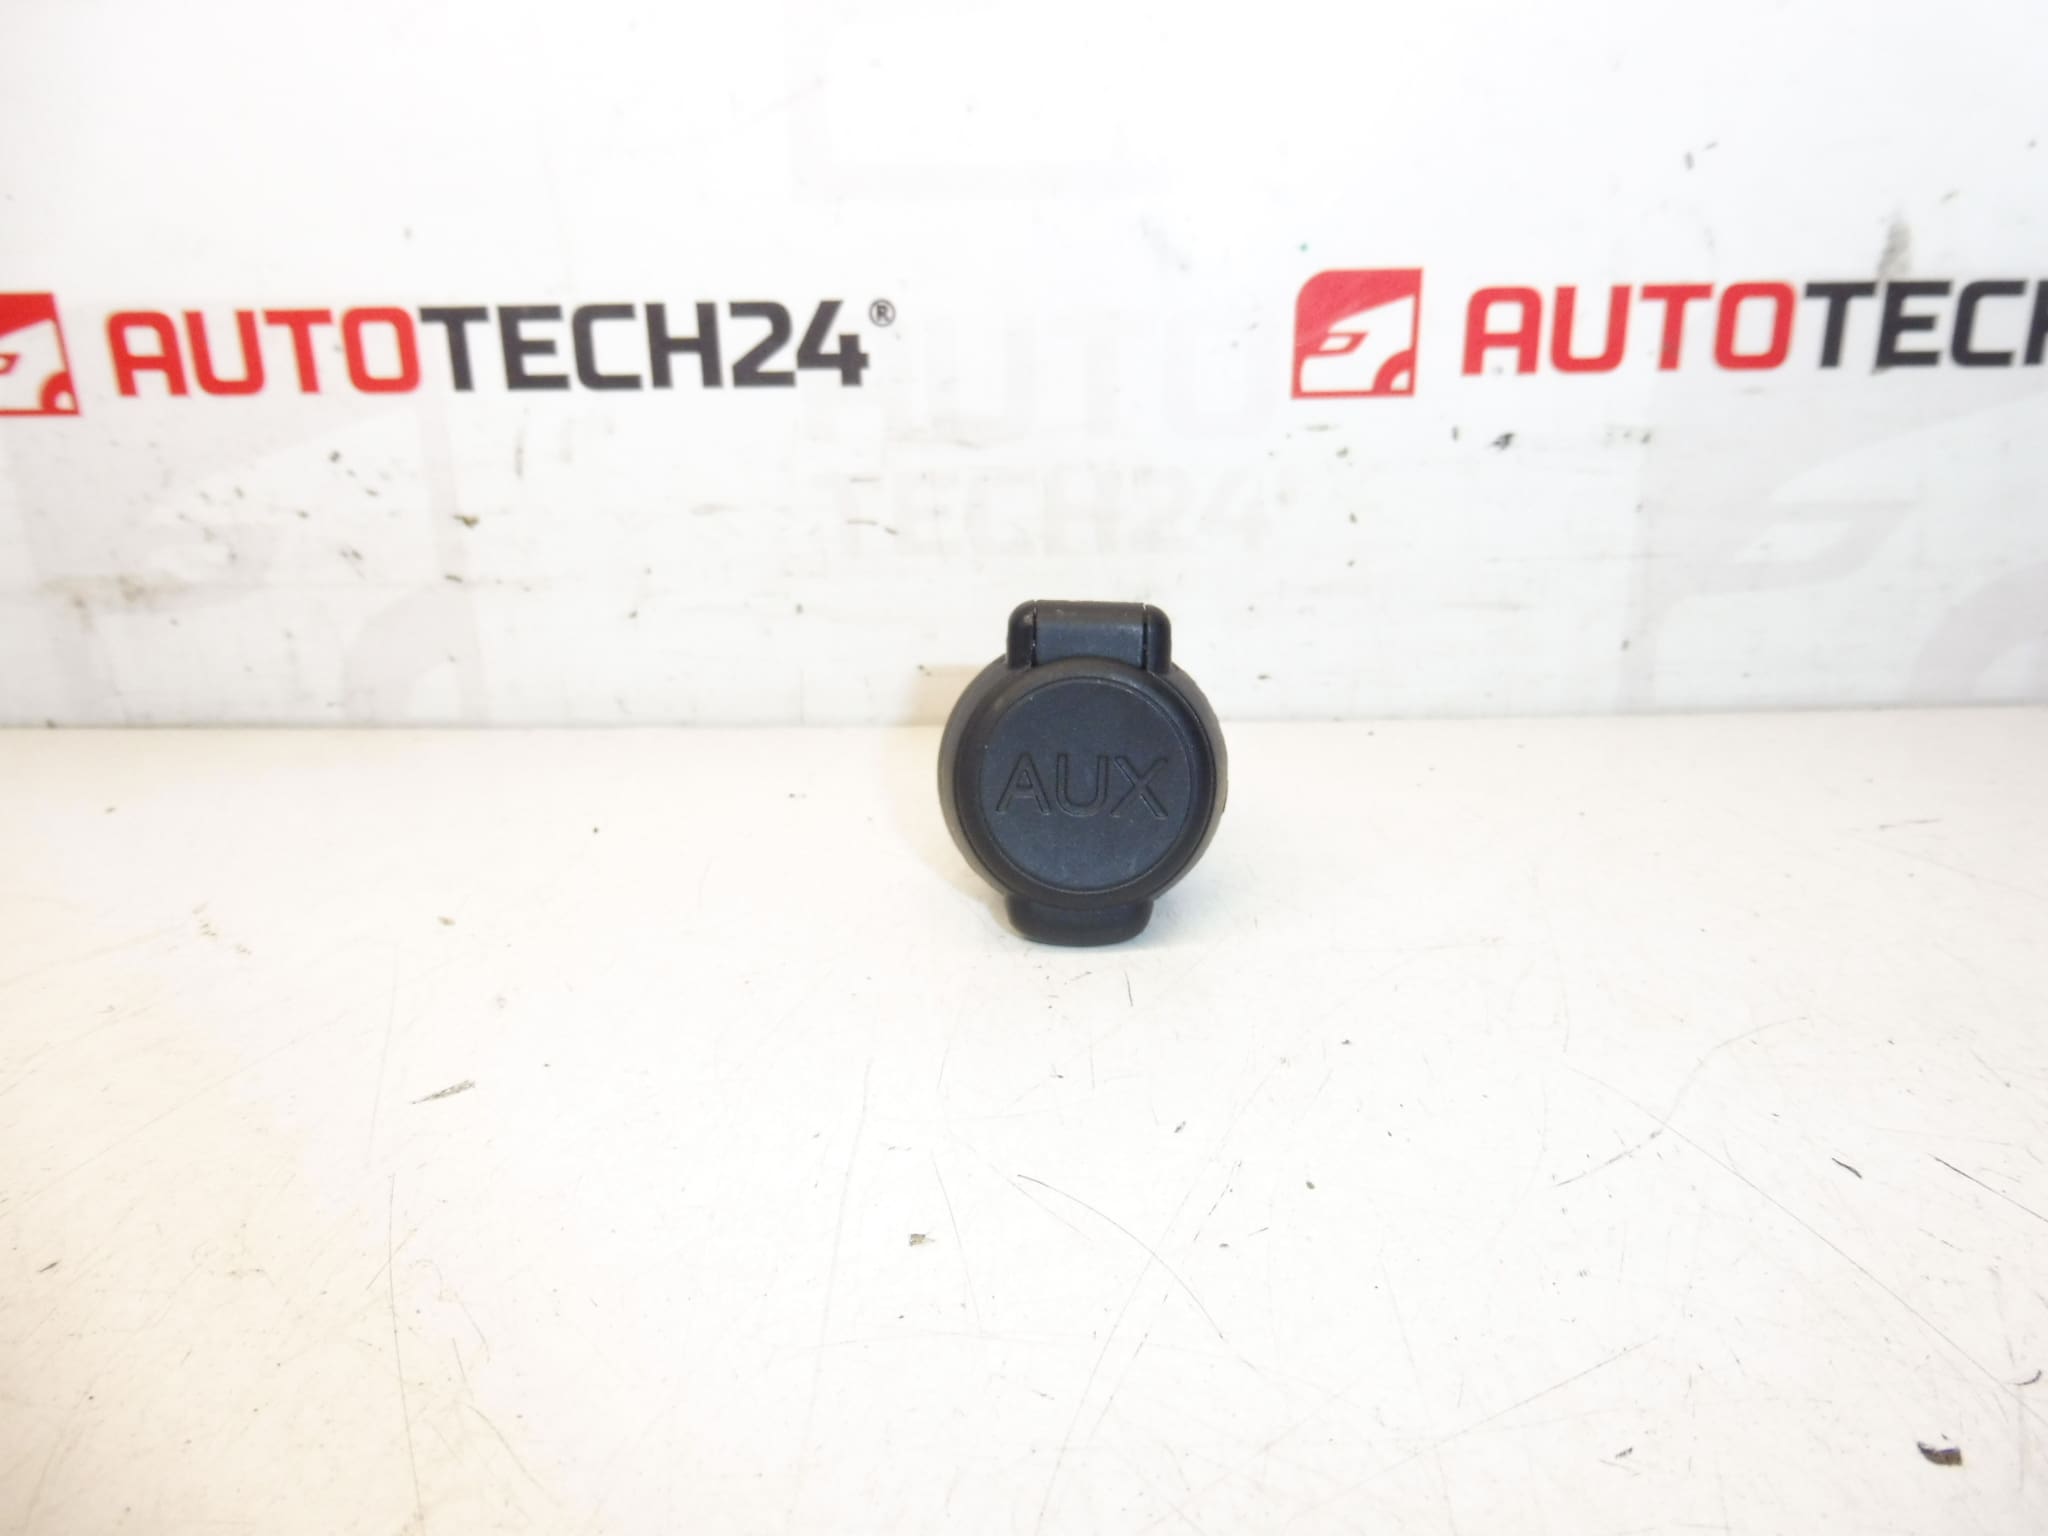
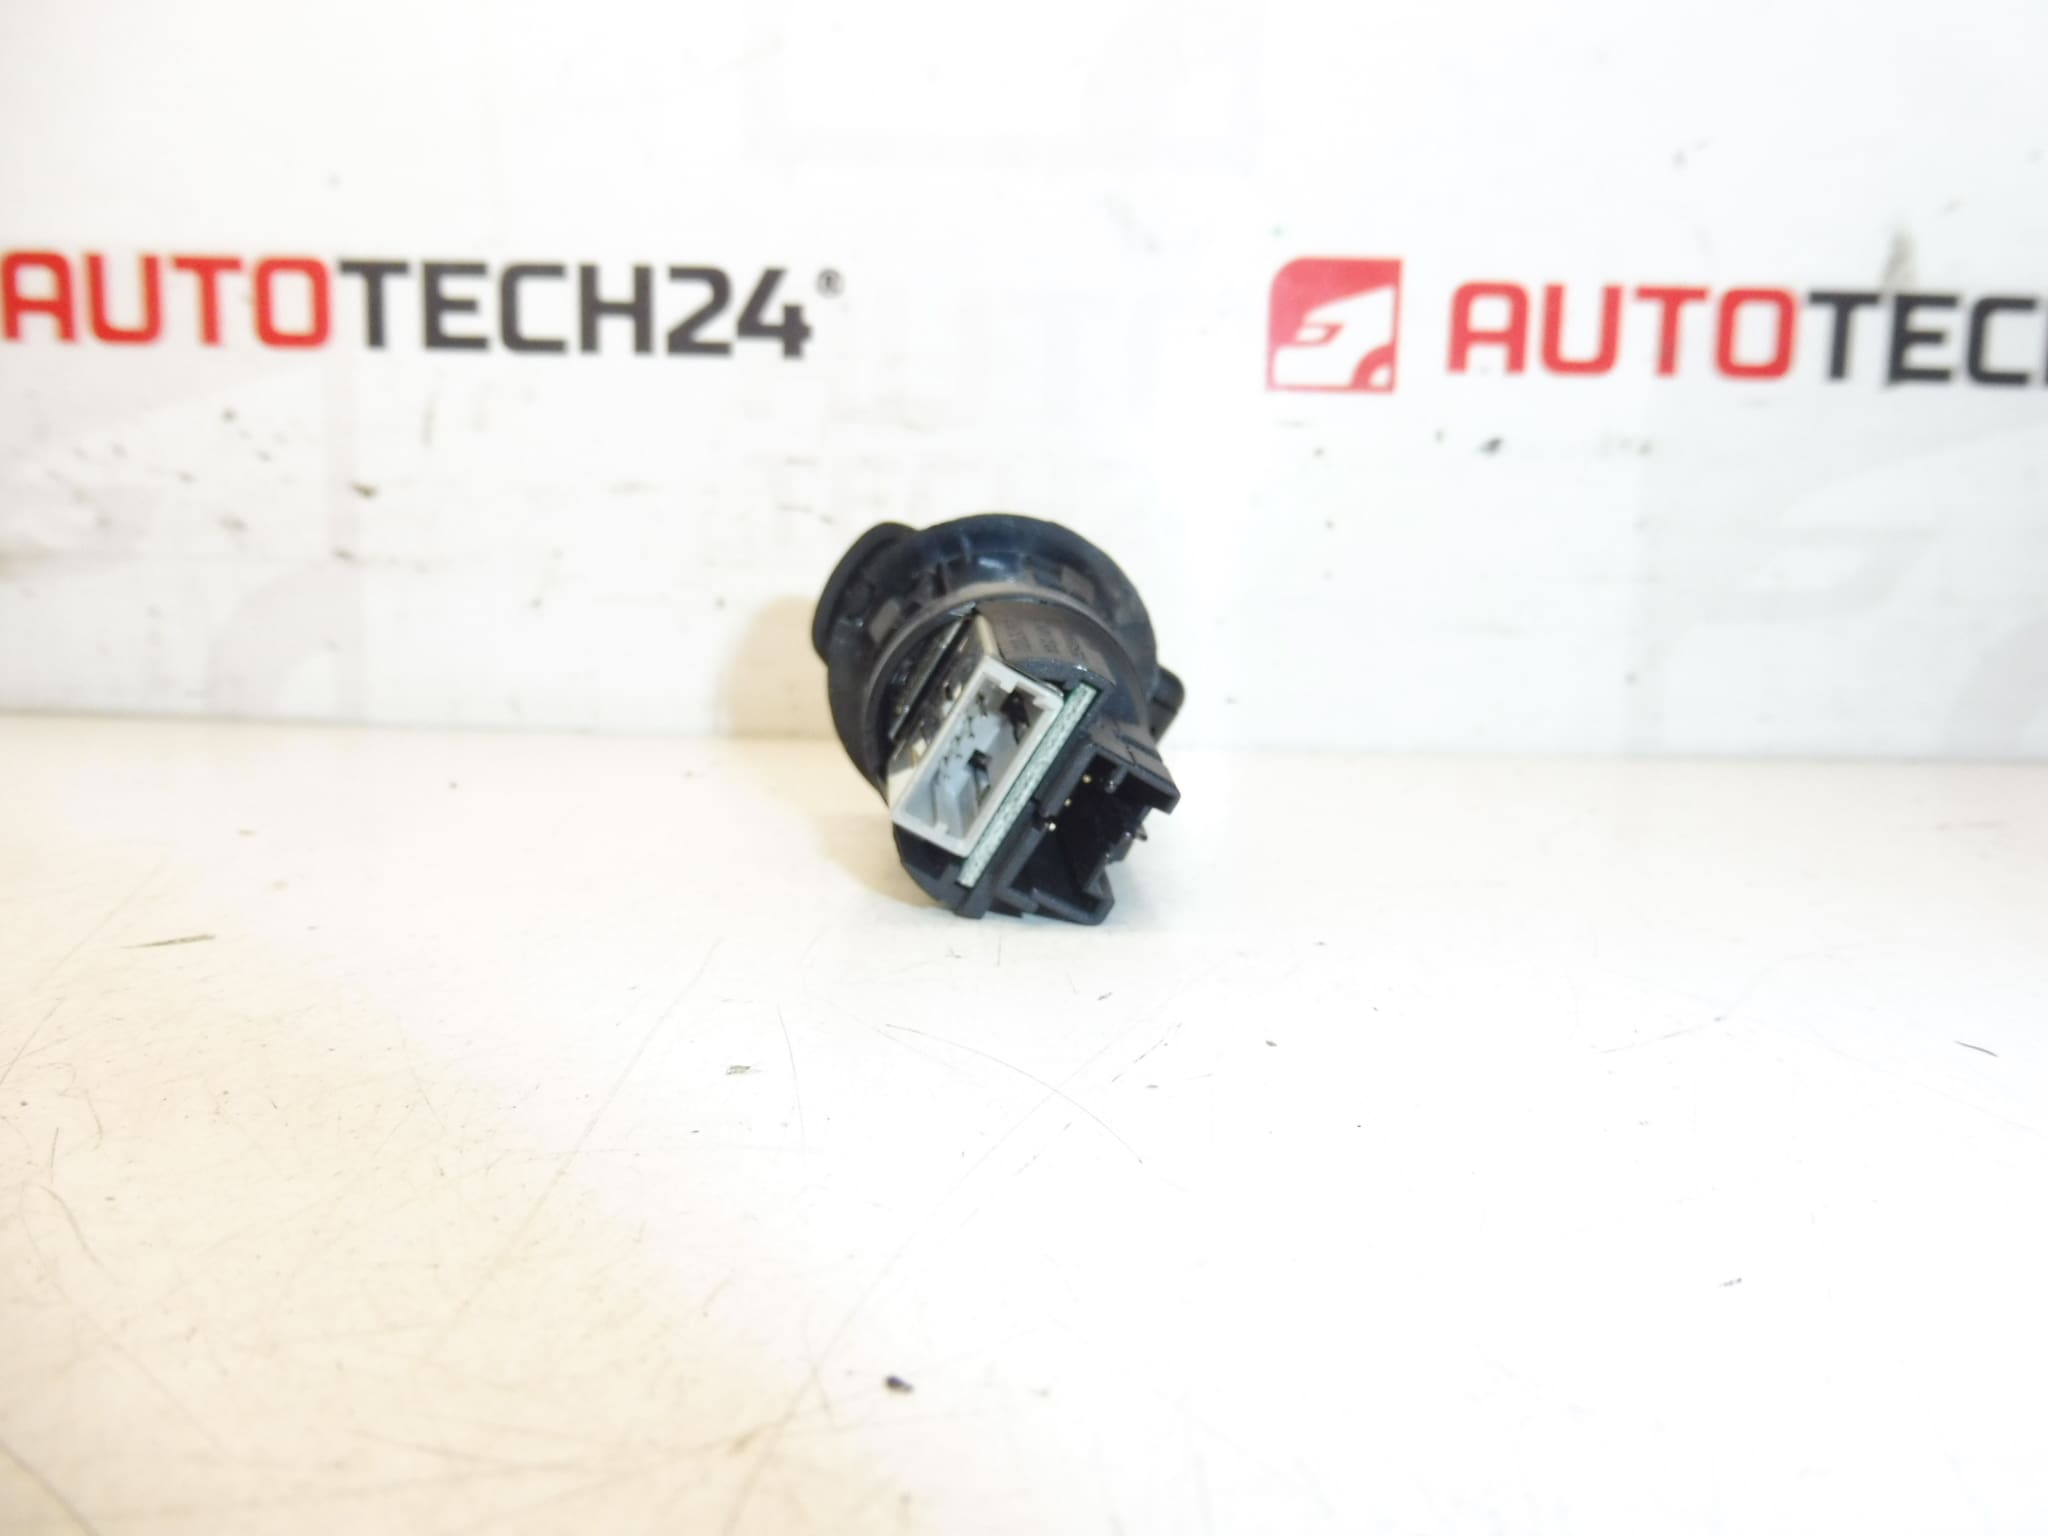
USB Socket for Citroën, Peugeot and DS vehicles.
This USB socket (OE codes 96645227ZD / 6574JV) is a direct-fit replacement part designed for in-car infotainment and charging applications in a wide range of Citroën, Peugeot and DS models. Built for workshop use and DIY repairs, the unit restores reliable power and data connectivity for smartphones, navigation updates and accessory charging. Ideal for mechanics and experienced hobbyists who search by part number, this replacement helps eliminate intermittent charging, loose connections and damaged port housings that affect day-to-day usability of the vehicle’s media and charging system.
Technical Information
- Manufacturer: Stellantis (Citroën / Peugeot)
- Model: Fits Multiple Models (See Compatibility Section)
- Product Codes: 96645227ZD, 6574JV
- Additional Numbers: —
Compatibility And Fitment
Commonly fitted to Citroën and Peugeot cars and MPVs, including but not limited to: Citroën Berlingo B9, Citroën Berlingo III, Citroën C2, Citroën C3 II, Citroën C4 II, Citroën C4 Picasso, Citroën C5 X7, DS4, DS5, DS7, Peugeot 3008 I, Peugeot 308, Peugeot 308 T9, Peugeot 5008 I, Peugeot Partner III, Peugeot Partner Tepee. Customers frequently search using the OE codes 96645227ZD or 6574JV to locate the correct replacement.
Installation Recommendations
Before beginning any work, always disconnect the vehicle battery to avoid short circuits and protect sensitive electronics. Typical replacement steps:
- Remove the relevant trim panels or center console pieces to access the USB socket aperture (use trim tools to avoid damaging clips).
- Disconnect the wiring harness connector from the back of the USB socket.
- Unscrew or unclip the old socket from its bracket and remove it from the dash or console.
- Install the new socket in reverse order: secure into bracket, connect wiring harness, refit trim and test functionality.
- After installation, check the related fuses and test both charging and data functions (if applicable).
Use appropriate hand tools and protect trim clips and panels. If unsure about access or airbag/steering column proximity, consult vehicle repair literature.
Why This Part Typically Fails
- Mechanical Wear: Frequent insertion/removal of USB plugs can deform or break internal contacts and the port housing.
- Corrosion and Moisture: Spills or high humidity can corrode contacts, causing intermittent or total failure.
- Electrical Stress: Overcurrent from faulty chargers or shorted cables can damage the connector or internal wiring.
- Physical Damage: Impact, aggressive cable handling or improper plug removal can crack the socket or dislodge mounting clips.
Notes For Workshops And DIYers
Search By Part Number: Technicians and DIY customers often locate this part by OE numbers 96645227ZD or 6574JV. Replacing the socket is a relatively straightforward repair in most vehicles but can require partial disassembly of the center console or dashboard trim. Always verify operation after installation: check charging current, data connectivity (if used for media), and related fuses.