Description
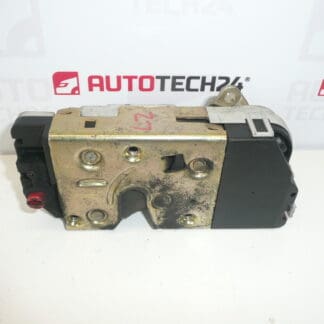
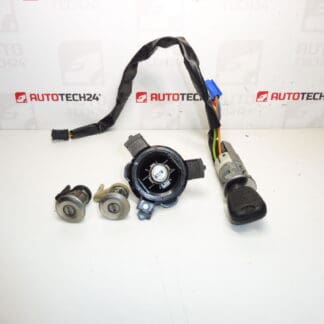
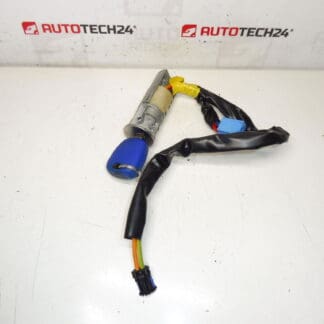
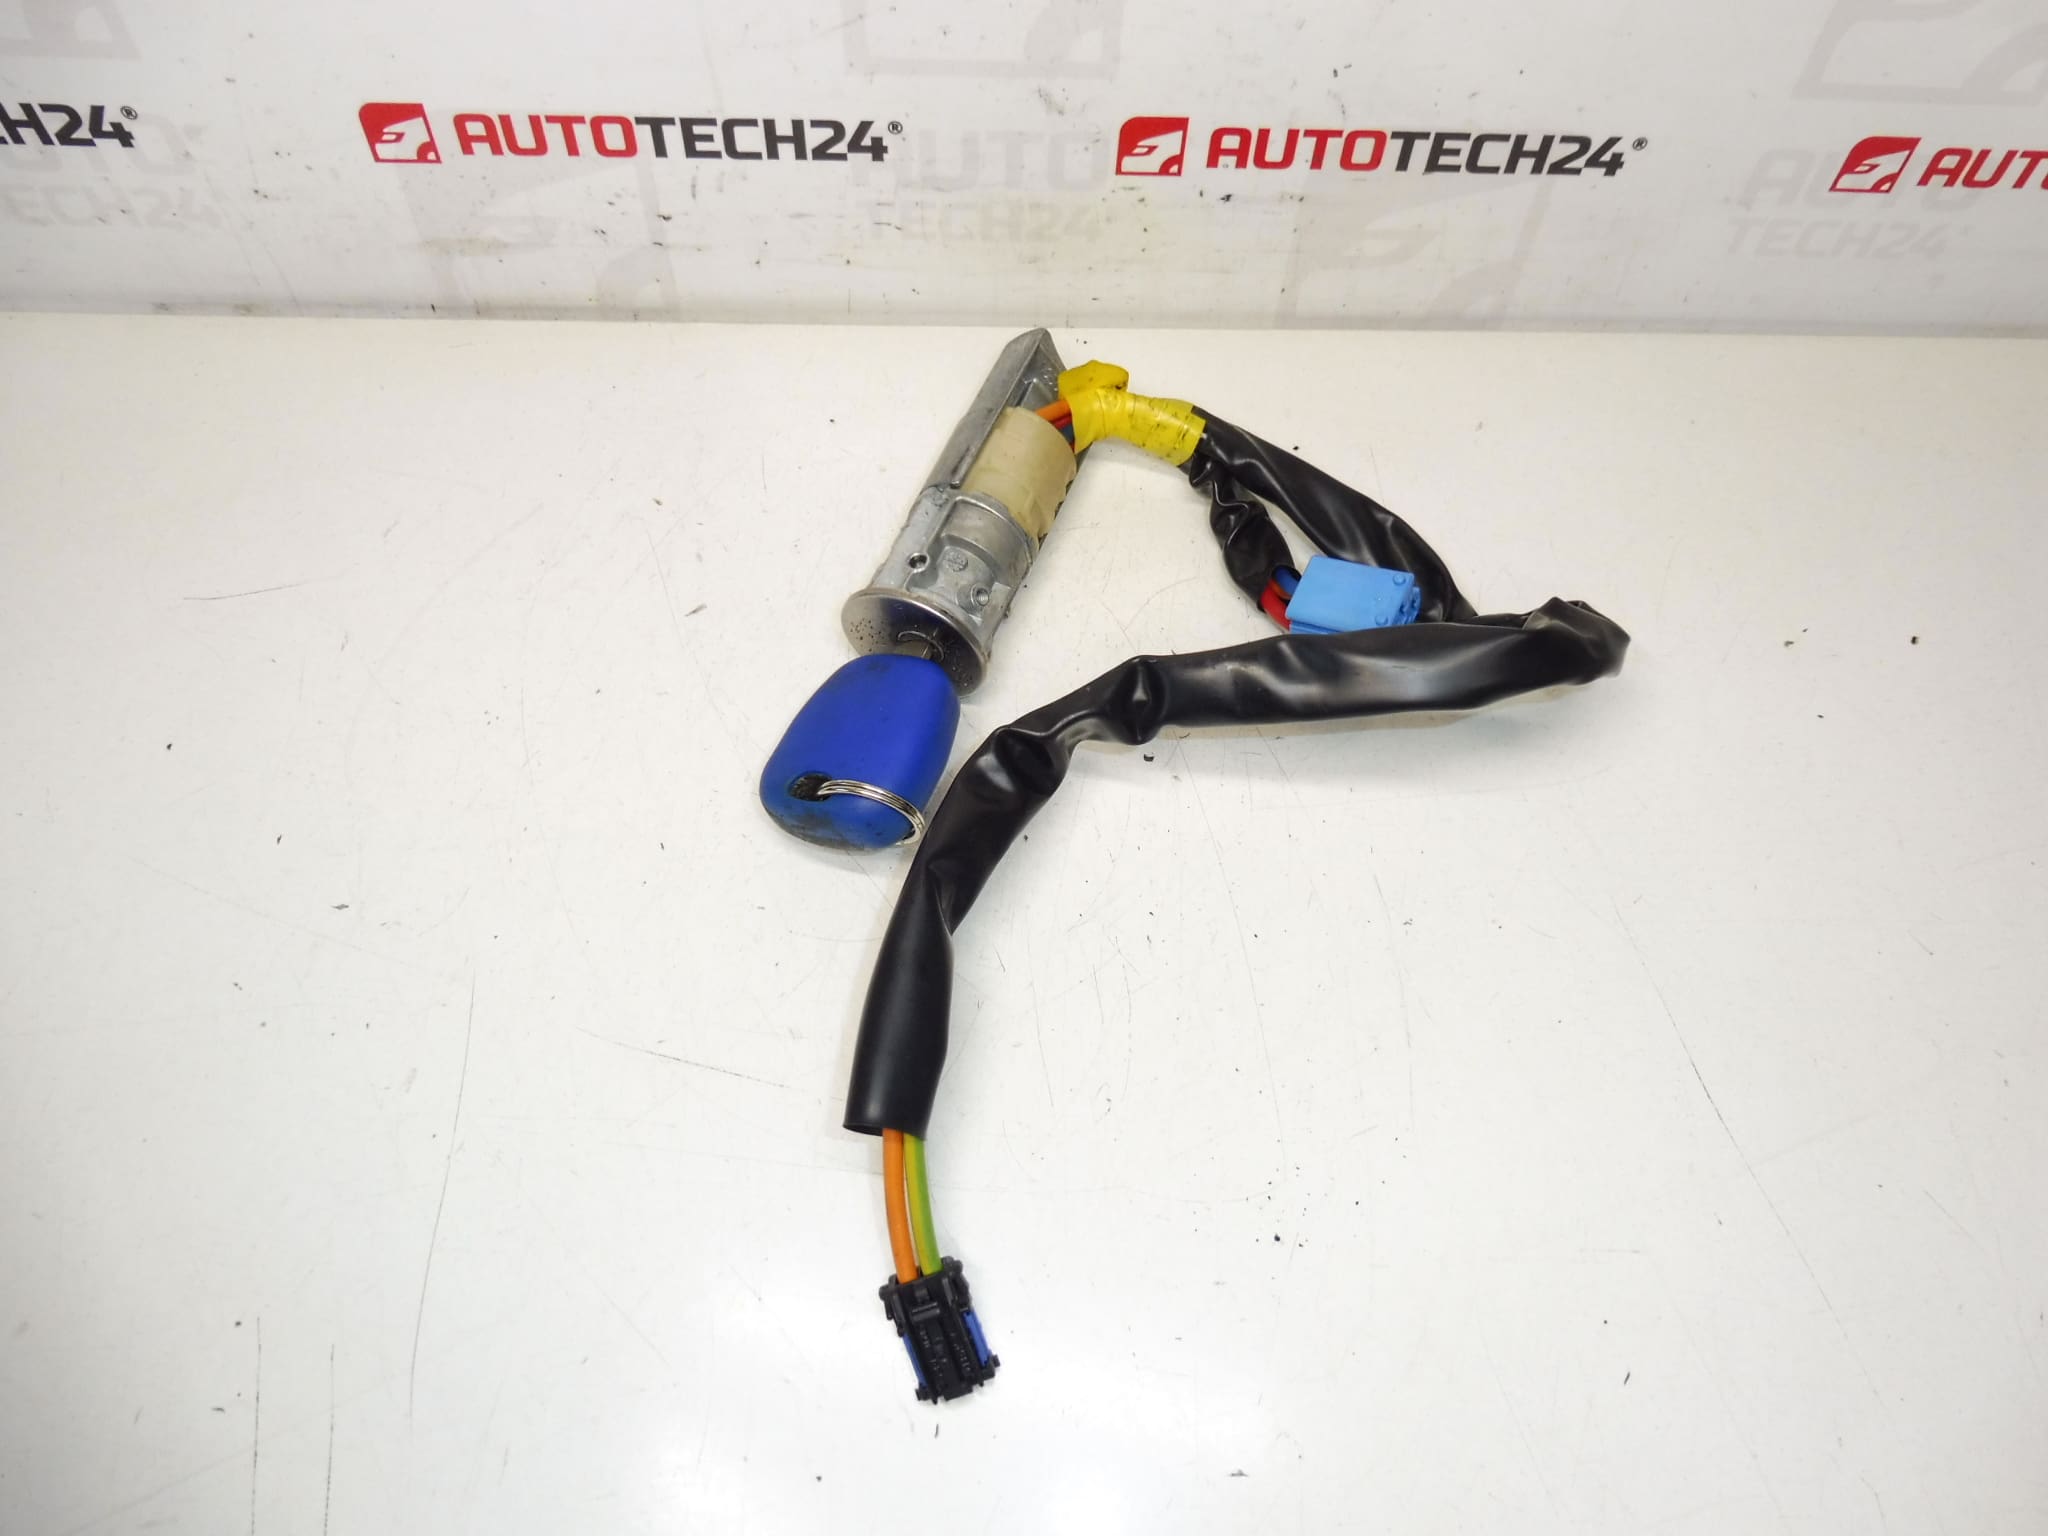
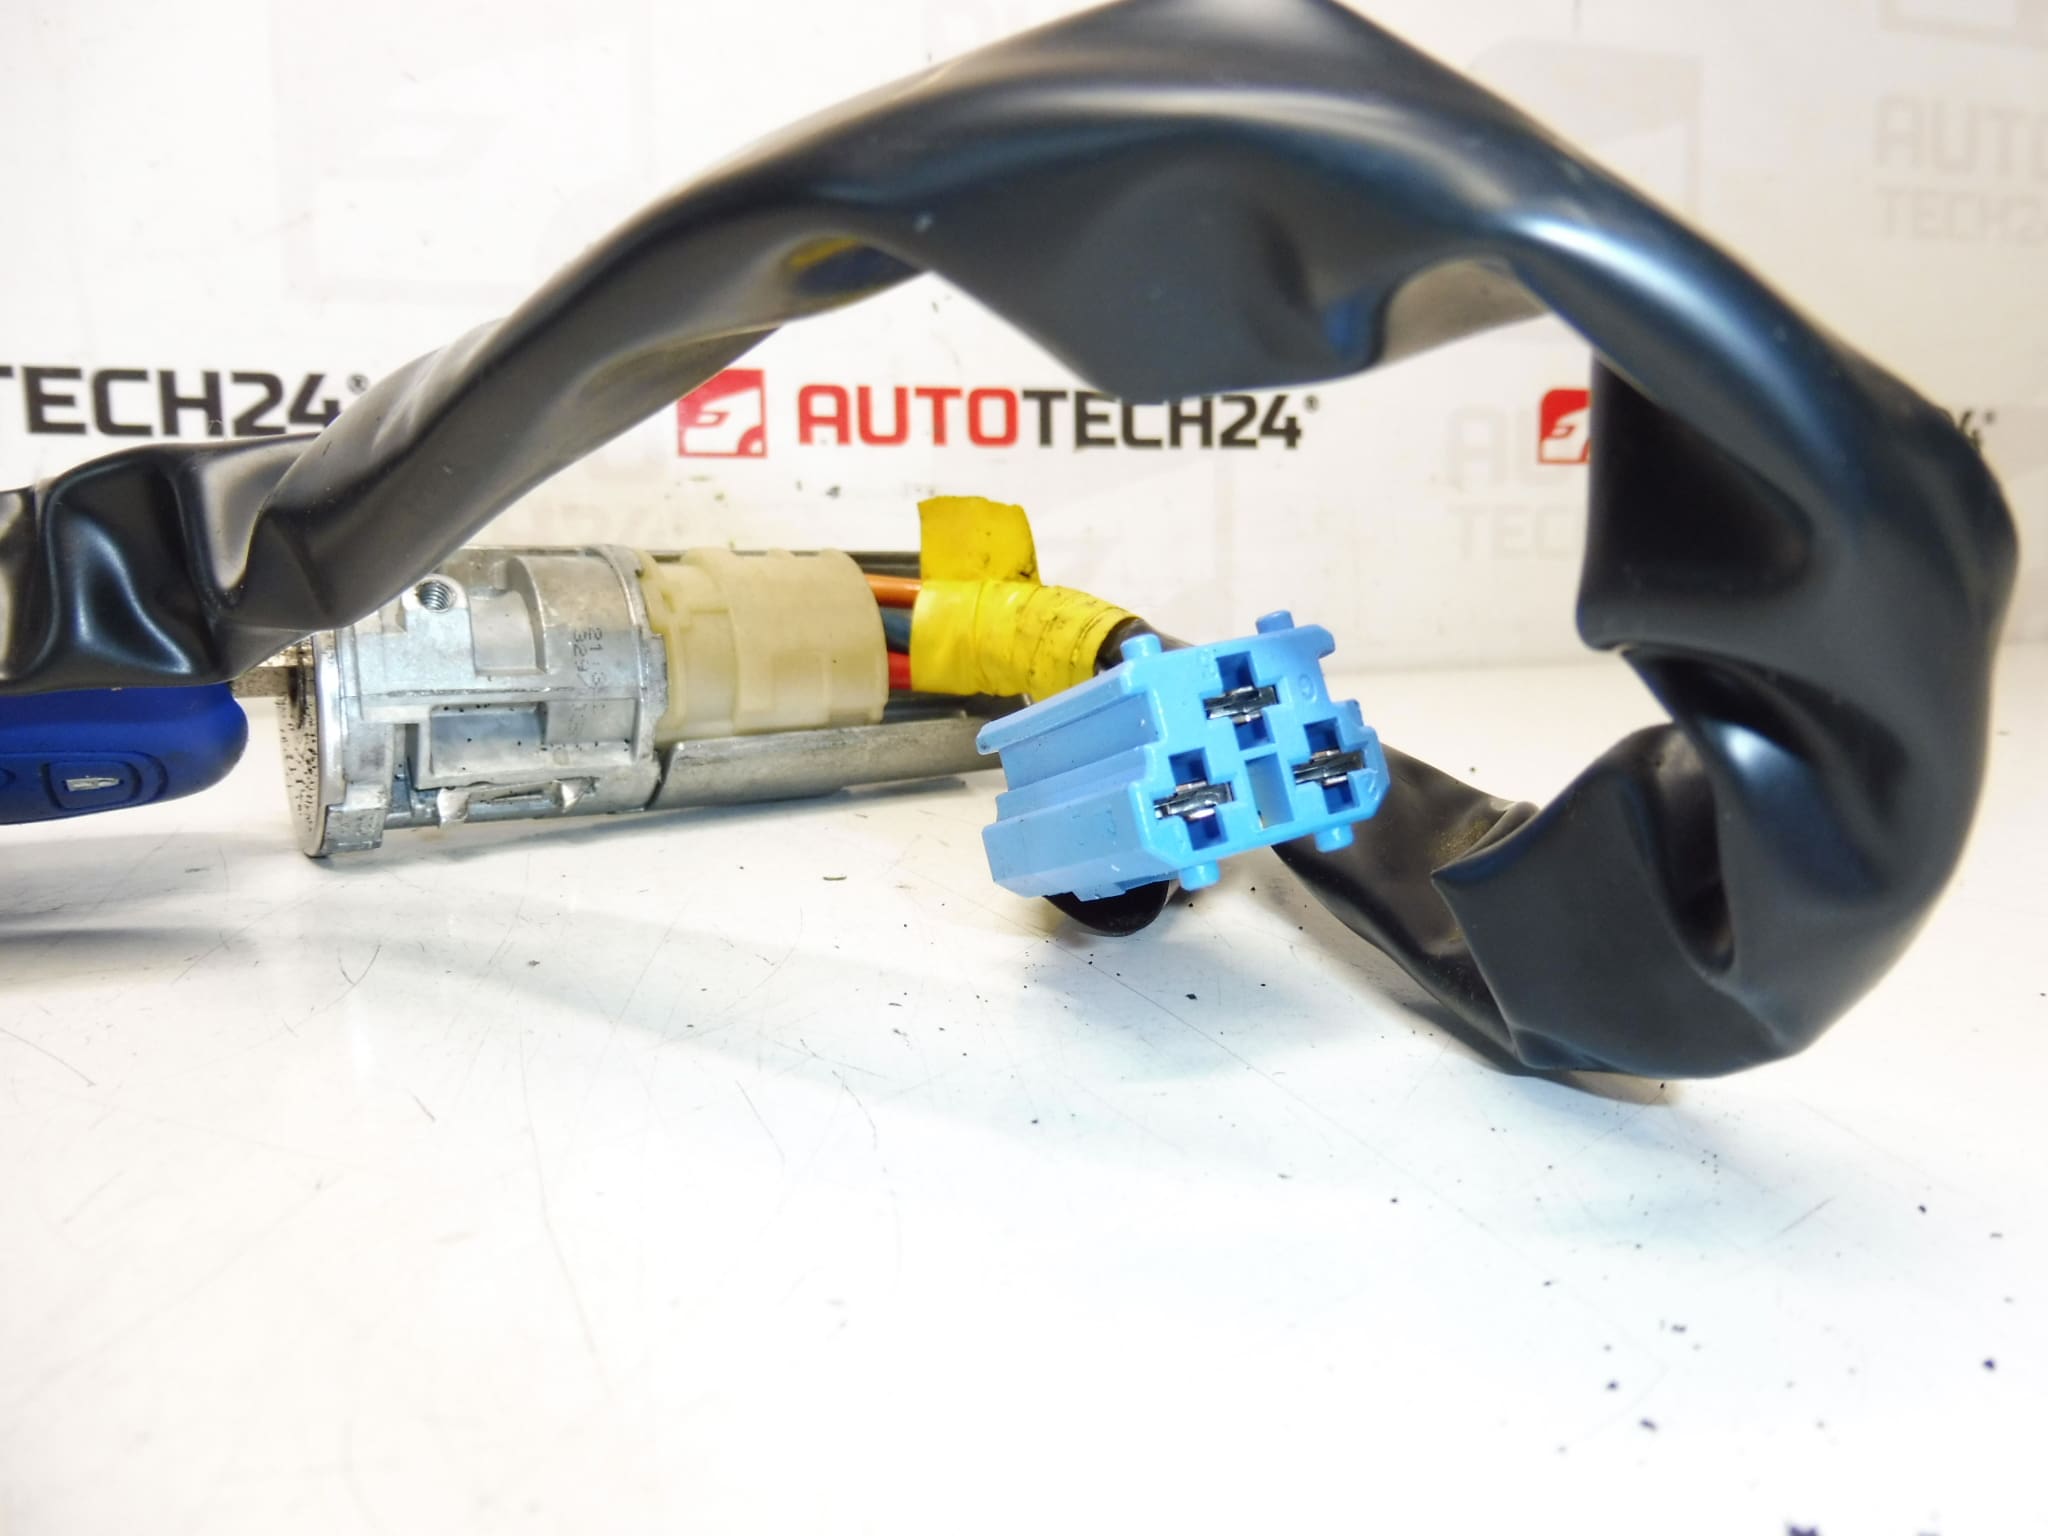
Switch box for PEUGEOT 206 cars
1 key
Part description
This Peugeot 206 switch box is a used original car part designed for Peugeot cars. 1 key is included, which is important information when replacing a damaged or malfunctioning ignition box. The part is suitable for repairs where the original lock shows wear, stuttering or switching problems.
In the category of locks and keys, this is a frequently searched part, also according to the manufacturing designation, so it is good to keep track of the exact part number. It is an advantage for auto mechanics and DIYers that the used original part usually matches the original design of the car better than non-original replacements.
Technical information
- Manufacturer: Stellantis Citroën Peugeot
- Model: Peugeot 206, Peugeot 206+
- Other numbers: 4162Z1, NFP
Product codes
Product codes: 4162Z1
Installation recommendations
In general, the exact procedure for replacing the switch box depends on the specific design of the car and the design of the steering column. Below is a typical procedure for this type of part.
1) Before assembly
- Check the visual condition of the used part, especially the cabinet body, connectors and the mechanical part of the lock.
- Compare the new and original part by shape, fit, connectors and product number.
- Test the smoothness of the included key before assembly.
- Before working, disconnect the battery and wait until the car’s electrical system is completely disconnected.
2) Necessary tools and materials
- Common set of screwdrivers and sockets
- Plastic pry bar for removing covers
- Cleaning agent for electrical contacts
- Work lighting
- Protective gloves
3) Step-by-step assembly procedure
- Disconnect the vehicle battery.
- Remove covers in the steering column area or access parts that prevent access to the switch box.
- Carefully disconnect the electrical connector from the original switch box.
- Check how the old part is attached and loosen the fasteners.
- Remove the original switch box so as not to damage the surrounding plastics or wiring.
- Compare the disassembled piece with the spare part including connectors and mechanical parts.
- Place the used switch box in place in the appropriate position.
- Secure the part with the original method of attachment.
- Connect the electrical connector and check that it is properly seated.
- Reinstall all covers and removed interior parts.
- Connect the battery.
- Test the function of the key, the switching positions and the overall operation of the part.
-
4) Post-assembly checks and test drive/function verification
- Verify that the key can be inserted and removed smoothly into the lock.
- Check smooth operation of all switch box positions.
- Check for stuttering or excessive play during handling.
- After assembling the interior parts, check that nothing is pressing on the wiring or the cabinet itself.
- Perform a short verification of the car’s function in normal operation.
5) The most common assembly mistakes + how to avoid them
- Exchanging a part based on appearance – always compare the product number as well.
- Damage to the connector – do not disconnect the connector by force and check its locking.
- Assembly without checking the operation of the key – check the function of the lock before completely folding the covers.
- Working with a connected battery – always disconnect the battery before disassembly and assembly.
- Incorrect part seating – check that the cabinet is in the correct position before tightening.
Reasons why the part is damaged
- Long-term mechanical wear of the internal part of the lock and the switching mechanism
- Frequent use of a worn or damaged key
- Stuttering due to dirt, dust or corrosion
- Excessive force when turning the key
- Damage after an attempt to overcome the lock or after unprofessional disassembly
- Defect in the electrical part of the switch caused by age and normal operation