Description
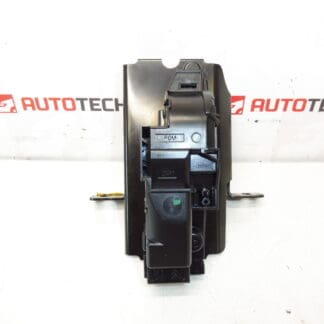
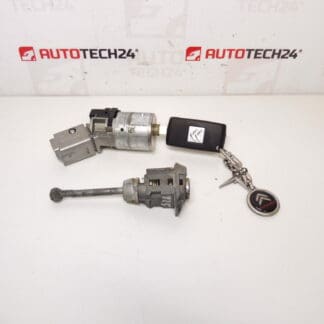
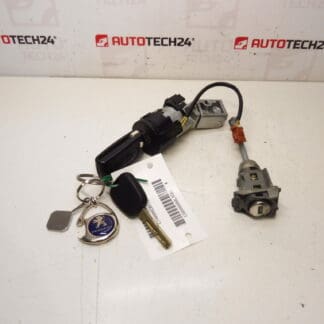
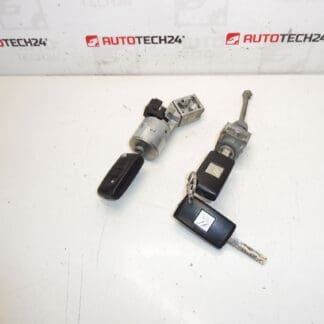
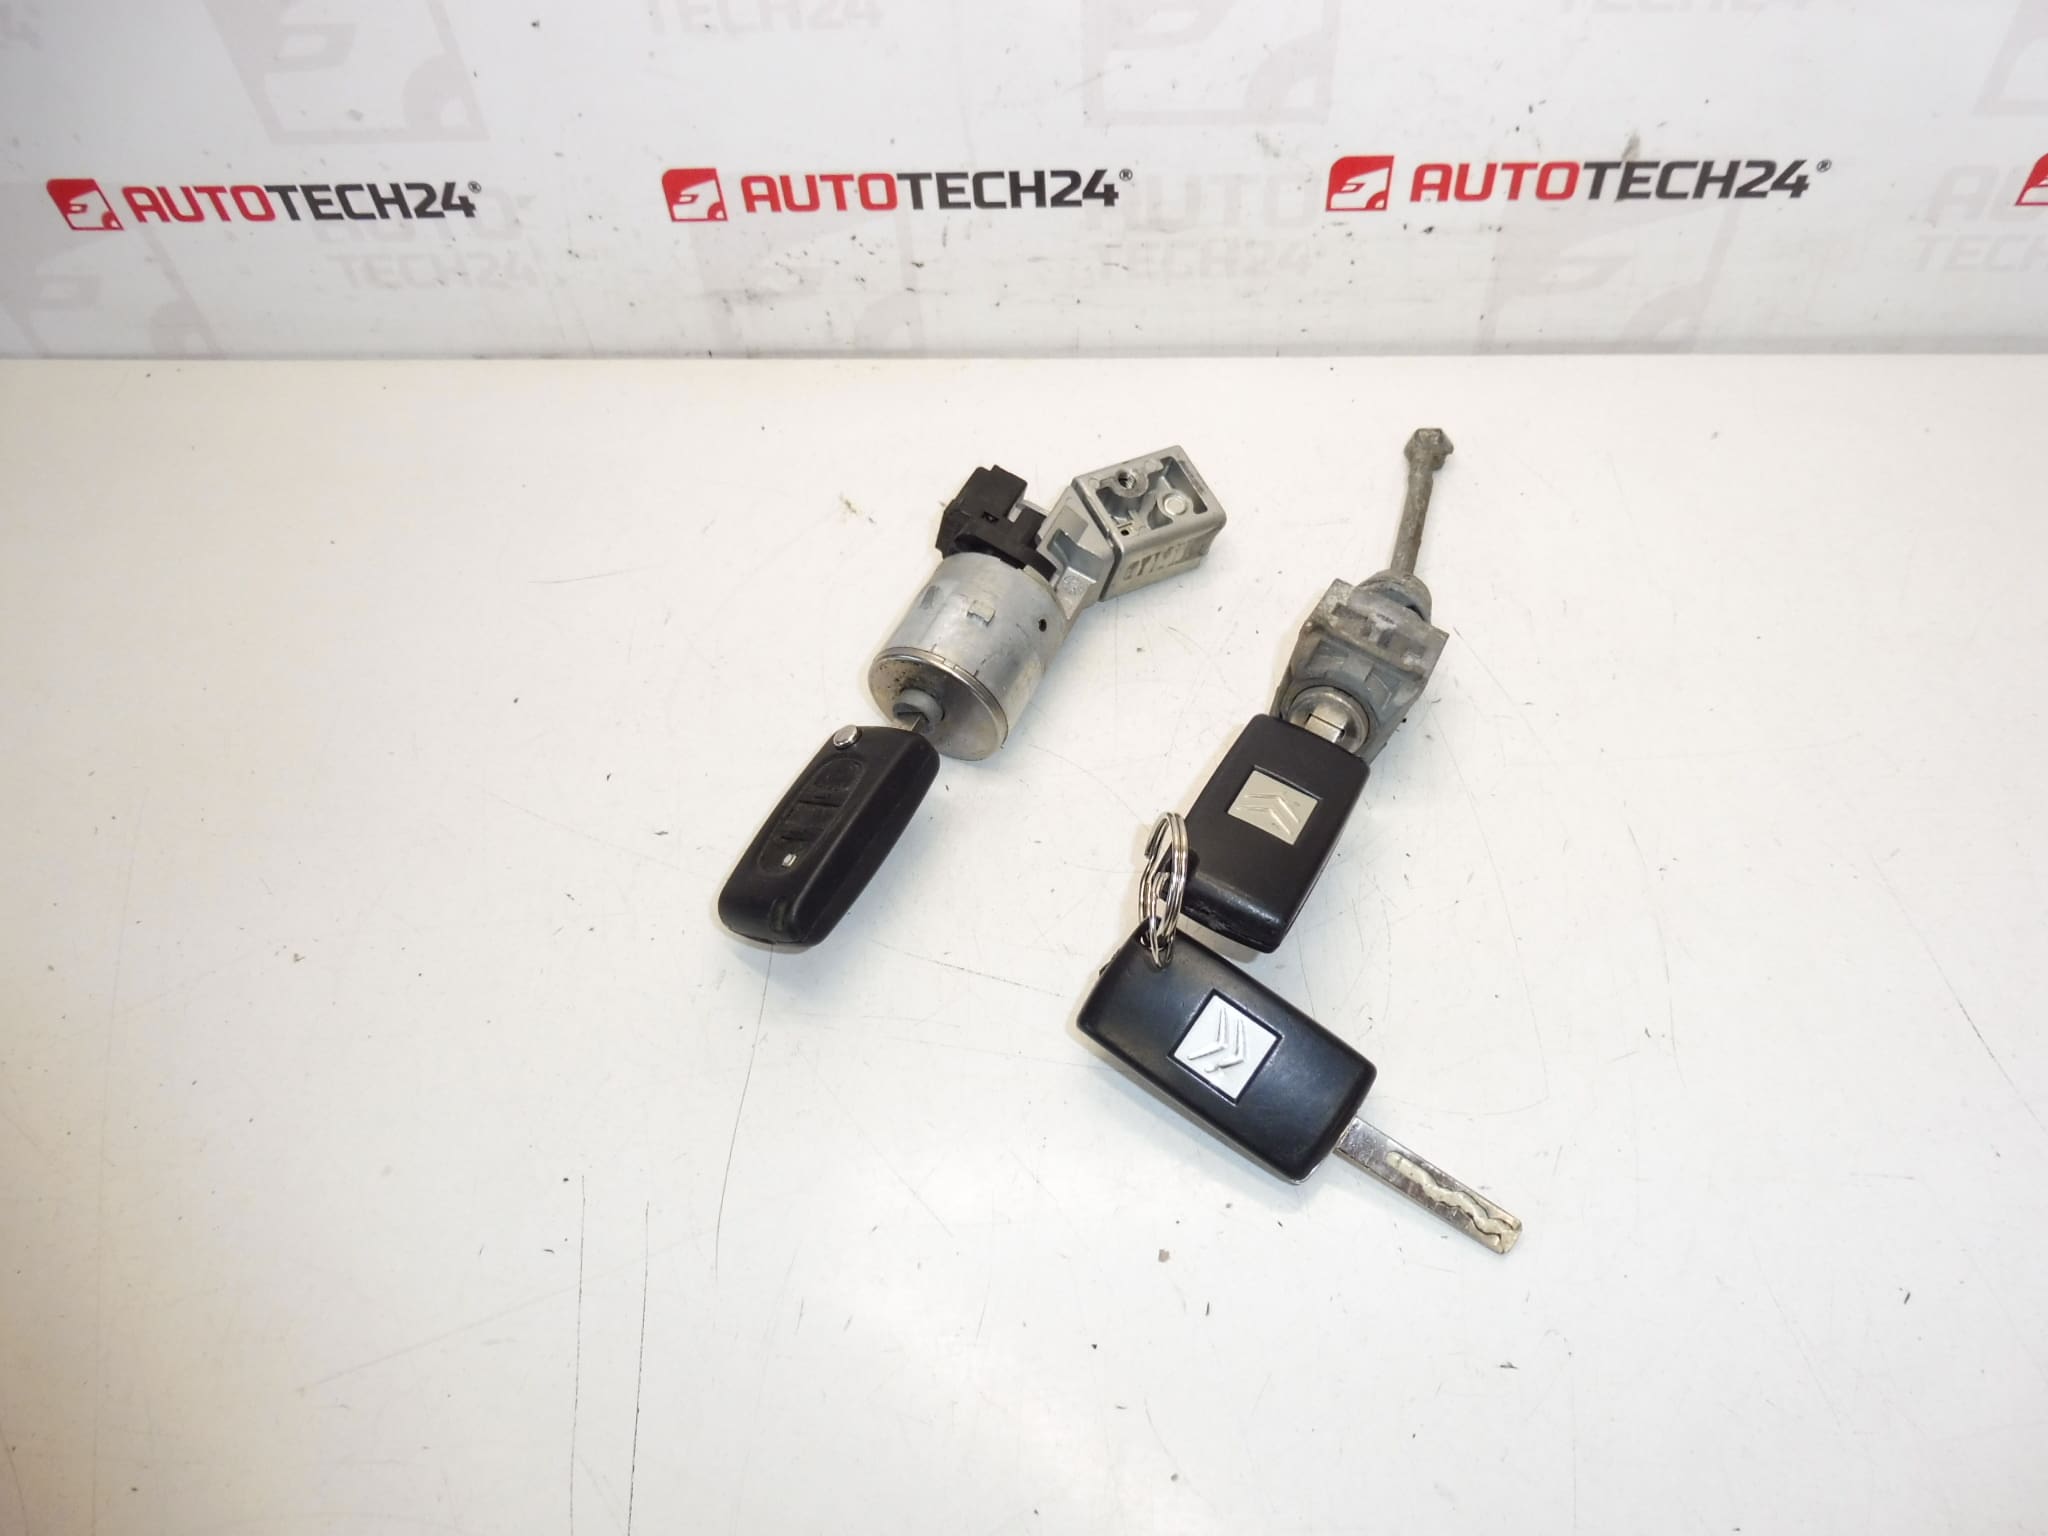
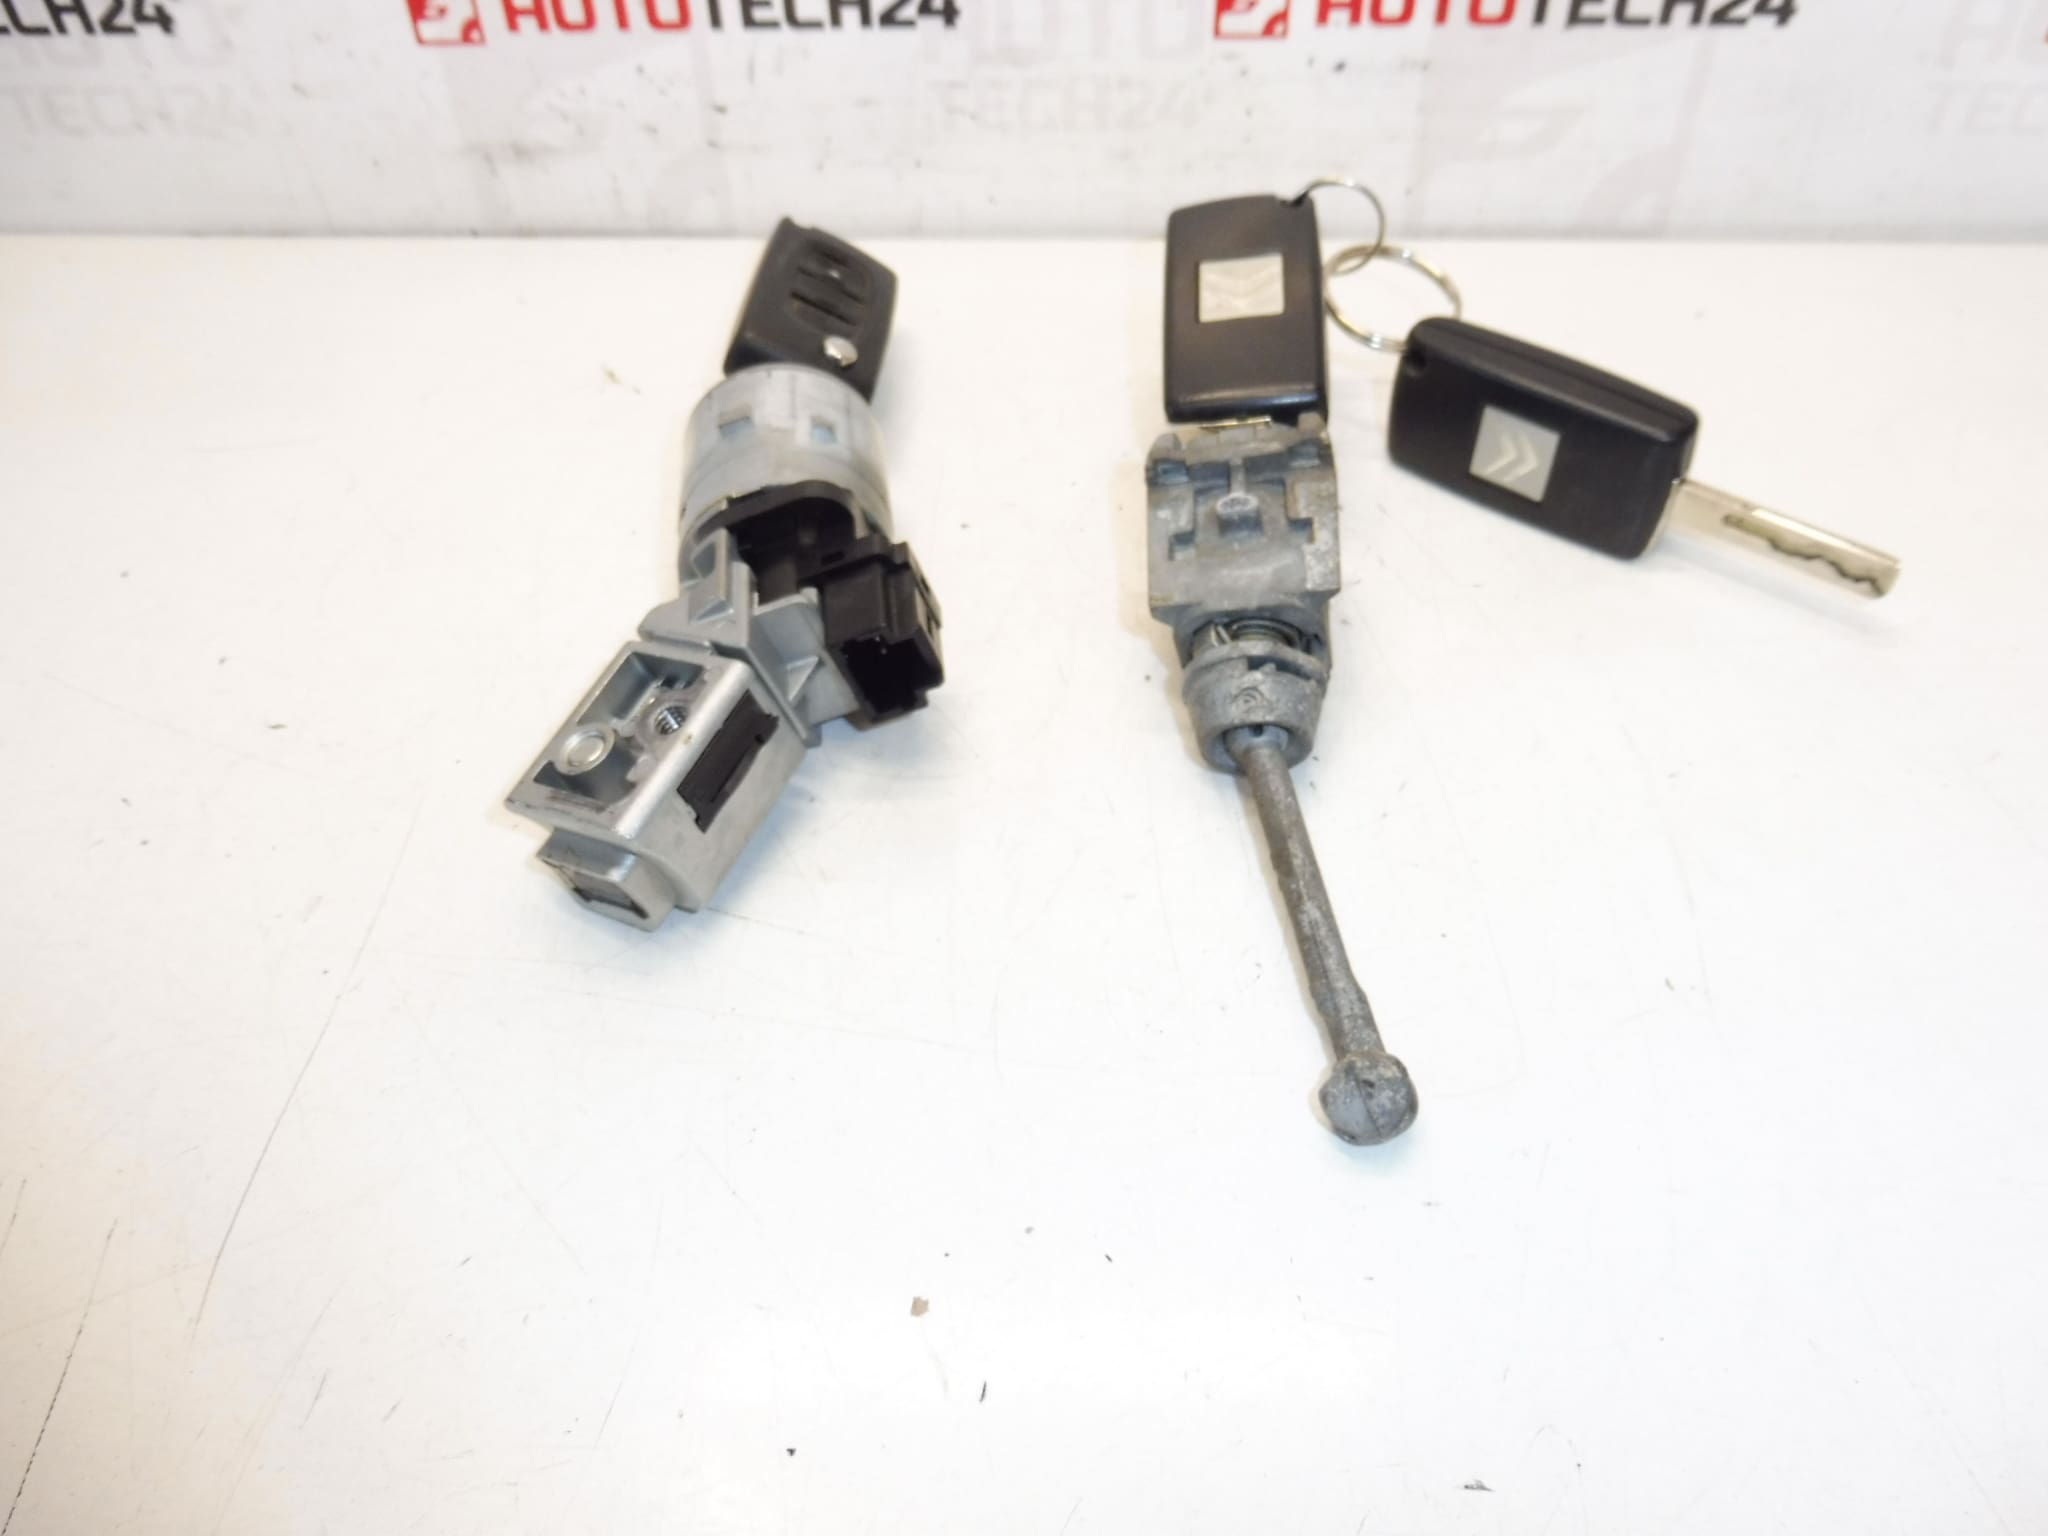
Set of locks for Citroen C4 Picasso cars of the first series
Driver’s door, switch box plus 3 x key
Part description
This set of locks and 3 keys is suitable for Citroën C4 Picasso cars and is a practical solution when replacing worn or damaged lock parts. The set includes a driver’s door lock, switch box and 3 keys, which makes it easy to change multiple downstream elements at once.
A used original part is often the ideal choice for car repair, where matching design and functional mechanics are important. Thanks to the labeling according to the product numbers, it is easier to find the right part, which will be appreciated by both car repair shops and home mechanics when repairing Citroën and Peugeot cars.
Technical information
- Manufacturer: Stellantis Citroën Peugeot
- Model: Citroën C4 Picasso first series
- Other numbers: 4162XT
Product codes
- Product codes: 4162KF, 4162KC, 4162XT
- Models from labels/backgrounds: Citroën C4 PICASSO
Installation recommendations
Generally/typically for this type of part, the exact procedure for changing the locks and switch box may vary depending on the specific design of the car. Before the assembly itself, it is advisable to compare all parts with the original part and verify the conformity of the connectors, attachment, shape of the locks and the design of the keys.
1) Before assembly
- Compare the new and original part in terms of appearance and dimensions according to fit and design.
- Check the condition of the driver’s door lock, ignition switch and all 3 keys.
- Check whether the mechanical parts are dirty, stiff or visibly damaged.
- Disconnect the battery before working, especially if you are going to interfere with the electrical part around the switch box.
2) Necessary tools and materials
- Basic set of hand tools
- Screwdrivers and common heads
- Plastic levers for panel removal
- Cleaning agent for mechanical parts
- A cloth and possibly a mild lubricant suitable for locking mechanisms
3) Step-by-step assembly procedure
- Turn off the ignition and disconnect the battery.
- Remove any necessary covers or trim to gain access to the original lock and switch box.
- Carefully disconnect downstream mechanical or electrical parts, if present.
- Remove the original driver’s door lock and check the condition of the attachment points.
- Dismantle the original switch box according to the car’s design and keep the small mounting elements aside.
- Compare the old and new parts including the shape, fit and mechanical operation of the key.
- Install the switch box from the supplied kit and make sure it fits correctly without using force.
- Install the driver’s door lock and check that the mechanism works smoothly.
- Reconnect all disconnected parts and return the removed covers or trim.
- Before complete assembly, test the operation of the key several times in both replaced parts.
- After verifying the function, complete the assembly and fix all the parts in their original position.
-
4) Post-assembly checks and function verification
- Check the smooth unlocking and locking of the driver’s door lock.
- Verify the correct operation of the key in the ignition box without rubbing or excessive resistance.
- Check that all disassembled parts are properly seated and nothing is left loose.
- After reconnecting the battery, test the basic ignition function.
5) The most common assembly mistakes + how to avoid them
- Exchanging parts without comparison – always compare the design with the old piece before assembly.
- Damage to the paneling during disassembly – use suitable plastic levers and proceed with care.
- Assembly by force – if the part does not fit naturally, recheck its seating.
- Omission to check mechanical operation – test all keys several times before final assembly.
- Contaminated or dry mechanisms – before assembly, it is advisable to clean the part and, if necessary, lightly treat it with a suitable lubricant.
Reasons why the part is damaged
- Long-term mechanical wear of lock inserts and switch boxes during daily use.
- Wear or damage to the key which subsequently increases the stress on the internal mechanism.
- Dirt, dust and moisture inside the lock, which can cause it to jam.
- Corrosion of mechanical parts during long-term operation.
- Forcible turning of the key when the mechanism is stiff, which can damage the insert and internal parts.
- Frequent use when the condition of the part has already deteriorated, when the defect gradually worsens.