Description
Heater servo motor for CITROEN C4 II and PEUGEOT 308 T7 cars
Part description
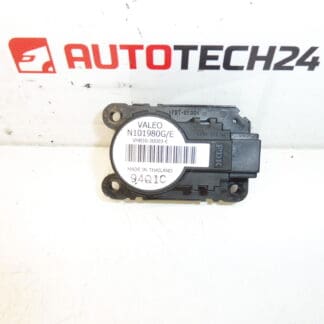
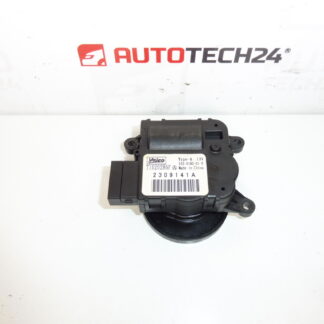
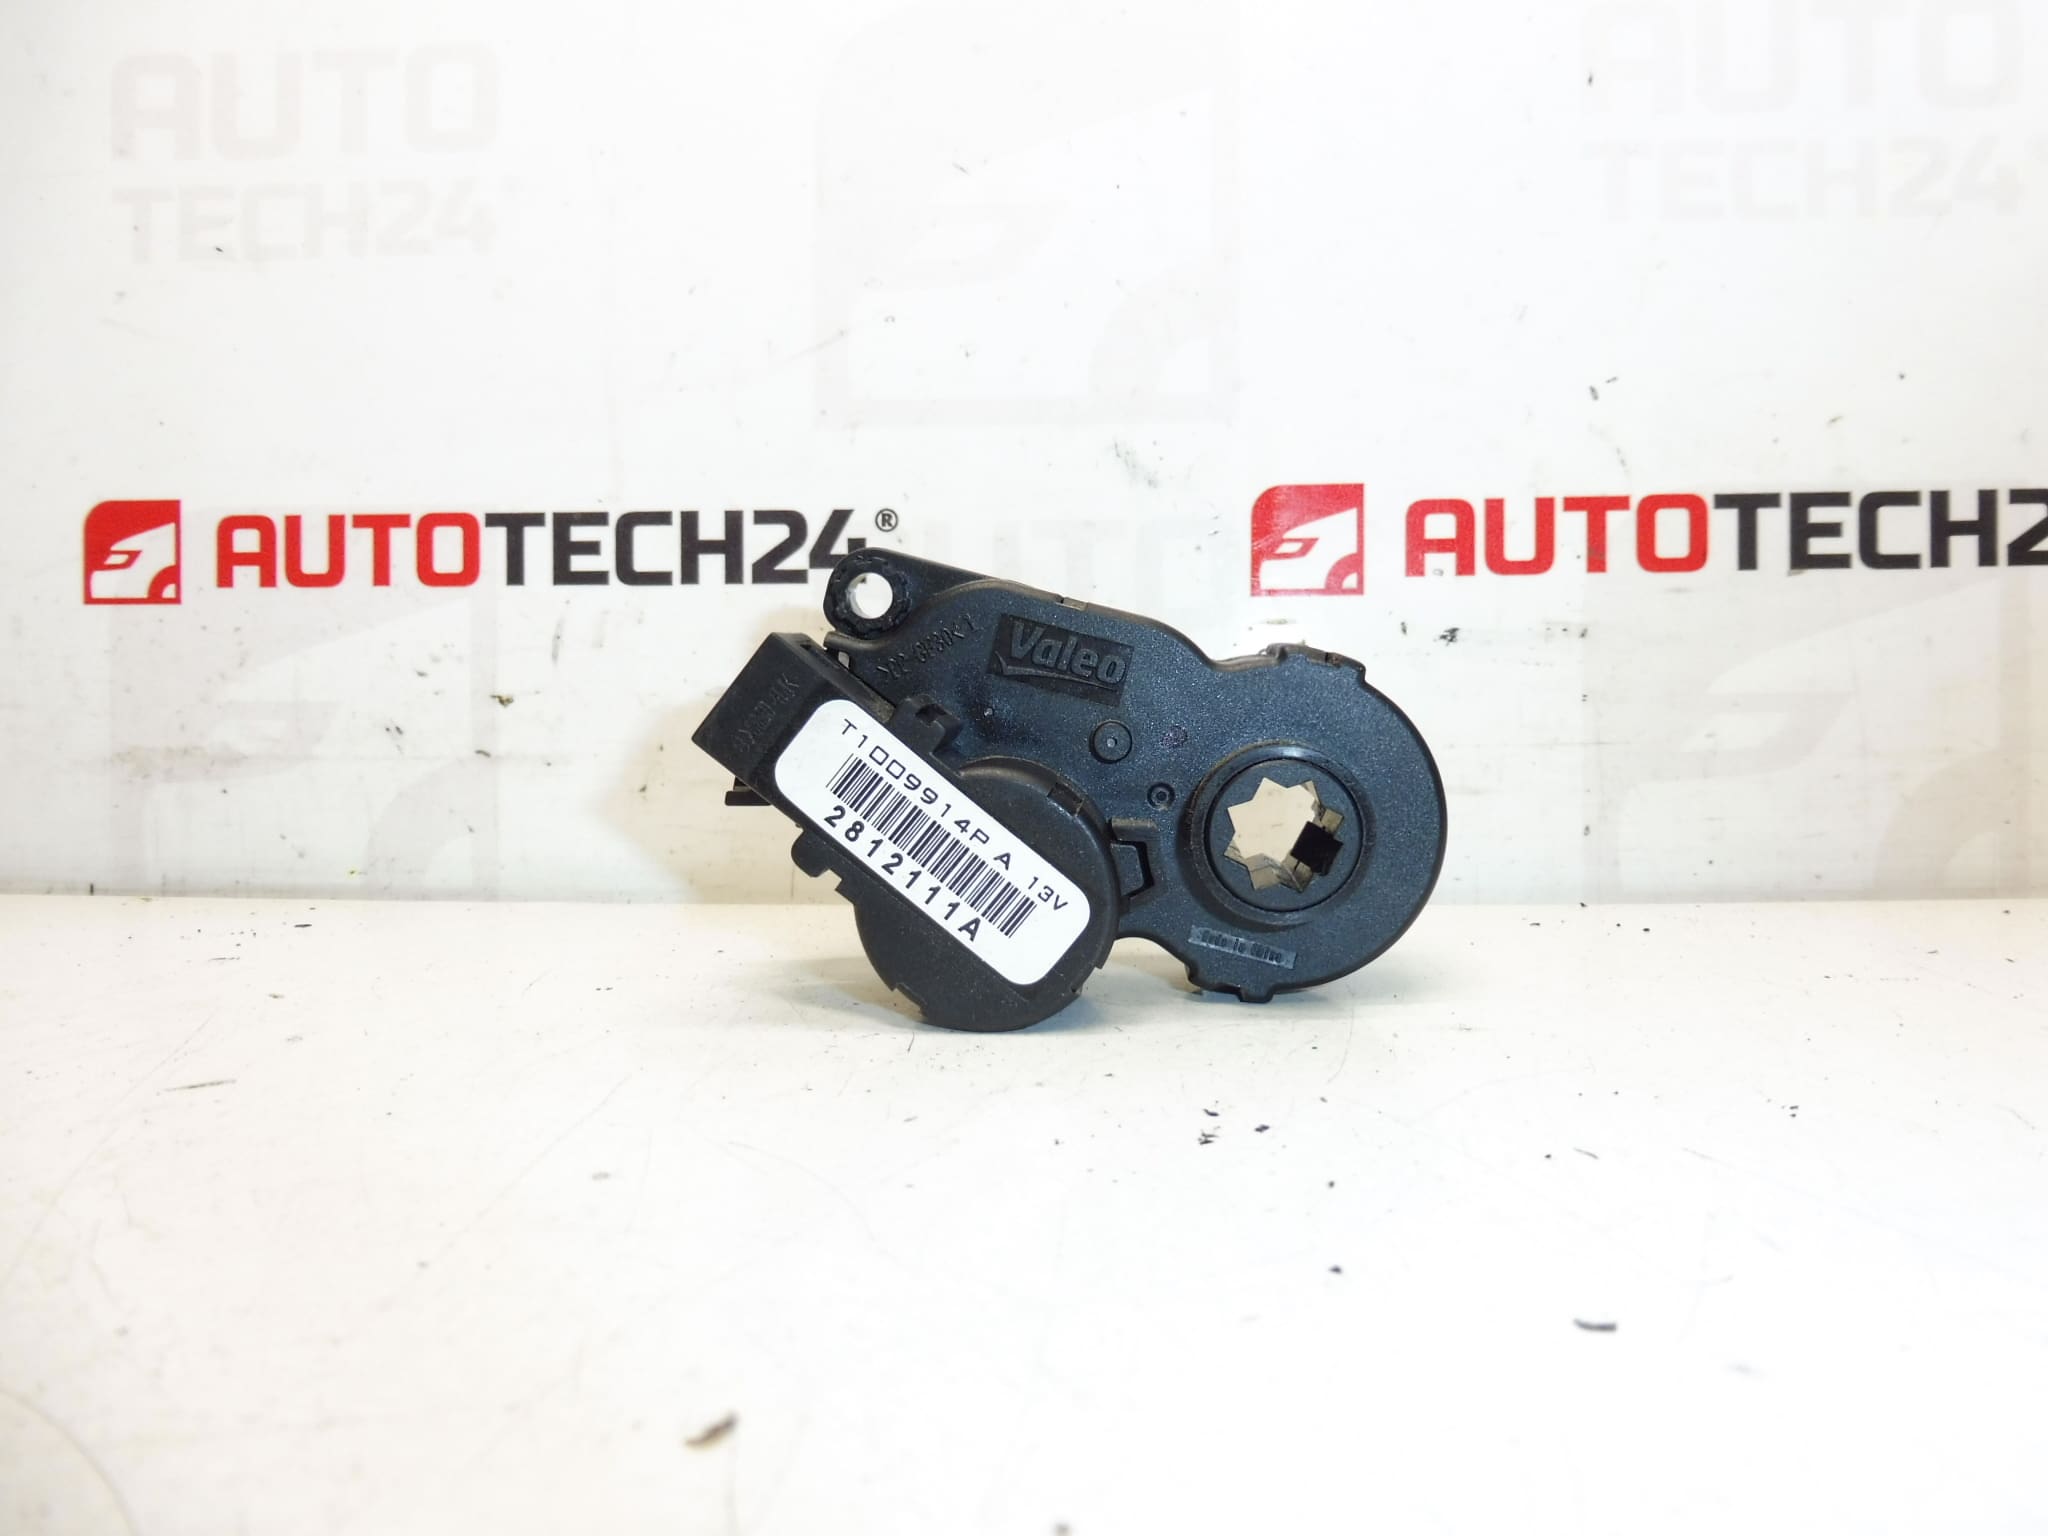
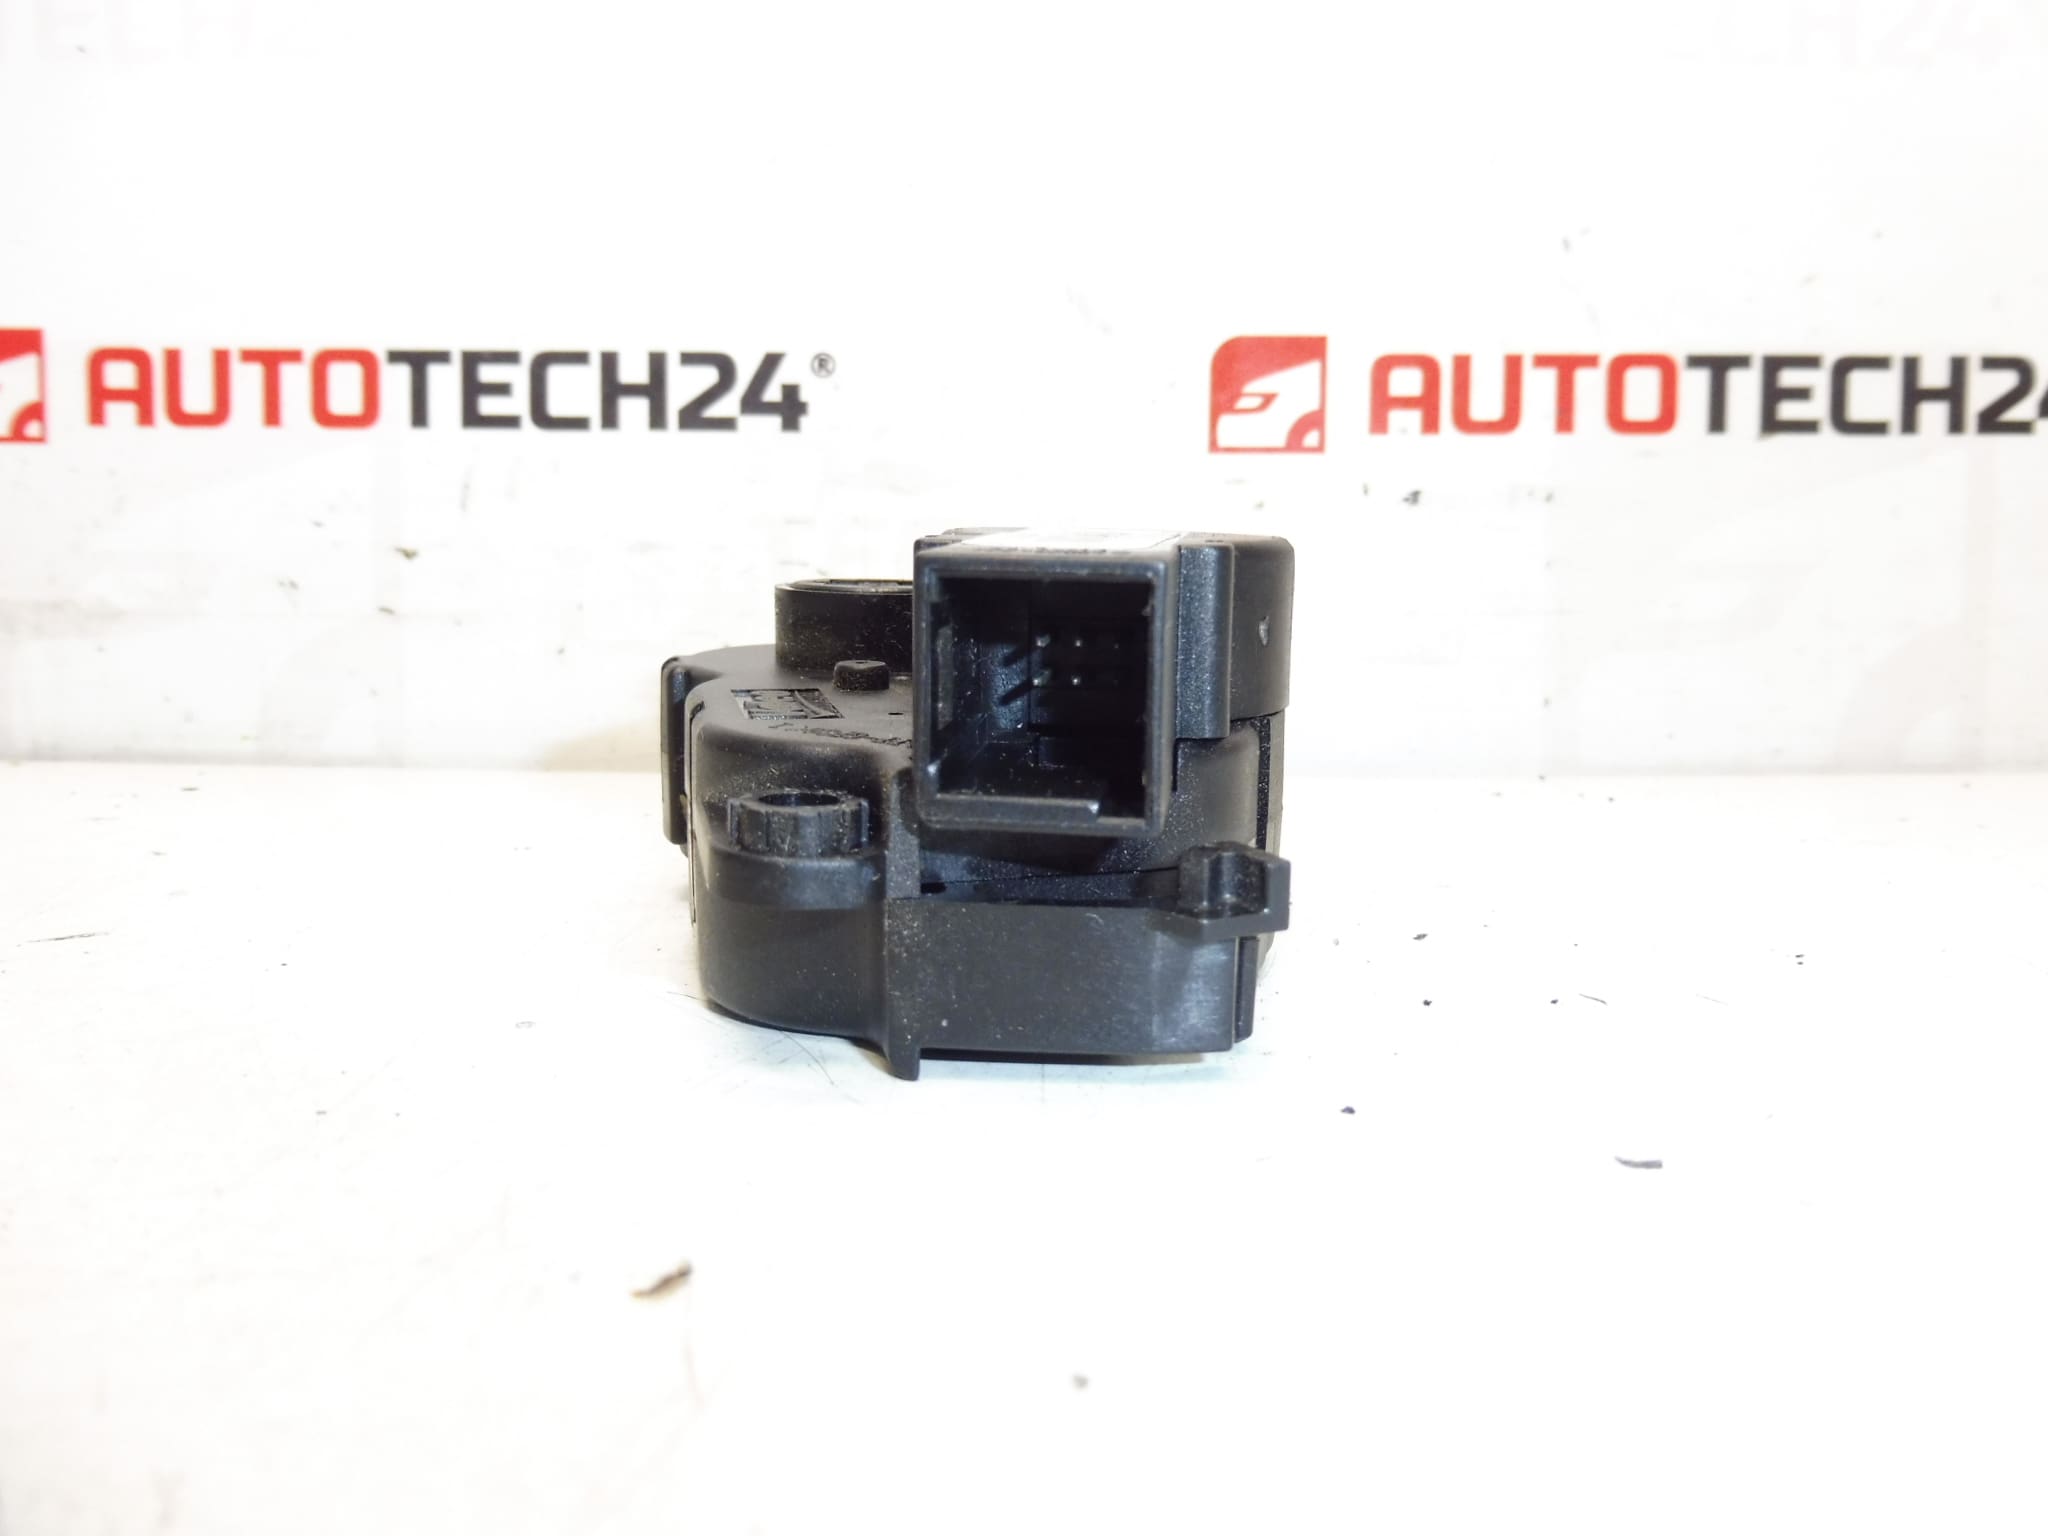
This used Valeo heater servo motor is intended for Citroën C4 II and Peugeot 308 T7 cars. It is an important electrical component of the heating and ventilation system, which is involved in controlling the heating flaps. When looking for the right part, the product number is particularly decisive, so we recommend comparing the markings on the original part with the codes listed here.
The part is suitable for mechanics as well as for more experienced do-it-yourselfers who are looking for a functional original used car part for repair without unnecessary compromises. Thanks to the original design, replacement is easier and without the need for modifications.
Technical information
- Manufacturer: Valeo
- Model: Citroën C4 II, Peugeot 308 T7
- Other numbers: T1009914P A, 6479E7
Product codes
- Product codes: T1009914P A, 6479E7
- Model names: Citroen C4 II, Peugeot 308
Installation recommendations
In general, it is true for the replacement of the heater servo motor that the exact procedure may vary depending on the specific design of the car and access to the part. Before actual assembly, it is always advisable to compare the new and original piece and work carefully due to plastic parts and electrical connectors.
1) Before assembly
- Check if the product numbers and connector shape match.
- Compare the attachment, shaft position and overall design with the old part.
- Inspect the used part for cracked packaging, damaged mounting or play in the mechanism.
- Before working, it is advisable to disconnect the battery, especially if you will be handling electrical parts of the interior.
2) Necessary tools and materials
- set of common hand tools
- screwdrivers and small socket wrenches
- plastic pry bar for removing covers
- flashlight
- contact cleaner and cloth
3) Step-by-step assembly procedure
- Turn off the ignition and secure the vehicle against movement.
- Disconnect the battery if the nature of the work requires it.
- Access the space for the servo motor by removing the relevant covers or trim.
- Carefully disconnect the electrical connector of the original part.
- Loosen the fasteners and remove the old servo motor.
- Check the condition of the landing surfaces and the subsequent flap mechanism.
- Compare the old and new part one more time before fitting.
- Place the used servo motor in the correct position without force.
- Tighten the fasteners evenly and connect the electrical connector.
- Reinstall all covers and removed interior parts.
- Connect the battery and turn on the ignition.
- Verify the function of the heating control and the response of the system when the setting is changed.
-
4) Post-assembly checks and test drive/function verification
- Check that the motor works smoothly and without unusual noises.
- Verify the correct response of the heating and air distribution when the settings are changed.
- After a short test drive, check again that everything is firmly seated and free of interference.
5) The most common assembly mistakes + how to avoid them
- Exchanging a part by appearance – always compare the part codes as well.
- Forcible seating – the servo motor must land naturally, without over-pressing.
- Damage to the connector – disconnect and connect the connector carefully.
- Bad seat of interior covers – always check after installation that nothing rattles or interferes.
- normal wear and tear of the internal gear or electric motor
- frequent adjustment of heating flaps and long-term load
- cluttering of the trailing flap mechanism
- moisture, dirt or oxidation of electrical contacts
- damage during careless disassembly or assembly