Description
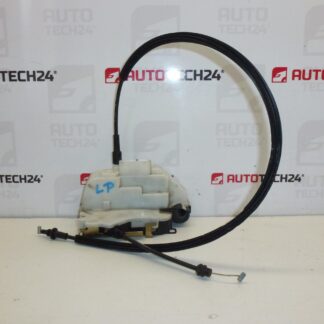
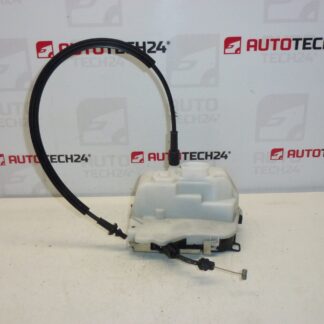
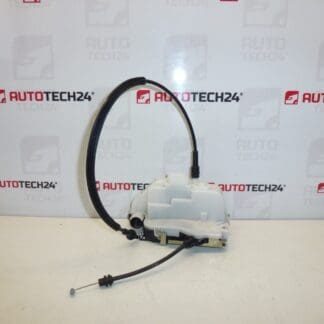
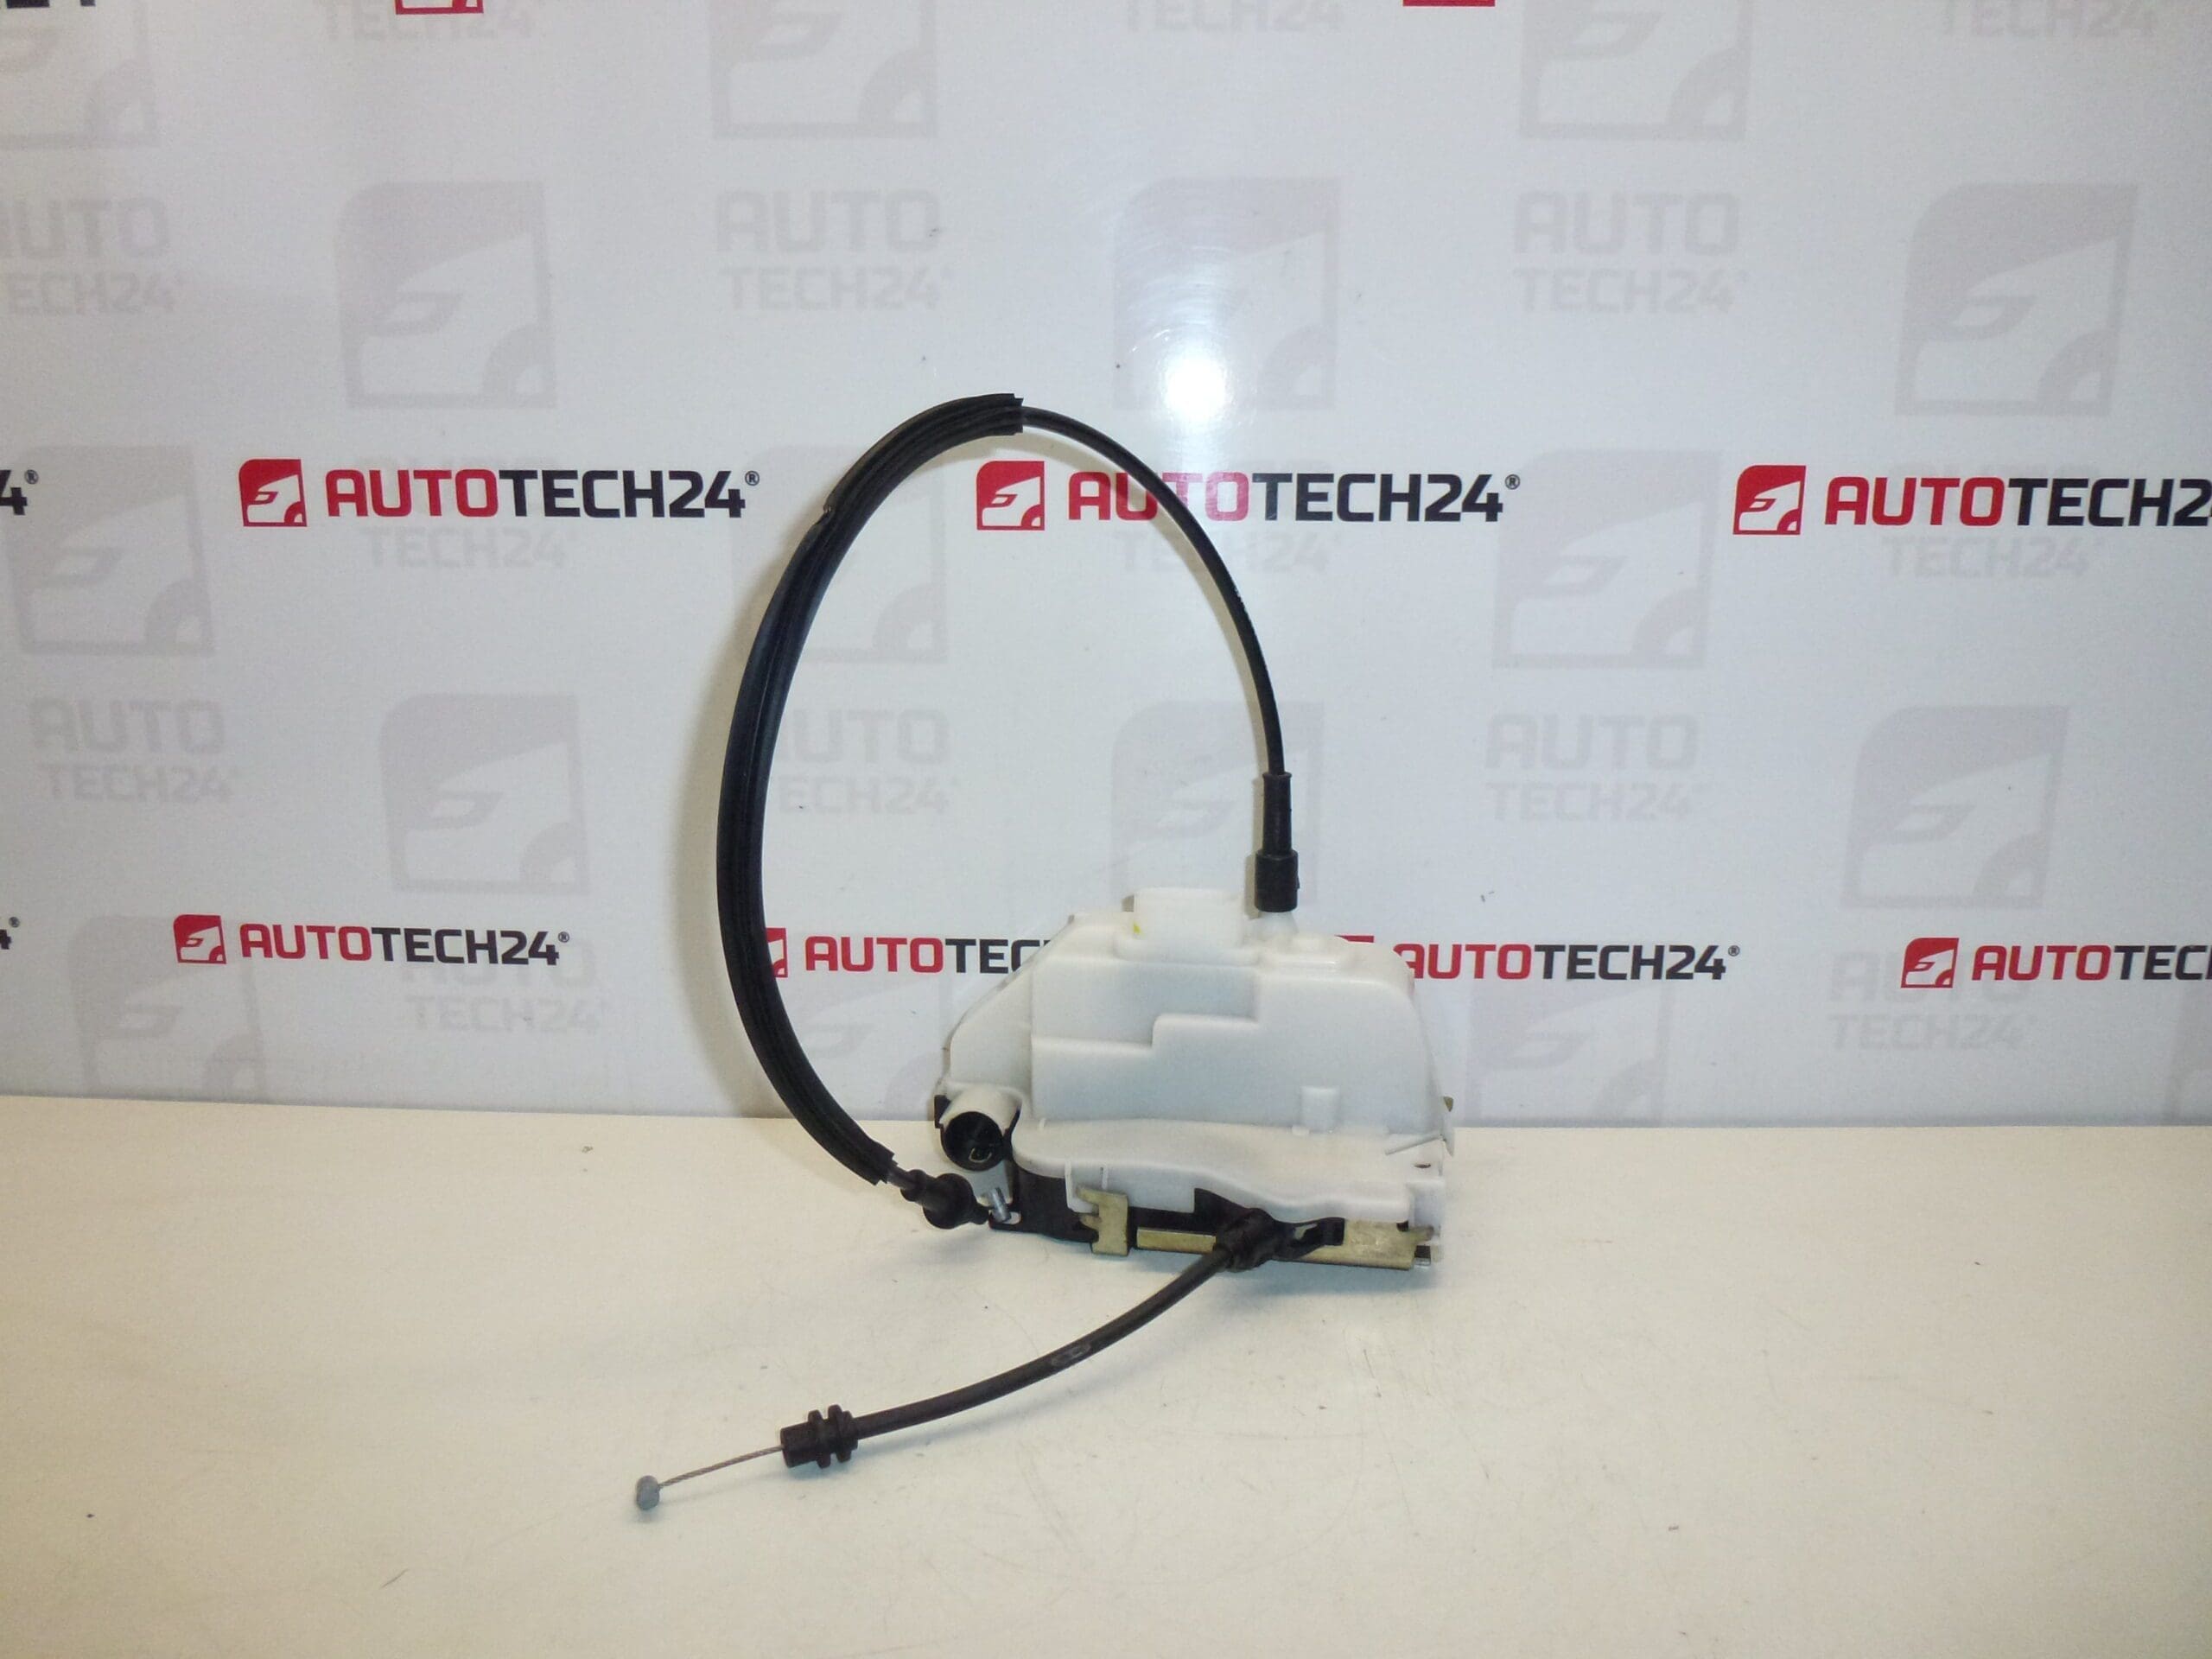
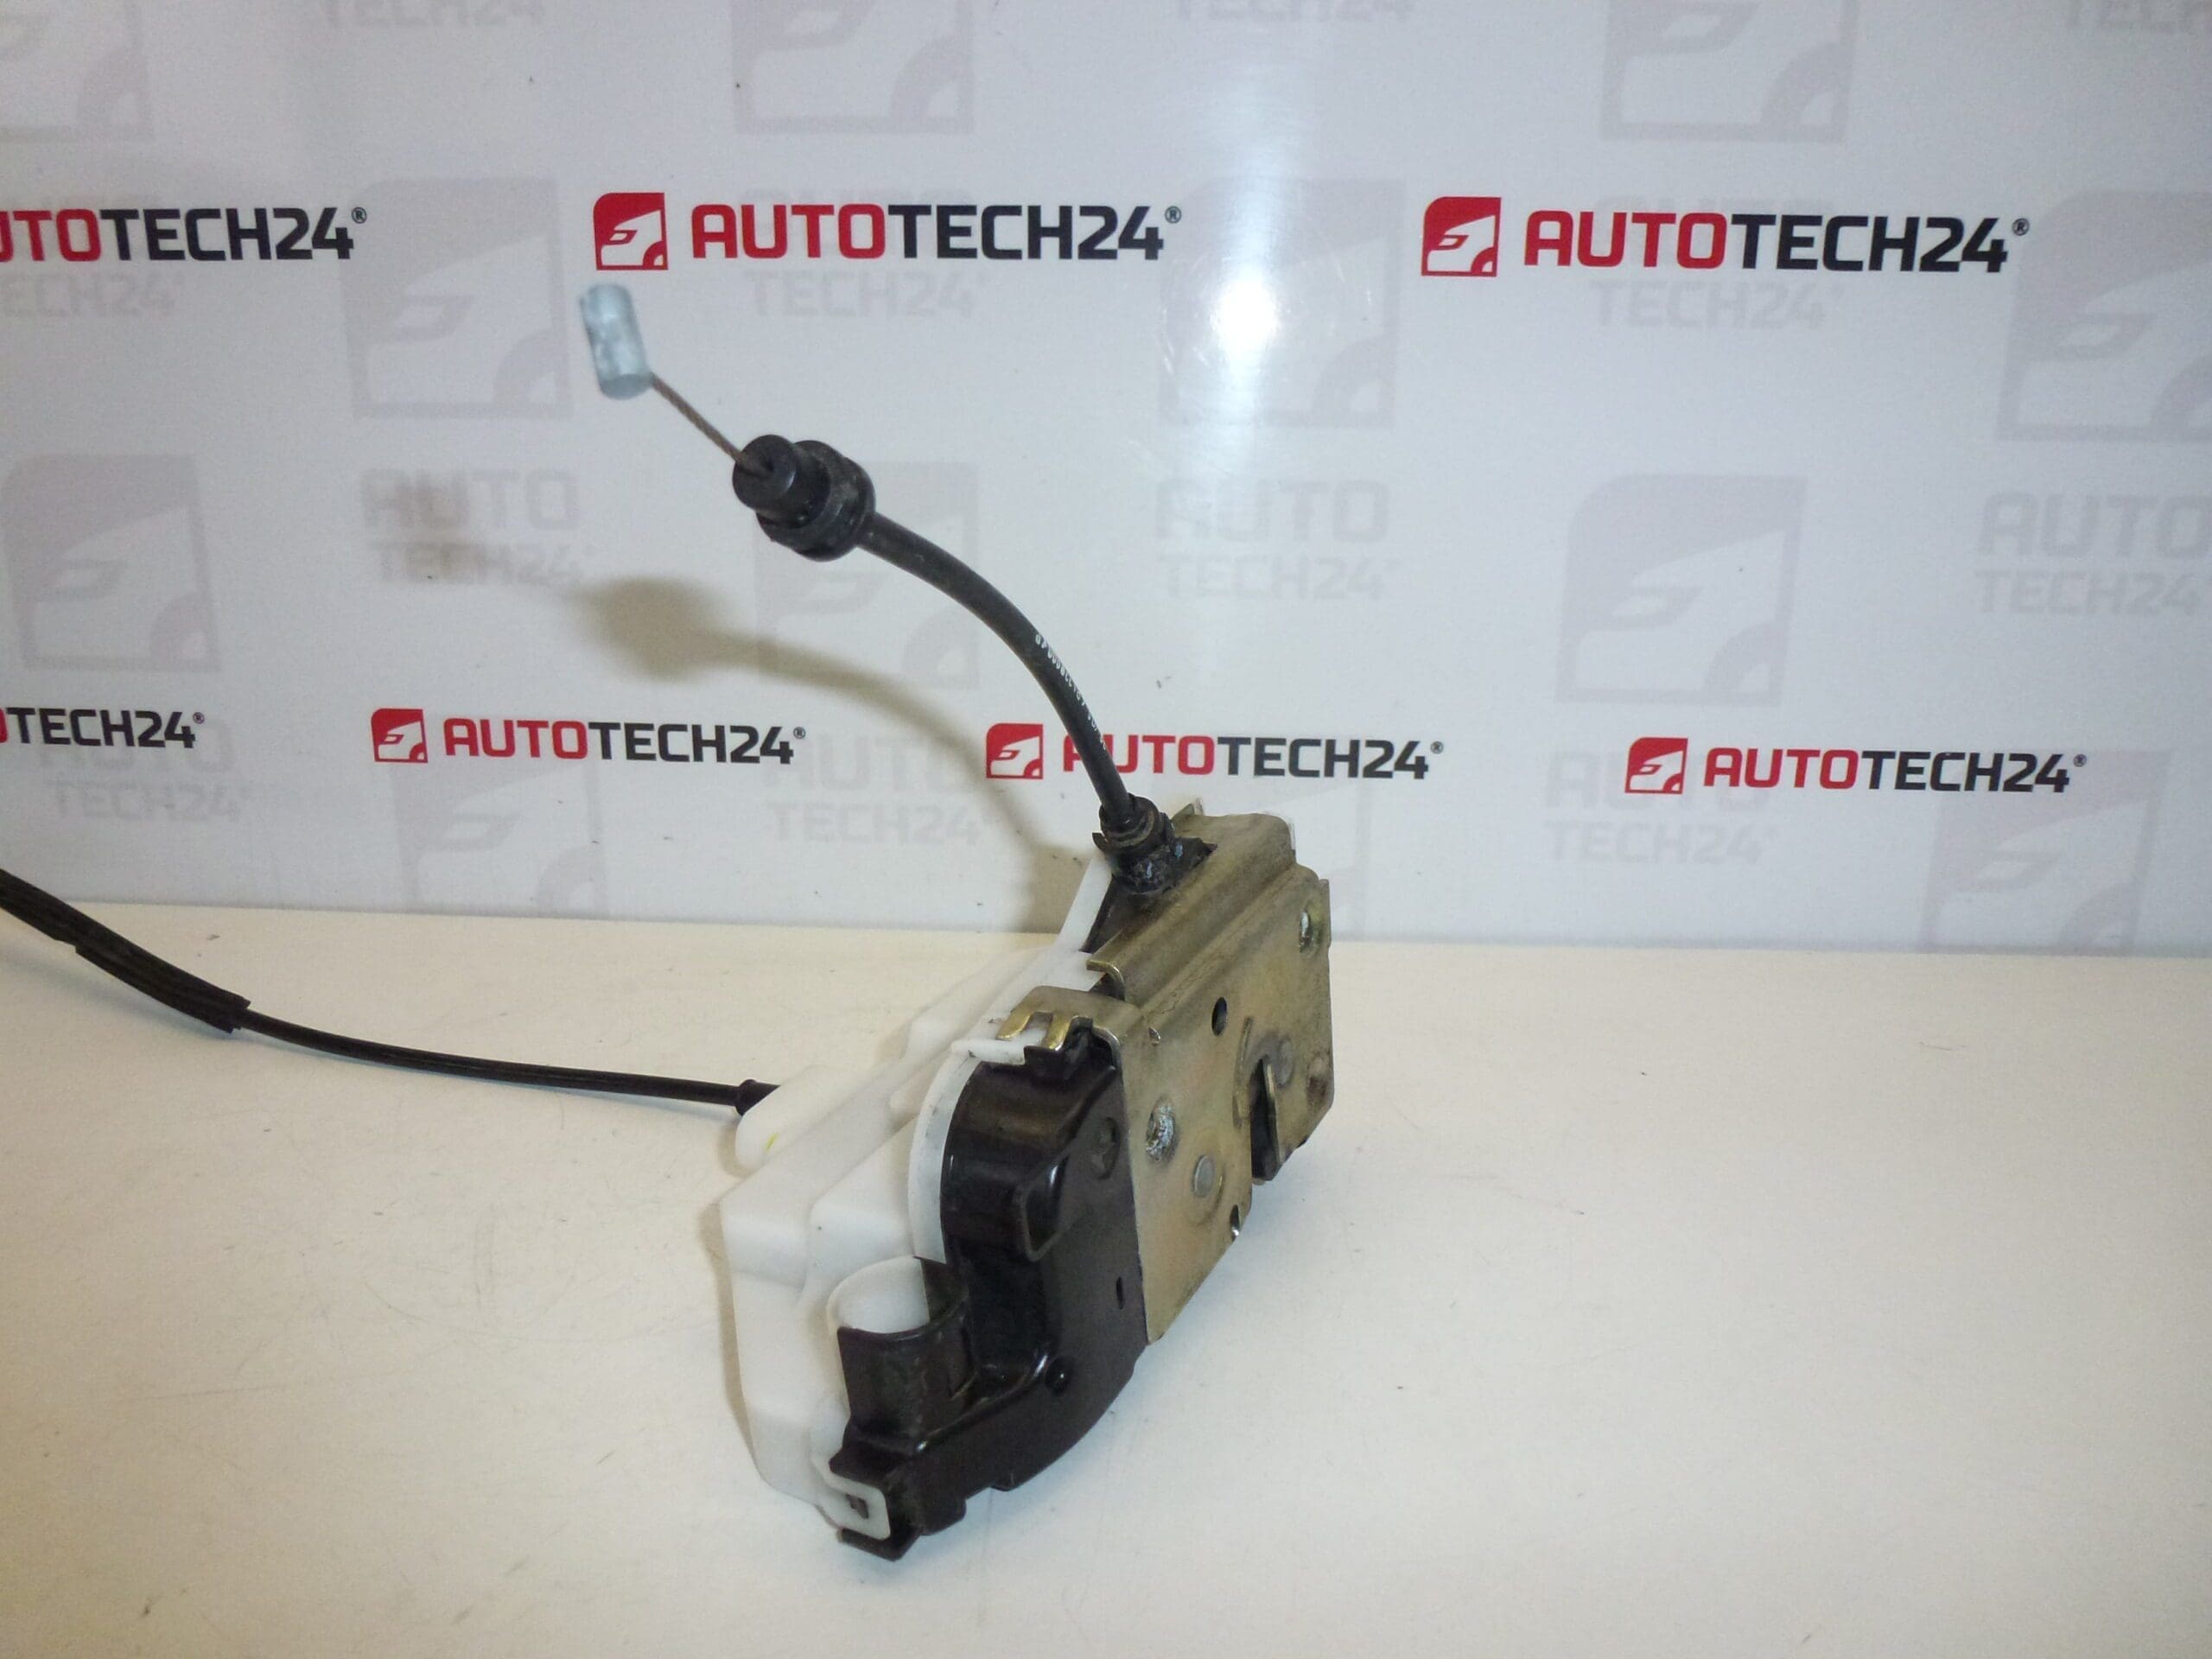
Electric central locking lock for the right front door for Citroën C3. 4-pin connector.
Product Overview
This electric door lock/actuator is a direct-fit replacement for the right front door on Citroën C3 models equipped with a 4-pin connector. It operates the central locking mechanism, providing remote and manual lock/unlock functions and integrating with the mechanical latch to secure the door. The part is commonly referenced by manufacturer codes and will be useful for mechanics and experienced DIYers looking for a reliable OEM-style replacement.
Technical Information
- Manufacturer: Citroën (Stellantis)
- Model: Citroën C3 (Right Front Door)
- Product Codes: 46983280, 9136N7
- Other Numbers: NFP, 4-Pin
Function And Features
The unit combines an electric actuator and mechanical latch to lock and unlock the right front door via the vehicle’s central locking system. When triggered by the remote, key, or interior switch, the actuator translates electrical input into mechanical movement to operate the latch. Typical features include compact motor/gear drive, connector for electrical supply and control signals, and mechanical linkages for door lock rods.
Compatibility
Designed for Citroën C3 vehicles fitted with a 4-pin right front door connector. Ensure the connector pin count and physical mounting match the original part before installation. This item is intended for vehicles that use the listed product codes.
Replacement Procedure (General Guide)
- Disconnect the vehicle battery before starting any work to avoid short circuits and accidental actuation.
- Remove the interior door trim carefully using trim tools to avoid breaking clips.
- Peel back the vapor barrier and locate the lock assembly; disconnect the electrical connector (4-pin) and any linkage rods or clips attached to the latch.
- Unscrew the fasteners holding the latch to the door shell and remove the old unit.
- Install the replacement latch, reconnect rods and electrical connector, and test operation before reassembling the door trim.
- Reattach the vapor barrier and door trim, then reconnect the battery and perform final functional checks of central locking, remote locking, and the mechanical latch.
Why This Part Fails Most Often
Common causes of failure include mechanical wear of internal plastic gears or levers, water ingress leading to corrosion or seized components, electrical faults in the actuator motor or wiring, and impact damage from door collisions. Failure symptoms are usually intermittent or complete loss of locking/unlocking at the affected door, unusual noise during operation, or the door failing to latch properly.
Installation Recommendations
- Always disconnect the battery before removal and follow the vehicle manufacturer’s instructions to prevent damage.
- Use proper trim tools to avoid breaking clips and allow safe access to the latch assembly.
- Lubricate mechanical moving parts lightly with appropriate grease to reduce wear and prevent binding.
- After installation, verify correct mechanical operation and central locking synchronization (lock/unlock via switch and remote).
- If electrical symptoms persist after installation, inspect wiring, connector pins, and fuses before replacing additional components.
- Required tools typically include trim removal tools, a set of screwdrivers/torx sockets, pliers for retaining clips, and a multimeter for basic electrical checks.
Note For Professionals And DIYers
Part numbers (46983280, 9136N7) are commonly used when searching for the correct replacement. The unit is suitable for experienced DIYers who are comfortable removing door trim and working with vehicle electrical connectors; otherwise, professional installation is recommended to ensure proper operation and longevity.