Description
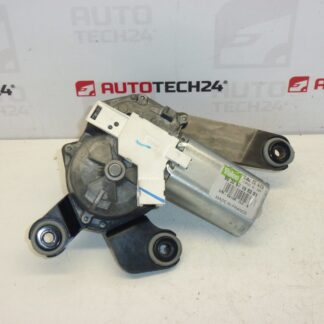
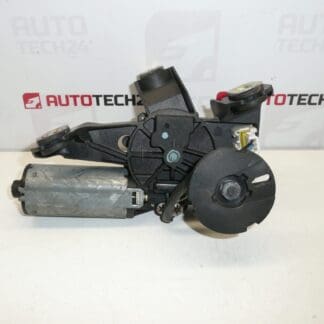
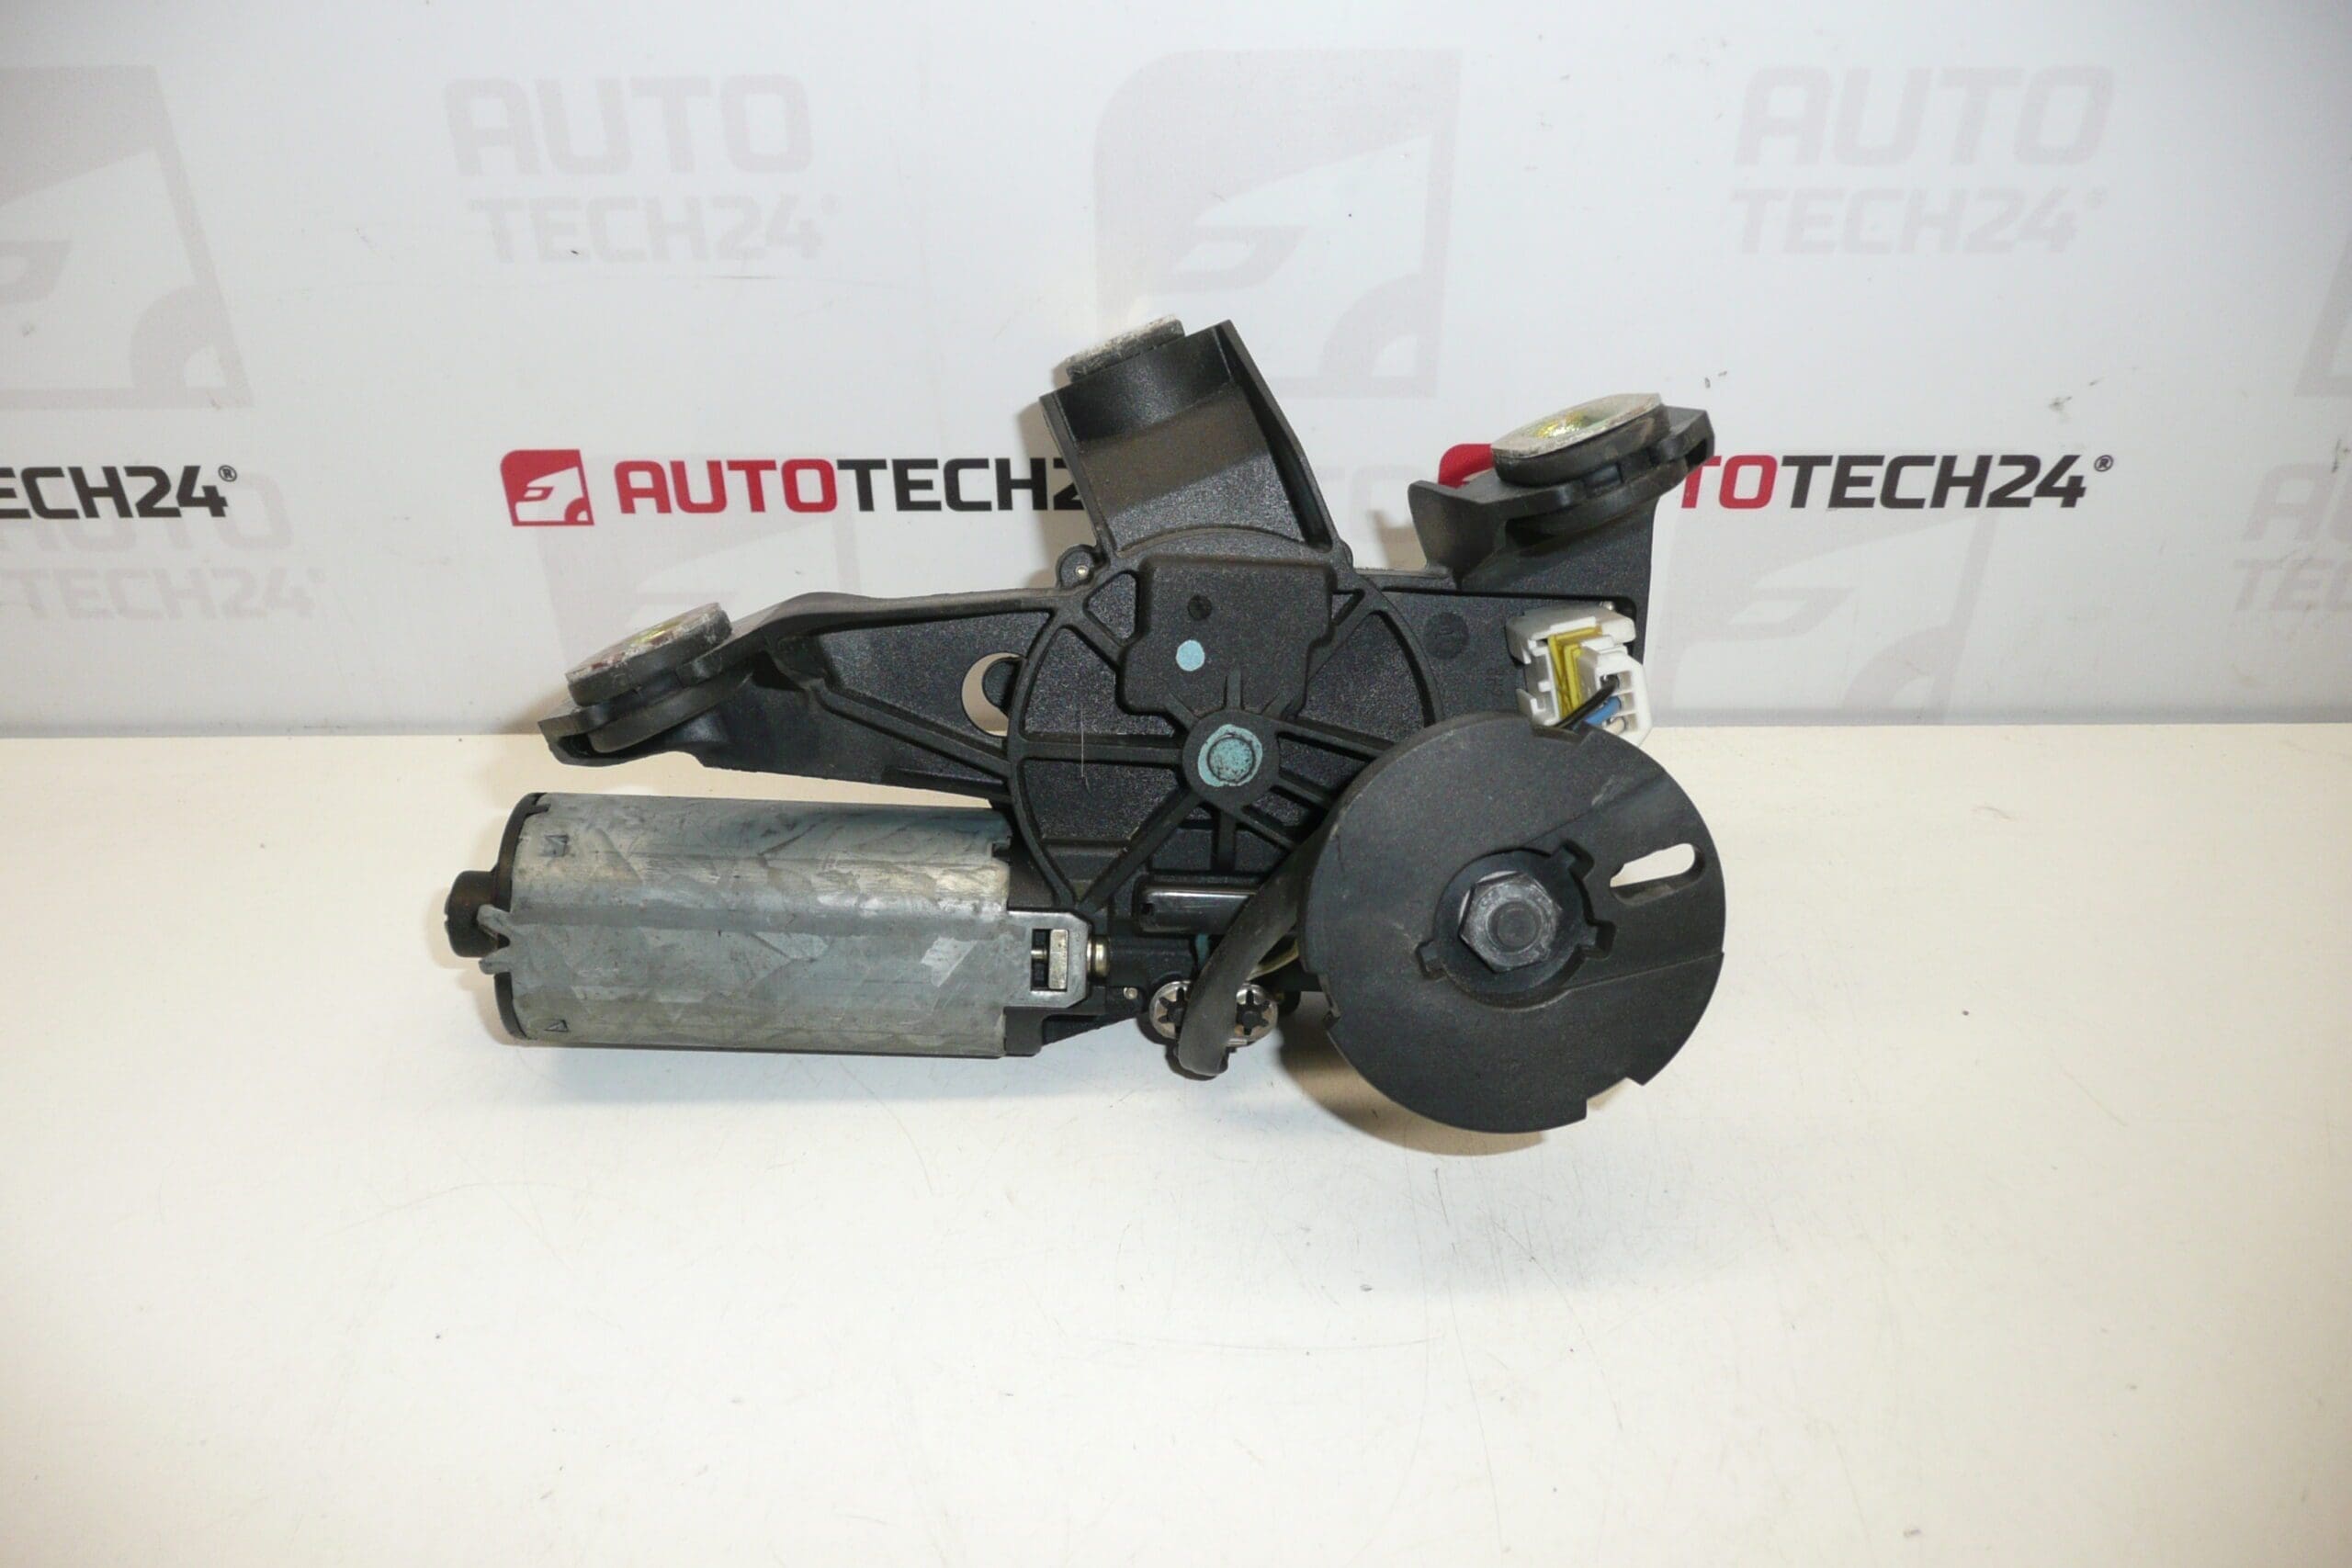
Rear Window Wiper Motor For Citroën C5 I II Estate
This Valeo rear wiper motor is a direct-fit replacement for Citroën C5 I and C5 II estate models. It restores reliable rear-window wiping and parking function, eliminates intermittent or non-working rear wiper operation, and is commonly identified by part numbers such as 9638335780 and 6405K1. Ideal for professional workshops and experienced DIY mechanics, the unit is suitable where the original motor has failed due to wear, corrosion, or water ingress.
The motor Operates The Rear Wiper Arm And Linkage To Park The Blade Correctly When Switched Off. Replacing a faulty unit will recover clear rear visibility in wet conditions and remove electrical faults related to the rear wiper circuit. Many customers search by Part Number (e.g., 9638335780, 6405K1, 03 54904512) so these codes are included for fast identification.
Technical Information
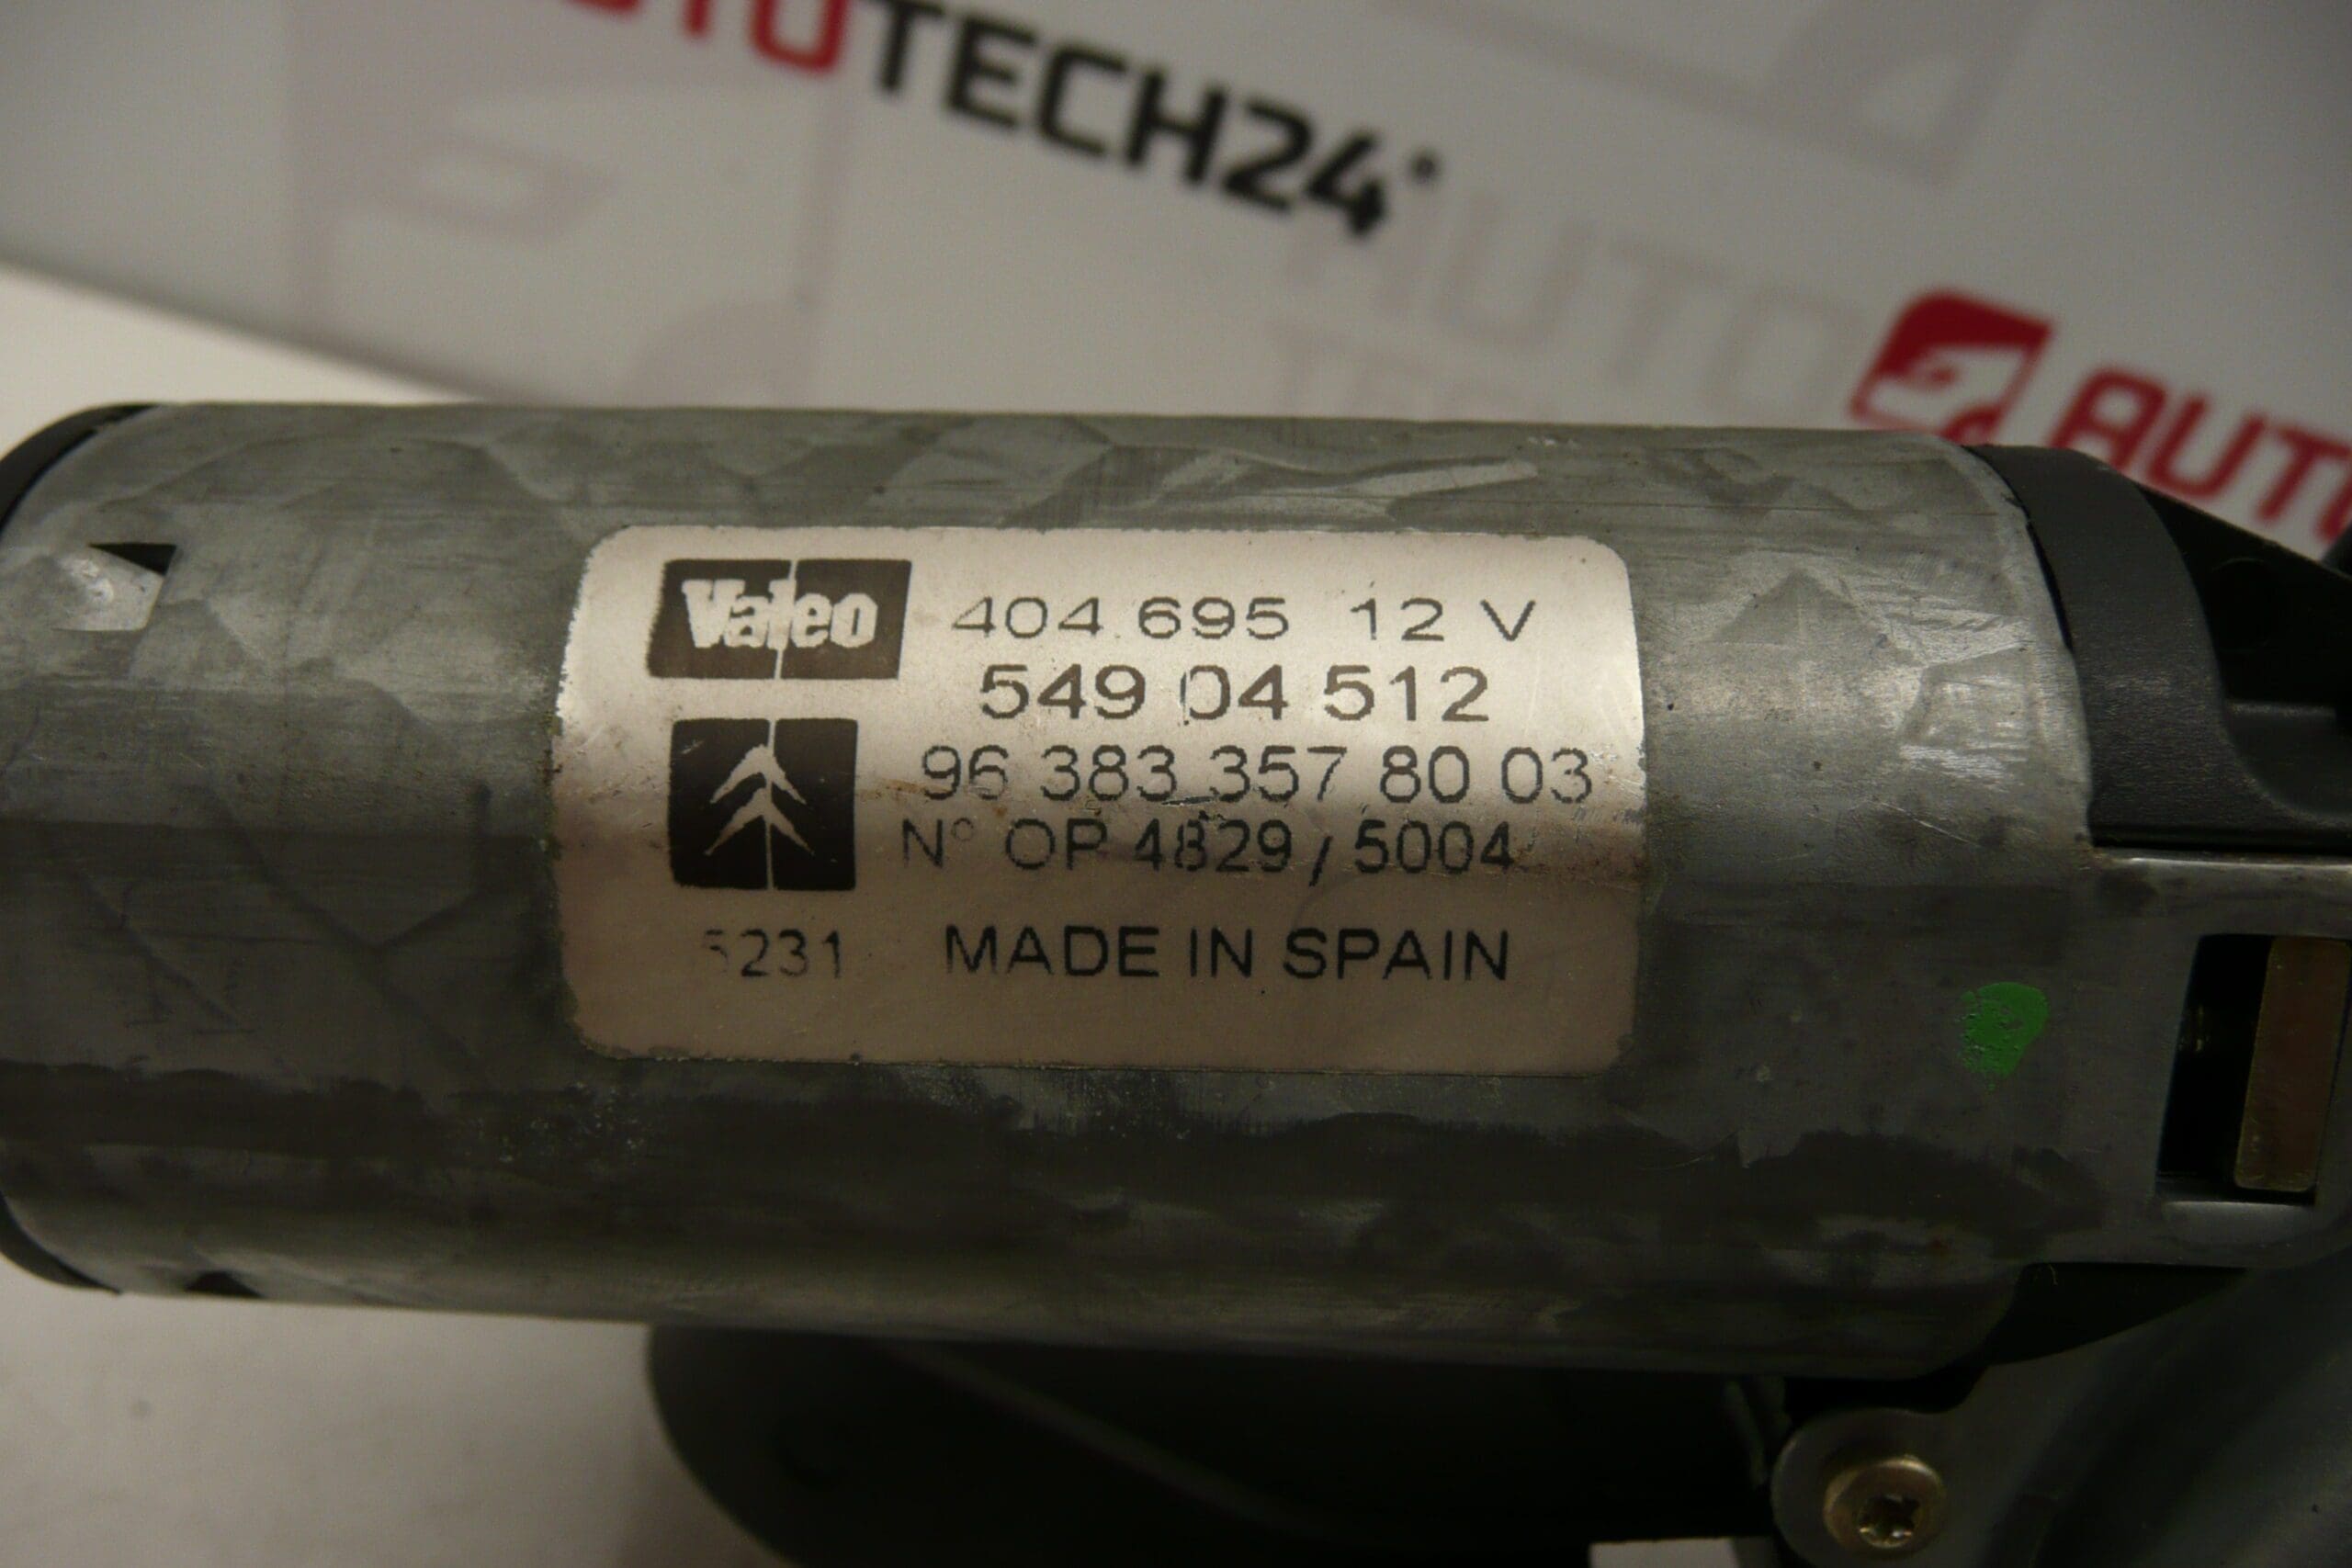
- Manufacturer: Valeo
- Model: Citroën C5 I, Citroën C5 II (Estate)
- Product Codes: 9638335780; 6405K1
- Other Numbers: 03 54904512; NFP
Installation Recommendations
Suitable For Professional Fitment Or Confident DIY. Typical Replacement Steps:
- Open Tailgate And Remove Interior Trim To Access The Rear Wiper Assembly.
- Mark Wiper Arm Position On The Glass, Then Remove The Wiper Arm Nut And Withdraw The Arm.
- Disconnect Electrical Connector And Unbolt The Motor From The Tailgate.
- Remove Old Motor And Inspect Linkage For Excess Wear Or Corrosion; Replace Linkage If Sloppy.
- Fit New Motor, Secure Fasteners Evenly, Reconnect Electrical Connector, Refit Wiper Arm In Marked Position.
- Carry Out Functional Test And Park Position Check; Adjust Arm If Necessary To Ensure Correct Resting Position.
Use Appropriate Hand Tools And Moderate Torque On Fasteners. Protect Electrical Contacts With Dielectric Grease If Available And Ensure Tailgate Seals Are Intact To Reduce Future Water Ingress.
Most Common Causes Of Failure
- Water Ingress Causing Corrosion Or Short Circuits In The Motor Windings Or Gearbox.
- Mechanical Wear Of Brushes, Small Gears Or Linkage Joints Leading To Intermittent Operation Or Seizure.
- Strain From Frozen Or Obstructed Wiper Blades Causing Motor Overload.
- Damaged Wiring Or Connectors Resulting In Loss Of Power Or Erratic Function.
Service Life Varies With Use And Environment; Units On Cars Exposed To Road Salt Or Frequent Wet Conditions Tend To Fail Earlier. When Replacing, Inspect Linkage And Seals To Prevent Repeat Failures.
Why Choose This Unit
Clear Part Number Identification And Direct Fitment Make This Valeo Replacement A Practical Choice For Rapid Repair. Including Common Reference Numbers (9638335780, 6405K1) In Search Terms Improves Findability For Mechanics Looking For A Fast, Reliable Fix.