Description
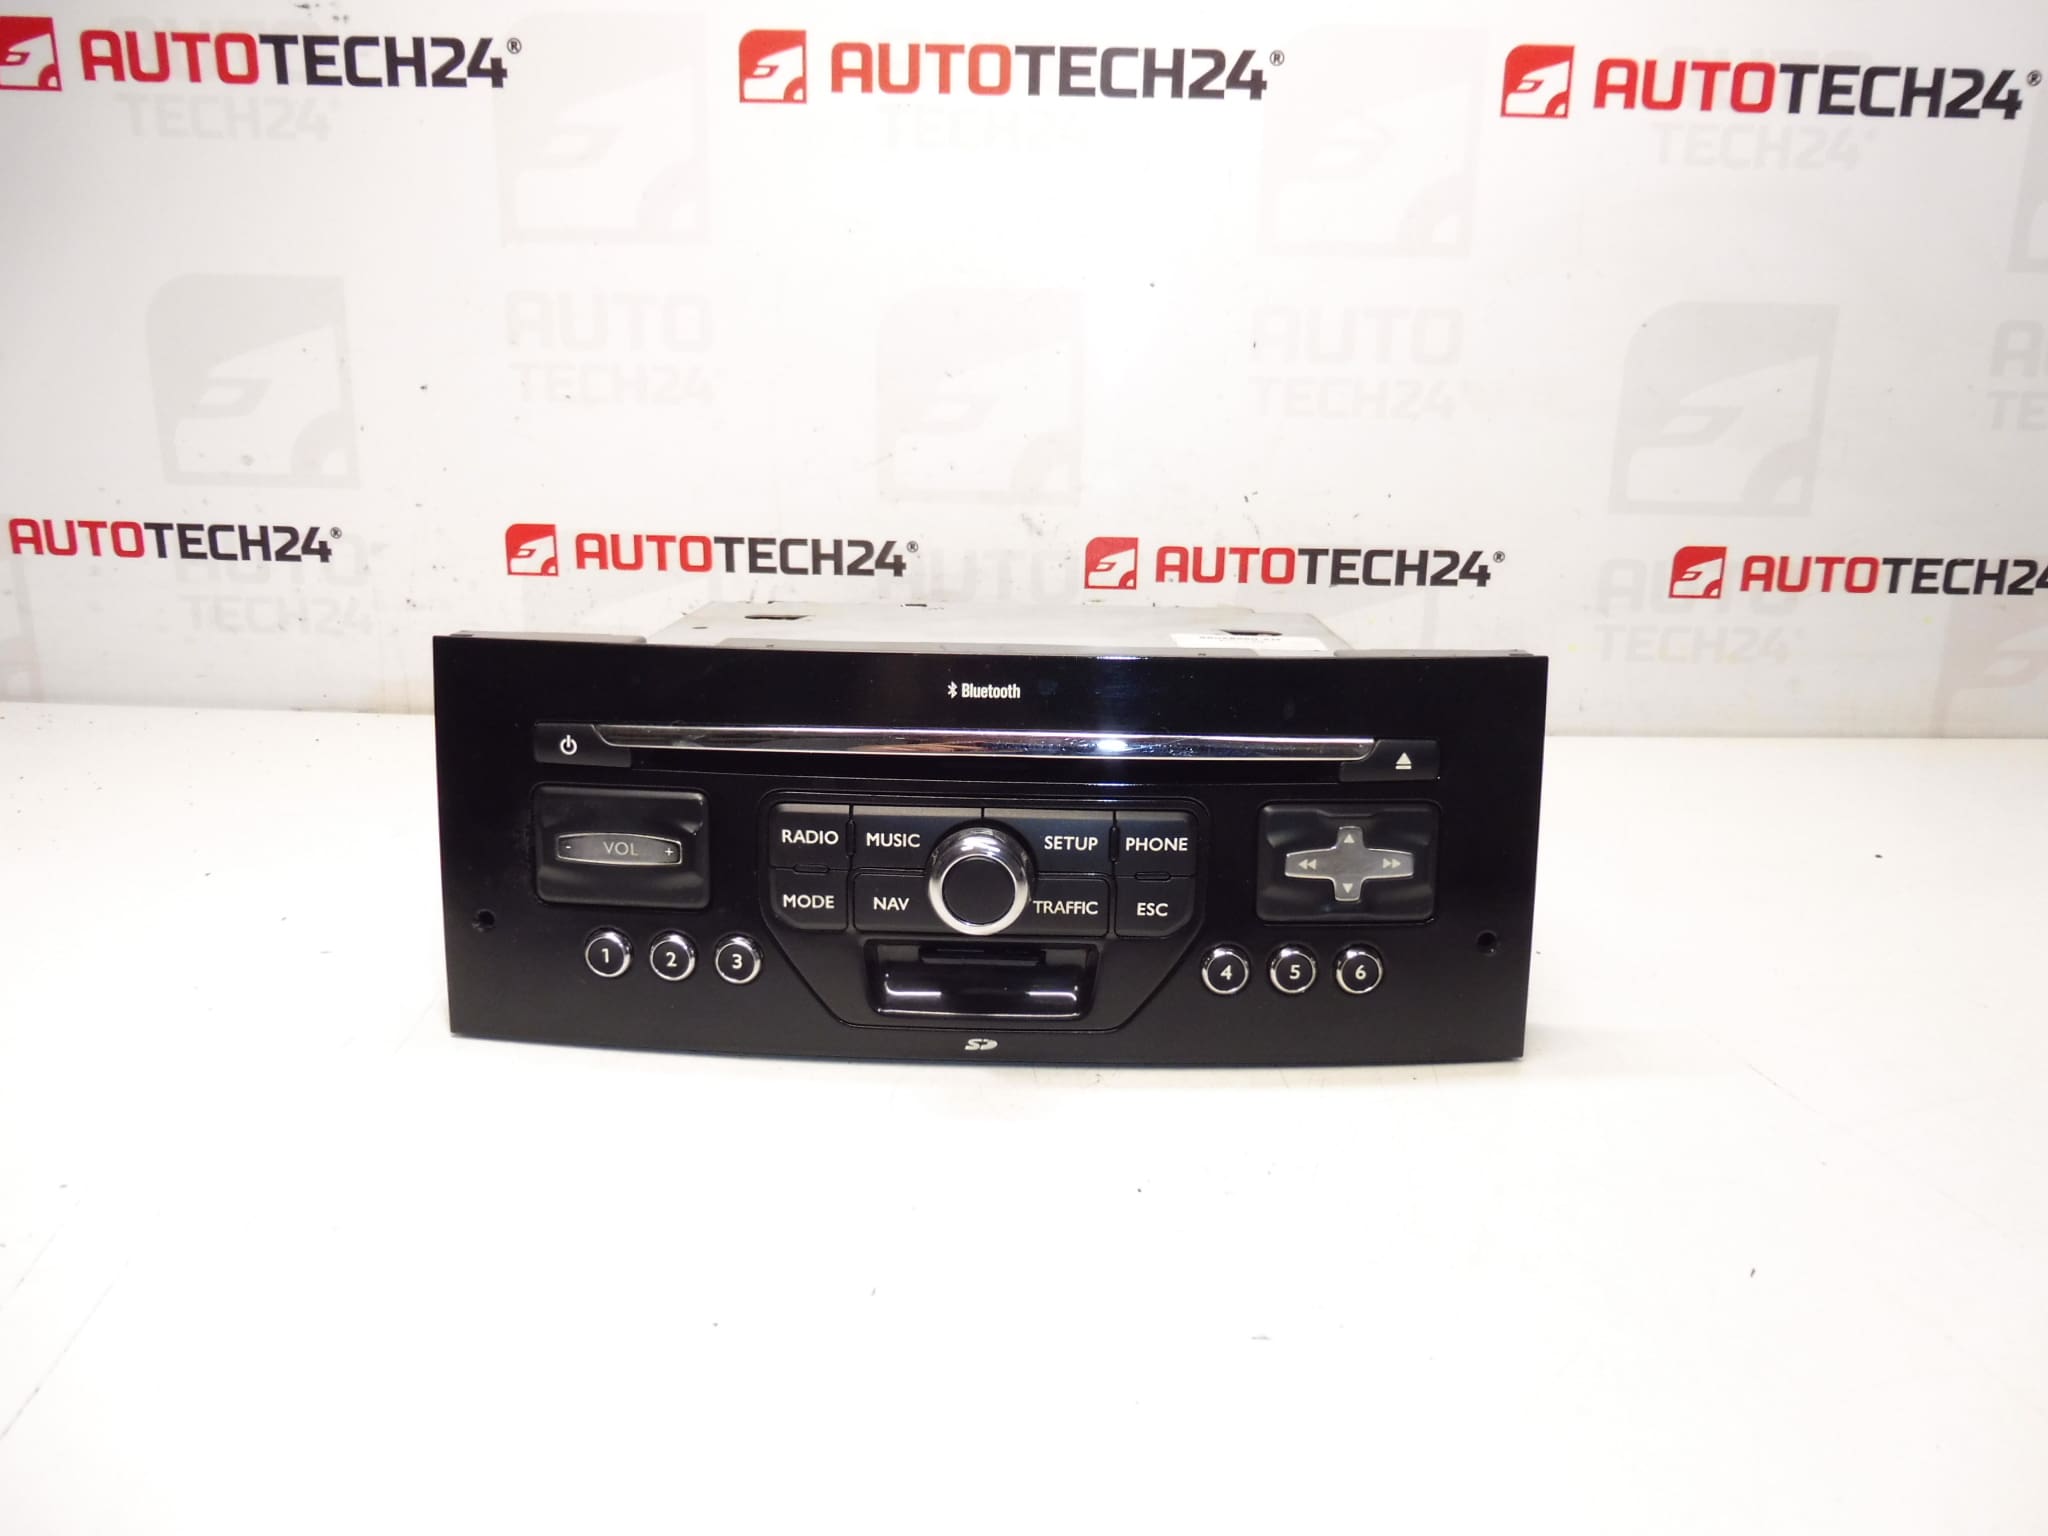
RNEG car radio with CD, MP3, BLUETOOTH and navigation for PEUGEOT 407 cars
The radio must be added to the car through diagnostics
Part description
This used RNEG car radio is a good choice when replacing a non-functional unit (e.g. audio dropouts, non-functional CD drive, BT or navigation issues). This is an original part for Peugeot 407 which combines radio, CD/MP3 playback, Bluetooth and navigation in one device.
Since it is an electronic module linked to the car’s configuration, be aware that after installation the unit needs to be uploaded/added to the car by diagnostics in order to communicate correctly with the vehicle’s system.
Technical information
- Manufacturer: Stellantis (Citroën/Peugeot)
- Model: Peugeot 407
- Other numbers: 16065644XN
Product codes
- Product codes: 98058960XN, 16065644XN, 6579N7
Installation recommendations
Generally/typically, replacing a car radio/navigation unit requires careful comparison of connectors and subsequent pairing/configuration via diagnostics. The exact steps may vary depending on the equipment and model of the vehicle.
1) Before assembly
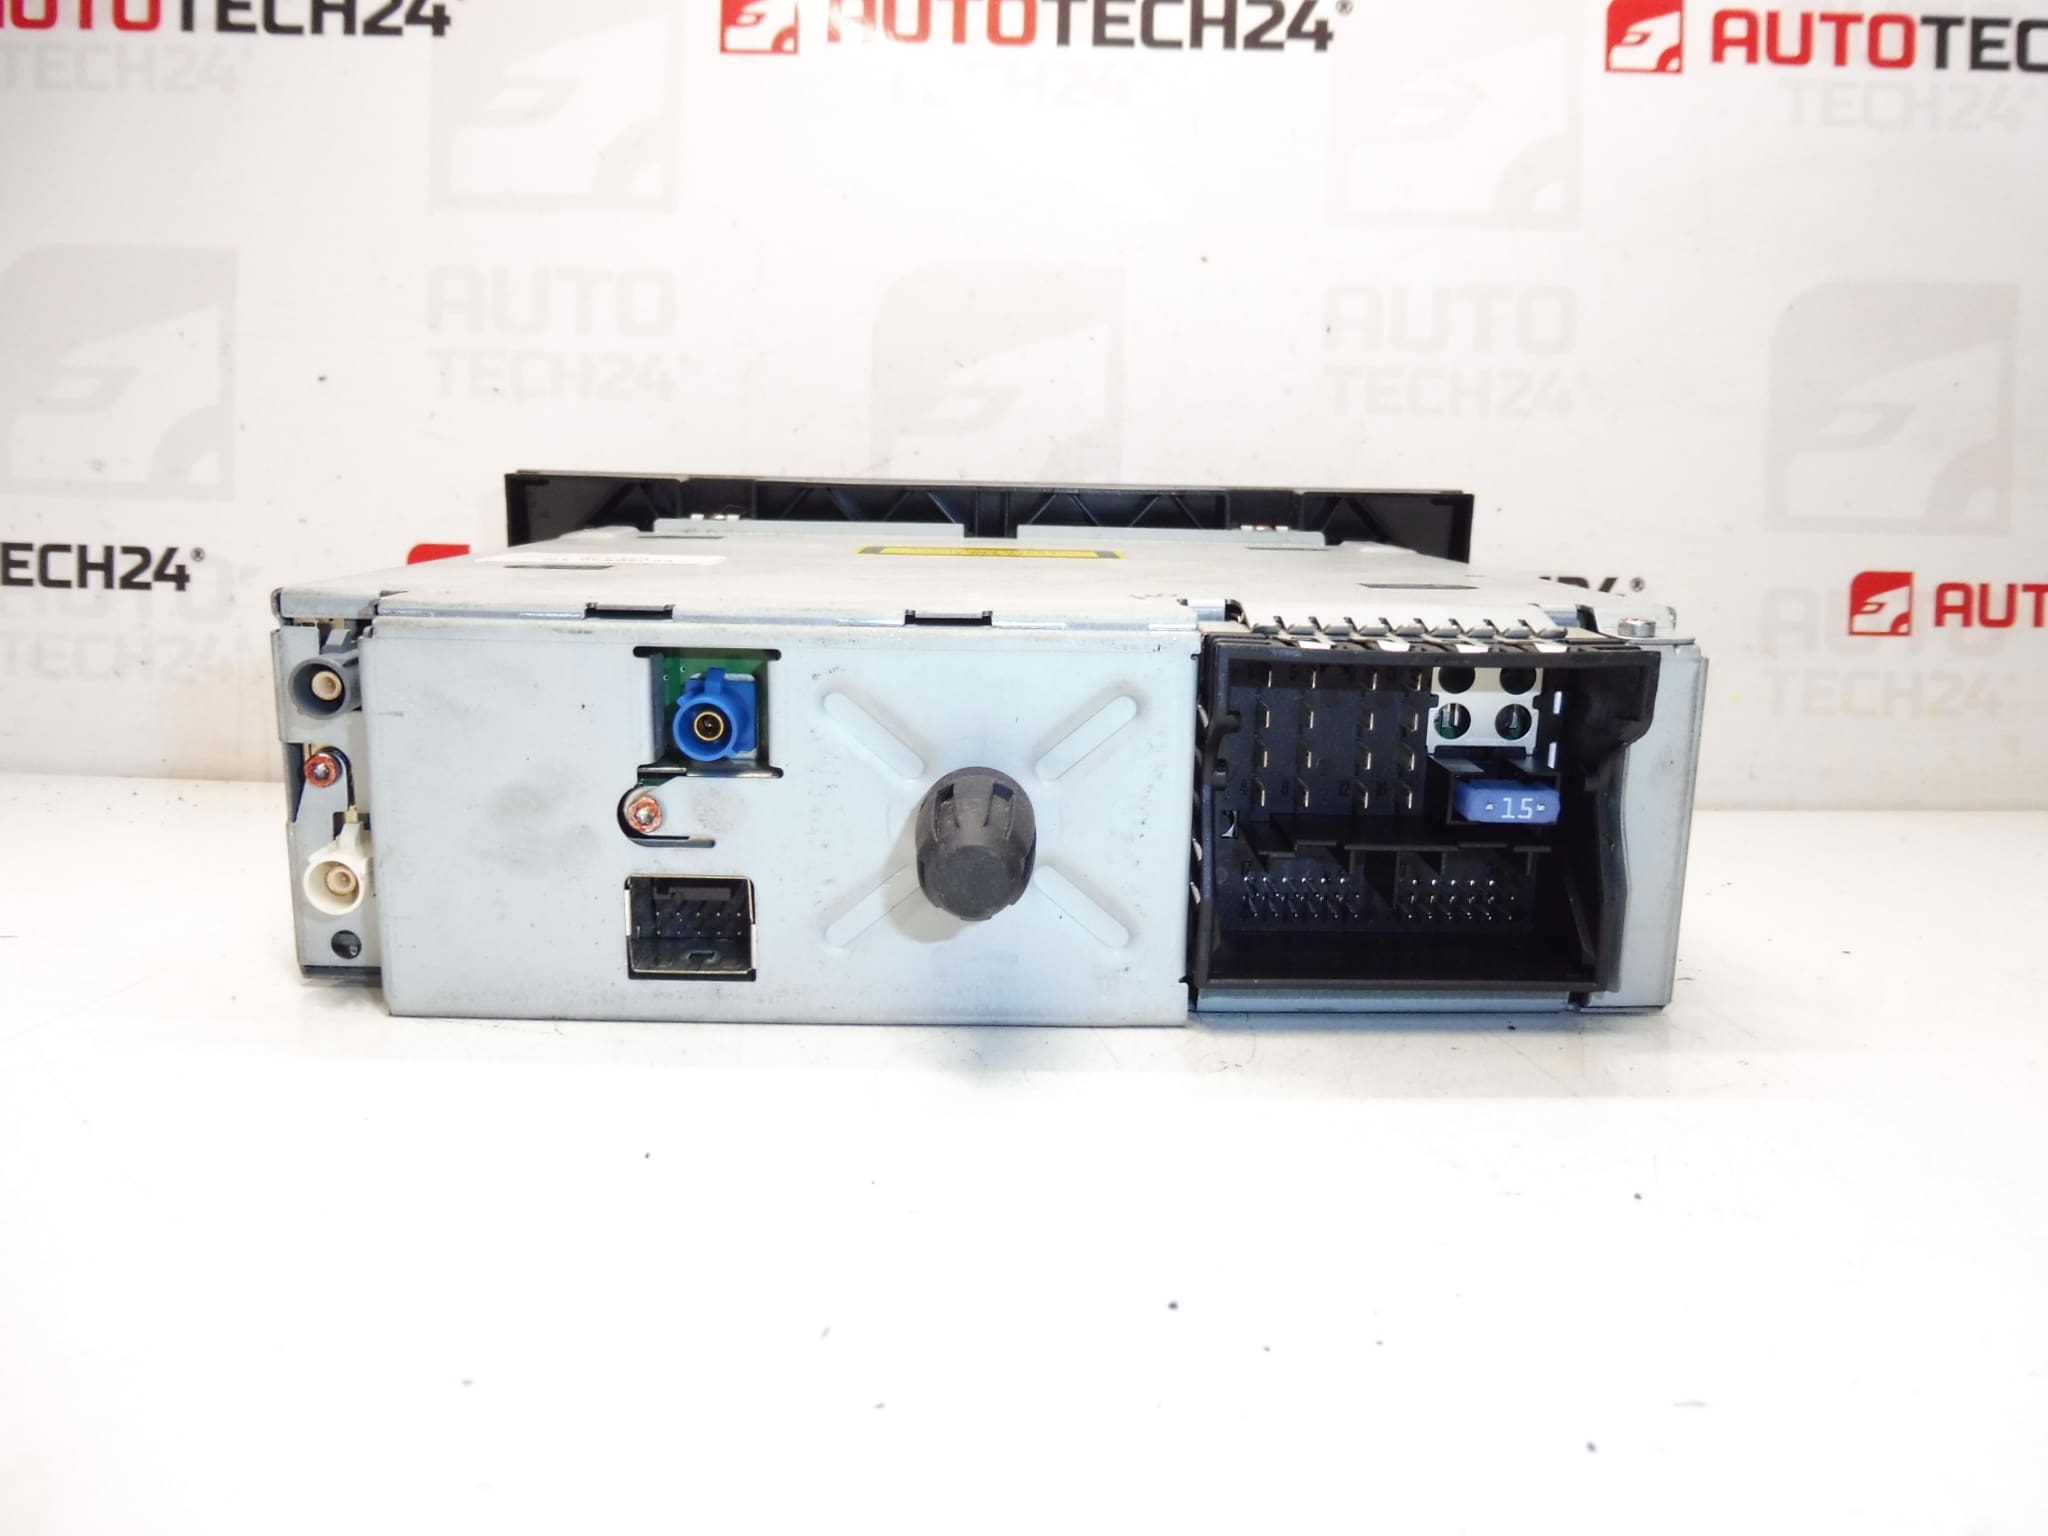
- Compare the product codes on the unit label with the old part (especially 98058960XN / 16065644XN / 6579N7).
- Check the condition of the connectors and pins (bent pins, corrosion, play), the condition of the antenna inputs and mechanical damage.
- If possible, verify that the CD drive is working smoothly and that the buttons/controls are not damaged.
2) Necessary tools and materials
- A basic set of screwdrivers and a plastic pry bar for panel removal
- Contact cleaner (as needed)
- Diagnostics for connecting the radio to the car (as required by the part)
3) Step-by-step assembly procedure
- Turn off the ignition and disconnect the battery for work safety.
- Dismantle the cover frame/dashboard trim around the unit (careful not to damage the handles).
- Unfasten the car stereo and carefully slide the unit out.
- Disconnect the electrical connectors and antenna cables – do not pull on the cables, always on the body of the connector.
- Compare the connectors and markings again with the original piece.
- Connect the connectors and antennas to the RNEG unit and check that they are properly engaged.
- Push the unit back into the hole so as not to pinch the wiring.
- Screw/fix the unit and return the removed covers/frames.
- Connect the battery and turn on the ignition.
- Perform adding (uploading) the radio to the car with diagnostics according to the service procedure.
-
4) Post-assembly checks and test drive/function verification
- Verify that the unit starts up smoothly and responds to controls.
- Try the functions: radio, CD/MP3, Bluetooth and navigation.
- When driving, verify that there are no spontaneous restarts or audio dropouts.
5) The most common assembly mistakes + how to avoid them
- Diagnostic download failed → the unit may not work properly; plan diagnostics as part of assembly.
- Damage to connectors/pins when disconnecting → always release the connector locks and do not pull on the cables.
- Pinched wiring when inserting the unit → align the harnesses and check for free movement before final seating.
Reasons why the part is damaged
- Voltage fluctuations in the on-board network (weak battery, bad charging, inappropriate disconnection/connection).
- Moisture in the dashboard and subsequent corrosion of connectors or electronics.
- Mechanical damage to connectors and cabling during previous installations.
- Wear of the CD drive and buttons during long-term use.