Description
Car radio with CD and GSM navigation RT3-N3-02 for Citroën and Peugeot cars
It is from CITROEN C8 2003, possibly C5 and PEUGEOT 807
The radio must be added to the car through diagnostics
Tested and fully functional
Part description
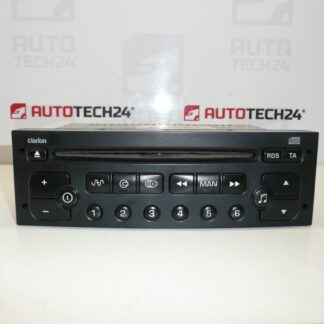
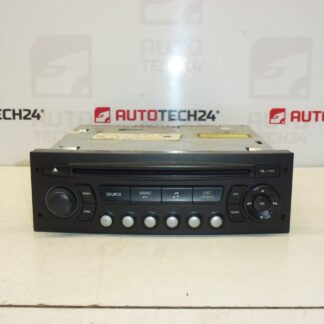
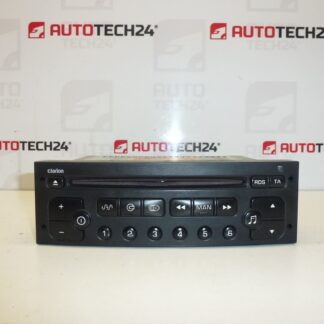
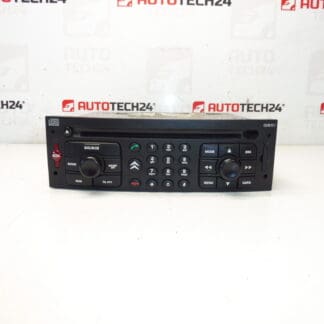
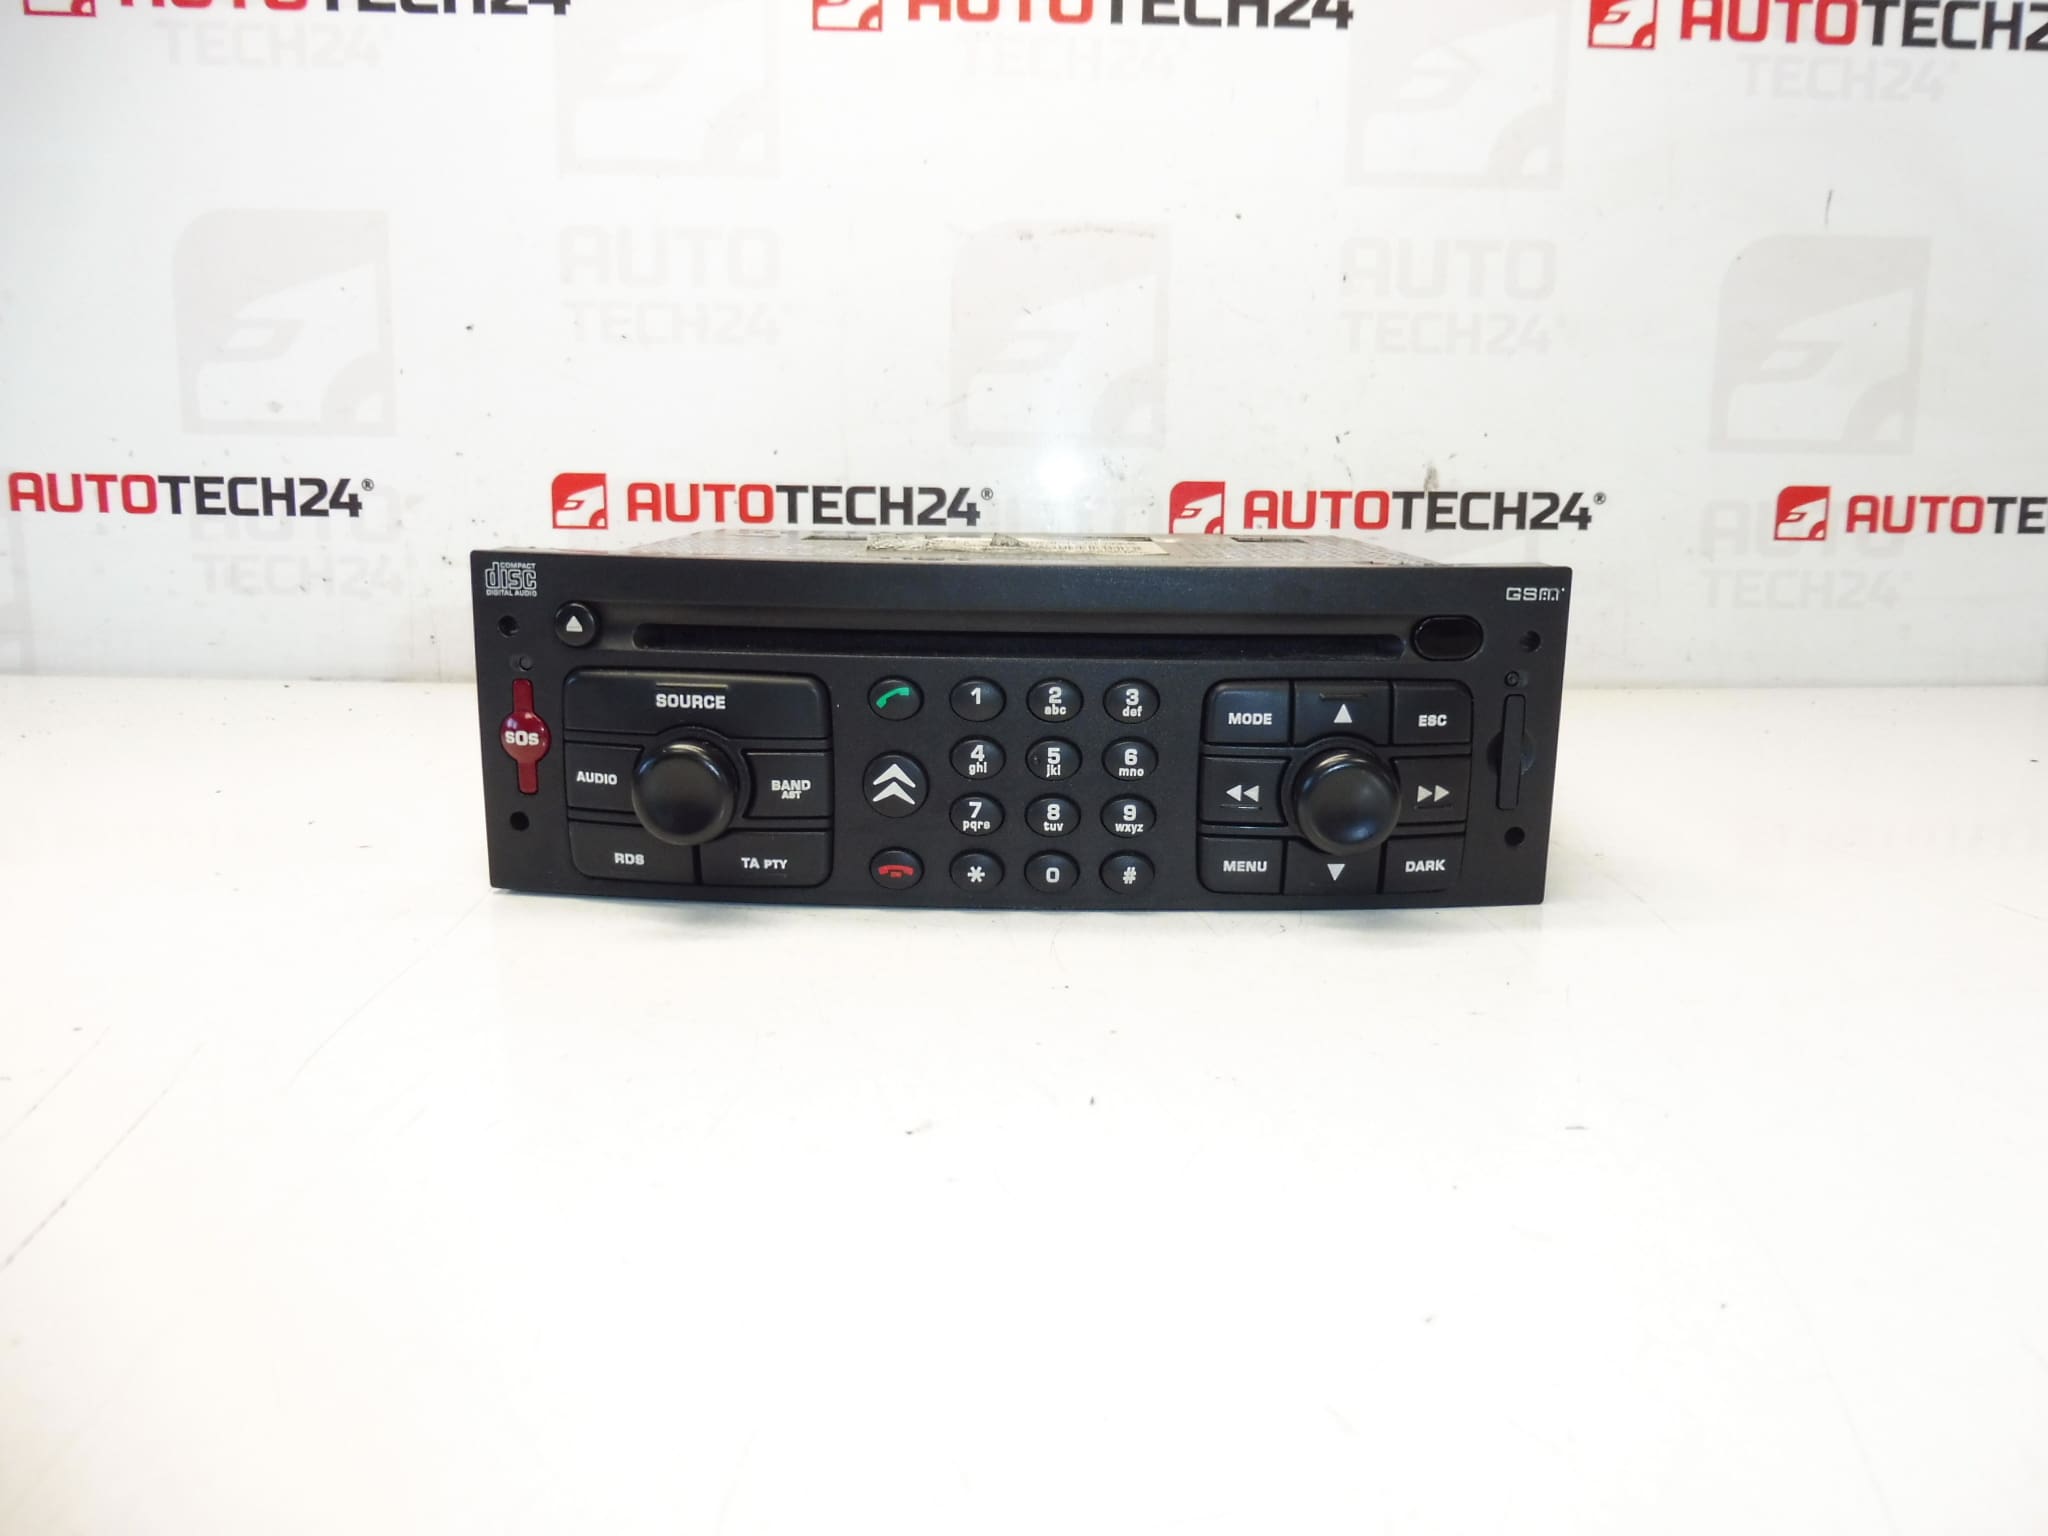
The used Magneti Marelli RT3-N3 car radio is an original electronic part designed for Citroën and Peugeot cars. It is a unit with a CD drive, GSM navigation and the designation RT3-N3-02, which is particularly sought after under the product numbers 14956410XT and 6574F1.
The part comes from a Citroën C8 2003, the documents also indicate possible use for Citroën C5 and Peugeot 807. The radio has been tested and is fully functional, which will be appreciated by both professional car repair shops and home mechanics looking for an original spare part without unnecessary compromises.
With this type of unit, it is necessary to take into account that after installation it is necessary to connect it to the car with diagnostics. That is why this model is mainly suitable for buyers who know what they are looking for according to the part designation and want to keep the original equipment of the vehicle.
Technical information
Manufacturer: Magneti Marelli
Model: RT3-N3-02
Other numbers: 14956410XT, 6574F1, NFP
Product codes
Product codes: 14956410XT, 6574F1
- Citroën C5
- Citroën C8
- Peugeot 807
Installation recommendations
With this car radio, it is necessary to add it to the car through diagnostics. The procedure below is therefore a combination of data from the documents and general practice typically applicable to the replacement of the original car radio / multimedia unit in cars of this category. The exact steps may vary depending on the specific car model.
1) Before assembly
- Check that the designation RT3-N3-02 and the product numbers 14956410XT / 6574F1 match the old part.
- Compare the connectors, mounts, front panel and overall condition of the unit with the old car radio.
- Check that there is no damage to the display, buttons, connector pins or mechanical parts of the case.
- Before the work itself, it is advisable to have the necessary diagnostic equipment ready for the subsequent transfer of the unit to the car.
2) Necessary tools and materials
- Basic set of hand tools
- Plastic pry bar for panel removal
- Suitable disassembly tools for removing the car radio
- Clean cloth for cleaning the connectors and around the assembly
- Vehicle Compatible Diagnostics for Radio Upload
3) Step-by-step assembly procedure
- Turn off the ignition and disconnect the battery before starting work, if this corresponds to the normal service procedure for the vehicle.
- Carefully dismantle the surrounding trim so as not to damage the plastic parts of the interior.
- Remove the original car radio using suitable tools or removal keys.
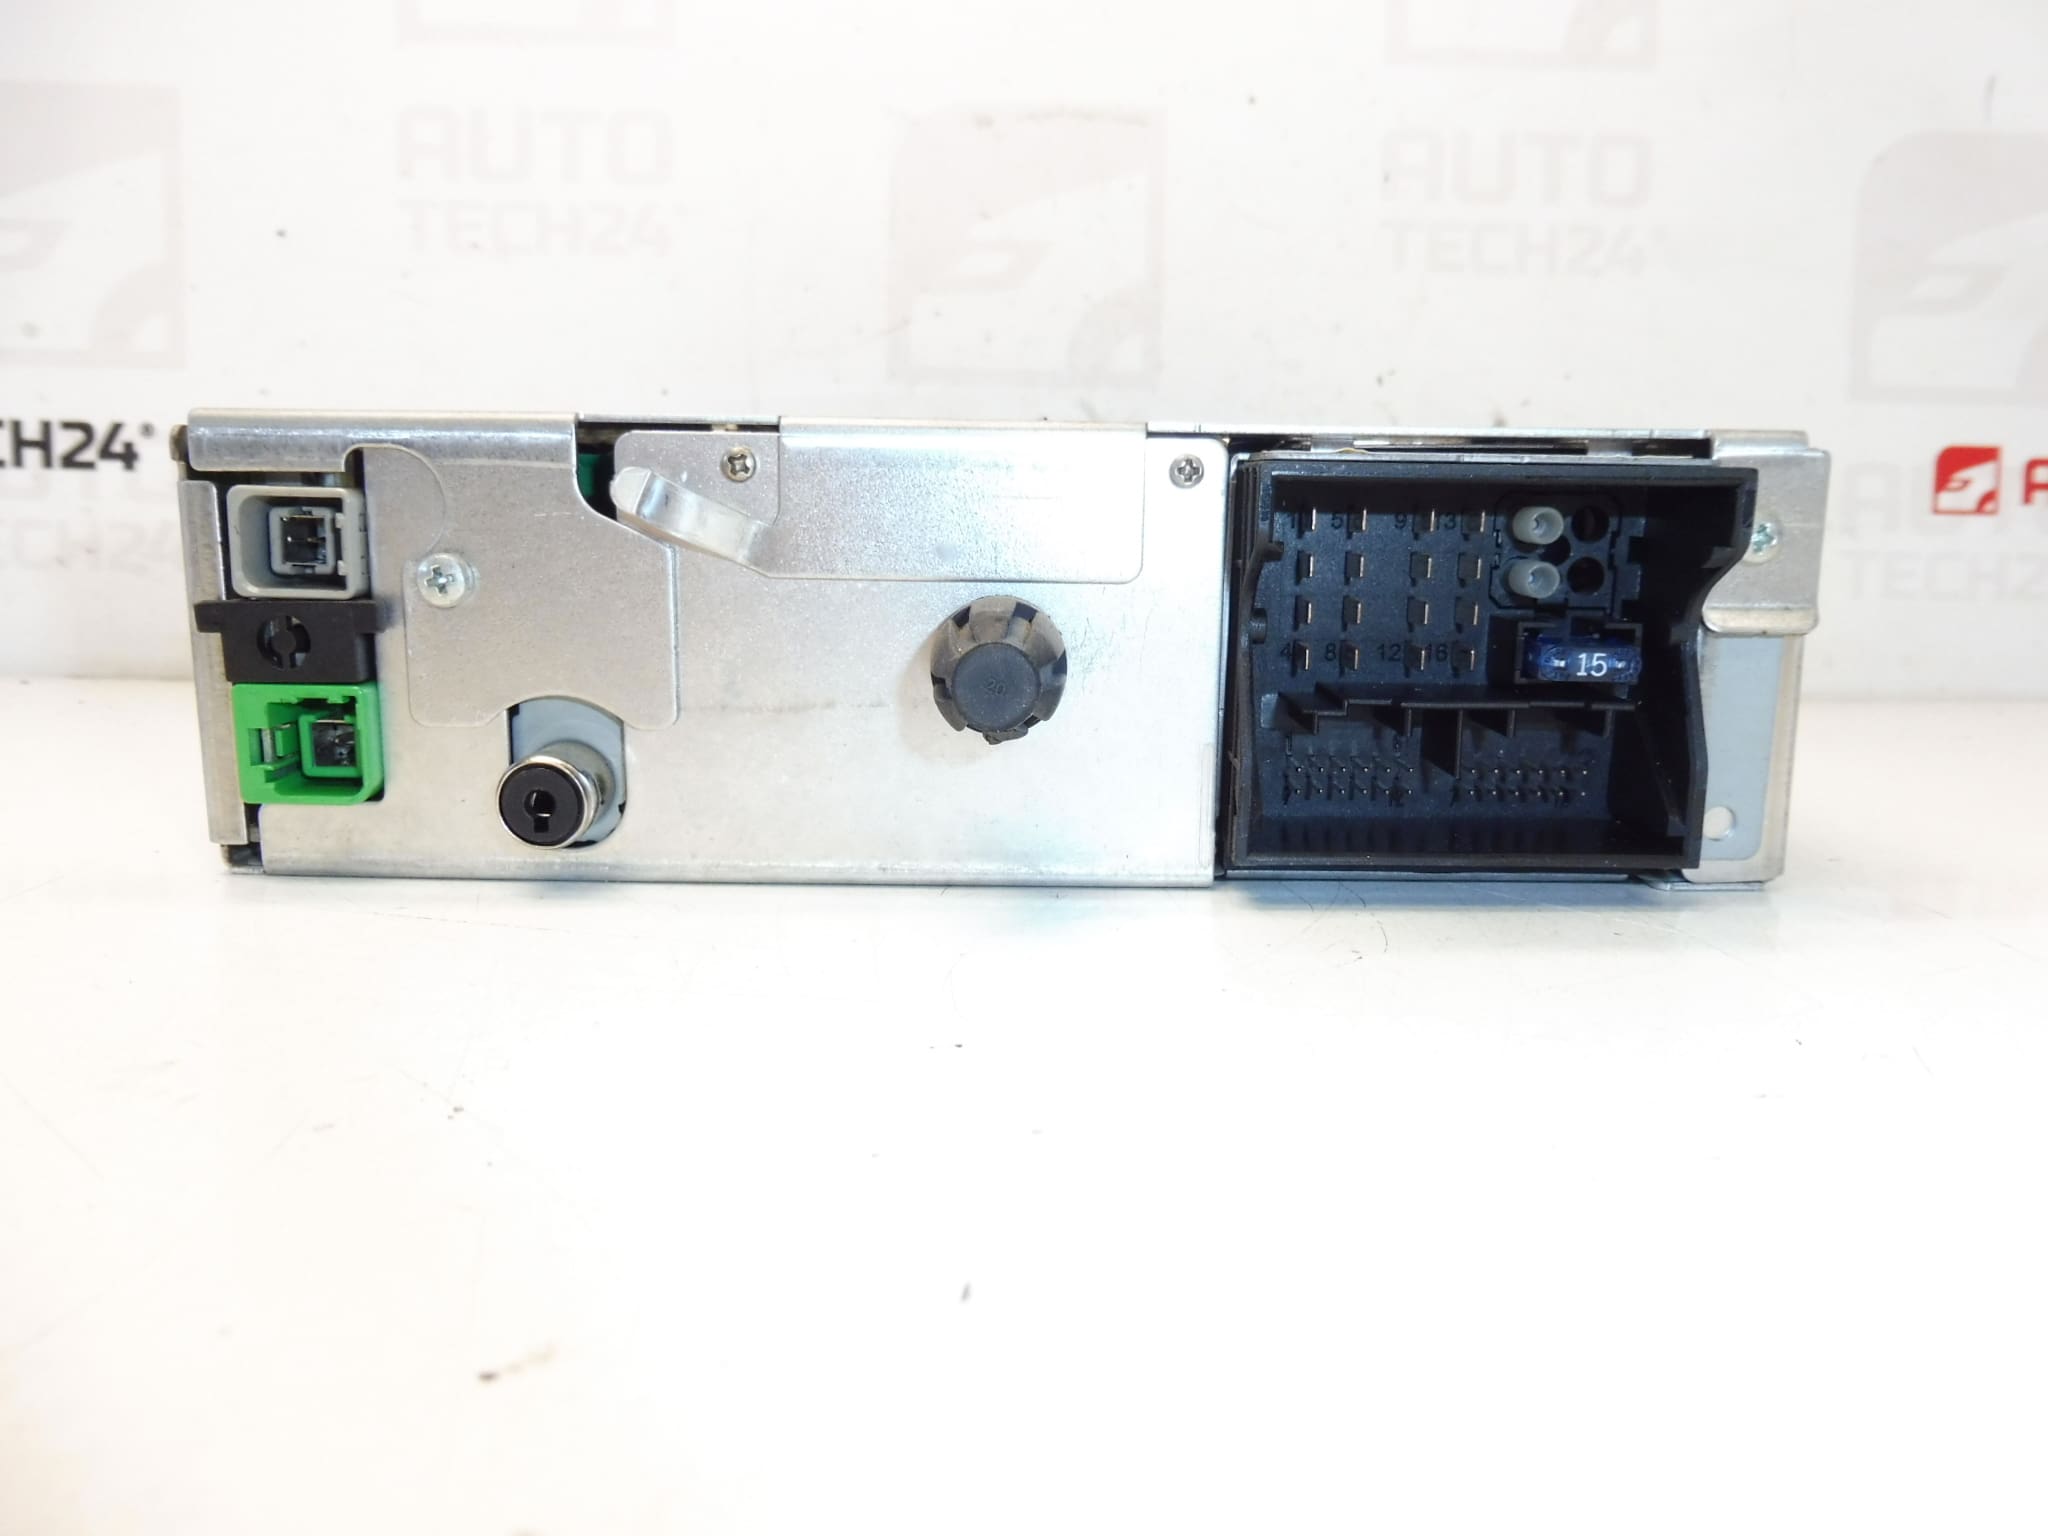
- Disconnect all connectors and any antenna or data leads from the old unit.
- Compare the old and new part side by side, especially according to the label, connectors and design.
- If dirty, gently clean the connectors and check that they are not loose or mechanically damaged.
- Connect the connectors to the used RT3-N3 car radio and check that they are properly seated without excessive force.
- Insert the unit into the mounting position and check that the wiring is not pressing anywhere before final fixing.
- Perform basic wiring and restore vehicle power as usual.
- Use the diagnostics to play the radio to the car as described in the documents.
- After successful assignment, check the unit’s power-on, button response, sound output, CD drive and availability of navigation functions, if they are used in the car.
- After verifying the function, refit the interior trim.
-
4) Post-assembly checks and functional test verification
- Check that the radio turns on correctly and does not display error behavior when connected to the car.
- Verify operation of controls, CD playback and basic system response.
- If navigation or GSM functions are used in the car, check their availability according to the vehicle equipment.
- Listen to see if the sound is clear without dropouts, interference or intermittent power.
- Check that the unit is firmly seated in the dashboard and does not vibrate.
5) The most common assembly mistakes + how to avoid them
- Part swapping based on similar appearance – always compare exact codes and unit designations.
- Damage to connectors when plugging in – never push the connectors with force and check their orientation before assembly.
- Insufficient wiring seating – check that cables are not pinched before inserting the radio.
- Omission of diagnostic assignment – for this part, according to the documents, it is necessary to add the radio to the car with diagnostics.
- Rash assembly without preliminary test – always verify the basic functions of the unit before final assembly of the dashboard.
Reasons why the part is damaged
- Wear of electronics due to age and long-term operation
- Frequent removal and reassembly which may damage connectors or front panel
- Voltage fluctuations in the vehicle’s on-board network
- Moisture, condensation or dirt inside the interior
- Mechanical damage during careless handling or disassembly
- Wear of CD drive and control buttons due to normal use