Description
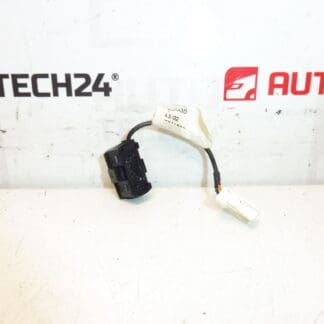
Microphone for handsfree for Citroën and Peugeot vehicles
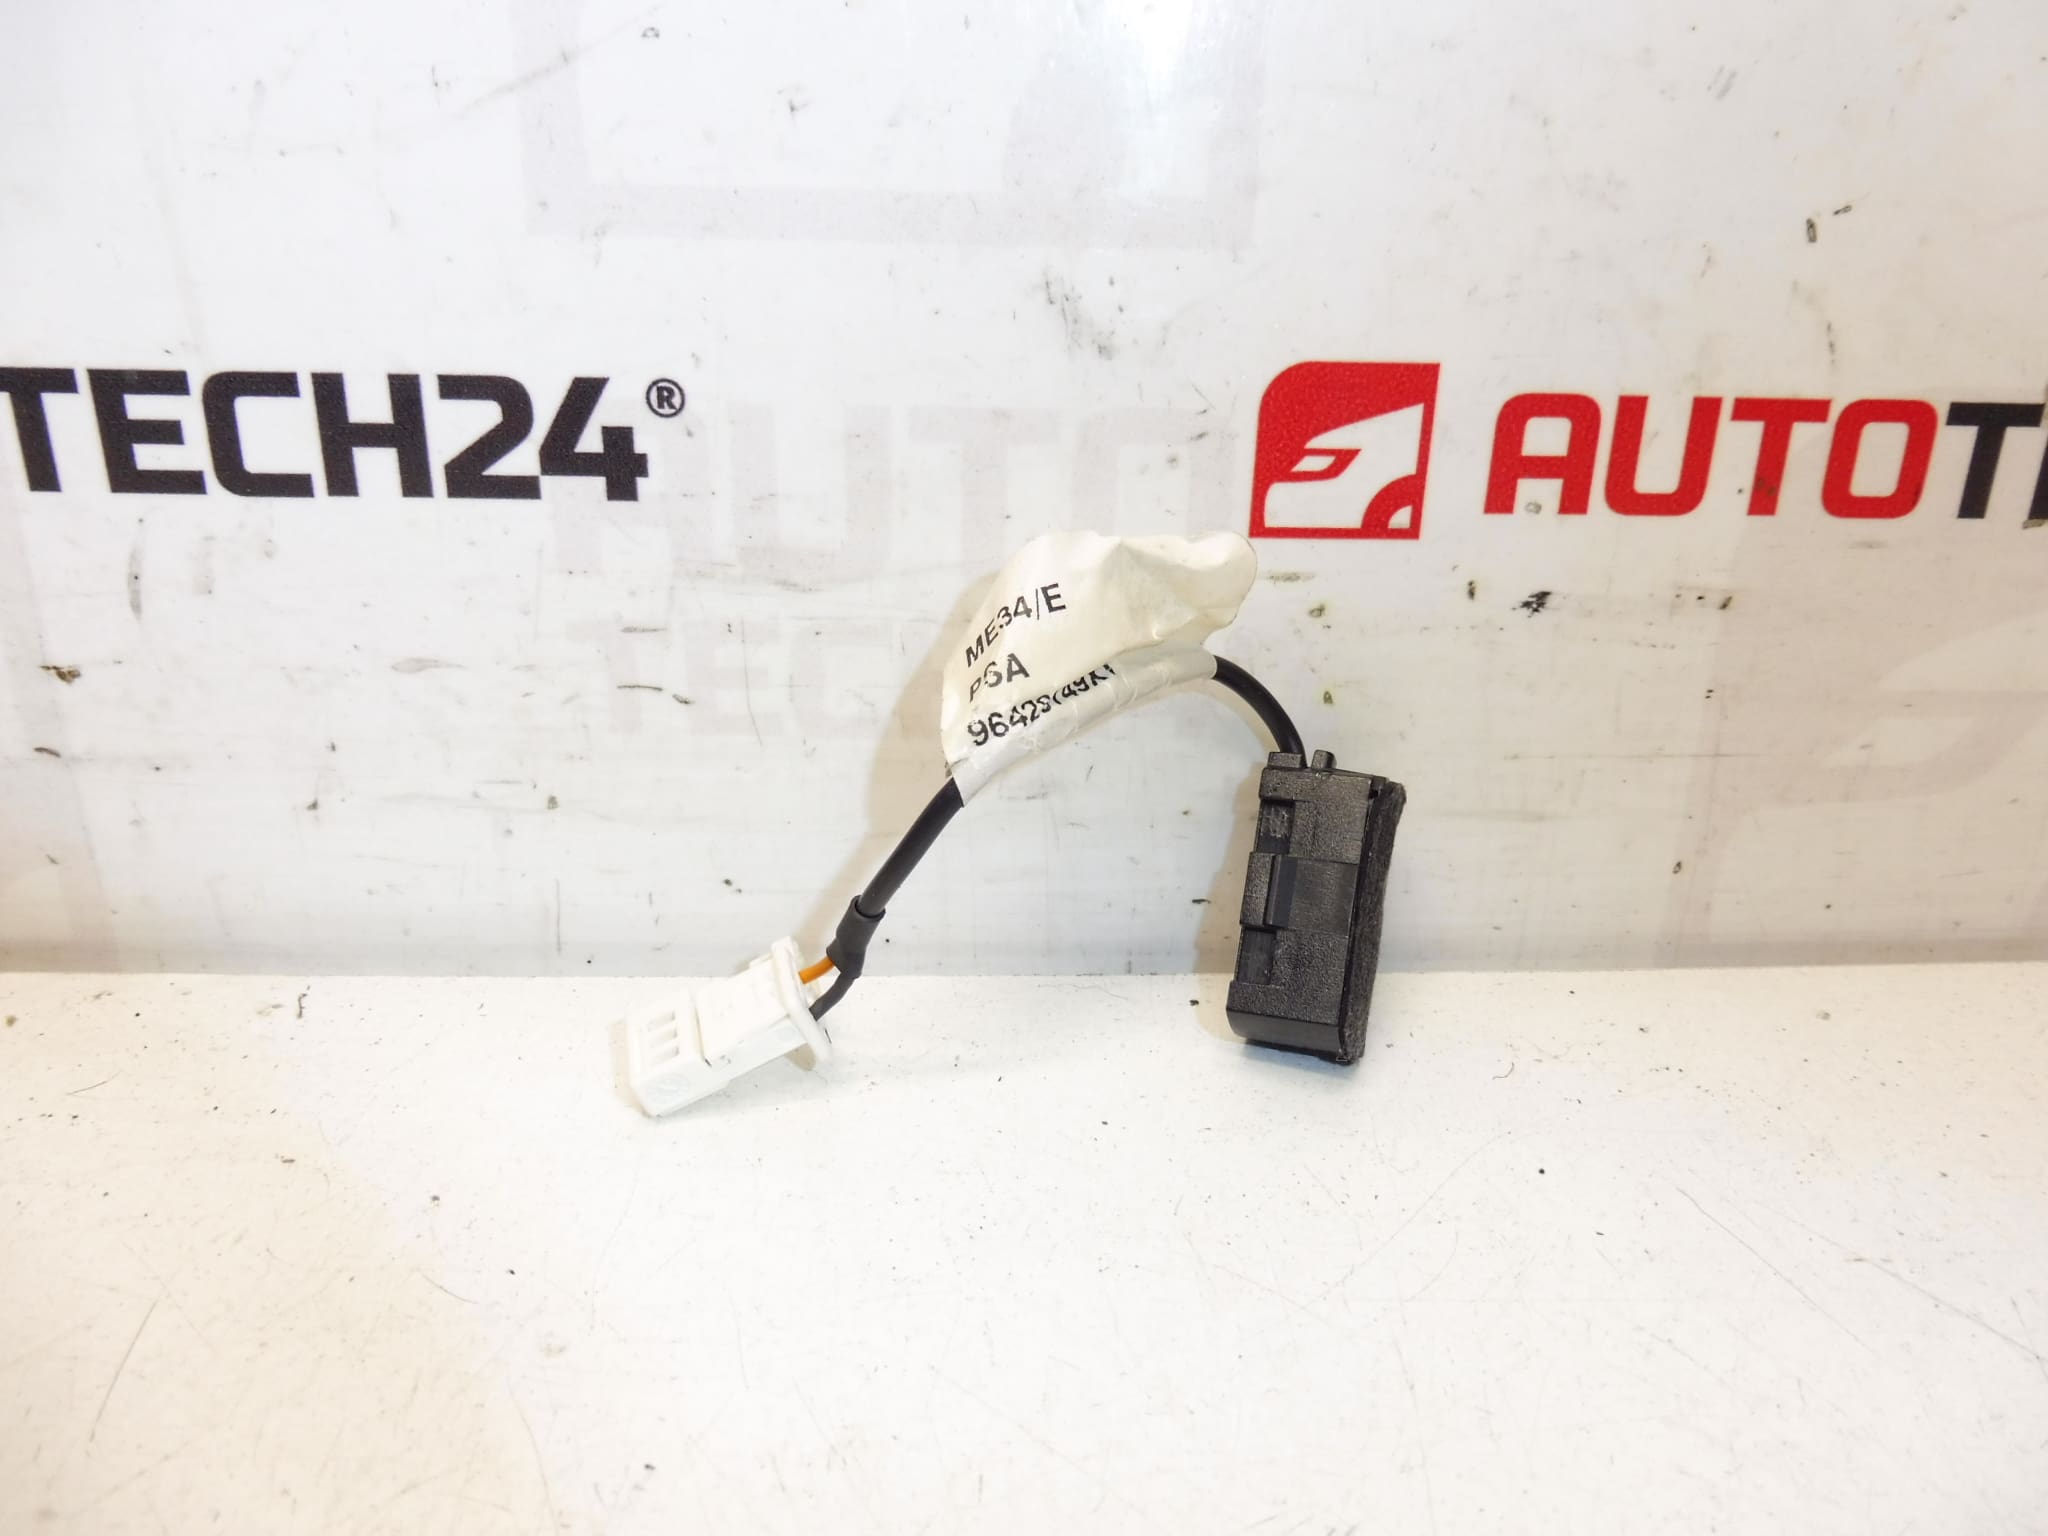
High-quality OEM-style handsfree microphone designed for Citroën and Peugeot passenger cars. Ideal for workshops and DIY mechanics who need a reliable replacement part that restores clear voice transmission for in-car telephone and voice-control systems. This microphone matches factory fitment and acoustic characteristics to minimise background noise and ensure stable performance with original infotainment units. Frequently searched by product code 96429749XT or 6563L5 — include the code in your search to find the exact fit.
Application And Fit
This microphone is commonly fitted to Citroën C8 and Peugeot 807 models and is used in factory handsfree/infotainment systems. It is normally mounted in the overhead console or roof lining near the interior lighting module, depending on the vehicle equipment level. The part is compatible with original wiring harnesses and is intended as a direct replacement for the listed product codes.
Technical information
- Manufacturer: Stellantis / Citroën / Peugeot
- Model: Citroën C8, Peugeot 807 (common fitments)
- Product Codes: 96429749XT, 6563L5
- Additional Numbers: NFP
Installation And Replacement
Replacement is straightforward for experienced technicians: remove the overhead console or interior light unit to access the microphone module, unplug the original connector and unclip the microphone from its mounting. Fit the new microphone, reconnect the harness and reassemble the console. After installation, test the handsfree function to confirm clear audio pickup.
Mounting Recommendations
- Always disconnect the vehicle battery before starting work to avoid short circuits and unintended system behaviour.
- Handle the microphone element carefully—avoid touching the capsule or foam that protects the membrane.
- Ensure connectors and clips are fully engaged and that wiring is routed away from moving parts and sharp edges.
- If the vehicle has additional roof modules (lights, sunroof controls), remove them according to manufacturer guidance to prevent damage to trim and retainers.
Why This Part Fails Most Often
- Moisture Ingress: Water leaks or high humidity can corrode contacts or degrade the microphone diaphragm and protective foam.
- Physical Damage: Impact or pressure during interior repairs can deform the capsule or break mounting clips.
- Wiring And Connector Issues: Corroded or broken wires and poor connector contact lead to intermittent or no audio signal.
- Age-Related Degradation: Over many years the acoustic foam and internal components can deteriorate, reducing sensitivity and clarity.
This microphone is a practical replacement for restoring clear handsfree communications. Always confirm the product codes printed on your original part before installation to ensure correct fitment.