Description
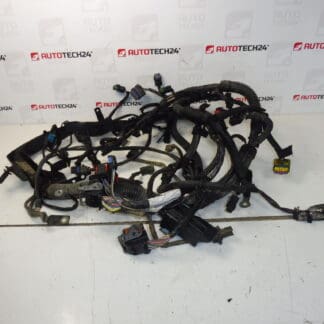
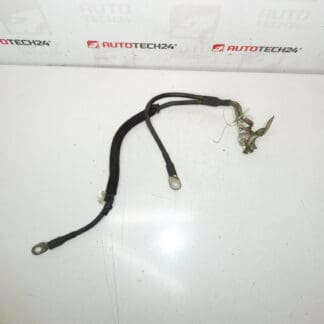
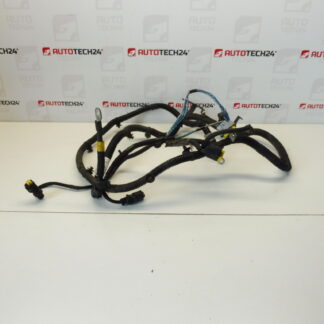
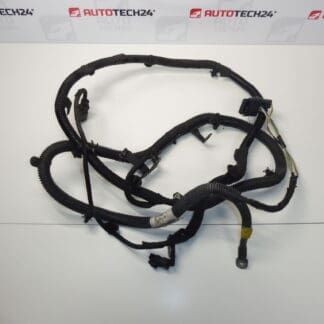
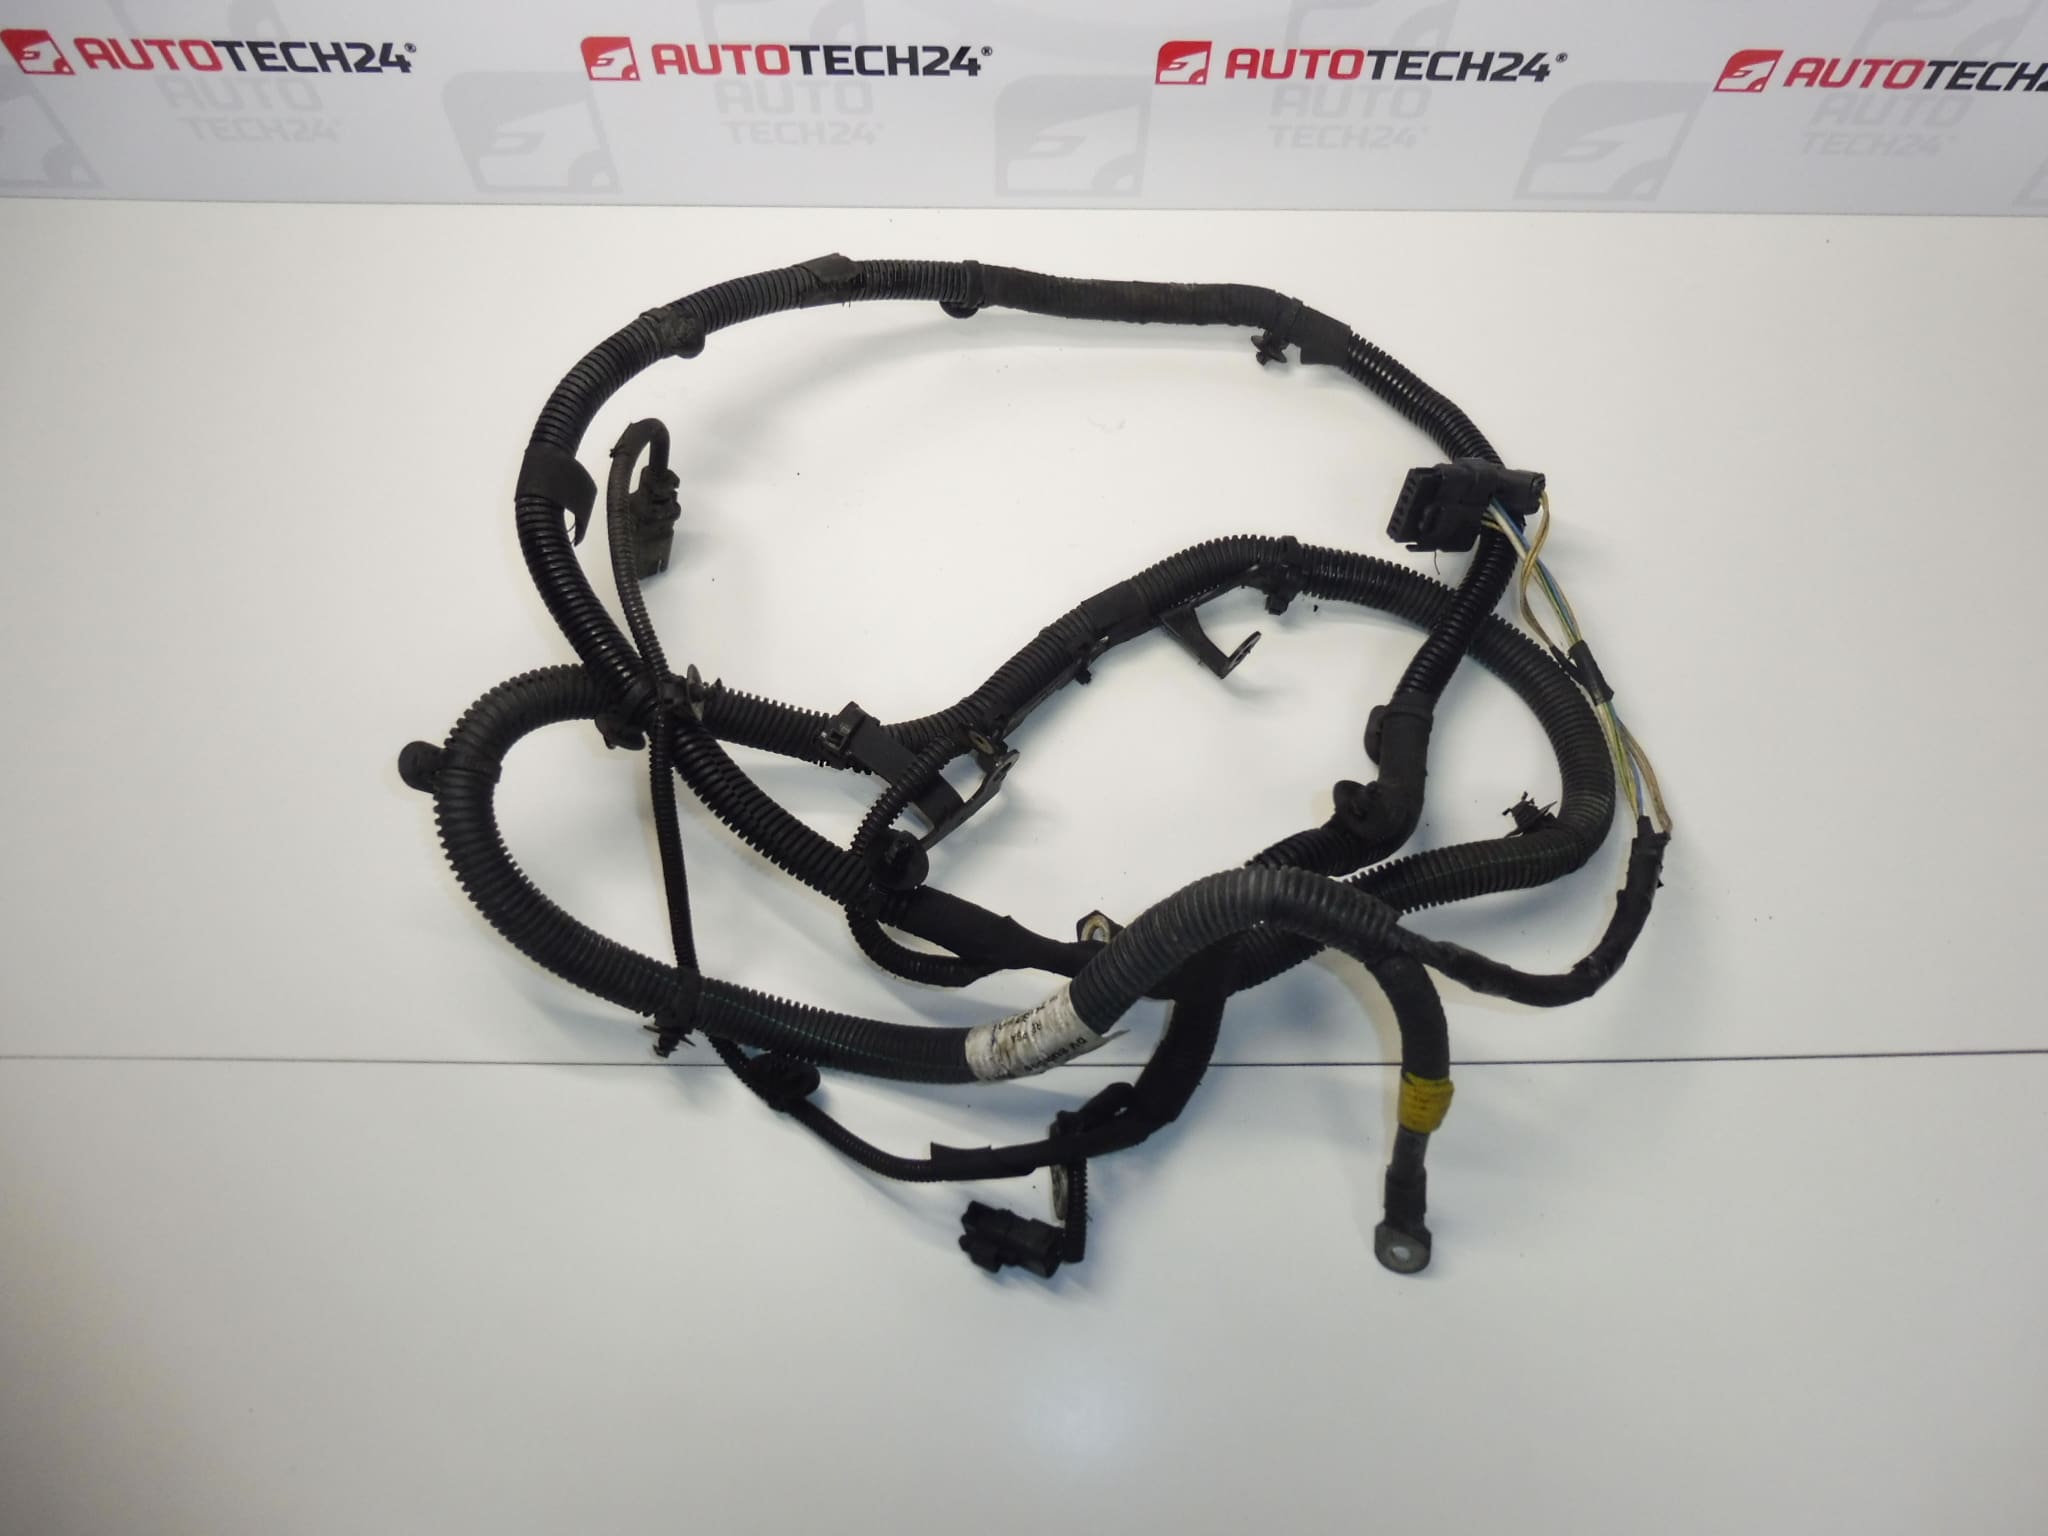
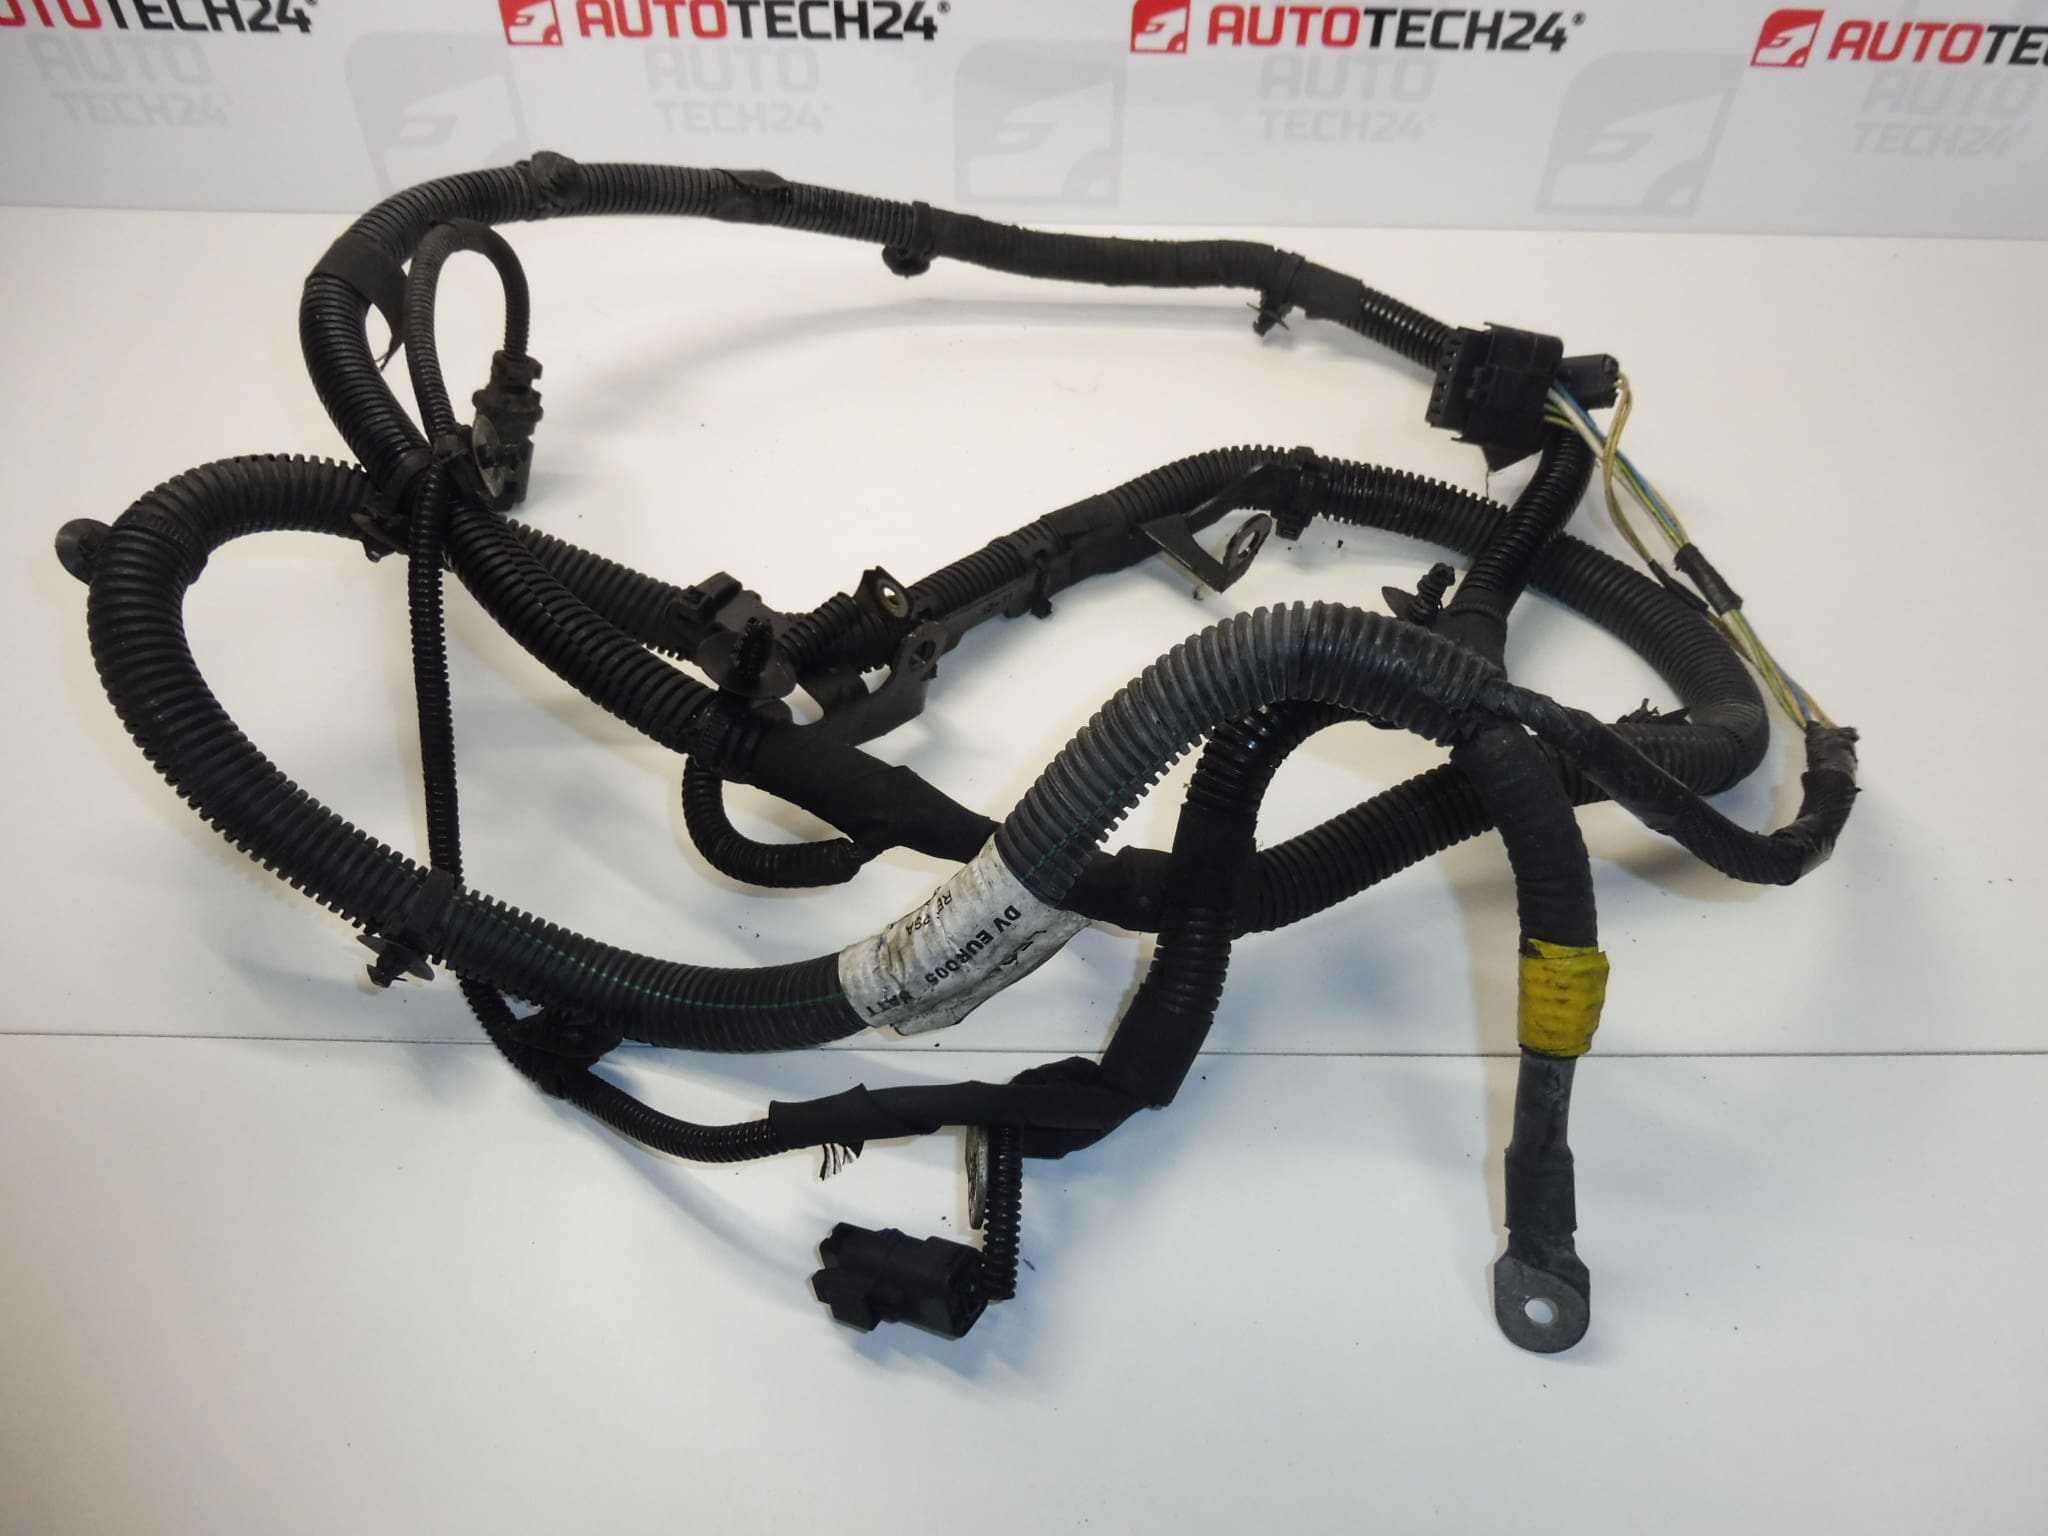
Complete positive engine harness from battery for CITROEN PEUGEOT 1.6 eHDI EURO 5 cars
Part description
Used positive battery cable – engine wiring harness for Citroën and Peugeot cars with the 1.6 eHDI EURO 5 engine. It is used to conduct the positive power supply from the accumulator to the connected electrical circuits. It is a suitable choice when replacing a damaged bundle, for example due to broken insulation, corroded contacts or overheated connections.
When looking for a spare part, the designations 9673369380 and 564635 are especially important. Before choosing, also compare the design of terminals, cable lugs, connectors and branching with the original bundle. The same car model does not necessarily mean the same wiring design.
Technical information
- Manufacturer: not specified; in the documents the label Stellantis CITROEN PEUGEOT.
- Model: Citroën Berlingo B9, Citroen C4 II, Peugeot 308, Peugeot Partner Tepee.
- Engine according to documents: 1.6 eHDI EURO 5.
- Part Type: complete positive motor harness from battery.
- Condition: used part.
- Other numbers: not specified.
Product codes
- Product codes: 9673369380, 564635.
Compare the numbers with the designation of the original part and at the same time check its physical design.
Installation recommendations
Generally for this type of part: the positive battery pack requires careful power disconnection, proper wiring, and clean, tight contact connections. The following procedure is general; the exact steps, access to the connections and the procedure for disconnecting the battery depend on the specific model and make of the car.
1) Before assembly
- Compare product numbers, harness length and branching, terminal shape, cable lug dimensions, connectors and attachment points to the original piece.
- Inspect the insulation along the entire available length, especially at bends, at terminations and at attachment points. Look for cracks, gouges, melt marks or exposed wires.
- Check the contact surfaces and cable terminations. Loose, severely corroded or thermally damaged joints are not suitable for assembly without a professional assessment.
- Find out the cause of the damage to the original volume so that the fault does not recur after the replacement.
2) Necessary tools and materials
- Common hand tools corresponding to the joints used and a suitable torque wrench for tightening according to the manufacturer’s service data.
- Tools for gently releasing clips and covers.
- A product suitable for cleaning electrical contacts, a clean cloth and protective equipment.
- A multimeter for basic electrical checks and a means of documenting the original wiring.
3) Step-by-step assembly procedure
- Secure the vehicle against movement, switch off the ignition and all electrical appliances. Follow the manufacturer’s procedure for putting the electronics to sleep before disconnecting the battery.
- Disconnect the battery according to the car’s service procedure. In general, the negative pole is disconnected first, then the positive; secure the disconnected terminals against unwanted contact.
- Document the routing of the original bundle, the position of the individual branches and the method of attachment. Mark the connections that could be confused.
- Remove access covers and brackets as needed. Proceed carefully to avoid damaging the surrounding cables and clips.
- Disconnect the individual ends of the original bundle. Release the connectors via their fuses, not by pulling on the wires.
- Release the harness from its attachment points and remove it without bending it violently or catching it on surrounding components.
- Compare both volumes side by side. Clean and inspect opposing contact surfaces; resolve damaged connection points before installation.
- Save the replacement volume according to the original route. Keep away from hot, moving and sharp parts and do not leave cables taut.
- Connect all the ends, secure the connectors and fasten the bundle at the specified points. Tighten the screw connections according to the vehicle manufacturer’s specifications, without overloading the clamps and cable lugs.
- Replace the protective covers and check that no positive conductive part can come into contact with the body or other earthed part.
- Connect the battery according to the manufacturer’s procedure. Generally, the positive pole is connected first and then the negative; then perform the prescribed actions after power is restored.
-
4) Post-assembly checks and function verification
- Verify the firmness of the attachment, the covering of the positive contacts and the free routing of the wiring without pinching.
- Check the starting and function of the connected electrical circuits. If transient resistance is suspected, a professional measurement of the voltage drop under the load is appropriate.
- Watch for any smell of heated insulation, smoke or unusual heating of joints. If these symptoms occur, stop the test immediately and remove the defect.
- Do a short test drive only after a successful on-site inspection. Then, with the vehicle turned off, visually check the wiring and attachment of the harness again.
5) The most common assembly mistakes and how to avoid them
- Working with a connected battery: there is a risk of a short circuit of the positive line to the frame. Always disconnect power safely before starting work.
- Mounting on dirty or corroded contacts: increases resistance and may cause heating. Clean the contact surfaces before connecting and assess their condition.
- Insufficient or excessive tightening: leads to loosening or damage to the joint. Follow the manufacturer’s service data.
- Incorrect cable routing: can cause penetration or thermal damage. Follow the original guidelines and use the designated attachment points.
- Overlooking the cause of the original fault: replacing the bundle alone will not eliminate the problem in the downstream circuit. Also resolve the source of damage before commissioning.
Reasons why the part is damaged
In general, the following causes of damage are most often encountered with positive battery cables and engine harnesses:
- Corrosion of contacts due to moisture and dirt, which deteriorates the electrical connection.
- Allowed connections and transition resistance, leading to local overheating of terminals and cable terminations.
- Insulation penetration due to improper attachment or long-term contact with surrounding components.
- Thermal stress and aging of the insulation, which can cause it to harden and crack.
- Mechanical damage during repairs, for example by pulling on wires, pinching or bending too sharply.
- Short circuit or excessive electrical load in the connected circuit.