Description
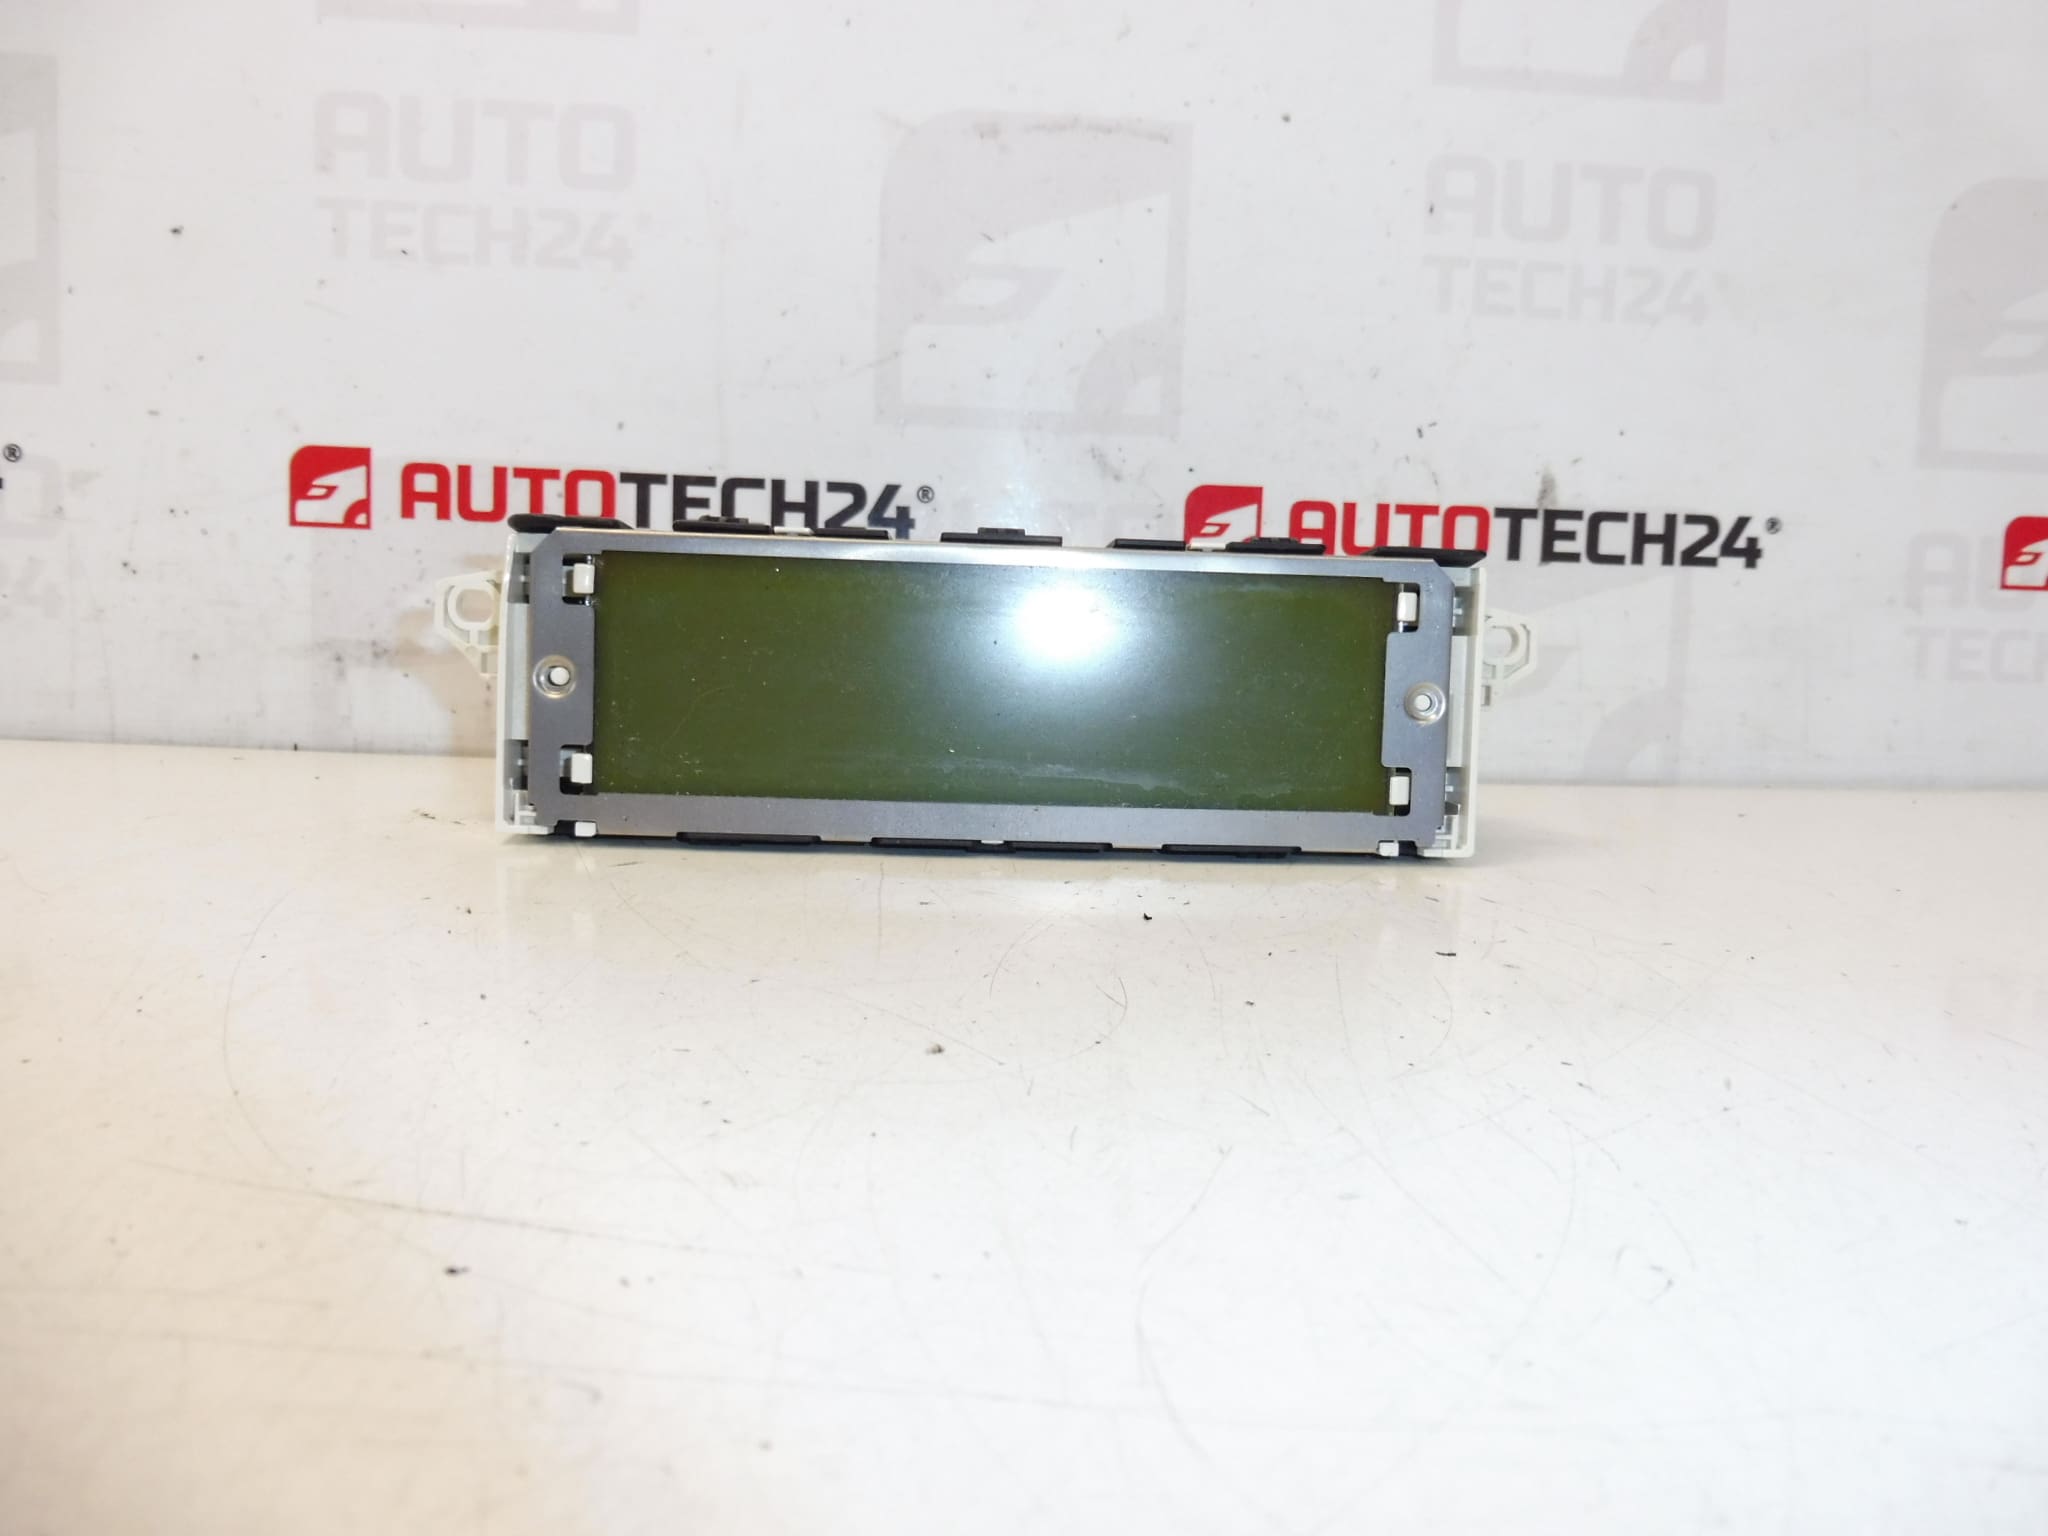
Radio and computer display for PEUGEOT 407 cars
Some of the functions may need to be activated by diagnostics
Part description
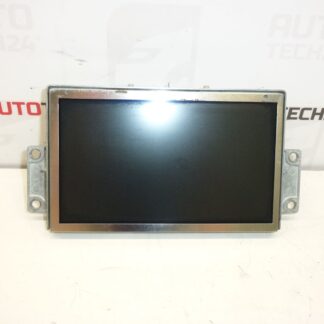
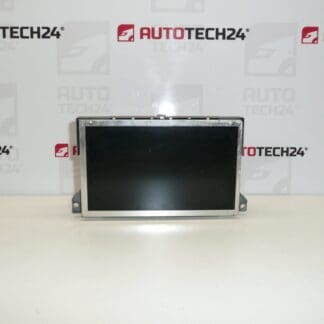
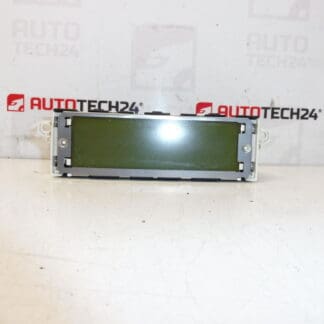
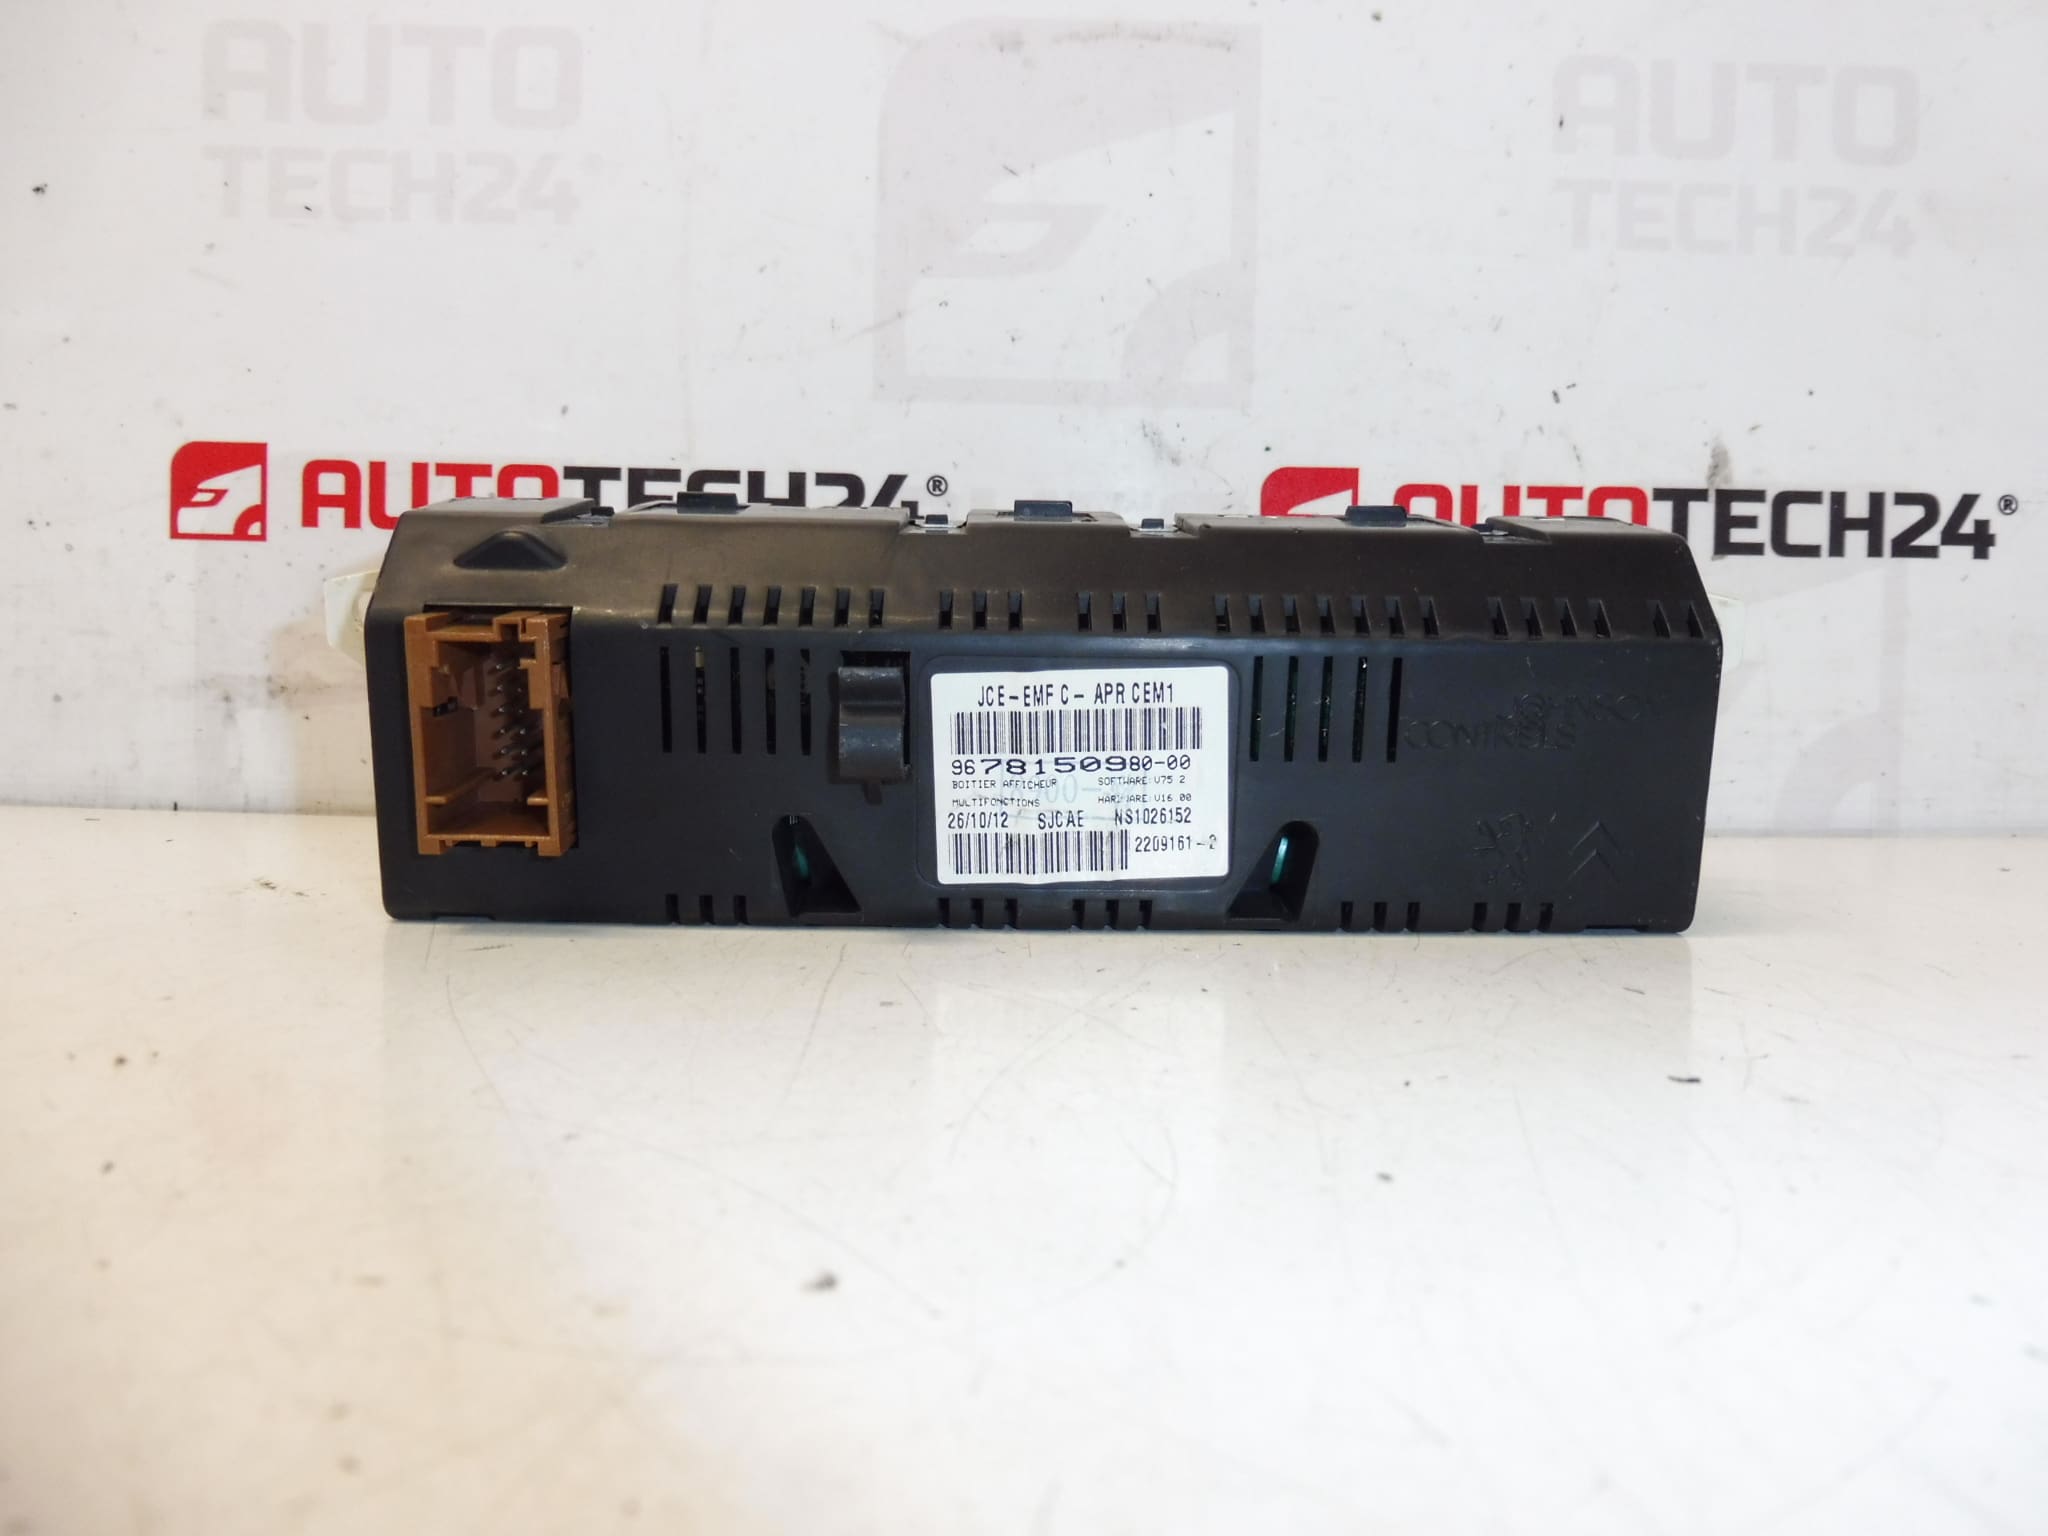
This used radio and on-board computer display is intended for Peugeot 407 cars. It is an important element of interior electronics that displays information from the vehicle’s audio system and on-board functions. Parts of this type are often searched for by production numbers, so we also include available codes in the description to make it easier to find the right part.
The advantage is the original design for the cars of the Citroën Peugeot / Stellantis concern, which will be appreciated by both car repair shops and home mechanics when repairing or replacing a non-functional display. For used electronic parts, it is practical to compare the markings on the original part with the offered piece.
Technical information
- Manufacturer: Stellantis Citroën Peugeot
- Model: Peugeot 407
- Other numbers: 9678150980, 659349, 9821852480
Product codes
- Product codes: 9678150980, 659349, 9821852480
- Models: Peugeot 407
Installation recommendations
Generally/typically for this type of electrical part, the exact replacement procedure may vary depending on the specific car design and equipment. For this display, also take into account that some of the functions may need to be activated by diagnostics.
1) Before assembly
- Check that all numbers on the part match the original piece.
- Compare the shape of the connectors, the attachment and the overall design of the display.
- Check the condition of the contacts, plastic holders and the front surface of the display.
- Check that the used part is not mechanically damaged or dirty in the connector area.
2) Necessary tools and materials
- regular set of hand tools
- plastic pry bar for panel removal
- clean cloth
- preparation for gentle cleaning of contacts, if needed
- diagnostic equipment for possible activation of functions
3) Step-by-step assembly procedure
- Turn off the ignition and disconnect the battery before starting work.
- Prepare access to the original display according to the design of the vehicle interior.
- Carefully remove the surrounding covers or trim so as not to damage the plastic handles.
- Unfasten the original display.
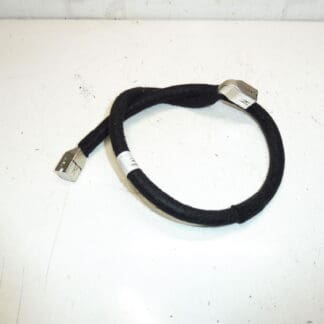
- Disconnect the electrical connectors and check their condition.
- Compare the original and new part according to markings, connectors and mounting.
- If the contacts are dirty, clean them carefully without using unsuitable products.
- Connect the connectors to the replacement display and make sure they are properly seated.
- Sit the display in place and fix it without unnecessary switching of mounting points.
- Reinstall the trim and all the removed interior parts.
- Connect the battery and turn on the ignition.
- Verify the display of basic functions and, if necessary, perform activation with diagnostics.
-
4) Post-assembly checks and functional test verification
- Check the readability of the display and correct backlighting.
- Verify responses to radio controls and trip computer information display.
- Watch for dropouts, flickering, or loss of communication.
- If some functions are not active, make them available through diagnostics according to the car’s equipment.
5) The most common assembly mistakes + how to avoid them
- Exchanging a part by appearance – always compare the product numbers, not just the size and shape.
- Damage to interior plastic parts – use plastic disassembly tools and work without violence.
- Insufficiently seated connector – after connecting, check for proper seating and securing.
- Omission of diagnostic activation – if all functions are not available after assembly, it may be necessary to make them available through diagnostics.
- Assembly without checking the condition of the contacts – oxidation or impurities can cause non-functionality even for an otherwise correct part.
Reasons why the part is damaged
- normal wear and tear of the electronics and display part in operation
- voltage fluctuations in the vehicle’s electrical system
- damage to connectors or contacts during previous disassembly
- moisture, dust or oxidation of electrical connections
- mechanical damage to the front panel or handles
- internal fault of the display unit causing blackouts or an unreadable image