Description
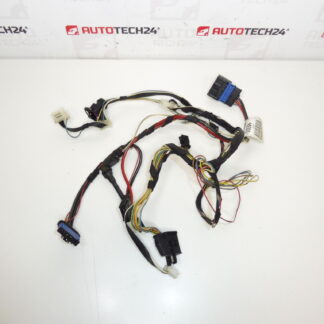
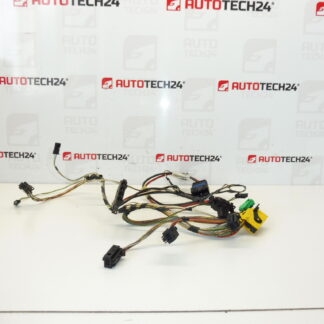
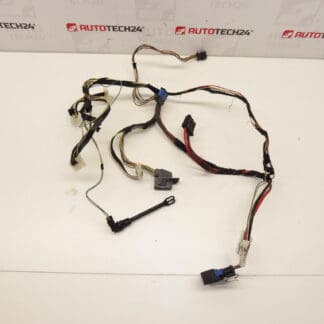
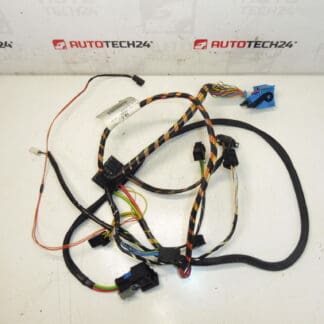
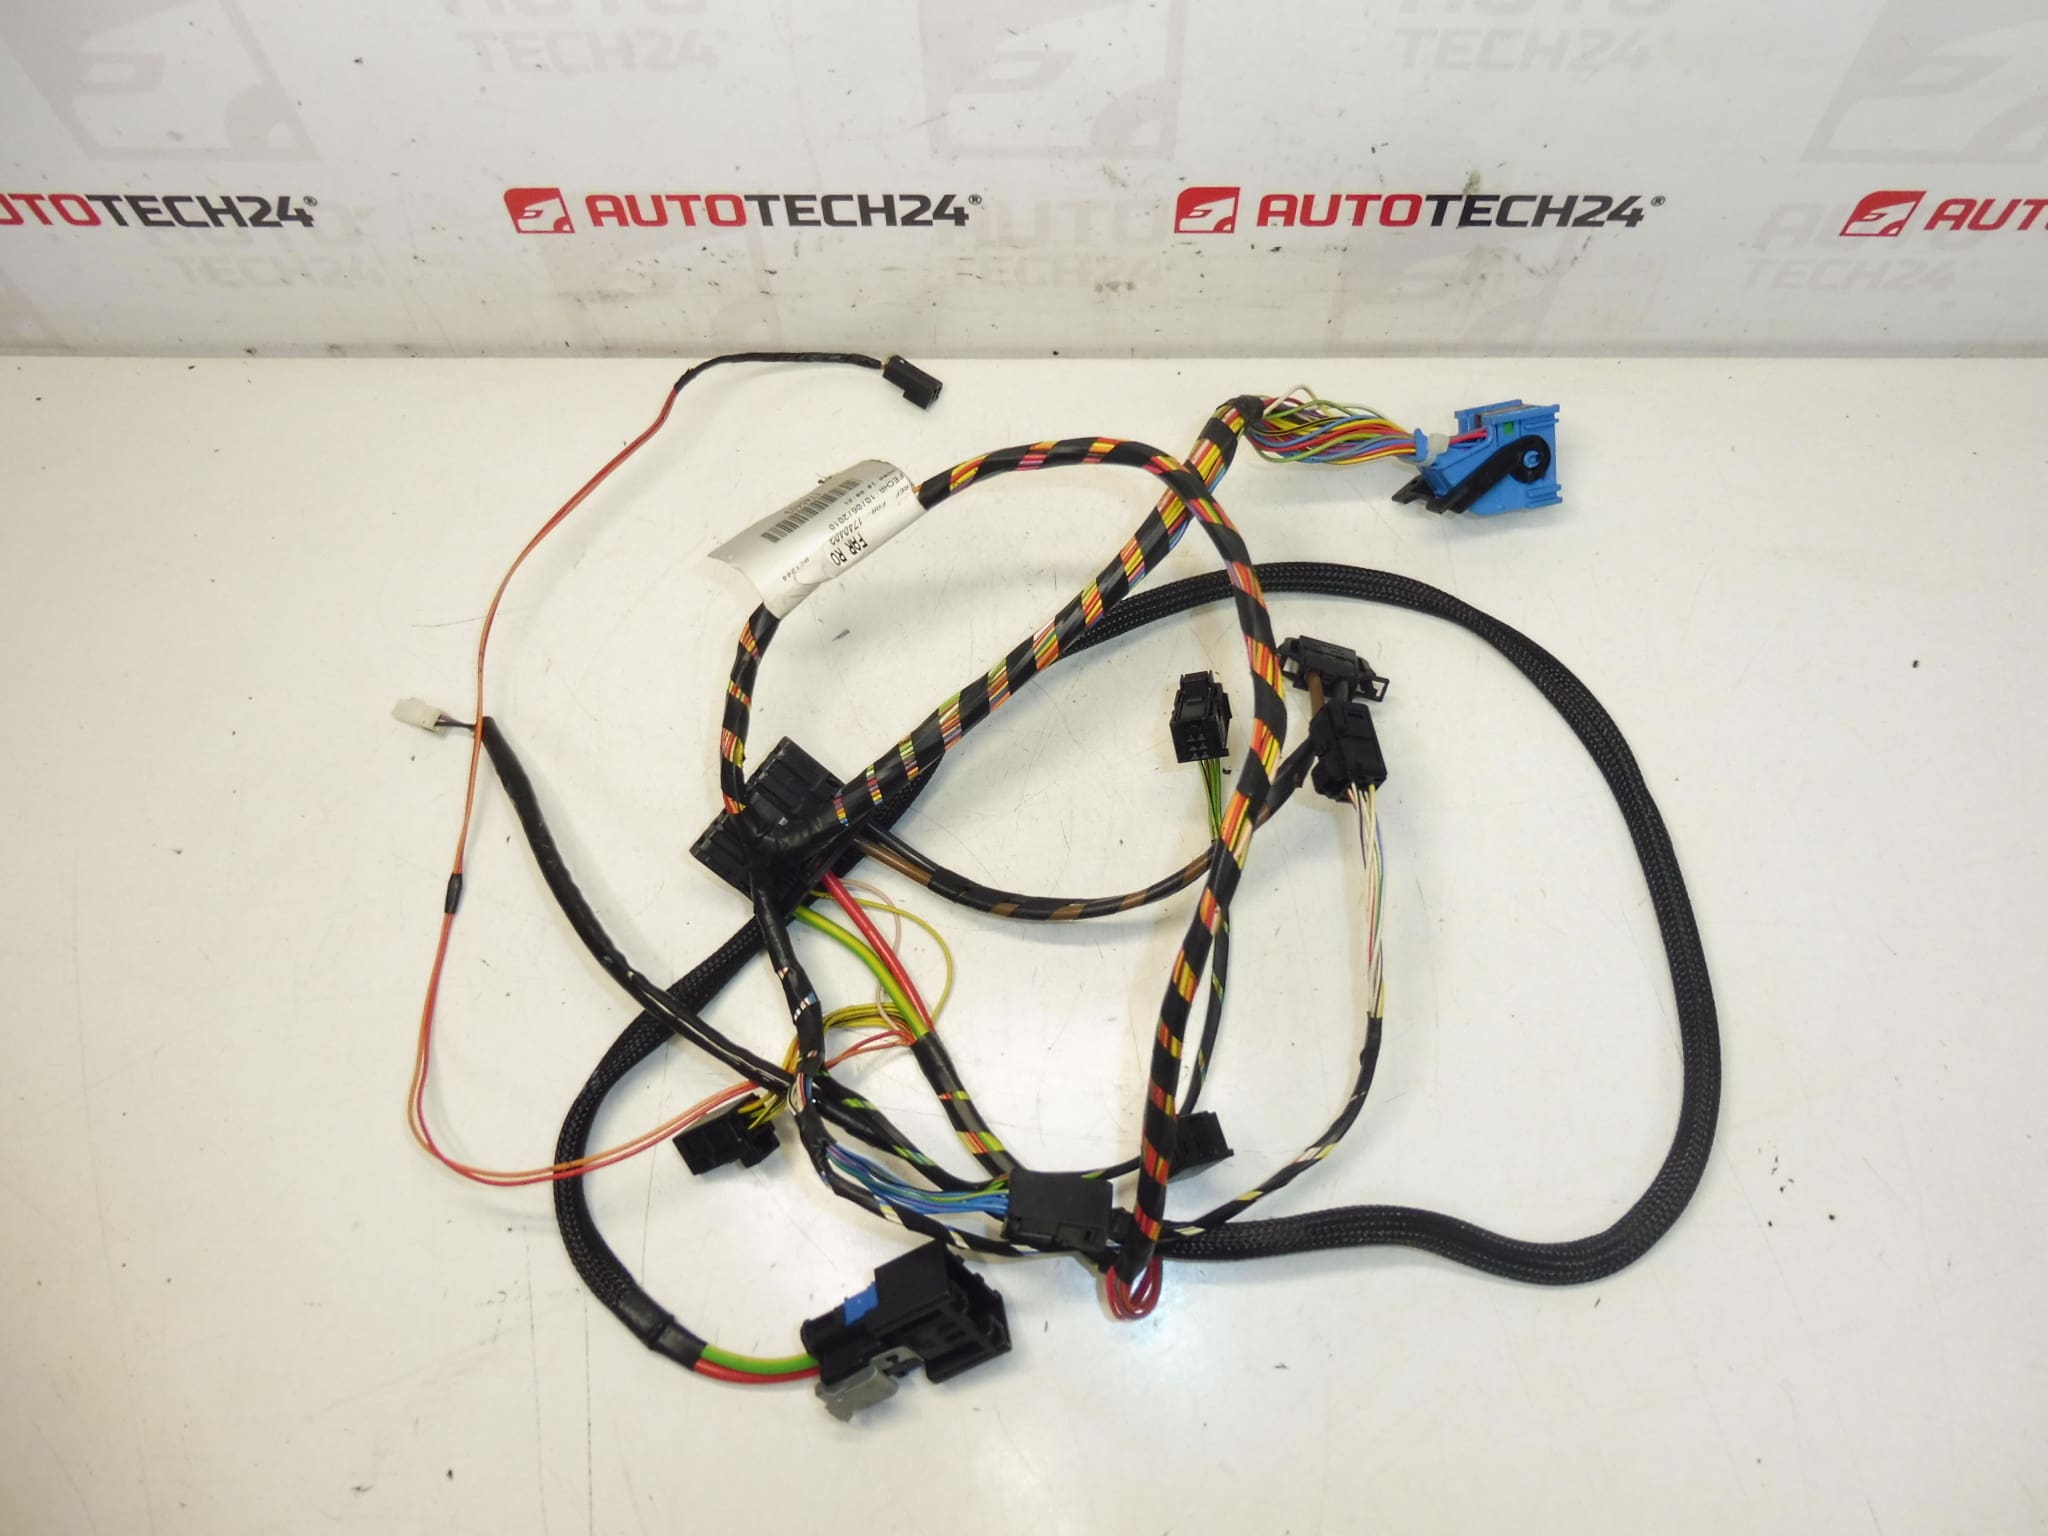
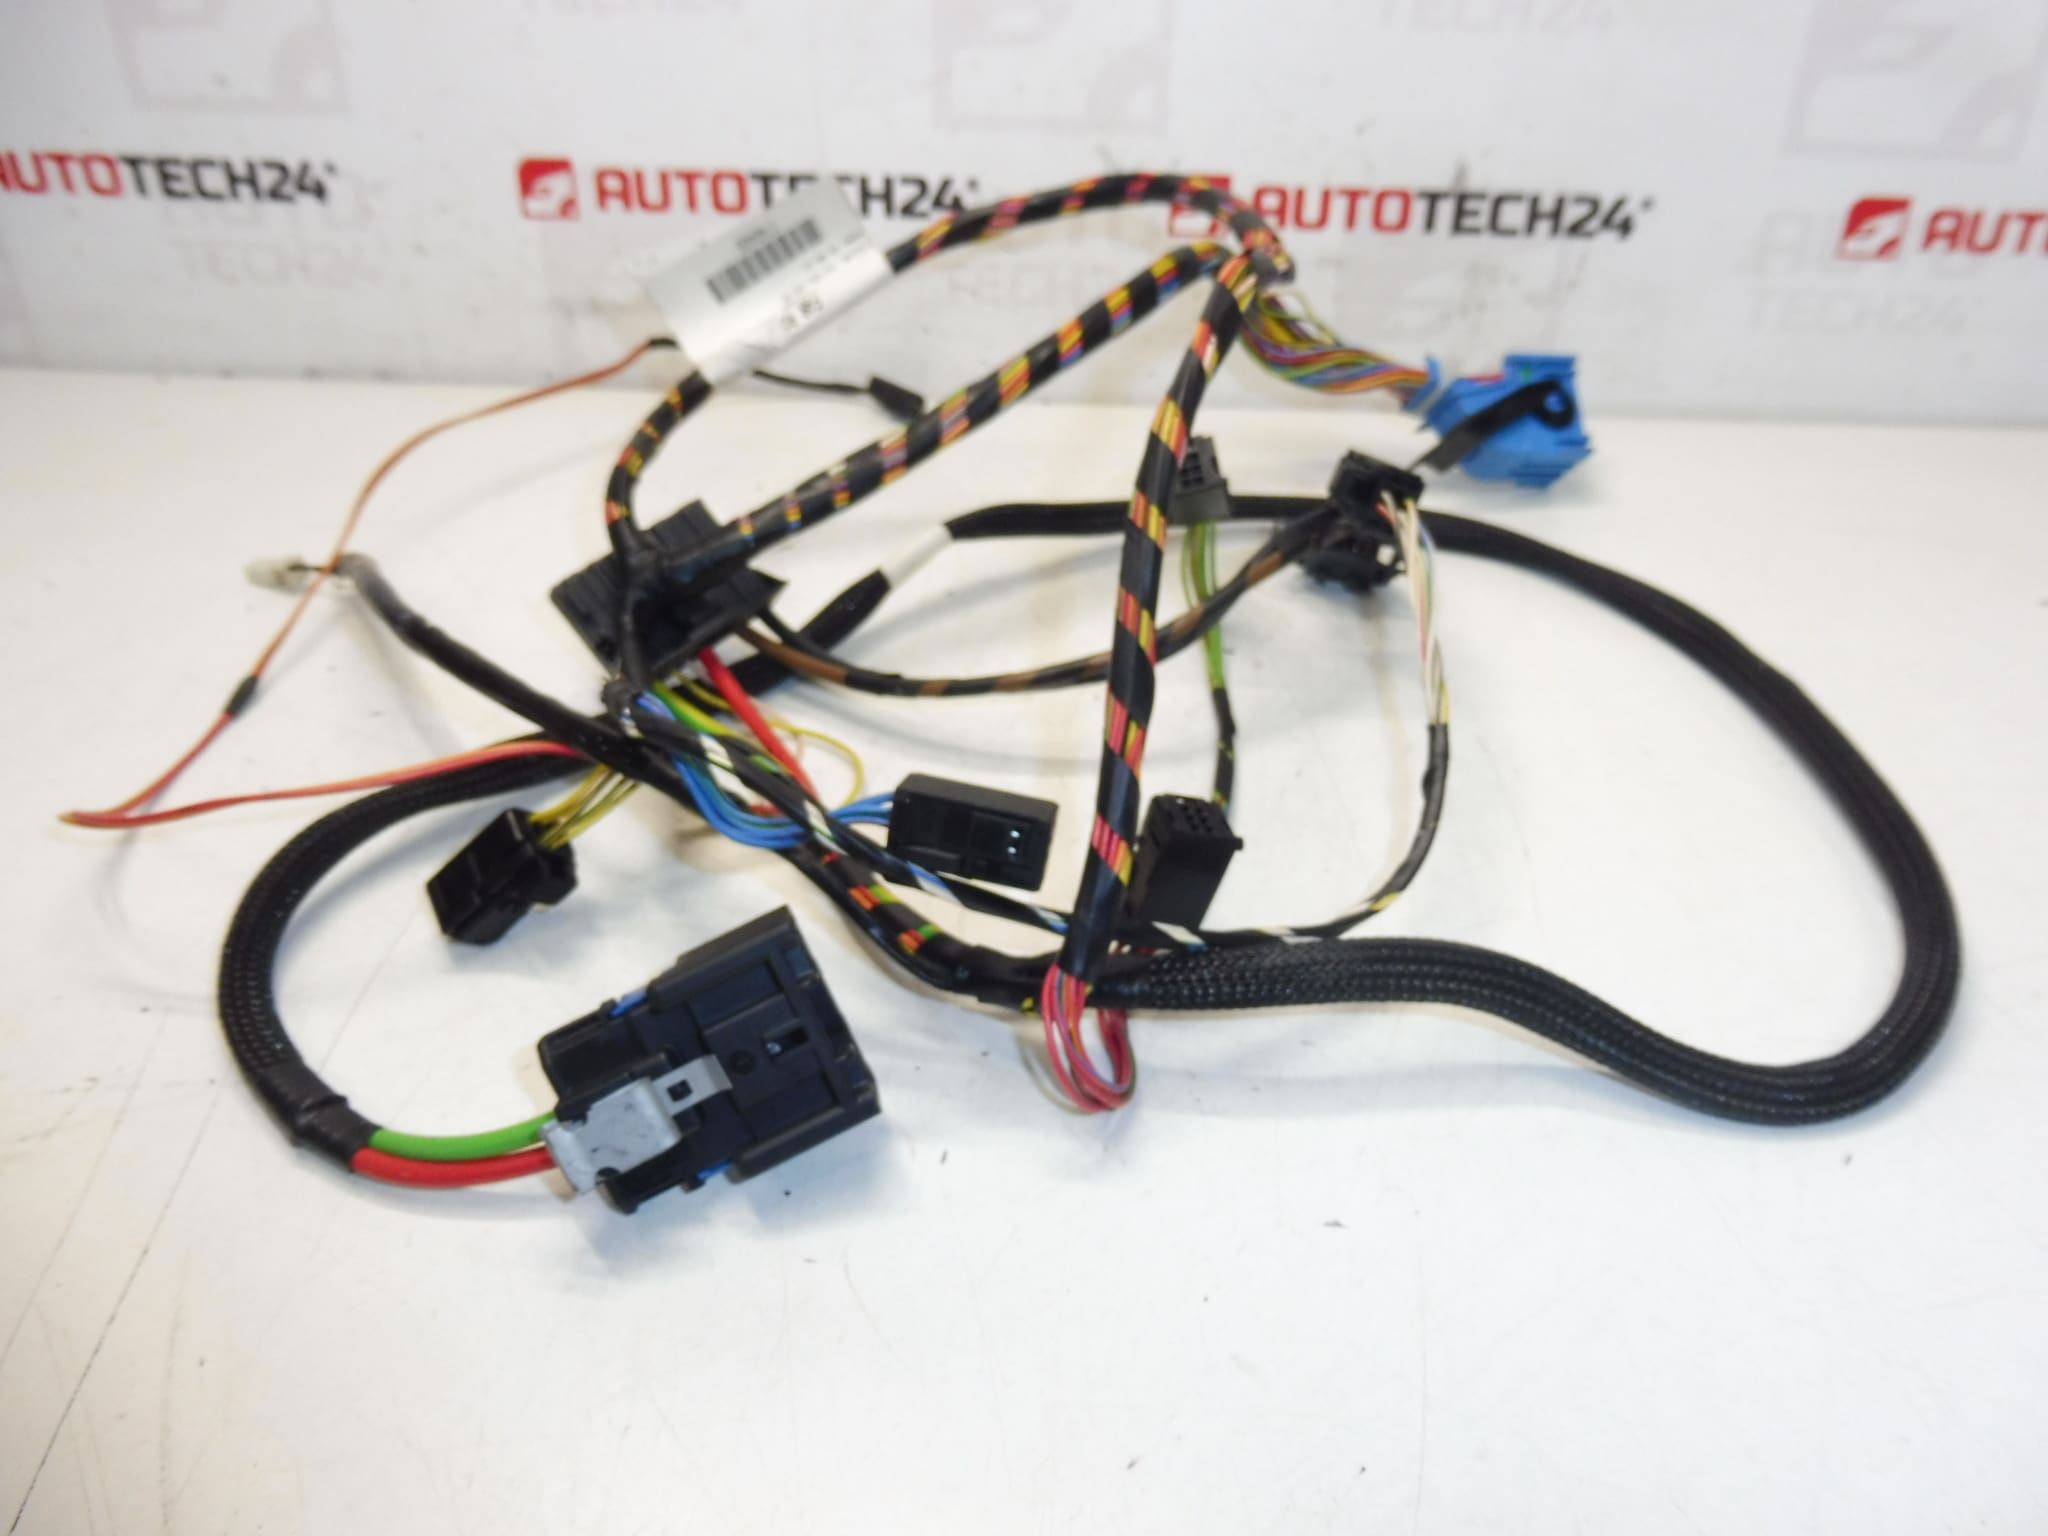
Complete air conditioning package for PEUGEOT 308 T7 cars
Part description
This used air conditioning harness is for Peugeot 308 T7 cars. It is an important electrical component of the air conditioning system, which connects the individual elements of the installation and ensures the correct transmission of electrical signals and power supply. When replacing a damaged or non-functioning wiring harness, this part can be a practical solution to restore air conditioning function without having to purchase a new part.
The part is especially suitable for mechanics and car owners who are looking for a car part according to the original number 6436J5 or other identification codes. For cable harnesses, the correct marking is essential, as it determines the compatibility of the connectors, the length of the line and the overall design.
Technical information
- Manufacturer: Stellantis Citroën Peugeot
- Model: Peugeot 308 T7
- Other numbers: 1740403, T1013478F
Product codes
- Product codes: 6436J5, 1740403, T1013478F
- Models: Peugeot 308
Installation recommendations
Since the documents do not contain exact installation details for a specific car model, below is a general procedure typically for replacing an air conditioner wiring harness. The exact steps may vary depending on the specific model and make of the vehicle.
1) Before assembly
- Check that the numbers on the part match the original piece, especially 6436J5 and other markings.
- Compare connectors, harness length, wire shape and mounting method.
- Inspect the condition of the insulation of the cables, connectors and any holders, whether they are cracked, broken or oxidized.
- Before starting work, disconnect the battery to avoid a short circuit or damage to the electrical installation.
2) Necessary tools and materials
- Basic set of hand tools
- Screwdrivers and tools for gentle release of plastic covers and clips
- Work light
- Cleaning agent for electrical connectors
- Protective gloves
3) Step-by-step assembly procedure
- Disconnect the battery and secure the vehicle against unwanted movement.
- Access the space in which the original bundle is routed by removing any necessary covers or trim.
- Carefully document the route of the original bundle, for example with photographs, so that the new wiring can be saved in the same way.
- Progressively disconnect all the connectors of the old harness without using excessive force.
- Release the bundle from all clips, holders and guide points.
- Remove the original volume and compare it to the new piece piece by piece.
- Save the new volume in the original route so that it is not switched, twisted or stretched anywhere.
- Secure the bundle in its original mounts and make sure that it does not touch sharp edges or places with increased thermal stress.
- Connect all the connectors and verify that they are seated properly and click into place.
- Reinstall all removed covers and trim.
- Connect the battery and perform a basic check of electrical functions related to the air conditioner.
-
4) Post-assembly checks and test drive/function verification
- Verify that all connectors are secure and the harness is properly attached.
- Check that the wiring does not rub against the surrounding parts anywhere.
- Test the air conditioning function and see if the system responds in a standard way.
- After a short test drive, visually check the harness fit again.
5) The most common assembly mistakes + how to avoid them
- Exchanging connectors – before disconnecting, mark or take a photo of the individual positions.
- Incorrect harness routing – follow the original route to avoid vibration or heat damage.
- Insufficient attachment – always use all available holders and clips.
- Assembly without checking the condition of the connectors – before connecting, clean the contacts and check for possible oxidation.
- Work under voltage – always disconnect the battery before disassembling and assembling an electrical part.
Reasons why the part is damaged
- aging of insulation and wiring material
- mechanical damage during disassembly or previous repairs
- abrasion on the surrounding parts due to poor fastening of the bundle
- moisture, oxidation of contacts and contamination of connectors
- thermal stress in the engine compartment or near loaded parts of the system
- damage to the clamps, which makes the bundle loose and more stressed by vibrations