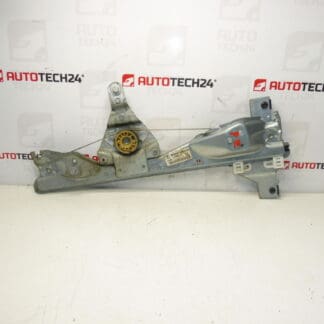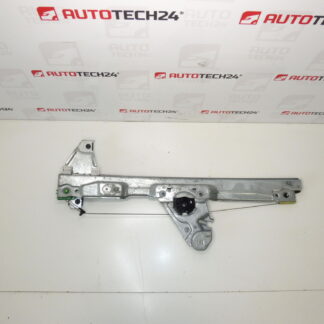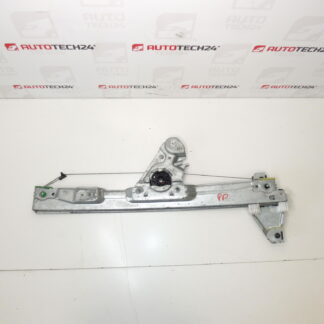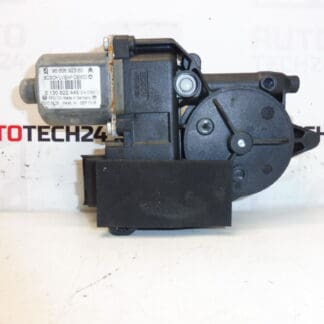
Description
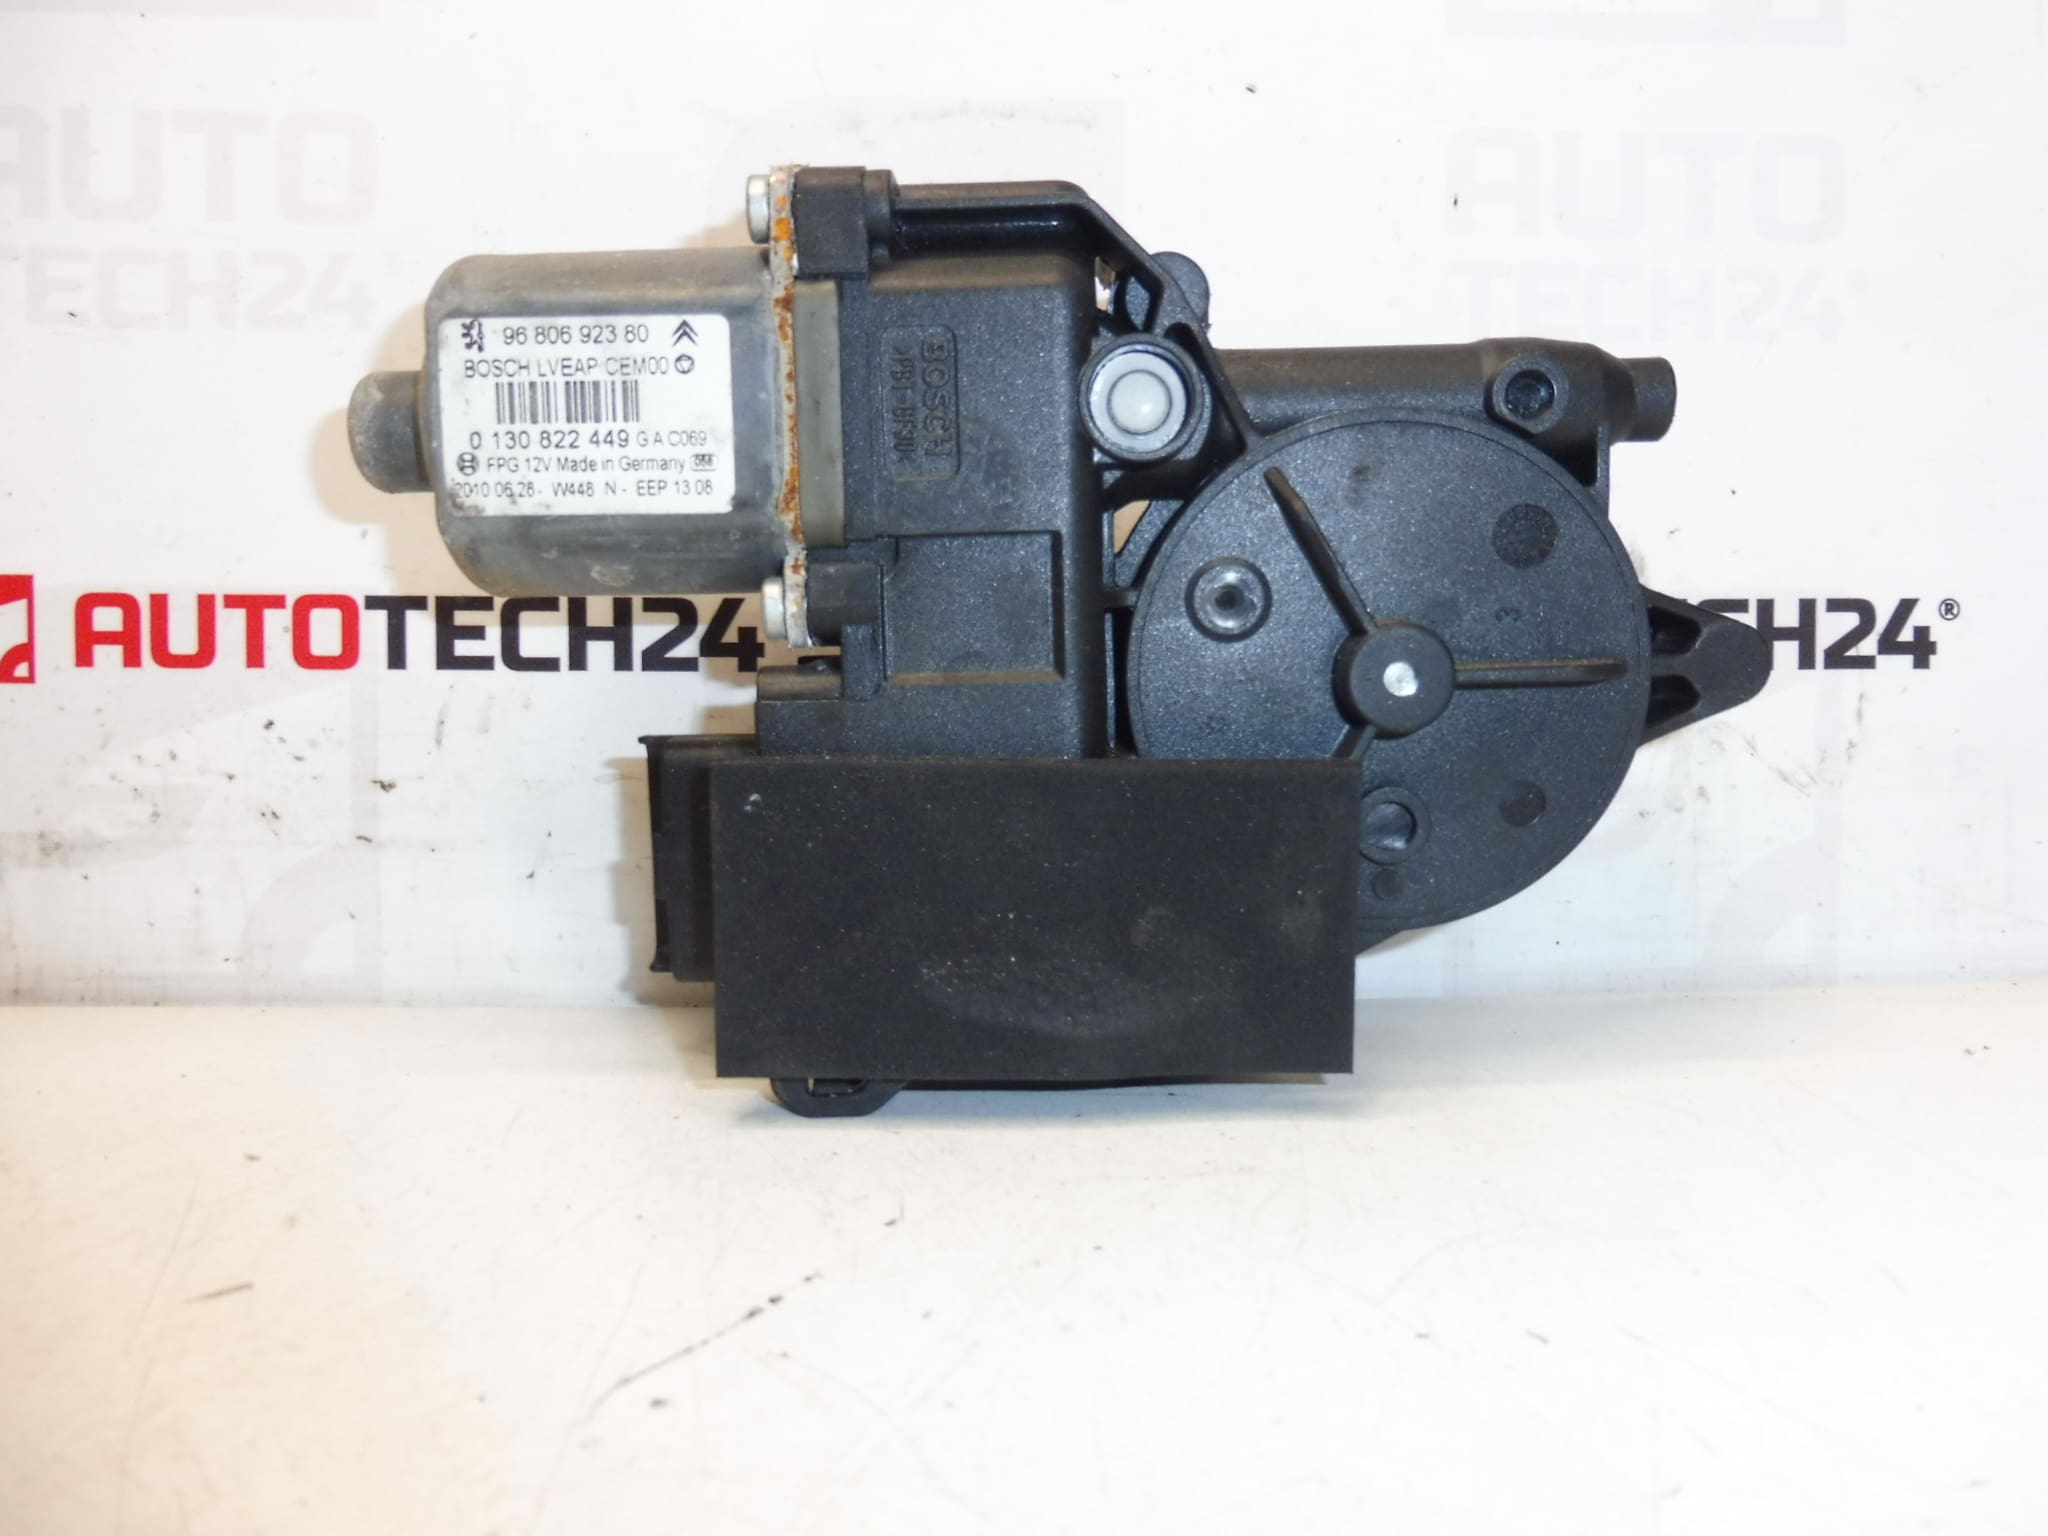
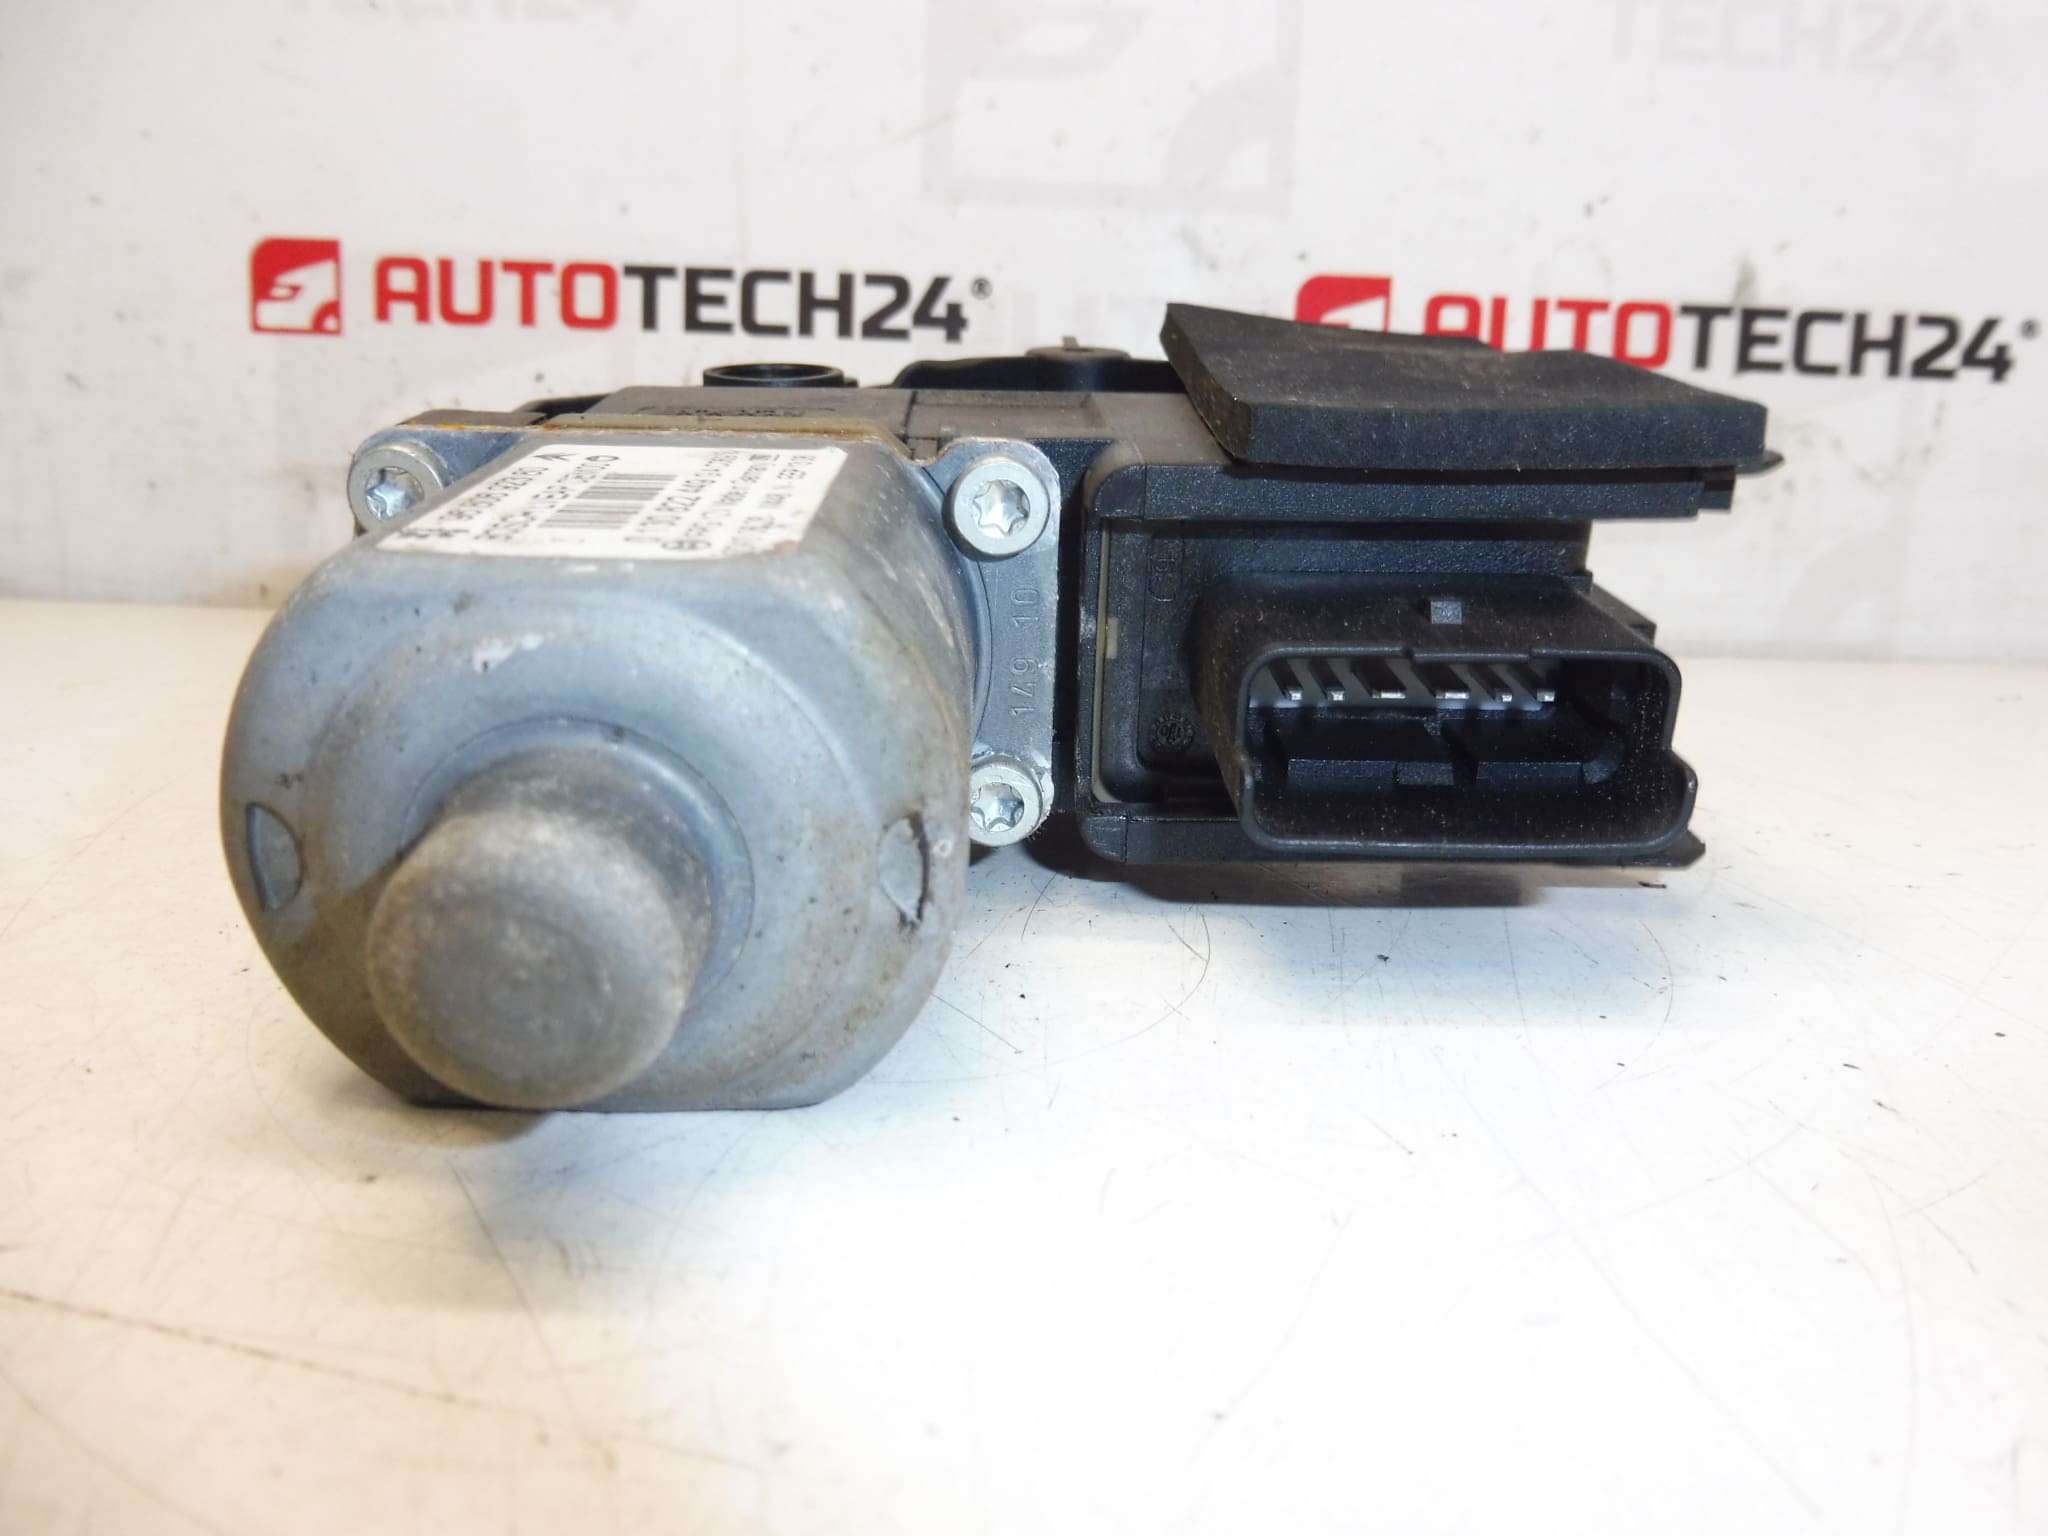
Window regulator motor for the left rear window for PEUGEOT 308 T7. Rear door on the driver’s side.
Product Overview
Replacement window drive motor designed for the left rear (driver’s side) door of the Peugeot 308 (T7). This motor assembly drives the window regulator mechanism, converting electrical input into rotational force to raise and lower the glass smoothly. Ideal for professional workshops and skilled DIYers seeking a direct-fit spare part that restores reliable window operation.
Technical Information
- Manufacturer: Stellantis / Citroën / Peugeot
- Model: Peugeot 308 (T7) – Left Rear Door
- Product Codes: 9680692380, 9675466880
- Additional Numbers: 0130822449, 9223E6
Compatibility
Specifically intended for Peugeot 308 T7 models with the left rear (driver’s side) power window. Customers commonly locate this part by the OEM numbers listed above; verify fitment by matching the product codes to the old unit before installation.
Installation Recommendations
Recommended for experienced technicians and confident DIYers. Typical replacement steps:
- Disconnect the negative battery terminal before starting to avoid electrical short or unintended operation.
- Remove the inner door trim and any trim clips to access the regulator and motor assembly.
- Carefully peel back the vapor/water barrier to expose the mechanism.
- Disconnect the electrical connector on the motor, then remove the mounting bolts securing the motor to the regulator/door.
- Remove the motor and, if required, separate it from the regulator spool or gearset. Install the new motor in the reverse order, ensuring all fasteners are secure and the regulator runs freely before resealing the vapor barrier and refitting the door trim.
Use appropriate tools and follow standard torque and safety procedures. After installation, cycle the window to confirm smooth movement and correct alignment.
Why The Part Commonly Fails
- Mechanical Wear: Internal gears and brushes wear with time and use, especially in older vehicles.
- Water Ingress: Moisture entering the door cavity can corrode electrical contacts or the motor gearbox.
- Regulator Overload: A binding regulator or misaligned window places extra load on the motor, accelerating failure.
- Electrical Issues: Corroded connectors or intermittent power supply can cause motor stalling or reduced performance.
Practical Tips
- When replacing the motor, inspect the regulator, guide channels, and seals—repair or replace worn components to prevent repeat failures.
- Clean and lubricate the regulator tracks and check for damaged window clips or fasteners.
- Search by OEM/product code (e.g., 9680692380) to find the exact replacement quickly.