Description
Control Unit For Obstacle Detection For Citroën And Peugeot Vehicles.
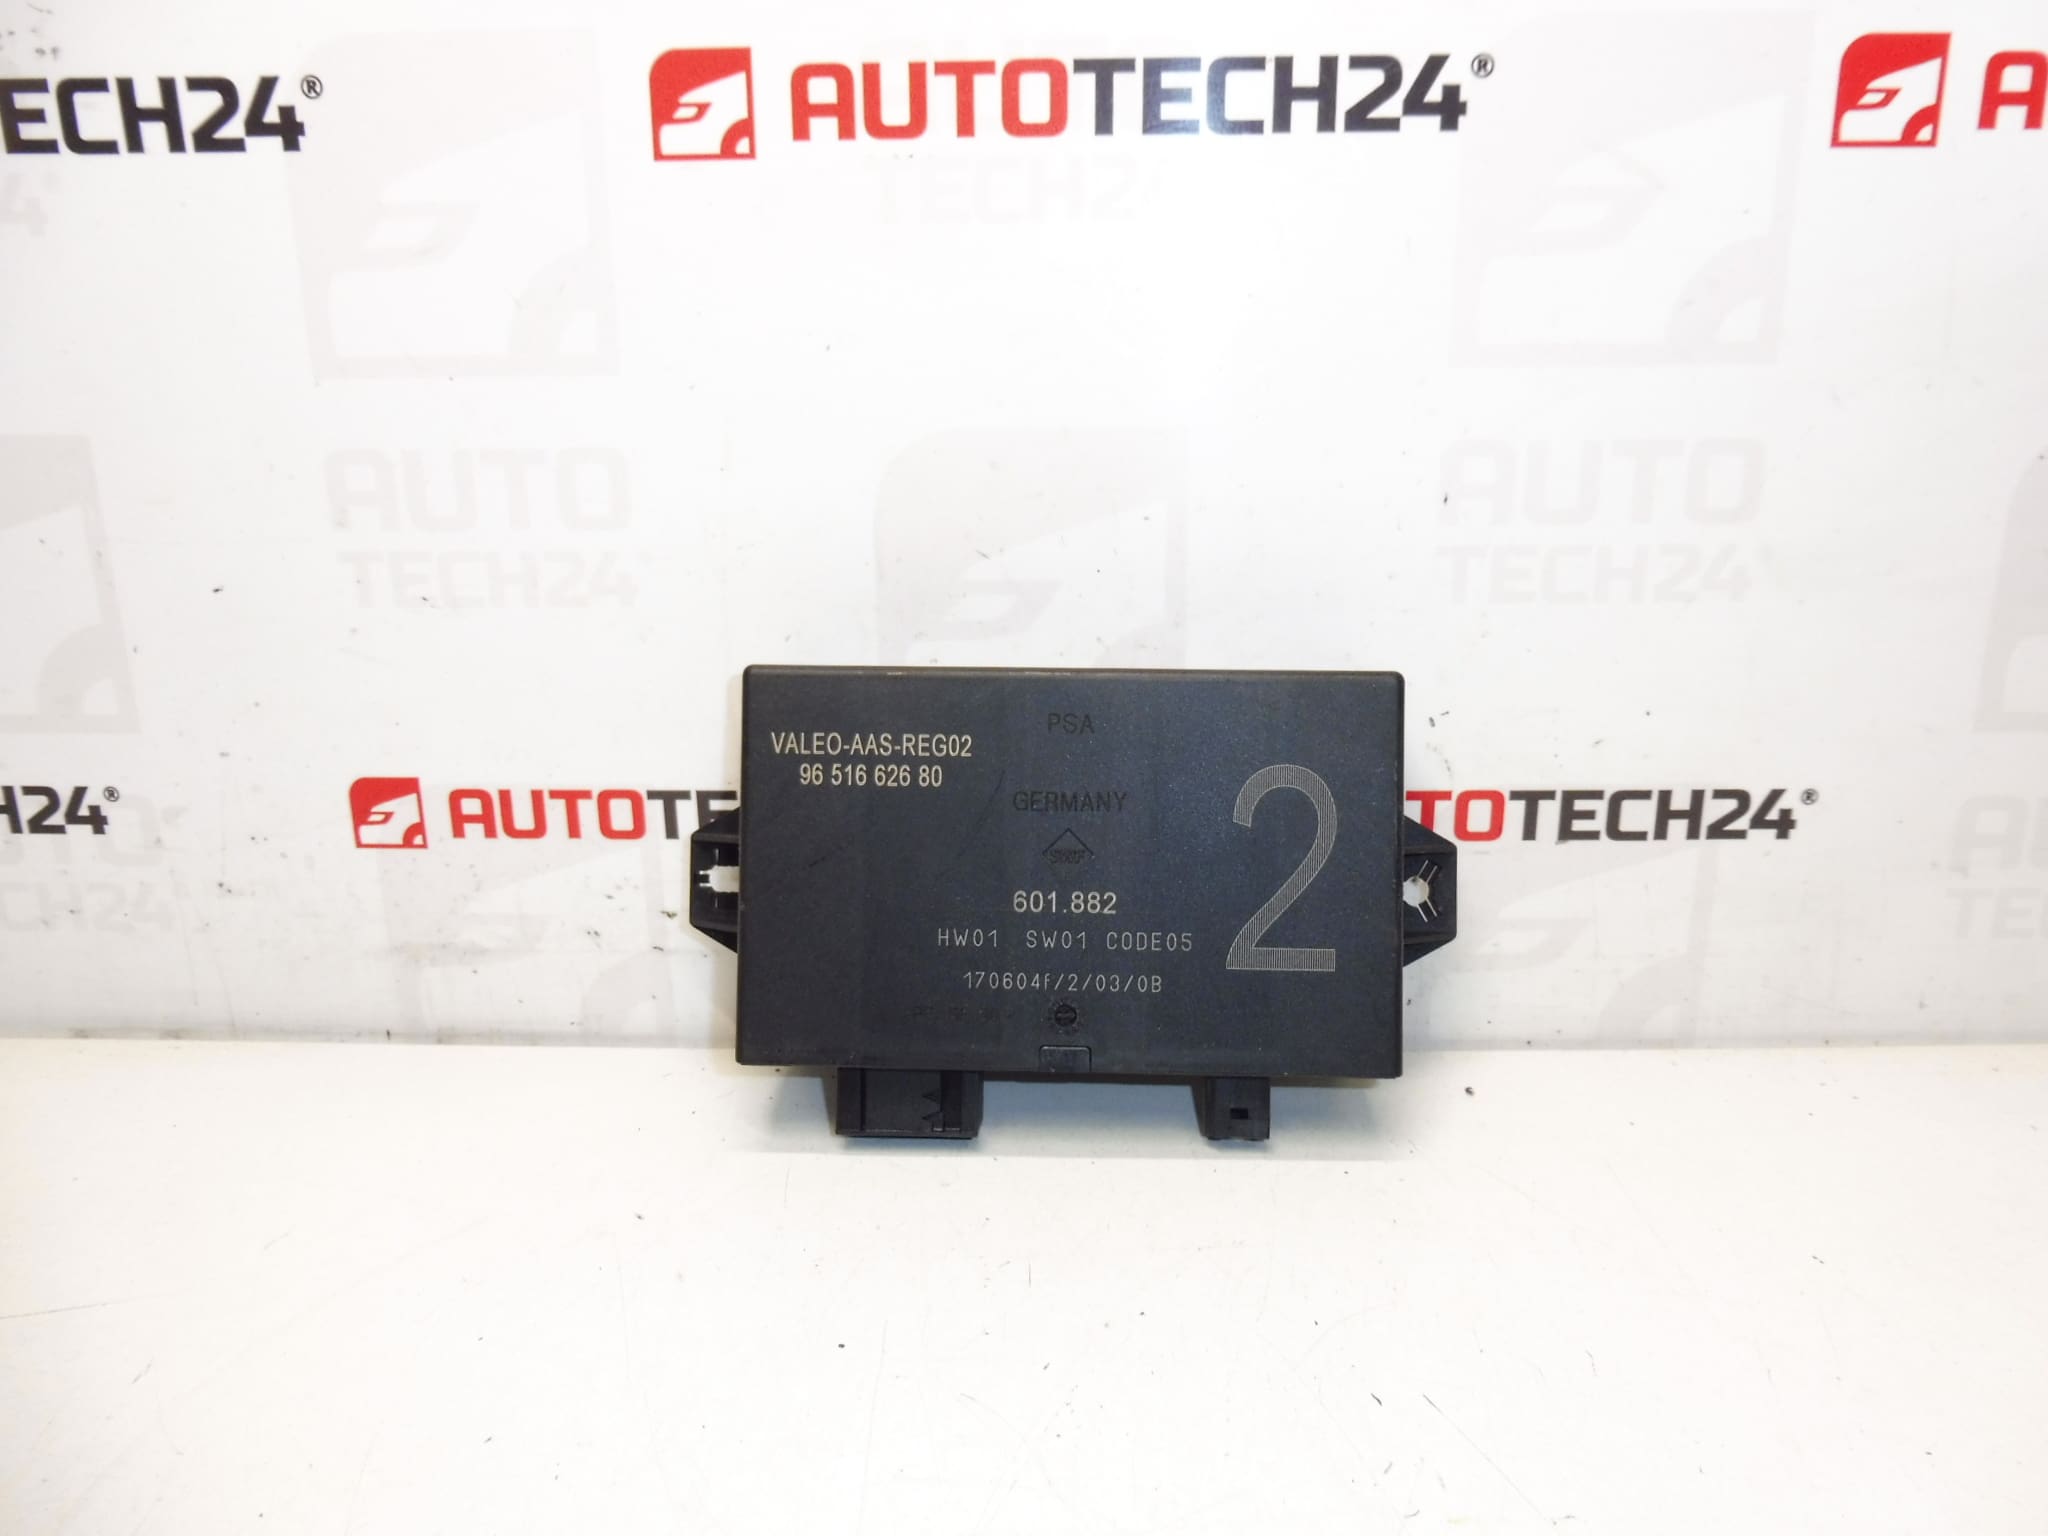
This parking assist control unit is designed for Citroën and Peugeot models and manages the vehicle’s obstacle detection and parking sensor functions. It interprets ultrasonic sensors, processes distance signals, and communicates warnings to the driver via audible beeps and dashboard indications. Ideal for professional workshops and experienced DIY mechanics looking for a direct-fit replacement part by Stellantis for affected models.
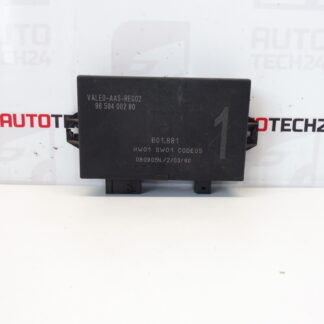
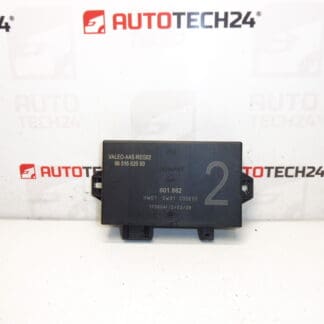
Built to integrate with factory parking systems, this module supports reliable short-range detection used during low-speed maneuvers. Commonly searched under part numbers 9651662680, 6590T3, 6590T4 and variants such as 601.8826590T3, this unit restores sensor logic and eliminates false alarms or complete sensor silence when faulty.
Technical Information
- Manufacturer: Stellantis (Citroën / Peugeot)
- Model: Citroën C2; Citroën C3; Peugeot 307
- Product Codes: 9651662680; 6590T3
- Additional Numbers: 601.8826590T3; 6590T4; NFP
Installation Recommendations
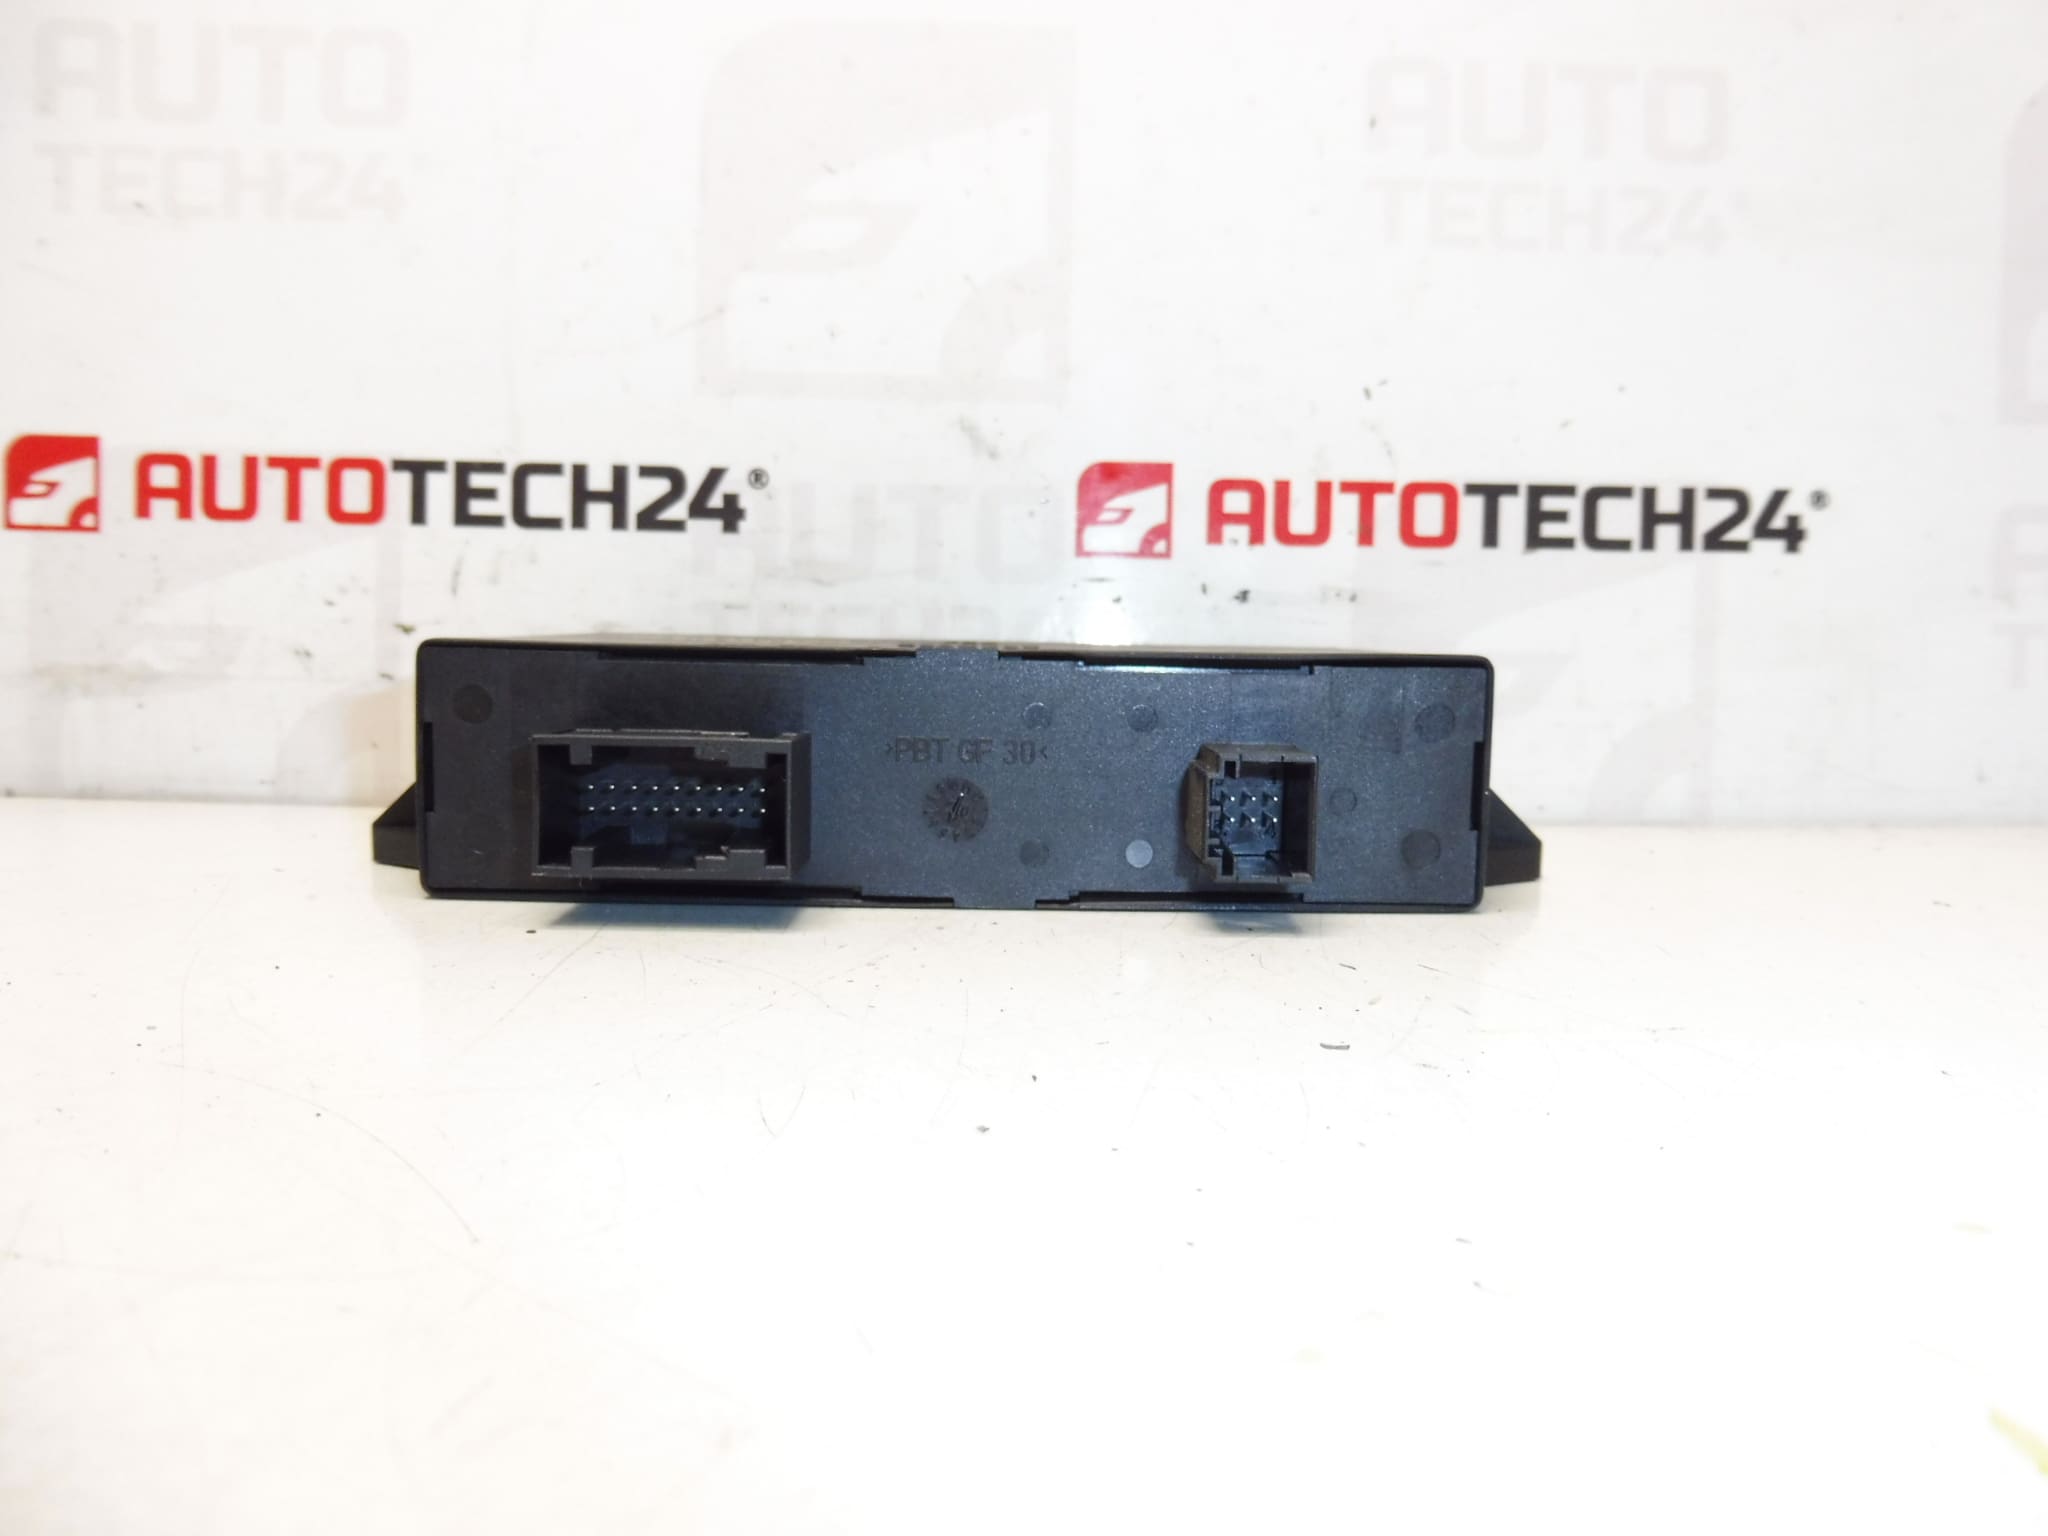
Before starting work, disconnect the vehicle battery to avoid short circuits. Access the control unit by removing the relevant trim panels in the rear bumper area or luggage compartment, depending on model. Carefully unplug all electrical connectors and release the securing screws or clips. Fit the replacement unit in the original mounting position, reconnect harnesses ensuring tight, corrosion-free contacts, then reassemble trim. After mechanical installation, perform system initialization or coding if required by the vehicle’s onboard computer—many garages perform a simple system check with a diagnostic tool to confirm sensor presence and correct operation.
Most Common Failure Reasons
Parking assist control units typically fail due to environmental and electrical stress. The most frequent causes are moisture ingress and corrosion at connectors, damage from impact to bumper area, persistent exposure to road salt, and electrical surges or poor grounding. Thermal cycling and vibration over many years can also degrade internal components, leading to intermittent faults or complete loss of sensor processing.
Choosing the correct control unit by matching listed product codes and vehicle model ensures quick restoration of parking assistance functions. For professionals and competent DIY mechanics, this unit represents a direct way to resolve sensor faults, reduce false alarms, and recover reliable obstacle detection for safer parking.