Description
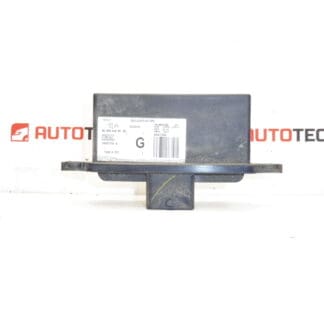
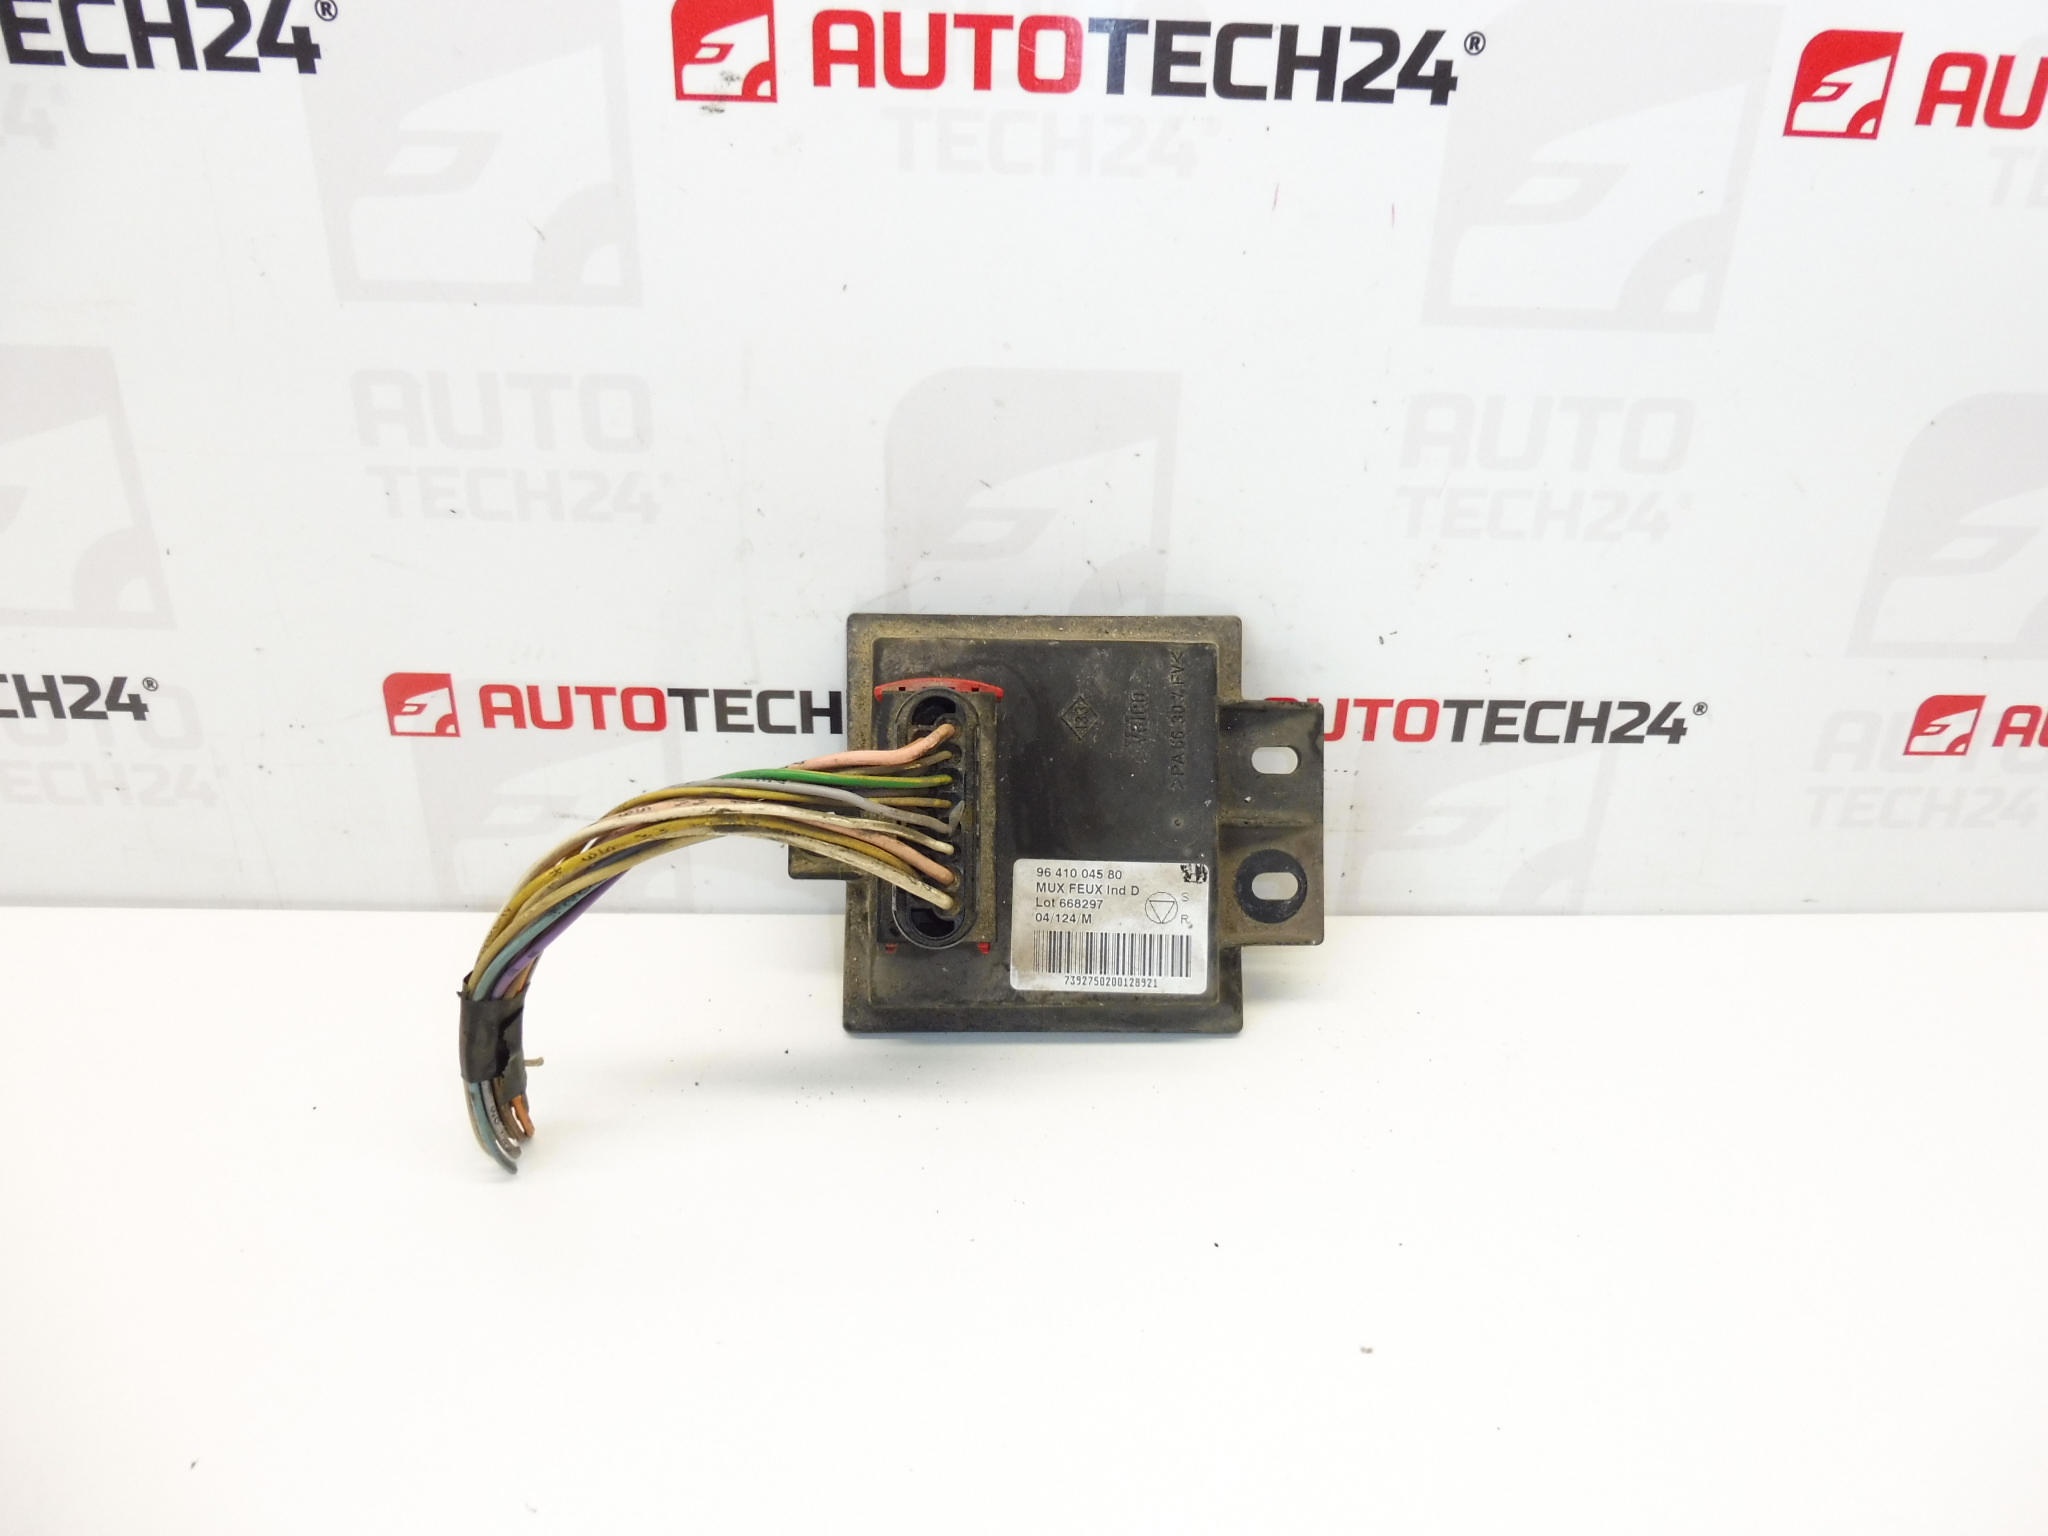
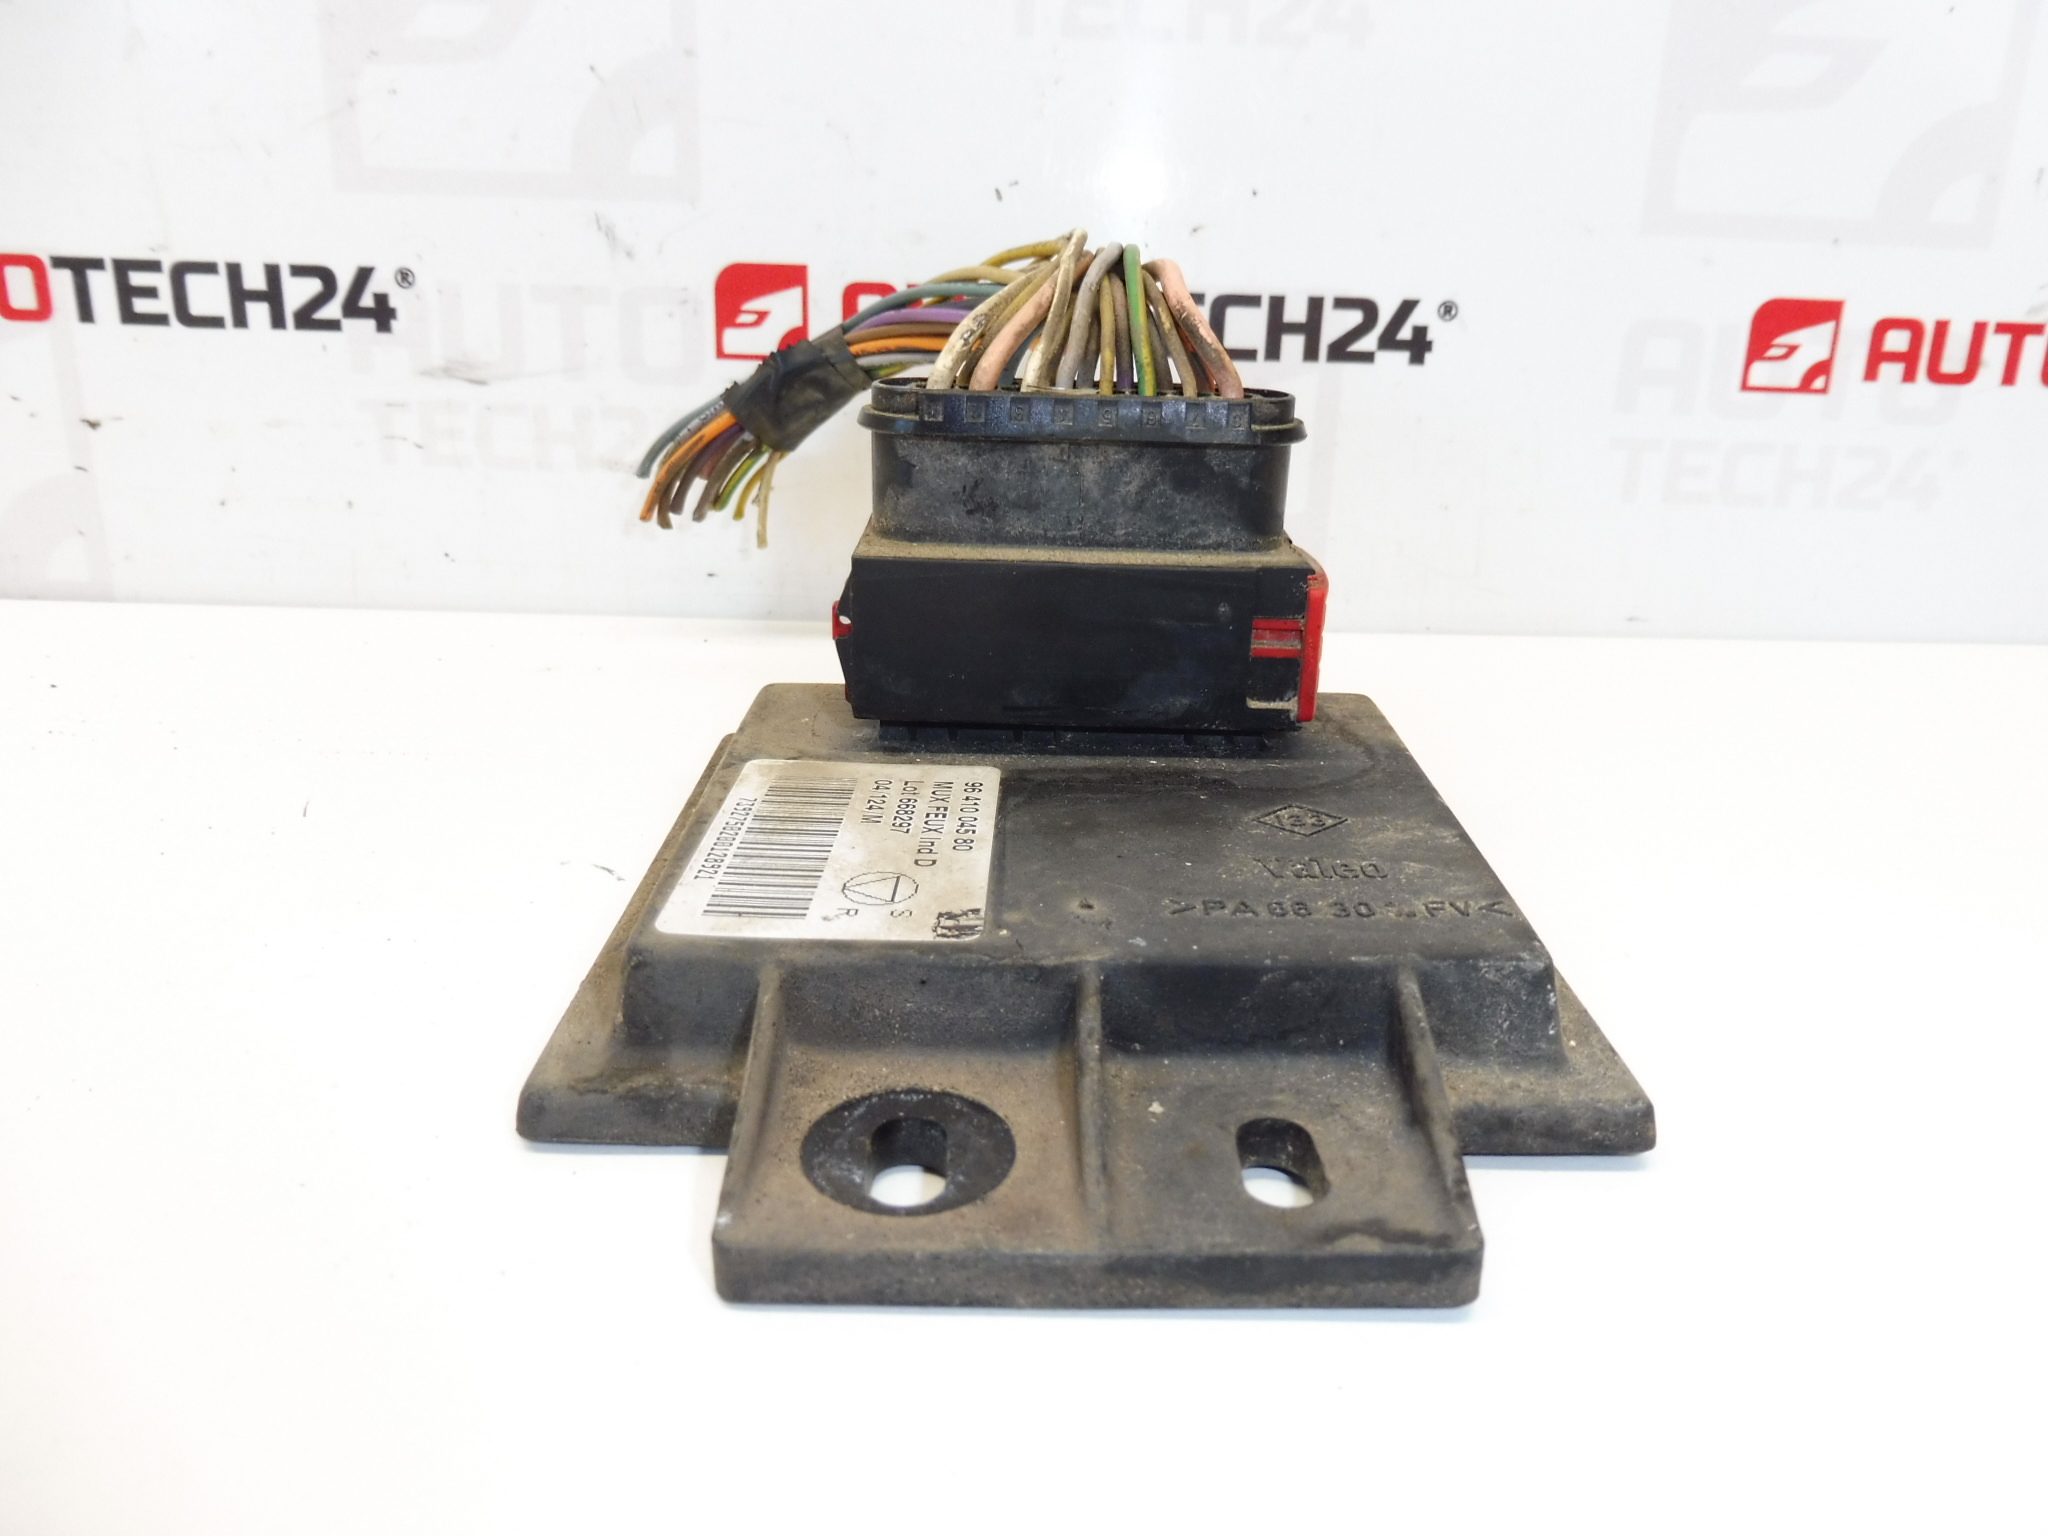
Control Unit – Headlight Auto-Leveling Control Unit
This Valeo headlight control unit is a direct-fit electronic module designed to manage automatic headlamp leveling on compatible Citroën and Peugeot vehicles. Commonly searched by part numbers 9641004580 and 657033, this unit restores correct beam aim and dynamic leveling functions for xenon/bi-xenon headlamps, improving night-time visibility and road safety. Ideal for professional workshops and competent DIY mechanics who maintain or repair lighting systems.
Technical Information
- Manufacturer: Valeo
- Model: Citroën / Peugeot Headlight Control Unit
- Product Codes: 9641004580, 657033
- Other Numbers: 65703 (reference from vendor listing)
Compatible Models
Fits: Peugeot 607 and other Citroën/Peugeot vehicles that use the same Valeo headlight control unit part numbers. Check part number compatibility when searching—many customers locate this unit by its reference numbers.
Function
The unit controls the automatic headlamp leveling system: it reads input from vehicle ride-height/level sensors and door/body load conditions, drives the headlamp leveling actuators, and ensures the headlight beam is aimed correctly under varying loads. It communicates with the vehicle network (CAN) and integrates with the lighting system to maintain proper xenon/bi-xenon beam alignment, preventing glare for oncoming traffic and ensuring legal aim limits.
Replacement Procedure
- Preparation: Park on level ground, switch off ignition and remove key.
- Disconnect the negative battery terminal before beginning work to avoid electrical damage.
- Access: Depending on vehicle, remove the headlight assembly or the trim/cover to reach the control module.
- Disconnect electrical connectors and remove mounting fasteners securing the unit.
- Install the replacement unit, secure fasteners, and reconnect electrical connectors, ensuring tight, corrosion-free contacts.
- Reinstall headlamp assembly/trim and reconnect the battery.
- After installation, verify system operation: power up the vehicle, check leveler movement, and perform any required initialization or adaptation procedure. Finalize with a headlight alignment check on an alignment bench or per manufacturer instructions.
Installation Recommendations
- Always disconnect the battery before removing the module to prevent short circuits and damage to electronics.
- Protect connectors from contaminants and ensure sealing grommets are intact to avoid moisture ingress.
- Inspect wiring, sensor links, and fuses/relays in the leveling circuit; replace corroded terminals or damaged connectors.
- If the vehicle requires adaptation or coding of the leveling function, perform initialization according to the factory service manual or with appropriate diagnostic equipment.
- Perform a full headlamp aim after replacing the control unit to comply with legal beam settings and ensure optimal visibility.
Why The Part Fails Most Often
- Moisture Ingress And Corrosion: Water penetration into the module or connector area causes shorts and component failure.
- Connector And Wiring Damage: Corroded pins, broken wires, or poor grounding lead to intermittent faults or total loss of function.
- Thermal Stress And Aging: Long-term exposure to heat cycles and vibration degrades solder joints and electronic components.
- Electrical Surges: Voltage spikes from battery jumps or charging system faults can damage internal electronics.
- Physical Impact: Damage from collisions or improper handling during maintenance can render the unit inoperative.
Buying tip: Search using the part numbers 9641004580 or 657033 to quickly find the correct unit. Replacing a faulty headlight control unit typically restores automatic leveling and prevents headlamp misalignment complaints—important for both safety and compliance.