Description
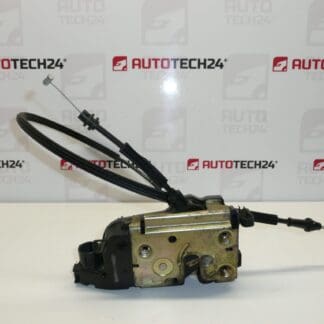
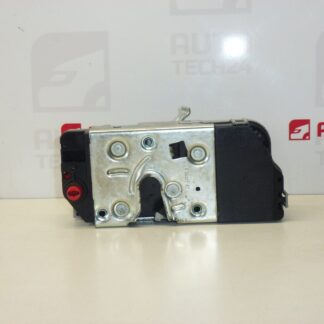
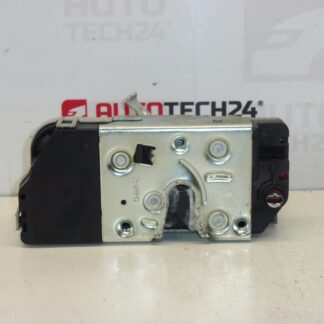
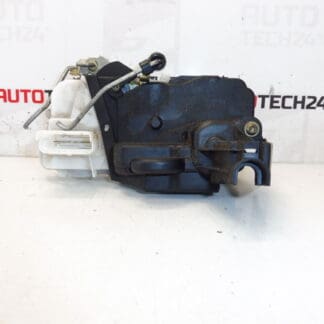
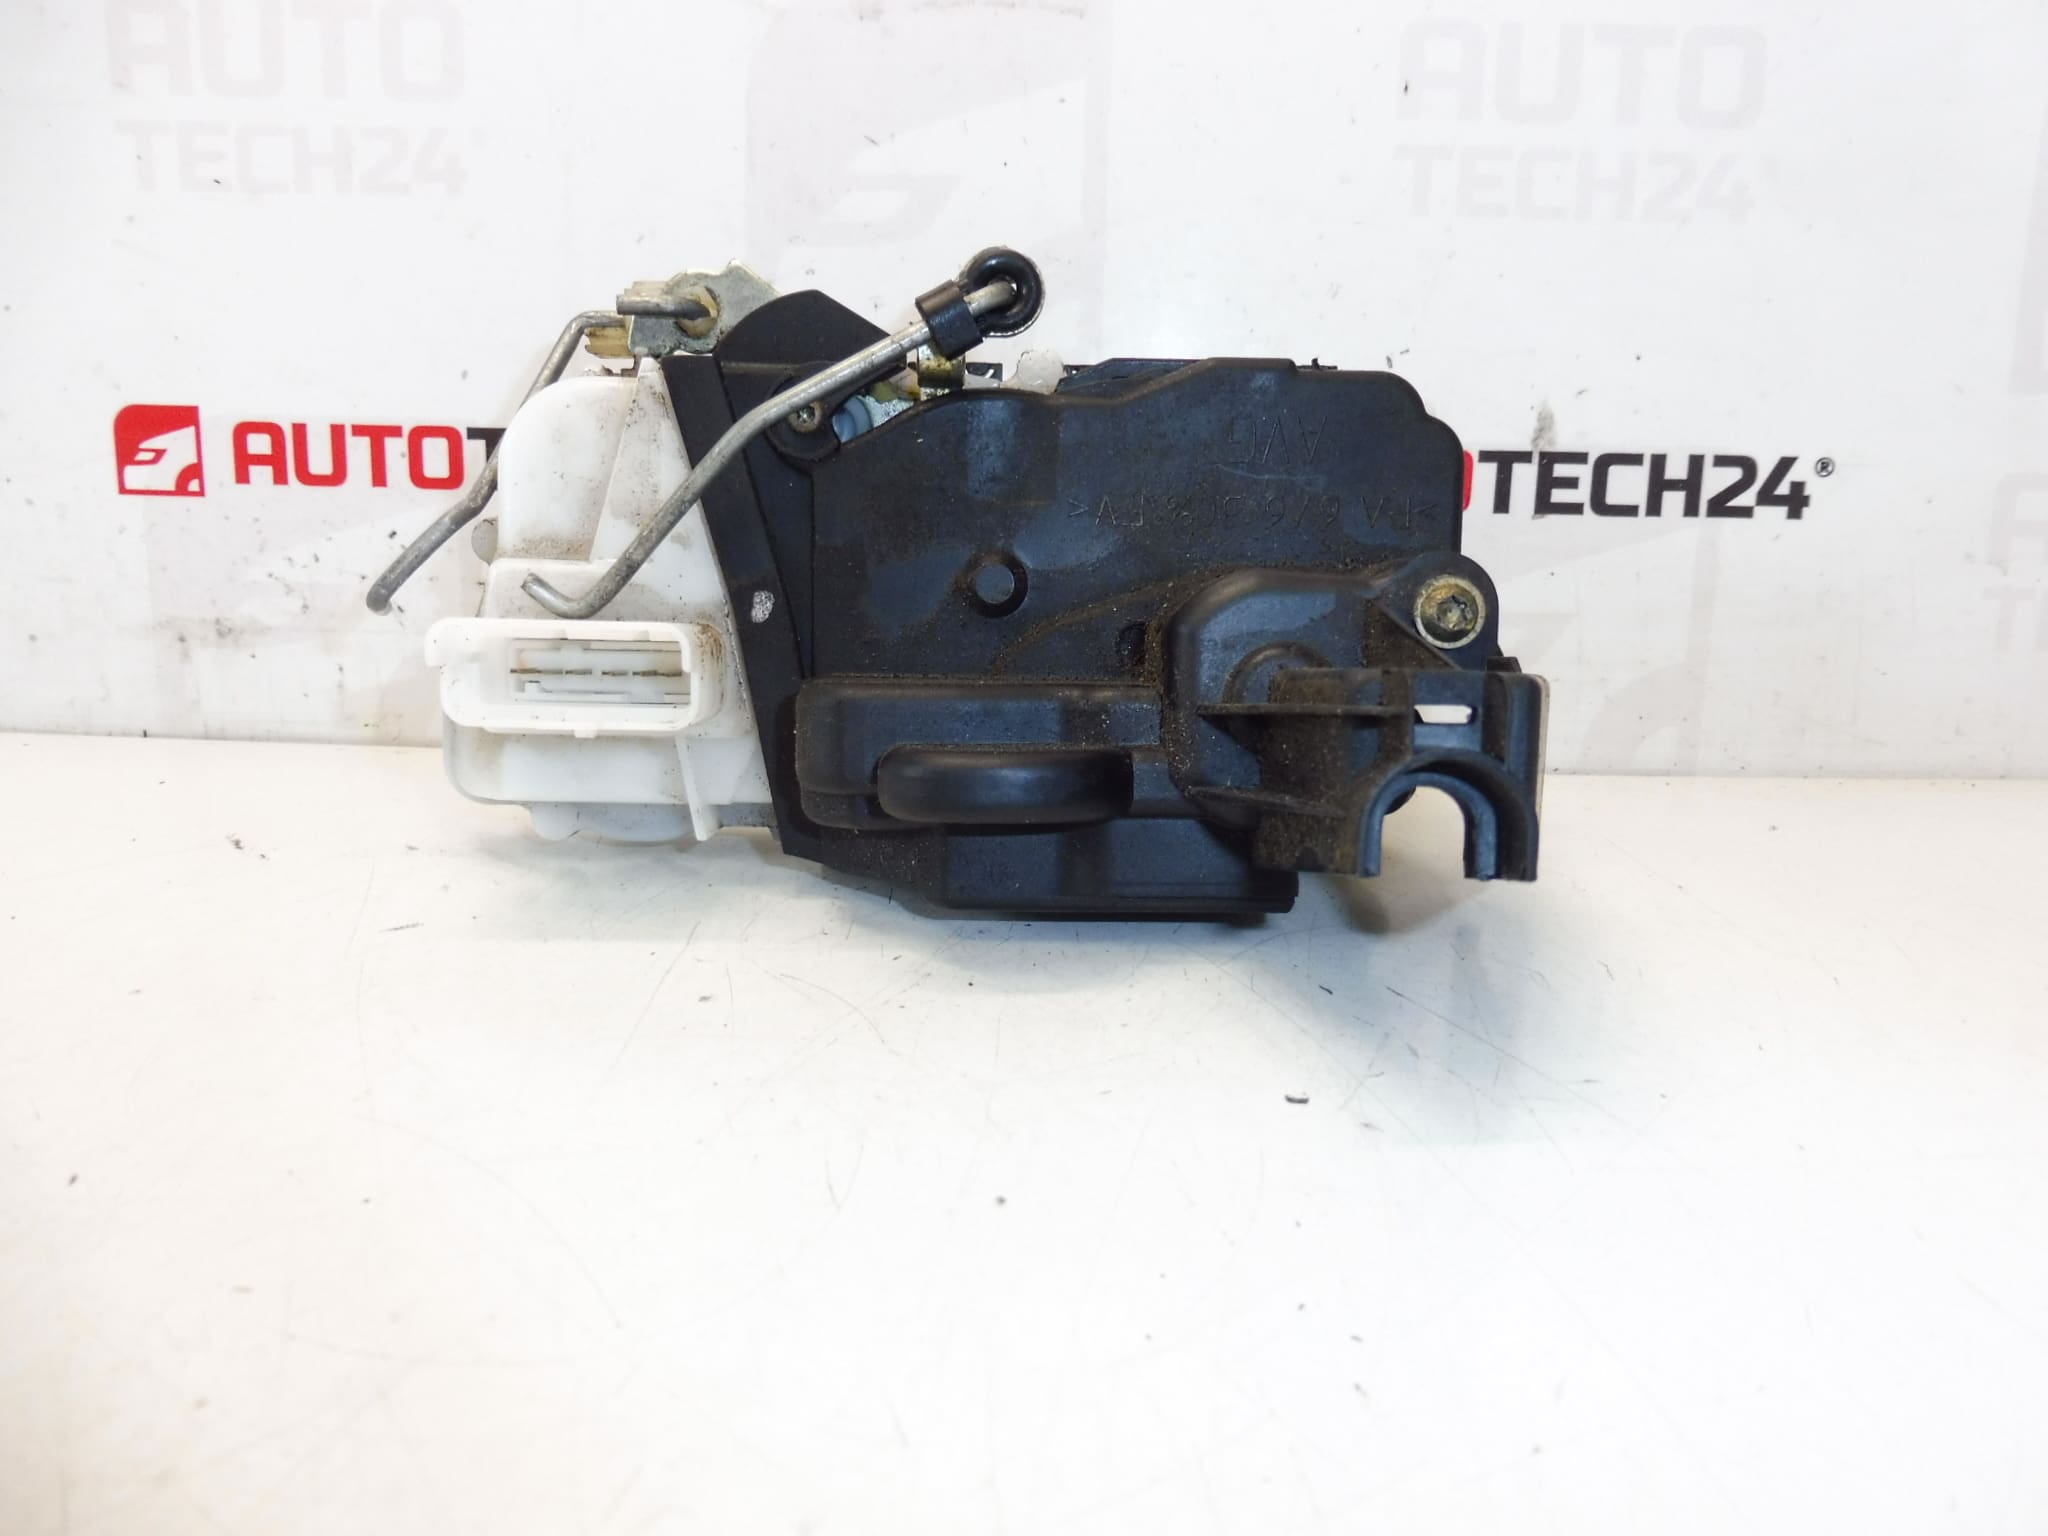
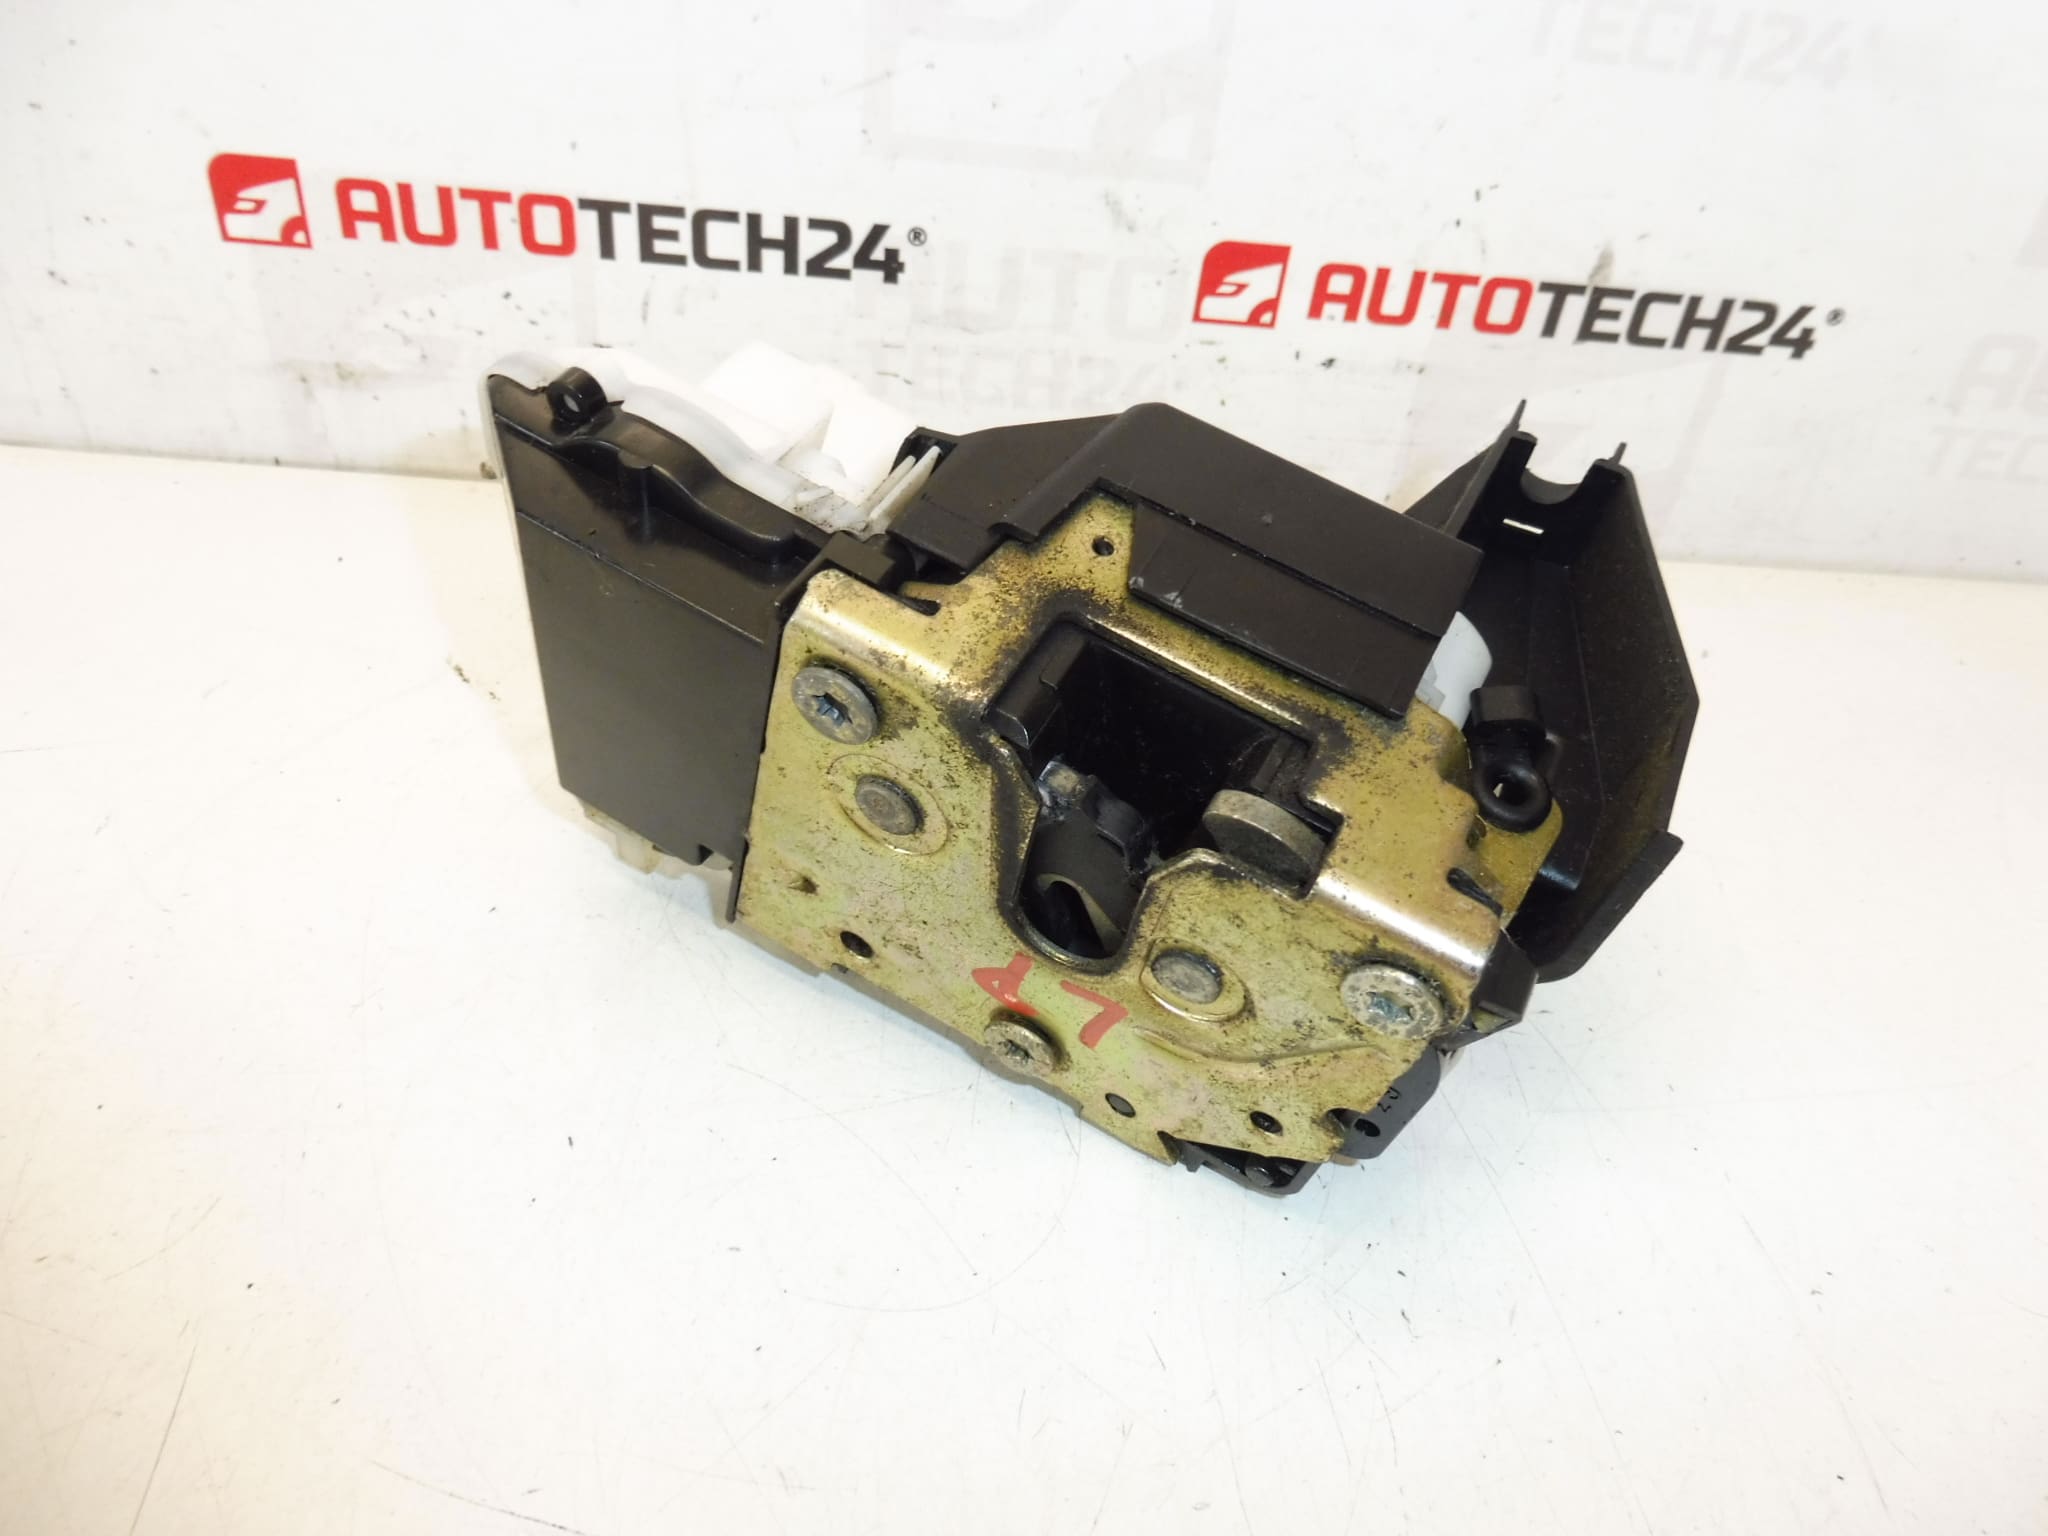
Electric central locking lock for the left front door PEUGEOT 307 Driver’s door.
Replacement Electric Door Lock Assembly for the Left Front (Driver) Door of the Peugeot 307, designed for workshop professionals and competent DIY mechanics. This part restores reliable central locking operation, eliminates intermittent unlocking/locking and noisy or non‑functional actuators. Often searched by part number 9135N6, this unit is compatible with standard Peugeot central locking systems and is suitable for vehicles where the original lock shows mechanical wear, seized actuator motor or corrosion.
Function And Benefits
The unit integrates the electric actuator and mechanical latch to perform locking and unlocking of the driver’s door via the central locking system (remote control, key or vehicle control module). It replaces worn or failed assemblies to: improve locking reliability, eliminate false alarms and stop water‑induced failures. Designed to match original mounting points and connector layouts for a straightforward fit on the left front door.
Compatibility / Fitment
- Peugeot 307 – Left Front Door (Driver’s Door)
- Fits vehicles using part number 9135N6 (verify listed part number against vehicle parts list)
- May be applicable to various body styles of the 307 (hatchback, SW/estate, CC) depending on production variant and equipment level
Technical Information
- Manufacturer: Stellantis / Peugeot
- Model: Peugeot 307
- Product Codes: 9135N6
- Other Numbers: NFP (as indicated)
Typical Failure Modes — Why The Part Fails Most Often
- Water Ingress And Corrosion: Moisture entering the door causes corrosion of metal parts and electrical contacts, leading to poor function or complete failure.
- Actuator Motor Wear Or Gear Stripping: Internal motor or plastic gear failure is common after many cycles, producing a grinding noise or loss of movement.
- Mechanical Damage: Forced entry attempts or impacts can bend/linkage or damage the latch mechanism.
- Connector Or Wiring Issues: Corroded or loose connectors and broken wiring to the lock cause intermittent or total loss of function.
Recommended Installation
- Safety First: Disconnect the vehicle battery before beginning work to avoid short circuits and prevent accidental airbag deployment or electronic faults.
- Remove Interior Door Trim Carefully: Use appropriate trim tools to avoid breaking clips. Peel back the moisture barrier without tearing it if reuse is intended.
- Disconnect Electrical Connector And Linkages: Note the routing and attachment points of rods and cables. Mark positions if necessary to ensure correct reconnection.
- Unscrew And Remove The Old Lock Assembly: Keep mounting screws and small parts organized for reinstallation.
- Fit New Lock Assembly: Ensure proper orientation, reconnect rods/cables and the electrical connector. Check that the latch operates freely by hand before reassembling the door panel.
- Test Before Final Assembly: Reconnect the battery and test central locking (lock/unlock from remote, key and internal switch) to confirm correct operation.
- Seal And Reassemble: Restore the moisture barrier and reattach door trim. Apply dielectric grease to connectors to reduce future corrosion risk.
- Tools And Tips: Use plastic trim tools, a socket set and torque carefulness for plastic fasteners. Replace damaged moisture barriers or clips to maintain long‑term reliability.
Notes For Mechanics And DIYers
This door lock is intended for professionals and experienced DIYers. During installation inspect surrounding components (striker, latch striker plate, door alignment and wiring harness) and address any corrosion or water entry points to prevent repeat failures. Proper routing and secure attachment of the mechanical rods ensure smooth operation and long life of the replacement unit.