Description
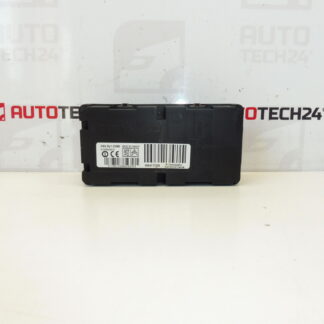
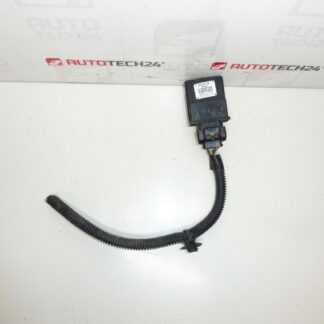
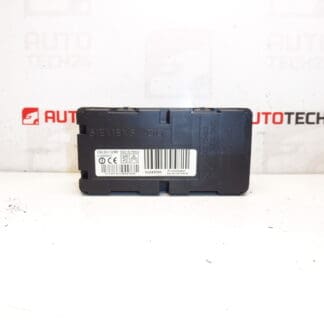
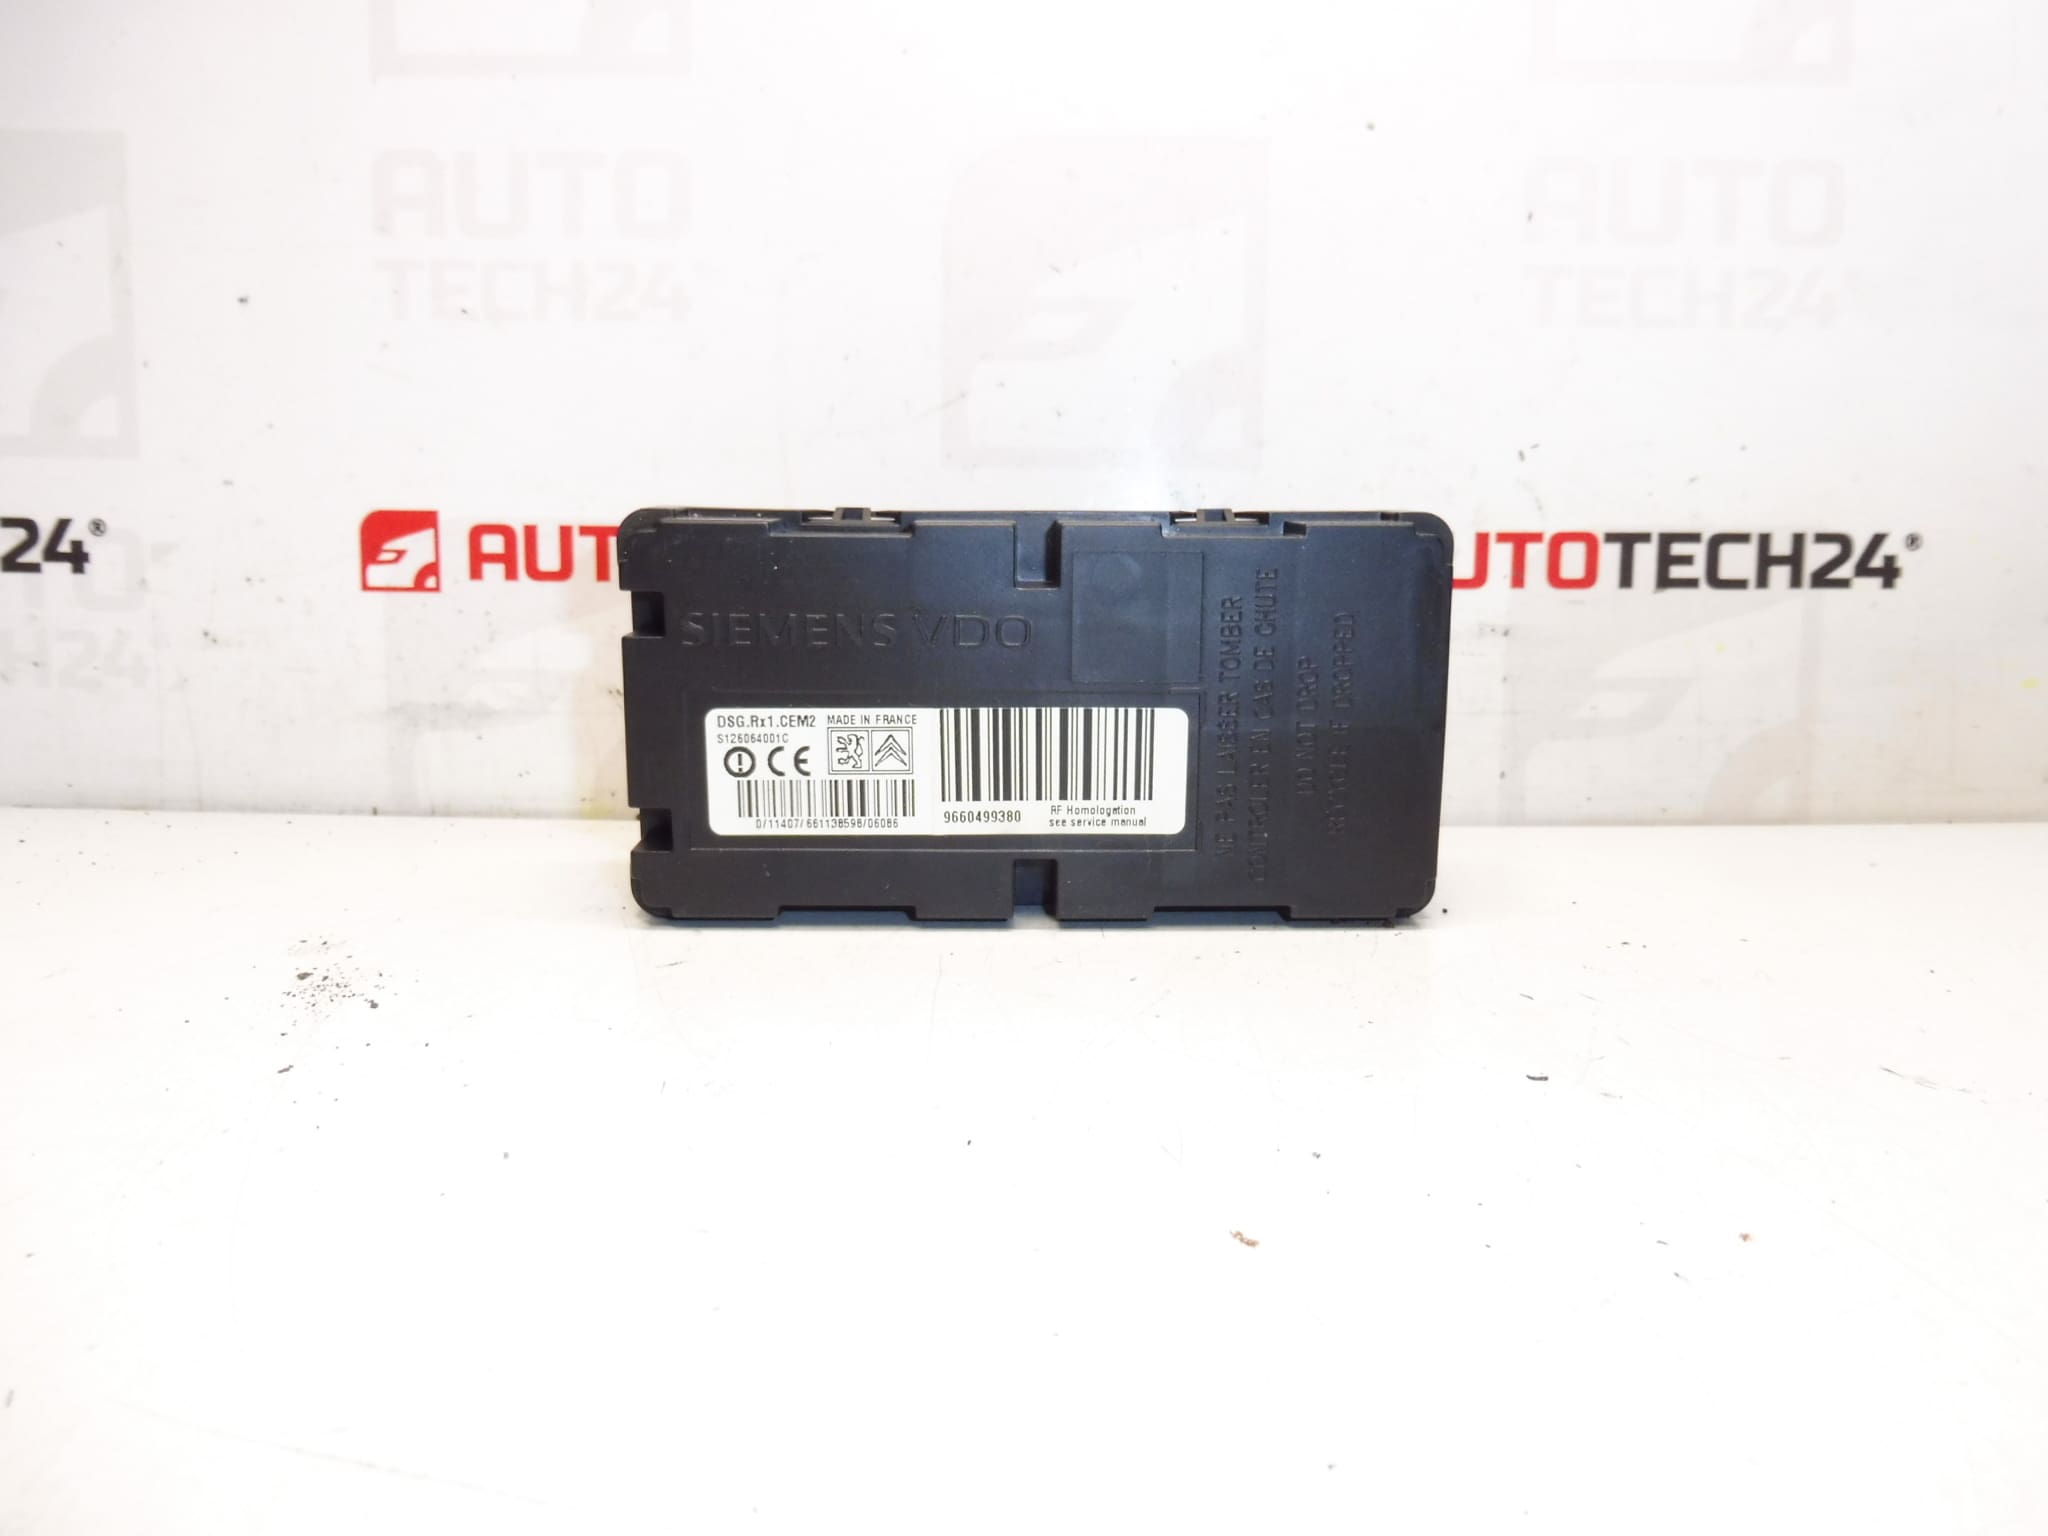
Control unit for tyre pressure monitoring for Citroën C5 vehicles from 2005 to 2007.
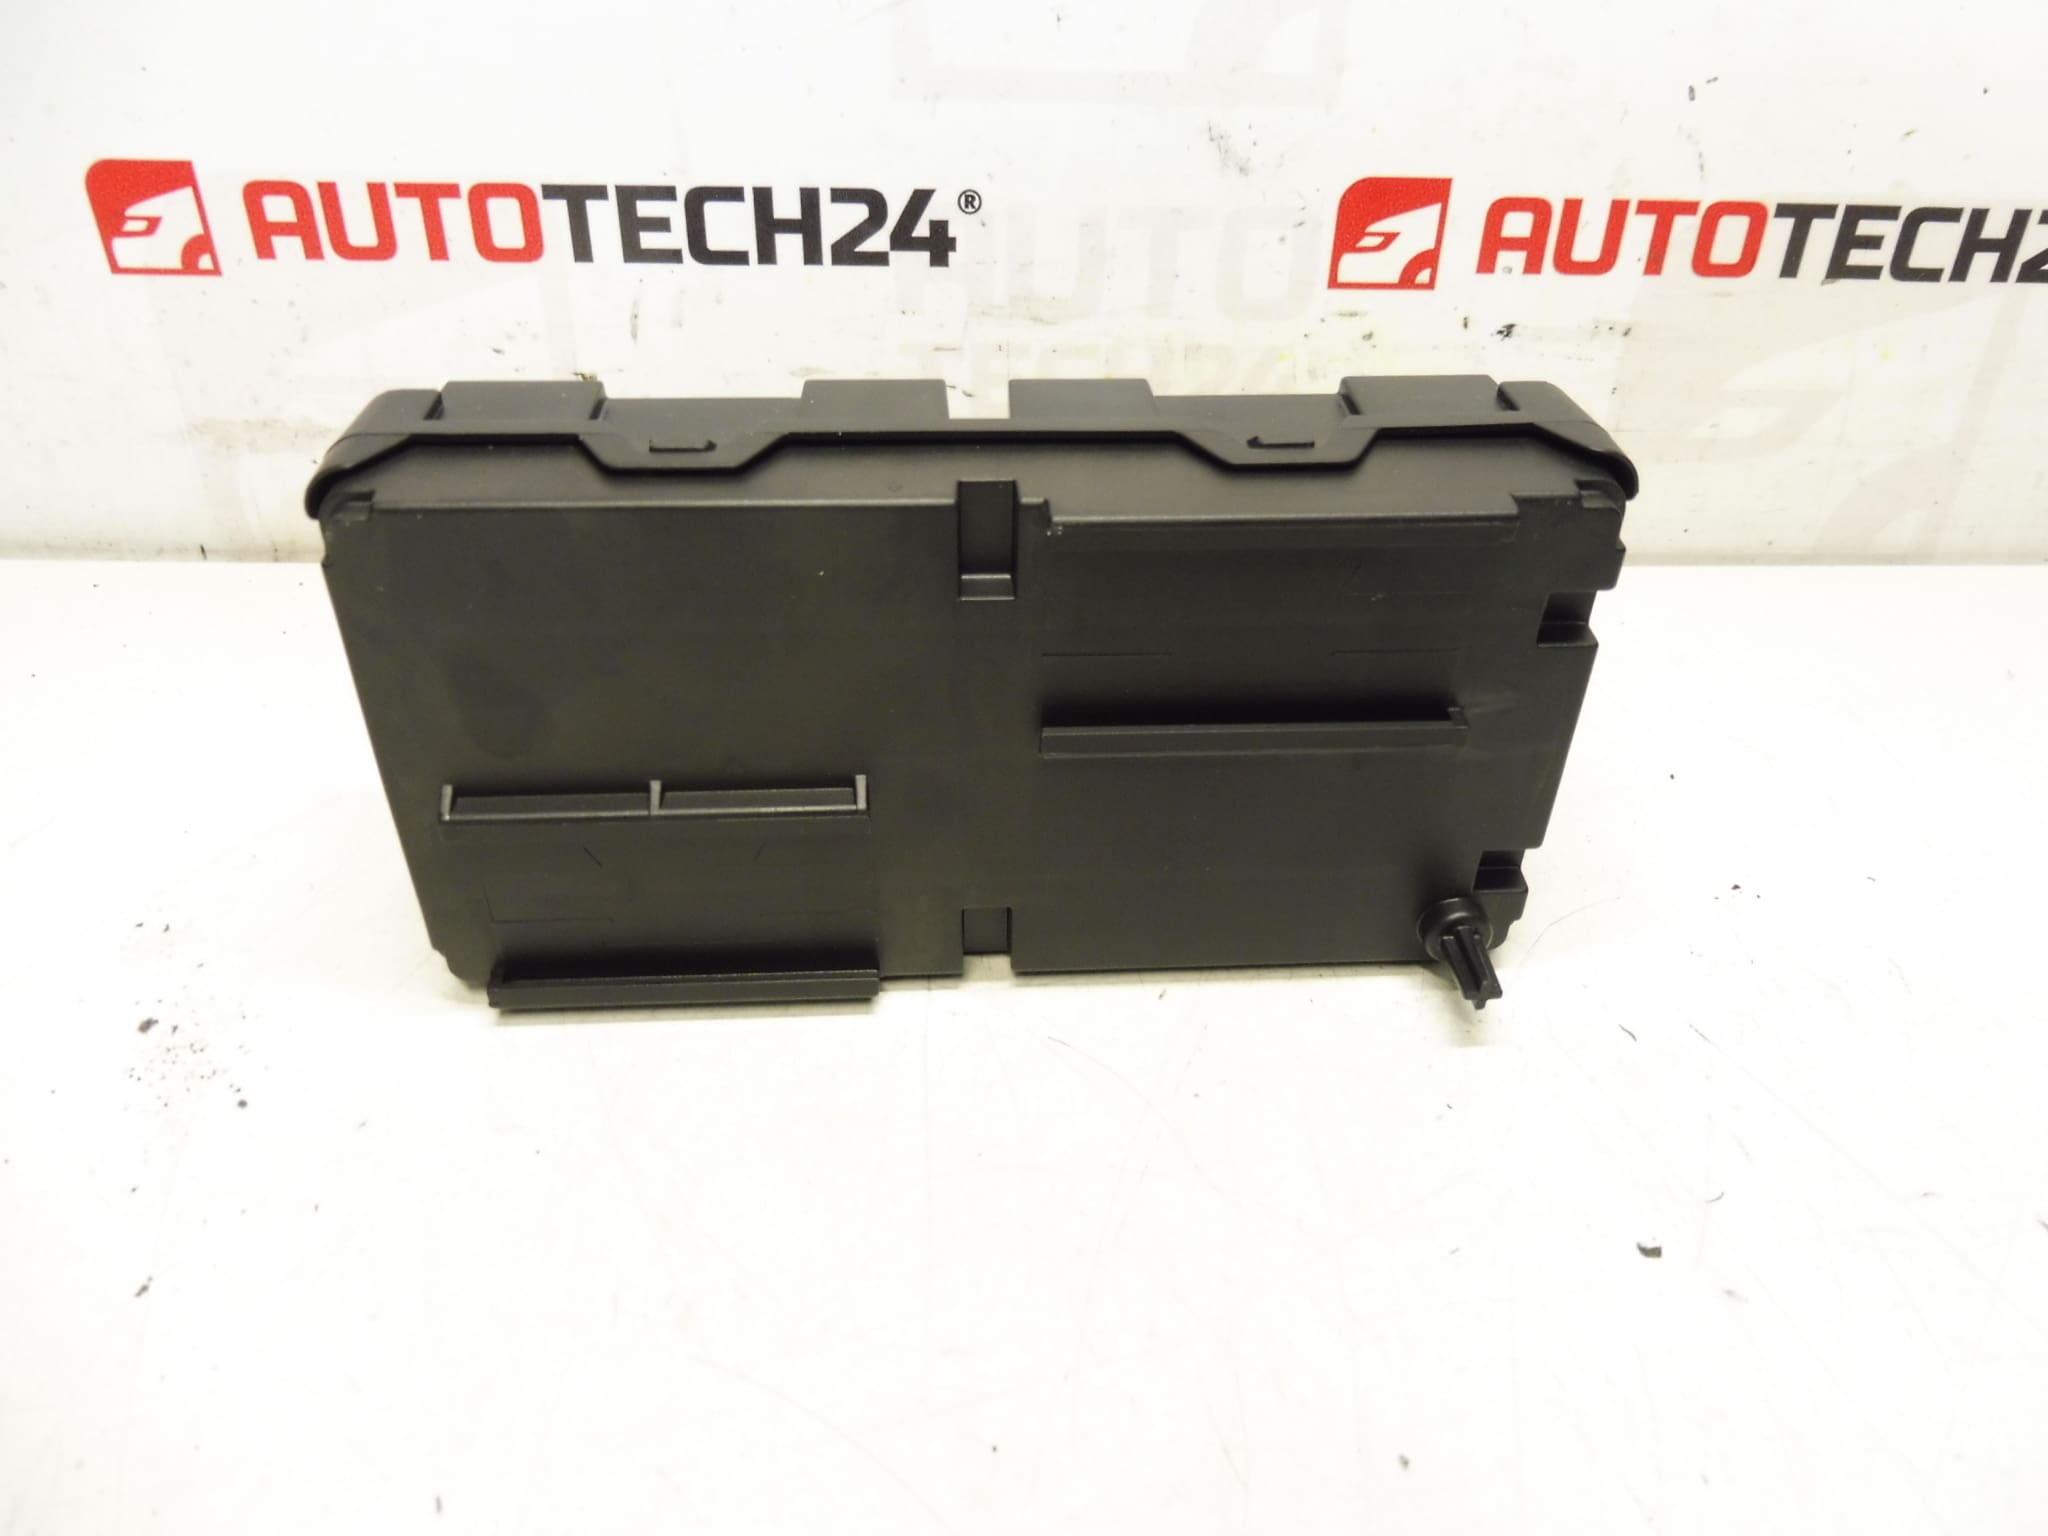
This Tyre Pressure Monitoring System (TPMS) control unit is an OE-fit component designed for Citroën C5 II models manufactured between 2005 and 2007. Ideal for professional workshops and experienced DIY mechanics, the unit restores accurate tyre pressure monitoring, silences persistent TPMS warning lights, and helps maintain safe driving conditions. Product searches frequently use reference numbers 9660499380 or 5430F6, so the listing is optimized for technicians searching by part code.
Technical Information
- Manufacturer: Stellantis (Citroën / Peugeot)
- Model: Citroën C5 II (2005–2007)
- Product Codes: 9660499380, 5430F6
- Additional Numbers: NFP
Function And Fitment
The control unit Processes Signals From Wheel Sensors To Detect Underinflation And System Faults. It Receives Data From Individual Tyre Sensors And Triggers Dashboard Warnings When Pressure Deviates From Specified Values Or When A Sensor Fails. The Unit Is Typically Located In The Vehicle Interior Or Boot Area Depending On Trim And Market Version.
Symptoms Of A Faulty Unit
Common Signs That Indicate A Faulty TPMS Control Unit Include A Persistent TPMS Warning Light On The Dashboard, Intermittent Loss Of Sensor Signals, Incorrect Pressure Readings, And Occasional False Alarms. Electrical Fault Codes May Be Present When Scanned With A Diagnostic Tool.
Installation Recommendations
- Disconnect Battery Before Starting Work To Prevent Short Circuits And Protect Vehicle Electronics.
- Access The Unit By Removing Interior Trim Or Parcel Shelf Panels According To The Vehicle Layout.
- Unplug Electrical Connectors And Remove Mounting Fasteners. Inspect Wiring And Connectors For Corrosion Or Damage.
- Install Replacement Unit, Refit Fasteners And Connectors Securely, Then Reconnect The Battery.
- Perform A Full System Check And TPMS Initialization/Learning Procedure Using An Appropriate Diagnostic Tool Or TPMS Service Tool To Ensure Sensors Are Recognized And Pressure Thresholds Are Correct.
Most Common Cause Of Failure
Failures Are Most Often Caused By Water Ingress Or Corrosion Of Connectors, Electrical Surges, Or Long-Term Exposure To Harsh Environmental Conditions. Sensor Failures Or Battery Depletion In Individual Tyre Sensors Can Also Lead To Control Unit Error States, As Can Physical Damage From Accidents Or Improper Repairs.
Practical Notes For Mechanics
When Replacing The Module, Always Inspect Sensor Health And Tyre Valve Condition To Avoid Repeat Complaints. Keep Diagnostic Equipment Ready To Clear Stored Faults And Confirm Proper Communication With All Four Wheel Sensors After Installation. Replacements Sourced By Part Number (9660499380 / 5430F6) Ensure Correct Fitment For The Specified Model Years.
This description Emphasizes Key Search Terms Like Citroën C5 TPMS Control Unit, 9660499380, And 5430F6 To Improve Visibility For Technicians And DIY Enthusiasts Searching By Part Number Or Symptom.