Description
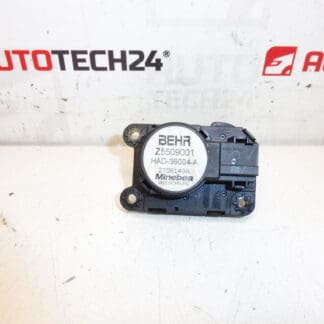
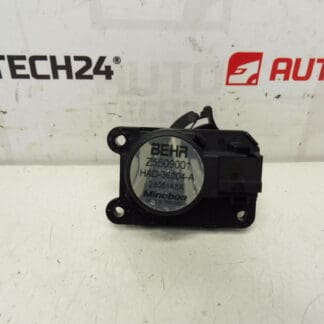
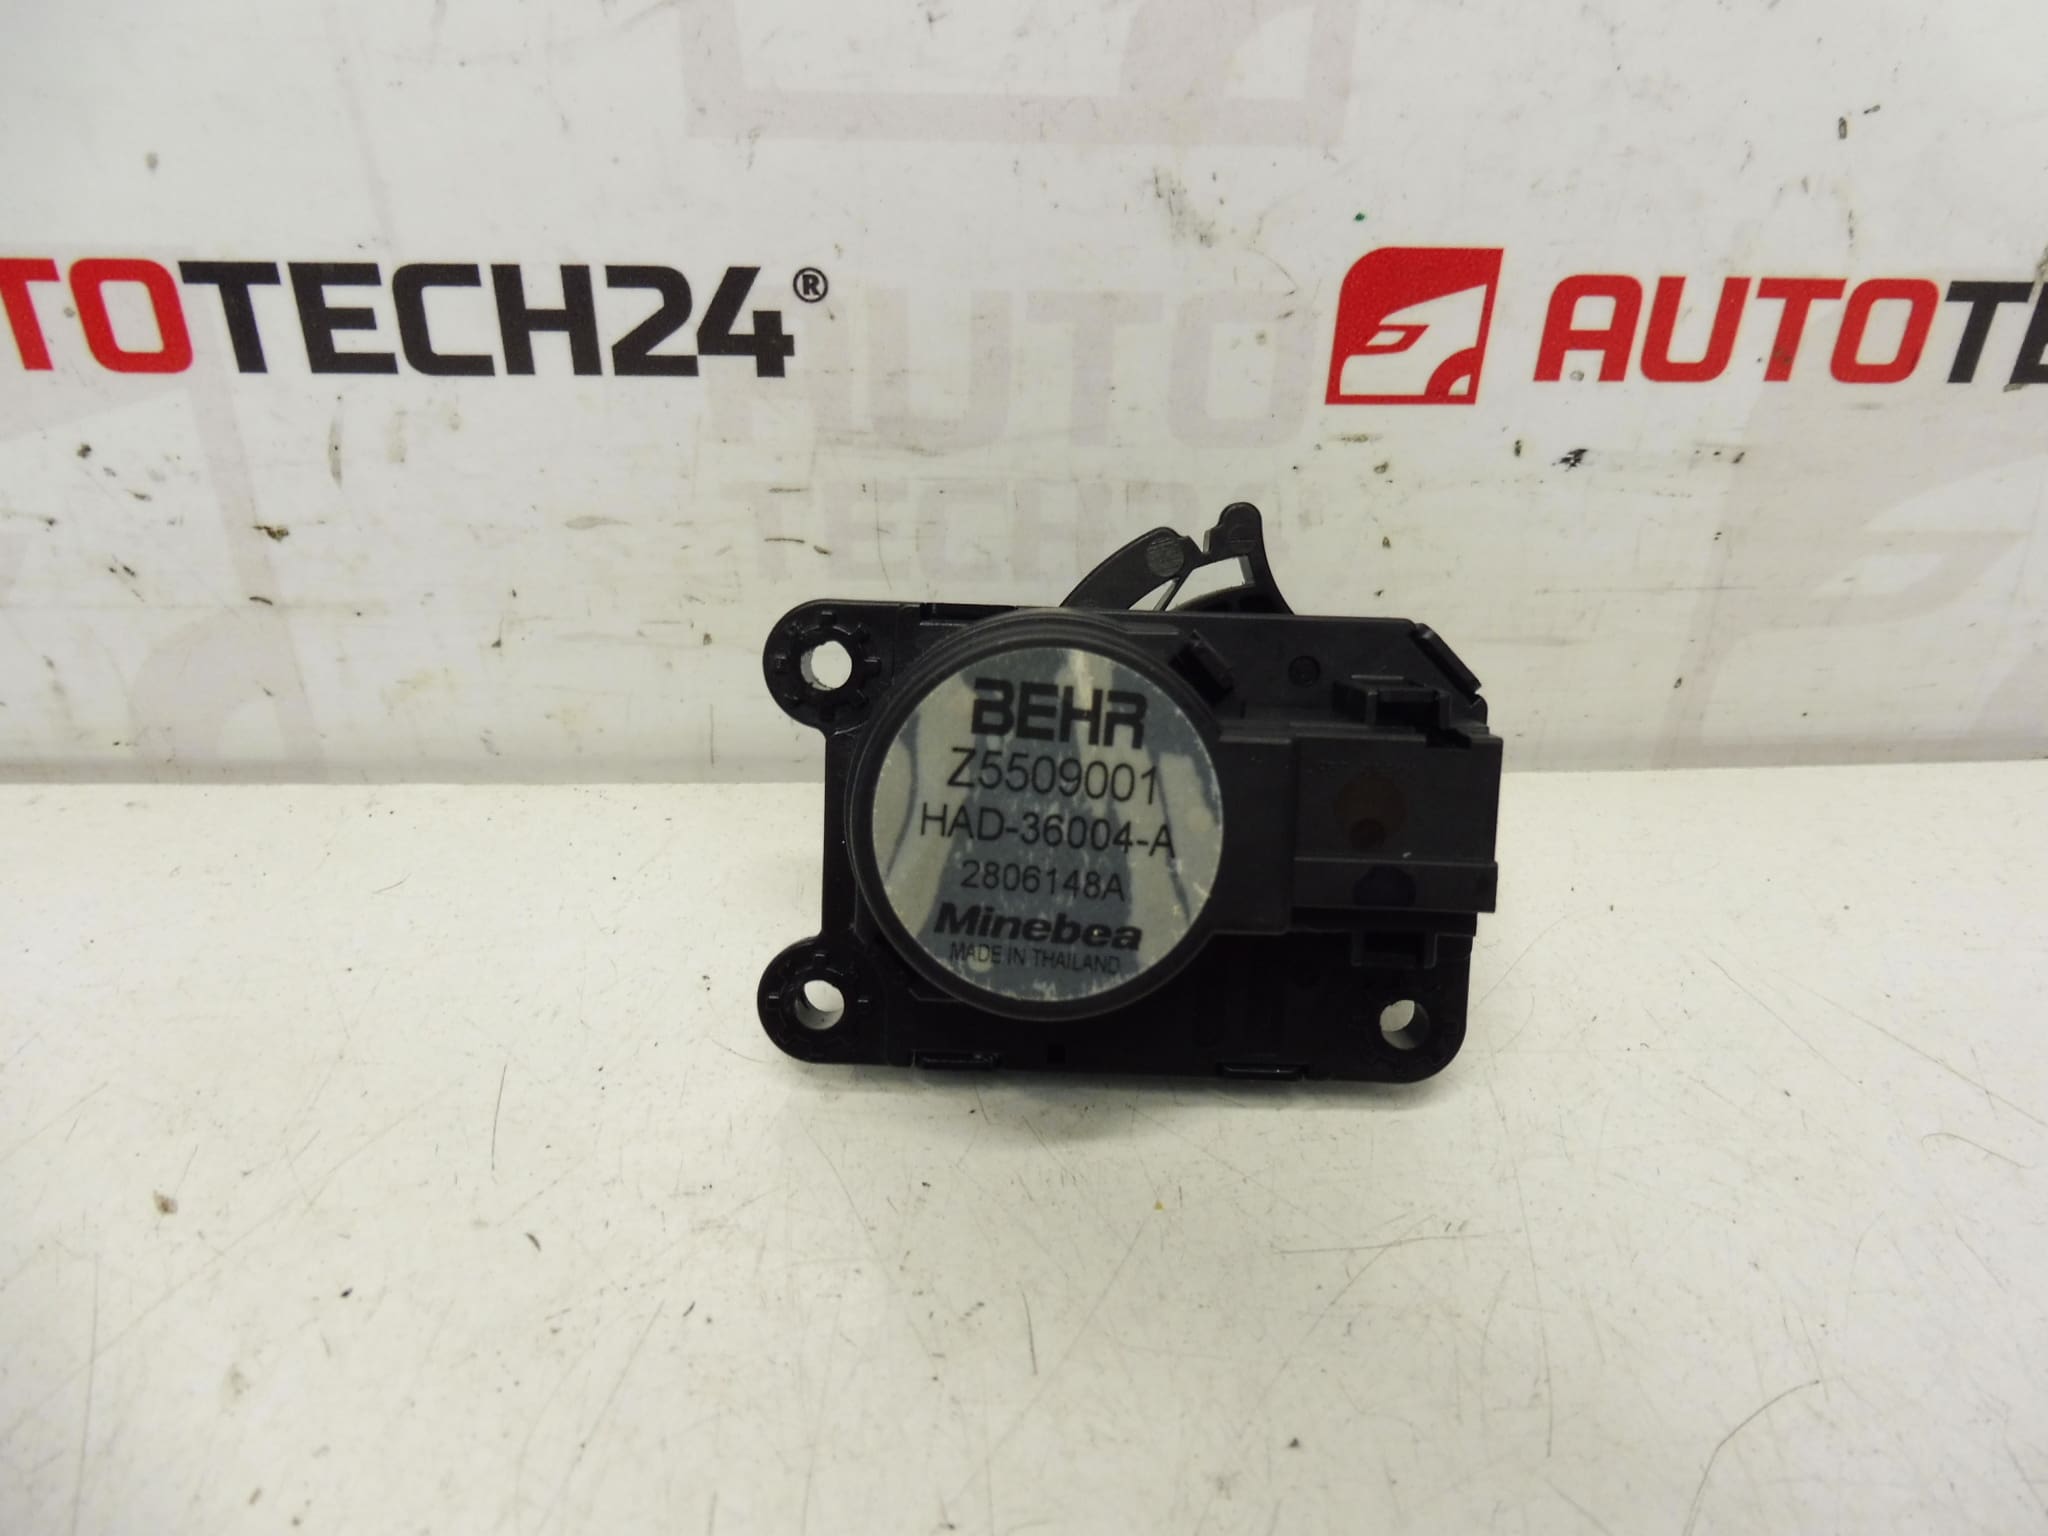
Heater servo motor BEHR PEUGEOT 3008 and 5008 first generation
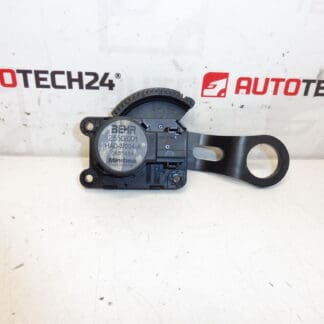
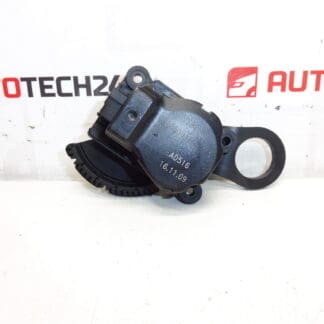
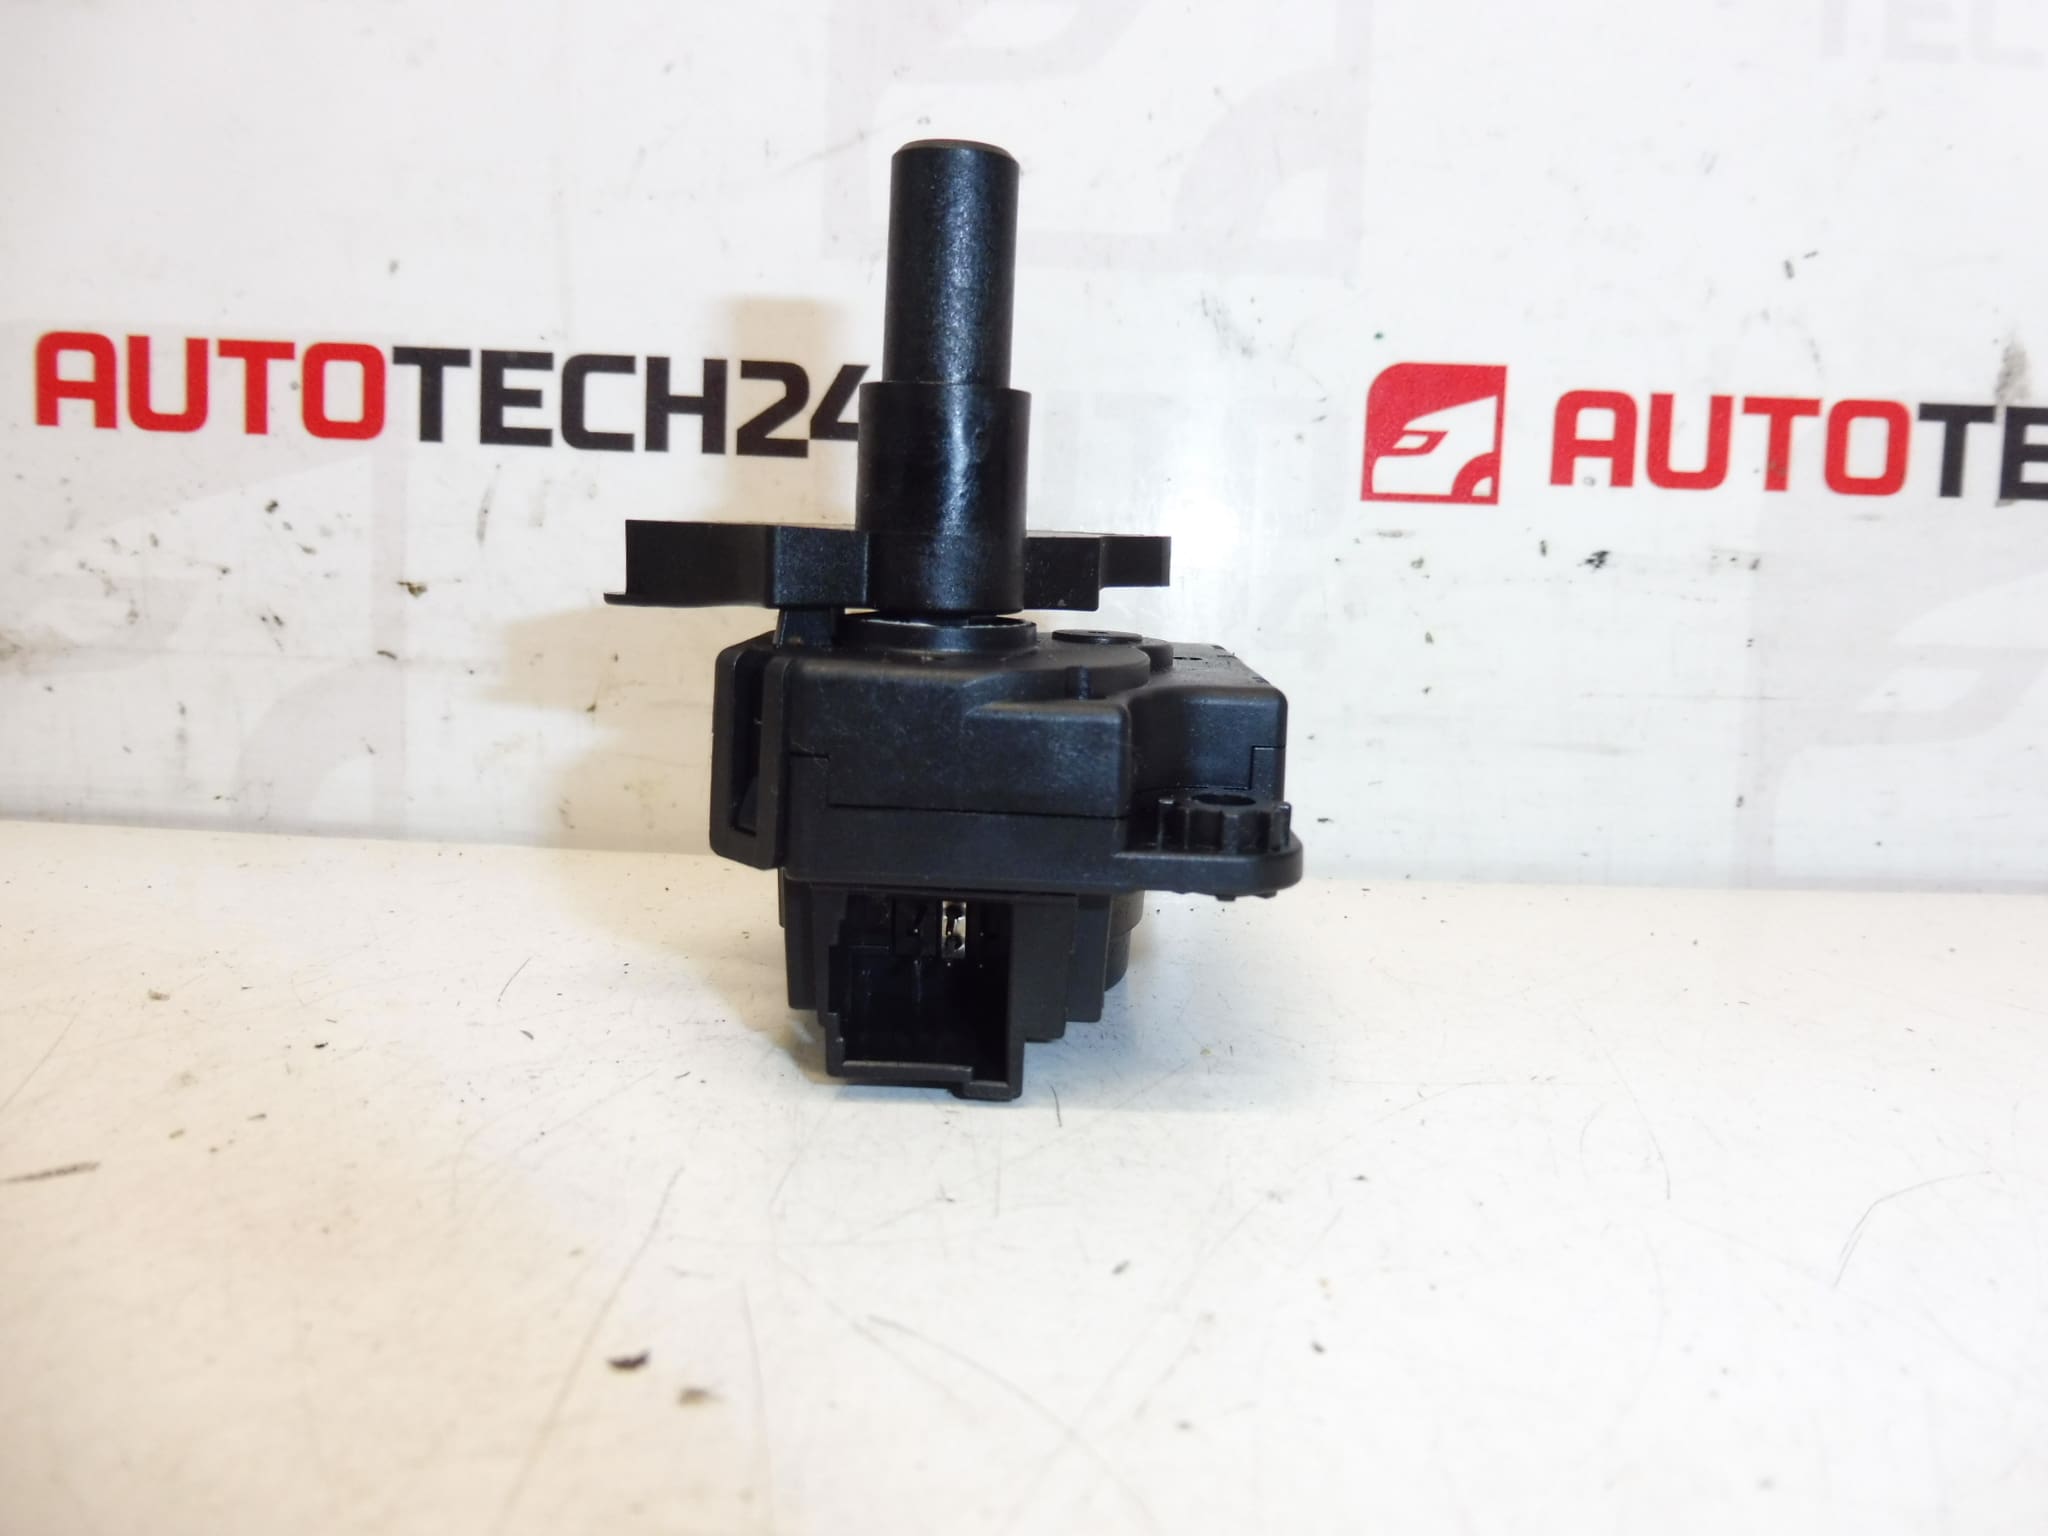
The toothed part can be removed and only the motor can be used
Part description
This BEHR heater servomotor is a used original part intended for Peugeot 3008 I and Peugeot 5008 I cars. It is an important electrical component of the heating and ventilation system, which is involved in controlling the heating flaps. The advantage of this design is that the toothed part can be removed and only the motor itself can be used, which can be practical when repairing the original mechanism.
The part is also often searched for by production numbers, so it is particularly suitable for mechanics and DIYers who compare the original part by marking. When replacing, it is always important to check not only the part numbers, but also the identical design of the connector, mount and transmission part.
Technical information
- Manufacturer: BEHR
- Model: Peugeot 3008 I, Peugeot 5008 I
- Other numbers: Z5509001, 2706148A, 647995
Product codes
- Product codes: Z5509001, 2706148A, 647995
- Models: PEUGEOT 3008 I, PEUGEOT 5008 I
Installation recommendations
Generally and typically for this type of part, the exact replacement procedure may vary depending on the specific design of the car and access to the part. For the heating servo motor, it is essential to carefully compare the original and new piece and not to damage the gear mechanism or the connector during assembly.
1) Before assembly
- Check the conformity of the designation Z5509001, 2706148A, 647995 with the dismantled part.
- Compare the shape of the connector, the attachment, the position of the mounting points and the design of the conversion.
- Check for damage to the plastic casing, gears or electrical pins.
- If you will only be using the motor itself, check the condition of the removable gear and compatibility with the original mechanism.
2) Necessary tools and materials
- A common set of hand tools
- Screwdrivers and small socket wrenches or bits
- Plastic pry bar for removing interior covers
- A clean cloth and possibly cleaner for electrical contacts
- Work lighting
3) Step-by-step assembly procedure
- Turn off the ignition and disconnect the battery for safe operation.
- Ensure access to the mounting location by removing any necessary covers or trim.
- Carefully disconnect the electrical connector of the original servomotor.
- Unfasten the old part and gently remove the part without force to avoid damaging the gears or the surrounding plastics.
- Compare the old and new part side-by-side, especially the mounting, the position of the shaft and the gear part.
- If this is the purpose of repair, remove the gear part and use only the motor itself according to the condition of the original mechanism.
- Before installing the new part, check the valve mechanism for excessive resistance.
- Place the servo motor in the correct position so that the gears engage without crossing or skipping.
- Install the fasteners and tighten them evenly without switching the plastic parts.
- Connect the electrical connector and check its firmness.
- Reinstall all removed covers and trim.
- When finished, reconnect the battery.
-
4) Post-assembly checks and test drive / function verification
- After powering on the system, verify that the servomotor operates smoothly and without excessive noise.
- Check the response of the heating control and setting changes.
- Watch for gear skipping or repetitive clicking.
- After a short drive, recheck the proper functioning of the heater and the behavior of the mechanism.
5) The most common assembly mistakes + how to avoid them
- Part exchange based on appearance – always compare the product numbers and the connector as well.
- Forcible seating in the mechanism – the motor must fit naturally, without pushing the gears.
- Overlooking a damaged valve or gear – if the mechanism has resistance, damage can occur quickly even to the newly installed part.
- Damage to the connector or pins – disconnect and connect the connector carefully and without prying.
- Insufficient post-assembly inspection – always test the full range of functionality before fully assembling interior parts.
Reasons why the part is damaged
- Wear of the internal electric motor due to normal operation
- Damage or squeezing of the plastic gearing
- Increased resistance of the controlled heating damper
- Long-term stress during frequent repositioning
- Moisture, oxidation of contacts or deteriorated electrical connection
- Unsparing prior disassembly or assembly