Description
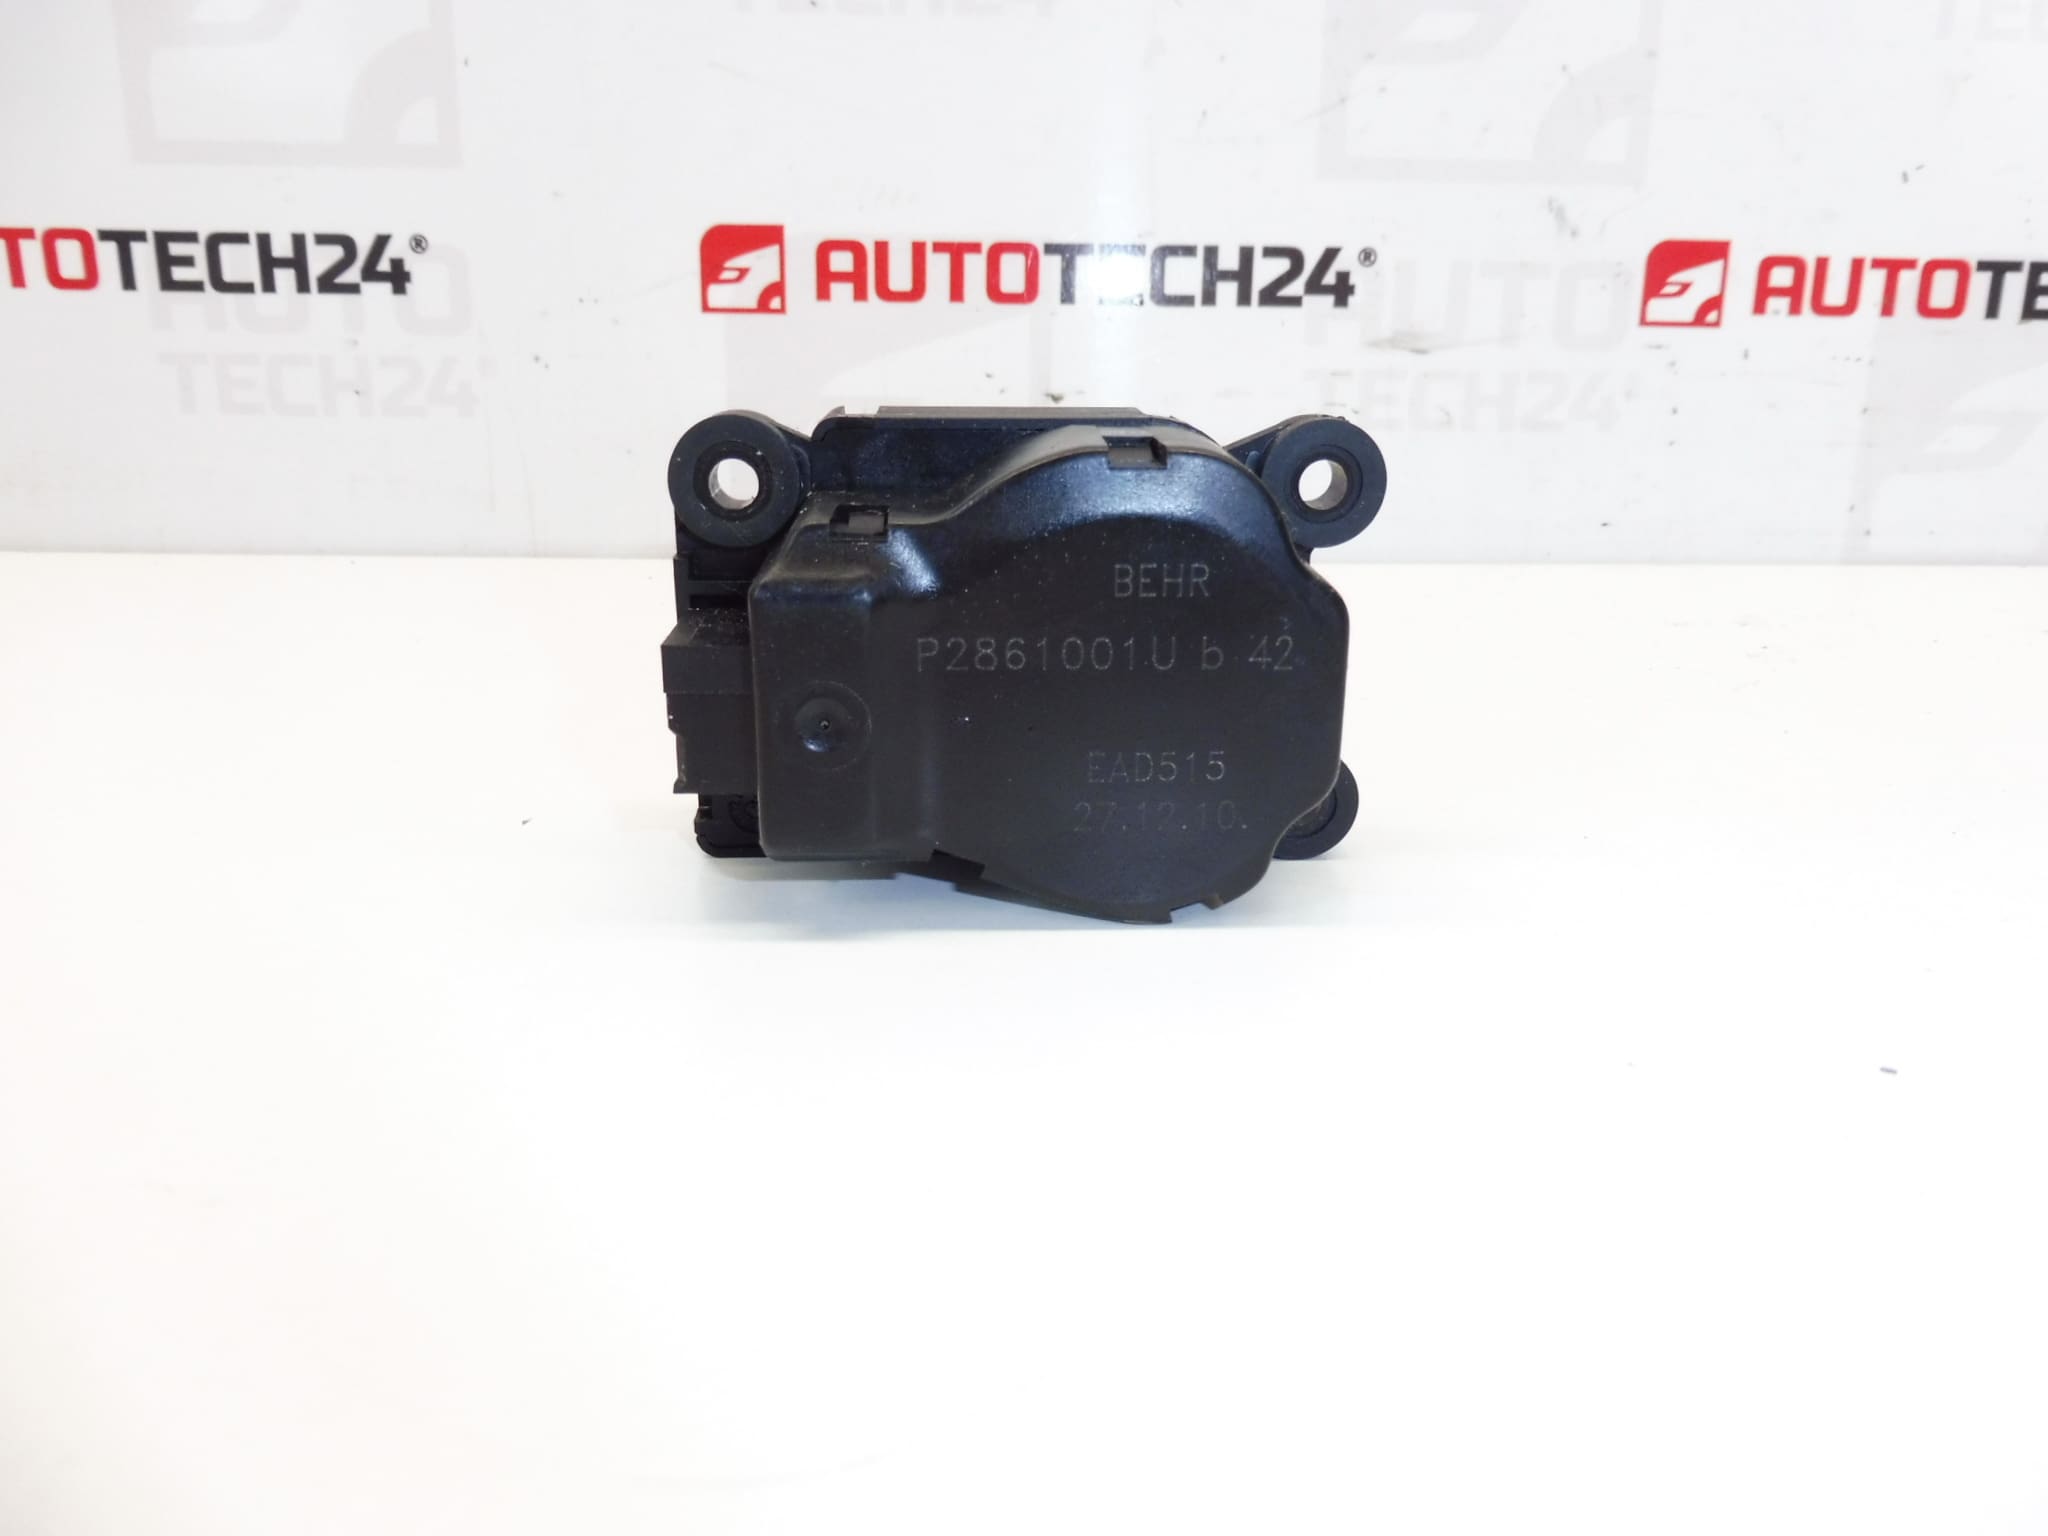
BEHR Heater Actuator For Citroën C5 X7 And Peugeot 407 Facelift
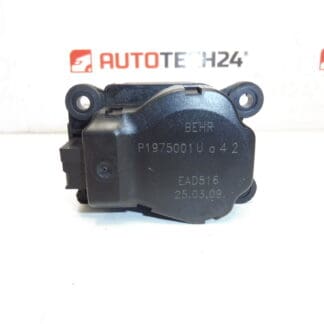
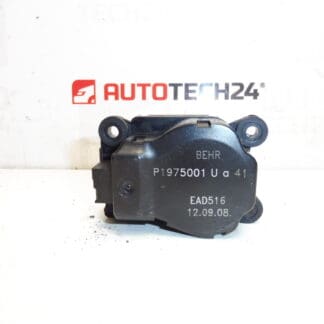
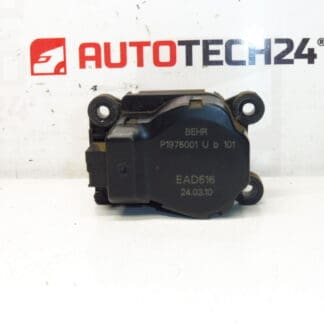
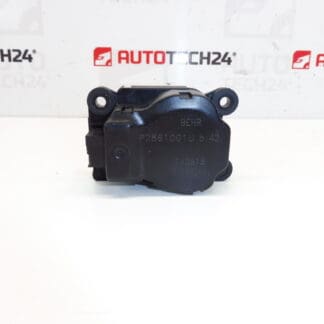
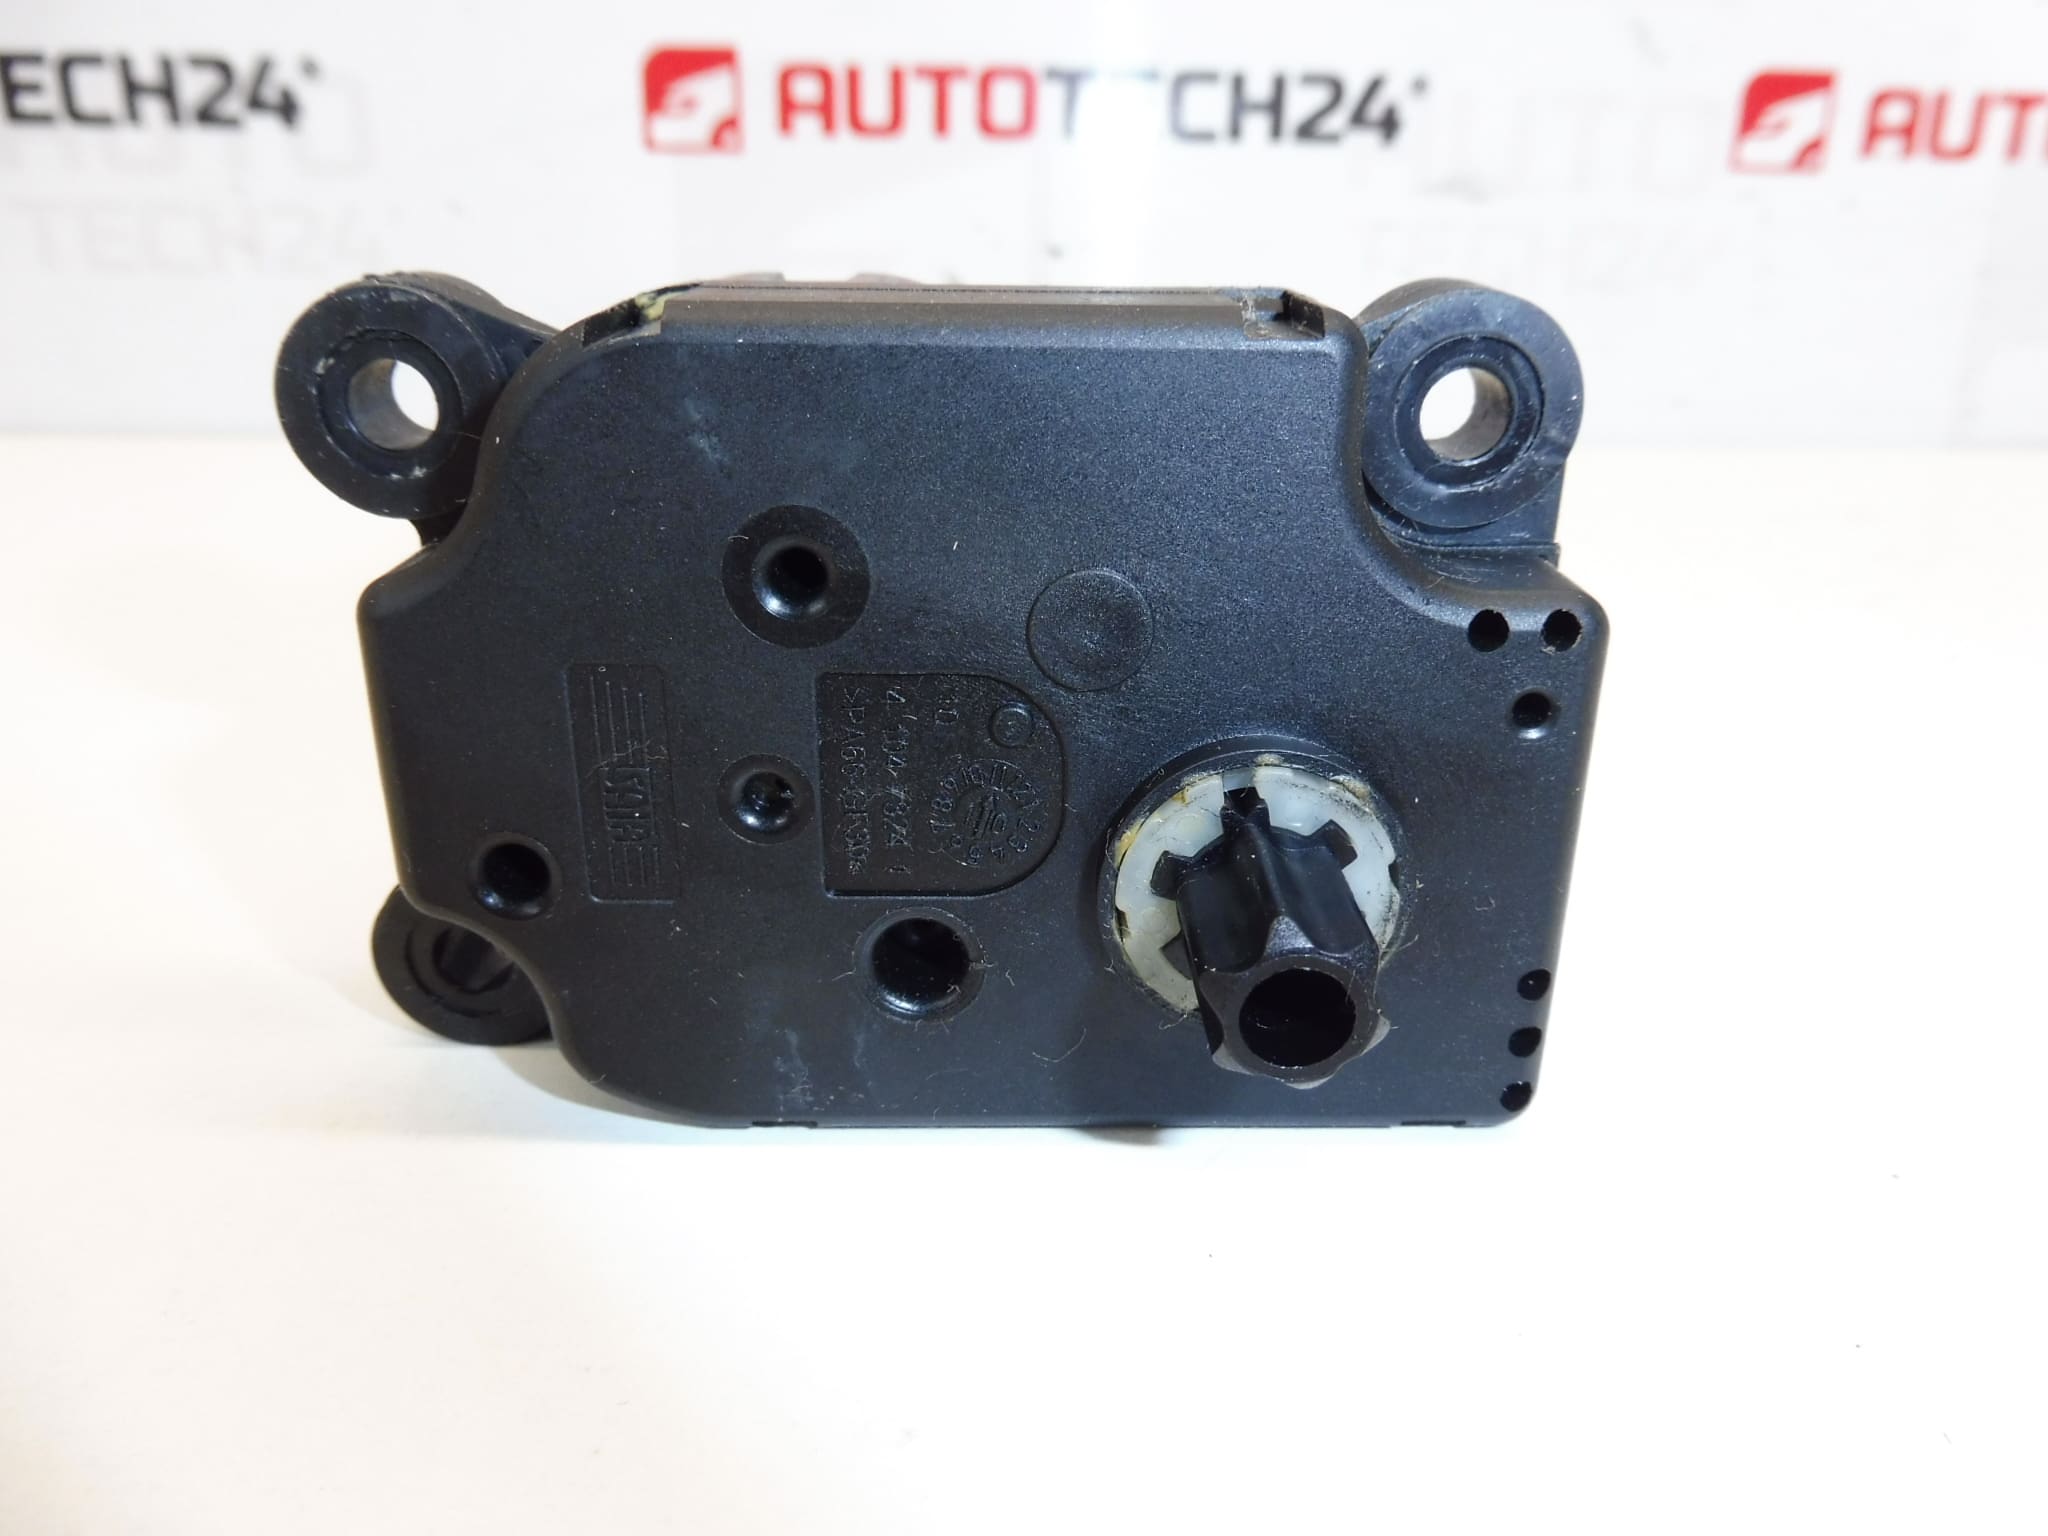
This BEHR heater actuator (servo motor) is a direct-fit HVAC component for Citroën C5 X7 and Peugeot 407 facelift models. It controls the position of the blend/air distribution flaps inside the heater box to ensure correct cabin temperature and airflow direction. A reliable replacement for worn or noisy actuators, this unit restores precise temperature mixing and eliminates many common climate control faults. The part is frequently searched by part numbers such as EAD515 and P2861001U—using these codes helps you find the exact match quickly.
Technical Information
- Manufacturer: BEHR
- Model: Citroën C5 X7; Peugeot 407 Facelift
- Product Codes: EAD515; P2861001U
- Other Numbers: b 42; 647947
Function And Symptoms Of Failure
The actuator moves the HVAC blend and distribution flaps to regulate cabin temperature and direct airflow. Typical symptoms of a failing actuator include:
- Clicking or grinding noises from the dashboard area when changing temperature or airflow settings.
- Loss of temperature control or inability to switch between hot and cold.
- Stuck or incorrect airflow direction (e.g., always vents or always defrost).
- Intermittent or no response from the HVAC controls.
Why This Part Fails Most Often
Common causes of actuator failure are wear of the internal plastic gears, mechanical jamming from debris or foreign objects in the heater box, and electrical connector corrosion or motor burnout after prolonged thermal stress. Repeated cycles and age weaken gear teeth and potentiometer/position sensors, leading to inaccurate flap positioning or audible clicking.
Installation Recommendations
Recommended for professional fitment or experienced DIY mechanics. Typical replacement steps:
- Disconnect the vehicle battery negative terminal before starting electrical work.
- Access the actuator via the glovebox or lower dashboard panel depending on model—remove any trim necessary to reach the heater box.
- Unplug the electrical connector and remove mounting screws/clips holding the actuator in place.
- Fit the new actuator, ensure correct alignment of splines/gears, secure fasteners and reconnect the connector.
- Reconnect the battery and cycle the HVAC controls through full range to allow the actuator to self-calibrate; check for smooth operation and absence of abnormal noise.
Labour time varies with access complexity; in many cases replacement takes between 30 and 90 minutes. Use basic hand tools and take care not to force plastic gears when aligning.
Compatibility And Search Tips
Fits Citroën C5 X7 and Peugeot 407 facelift models equipped with the referenced BEHR HVAC units. This actuator is commonly searched by the product codes EAD515 and P2861001U—enter these numbers in parts catalogs to speed up identification.
Buy this BEHR heater actuator to restore precise climate control and eliminate HVAC noise and malfunction. Ideal for workshops and home mechanics seeking a straightforward, correct-fit replacement.