Description
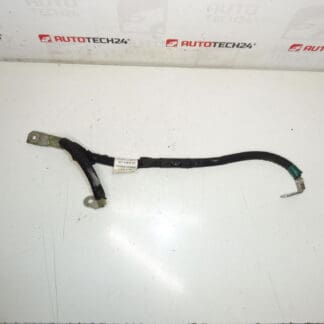
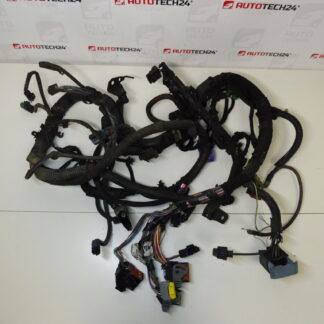
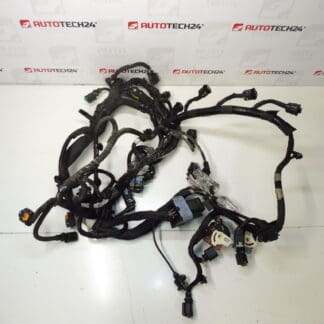
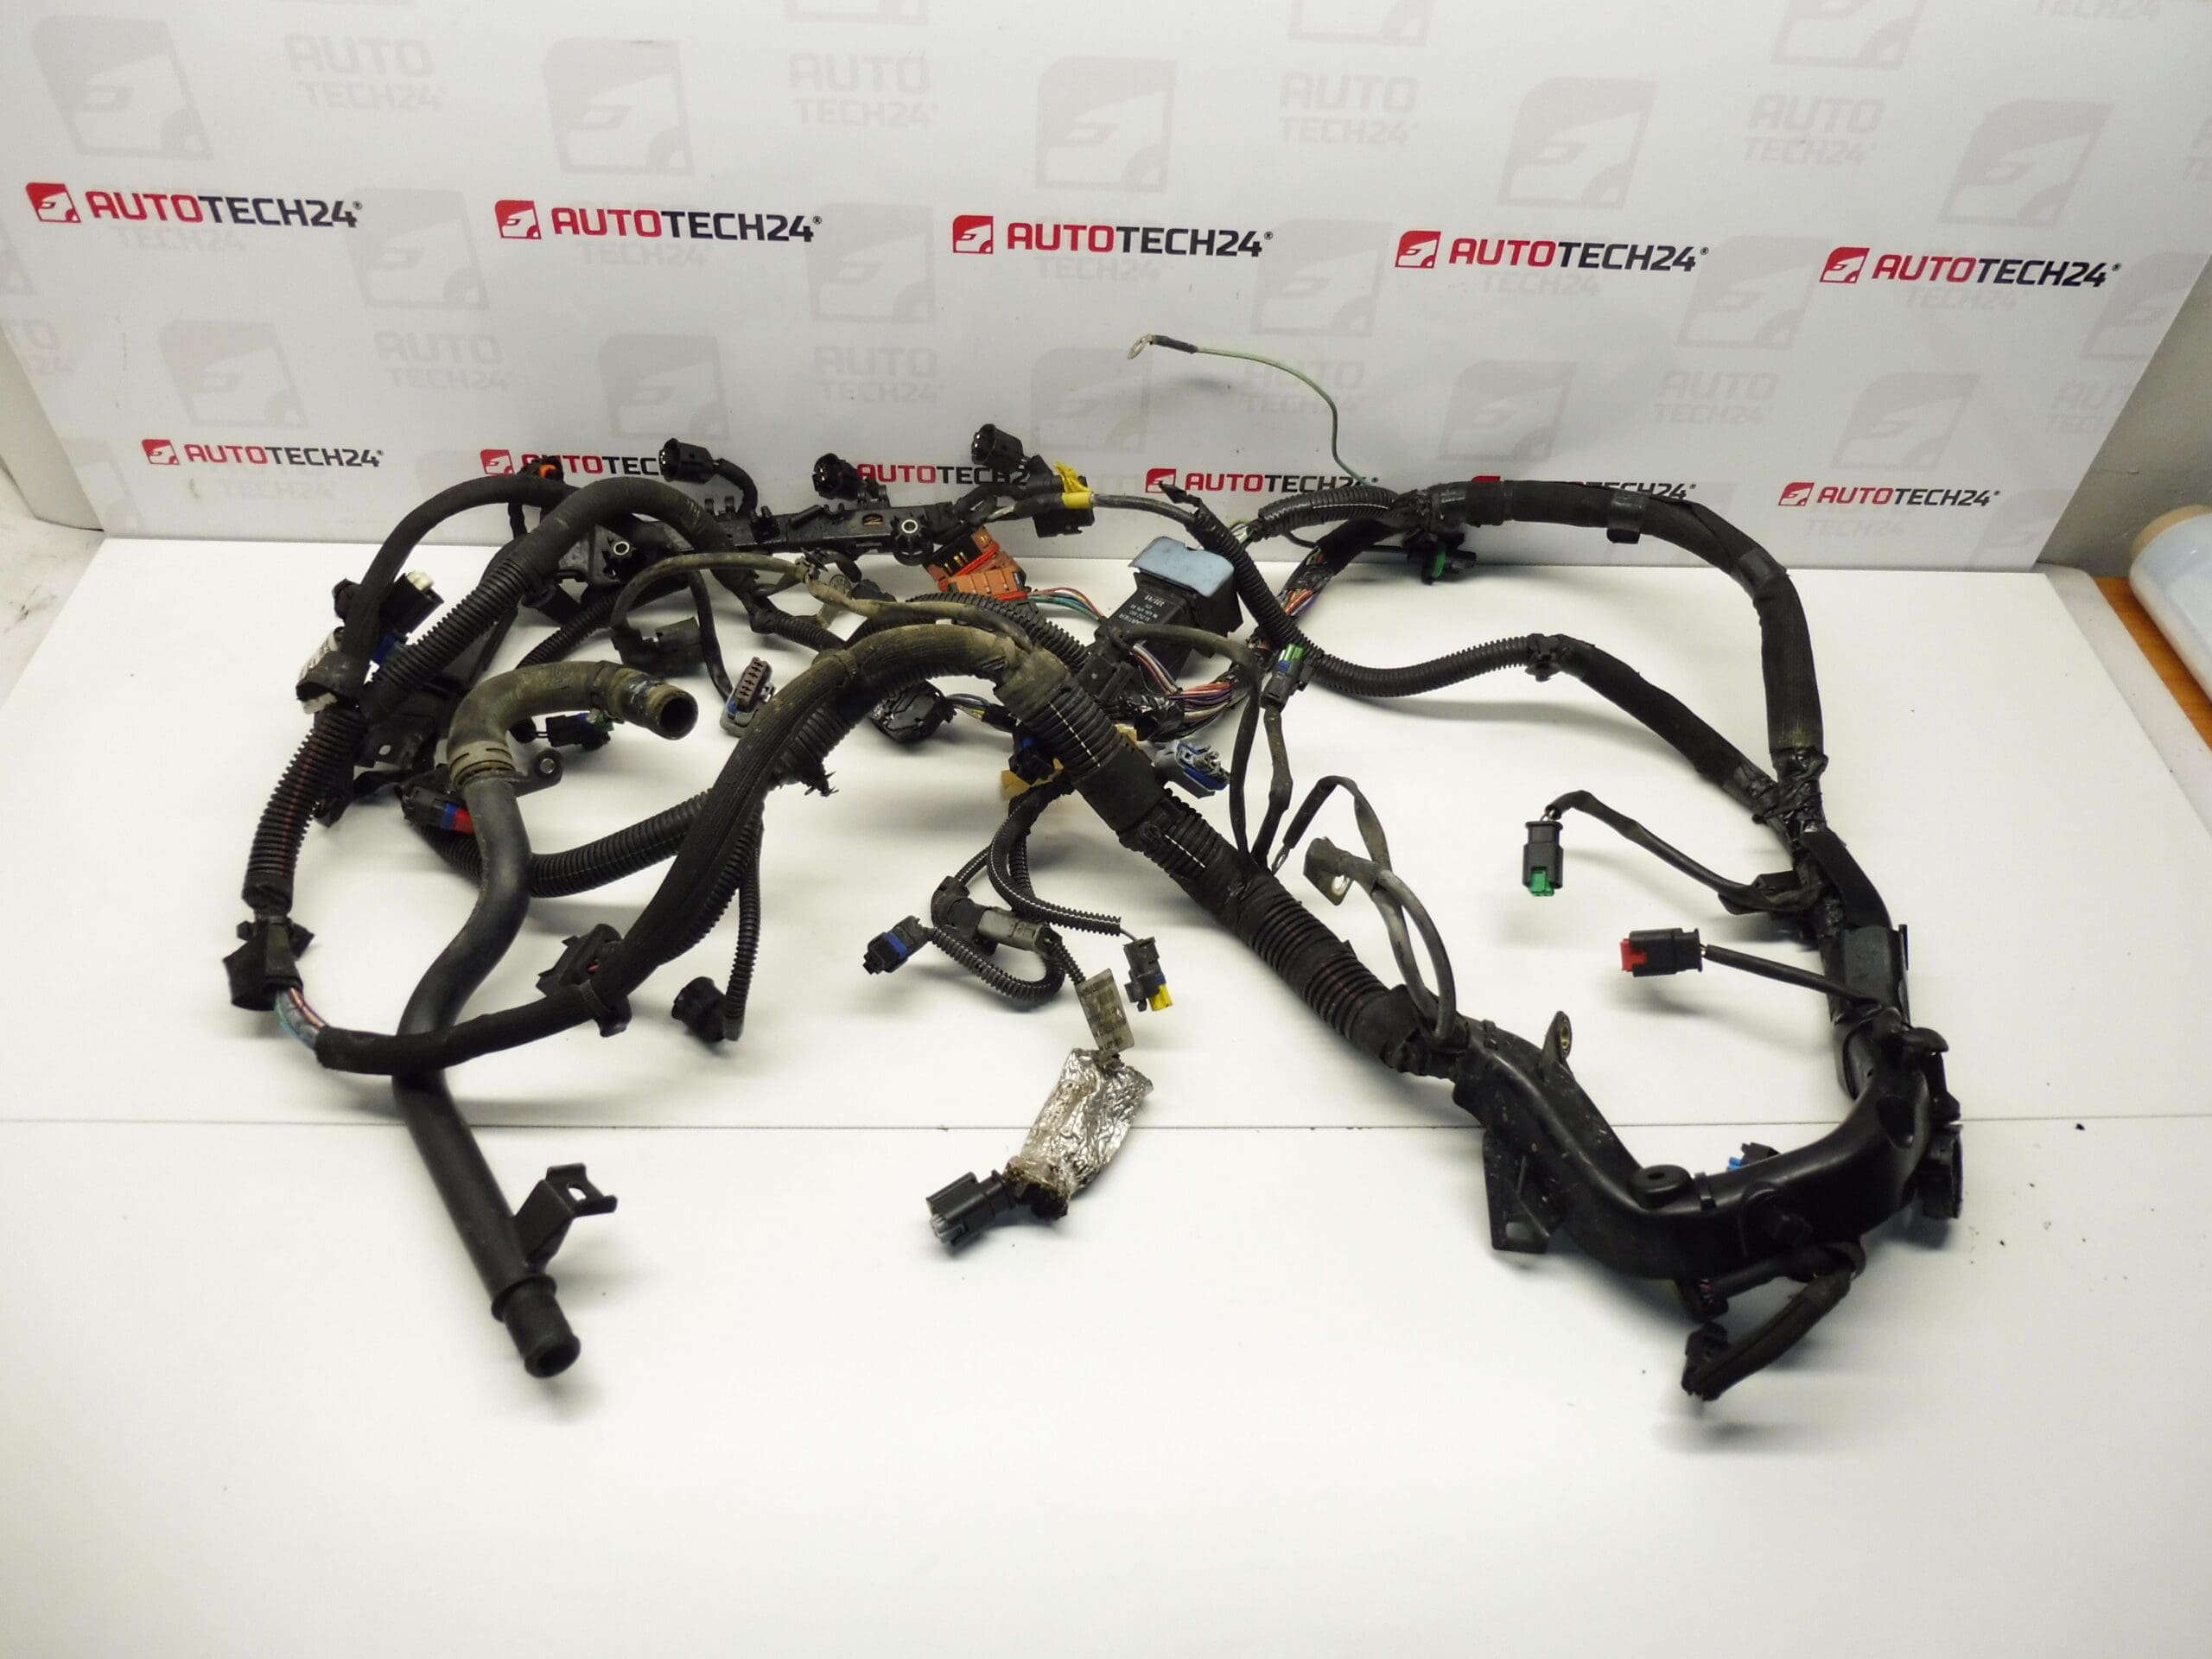
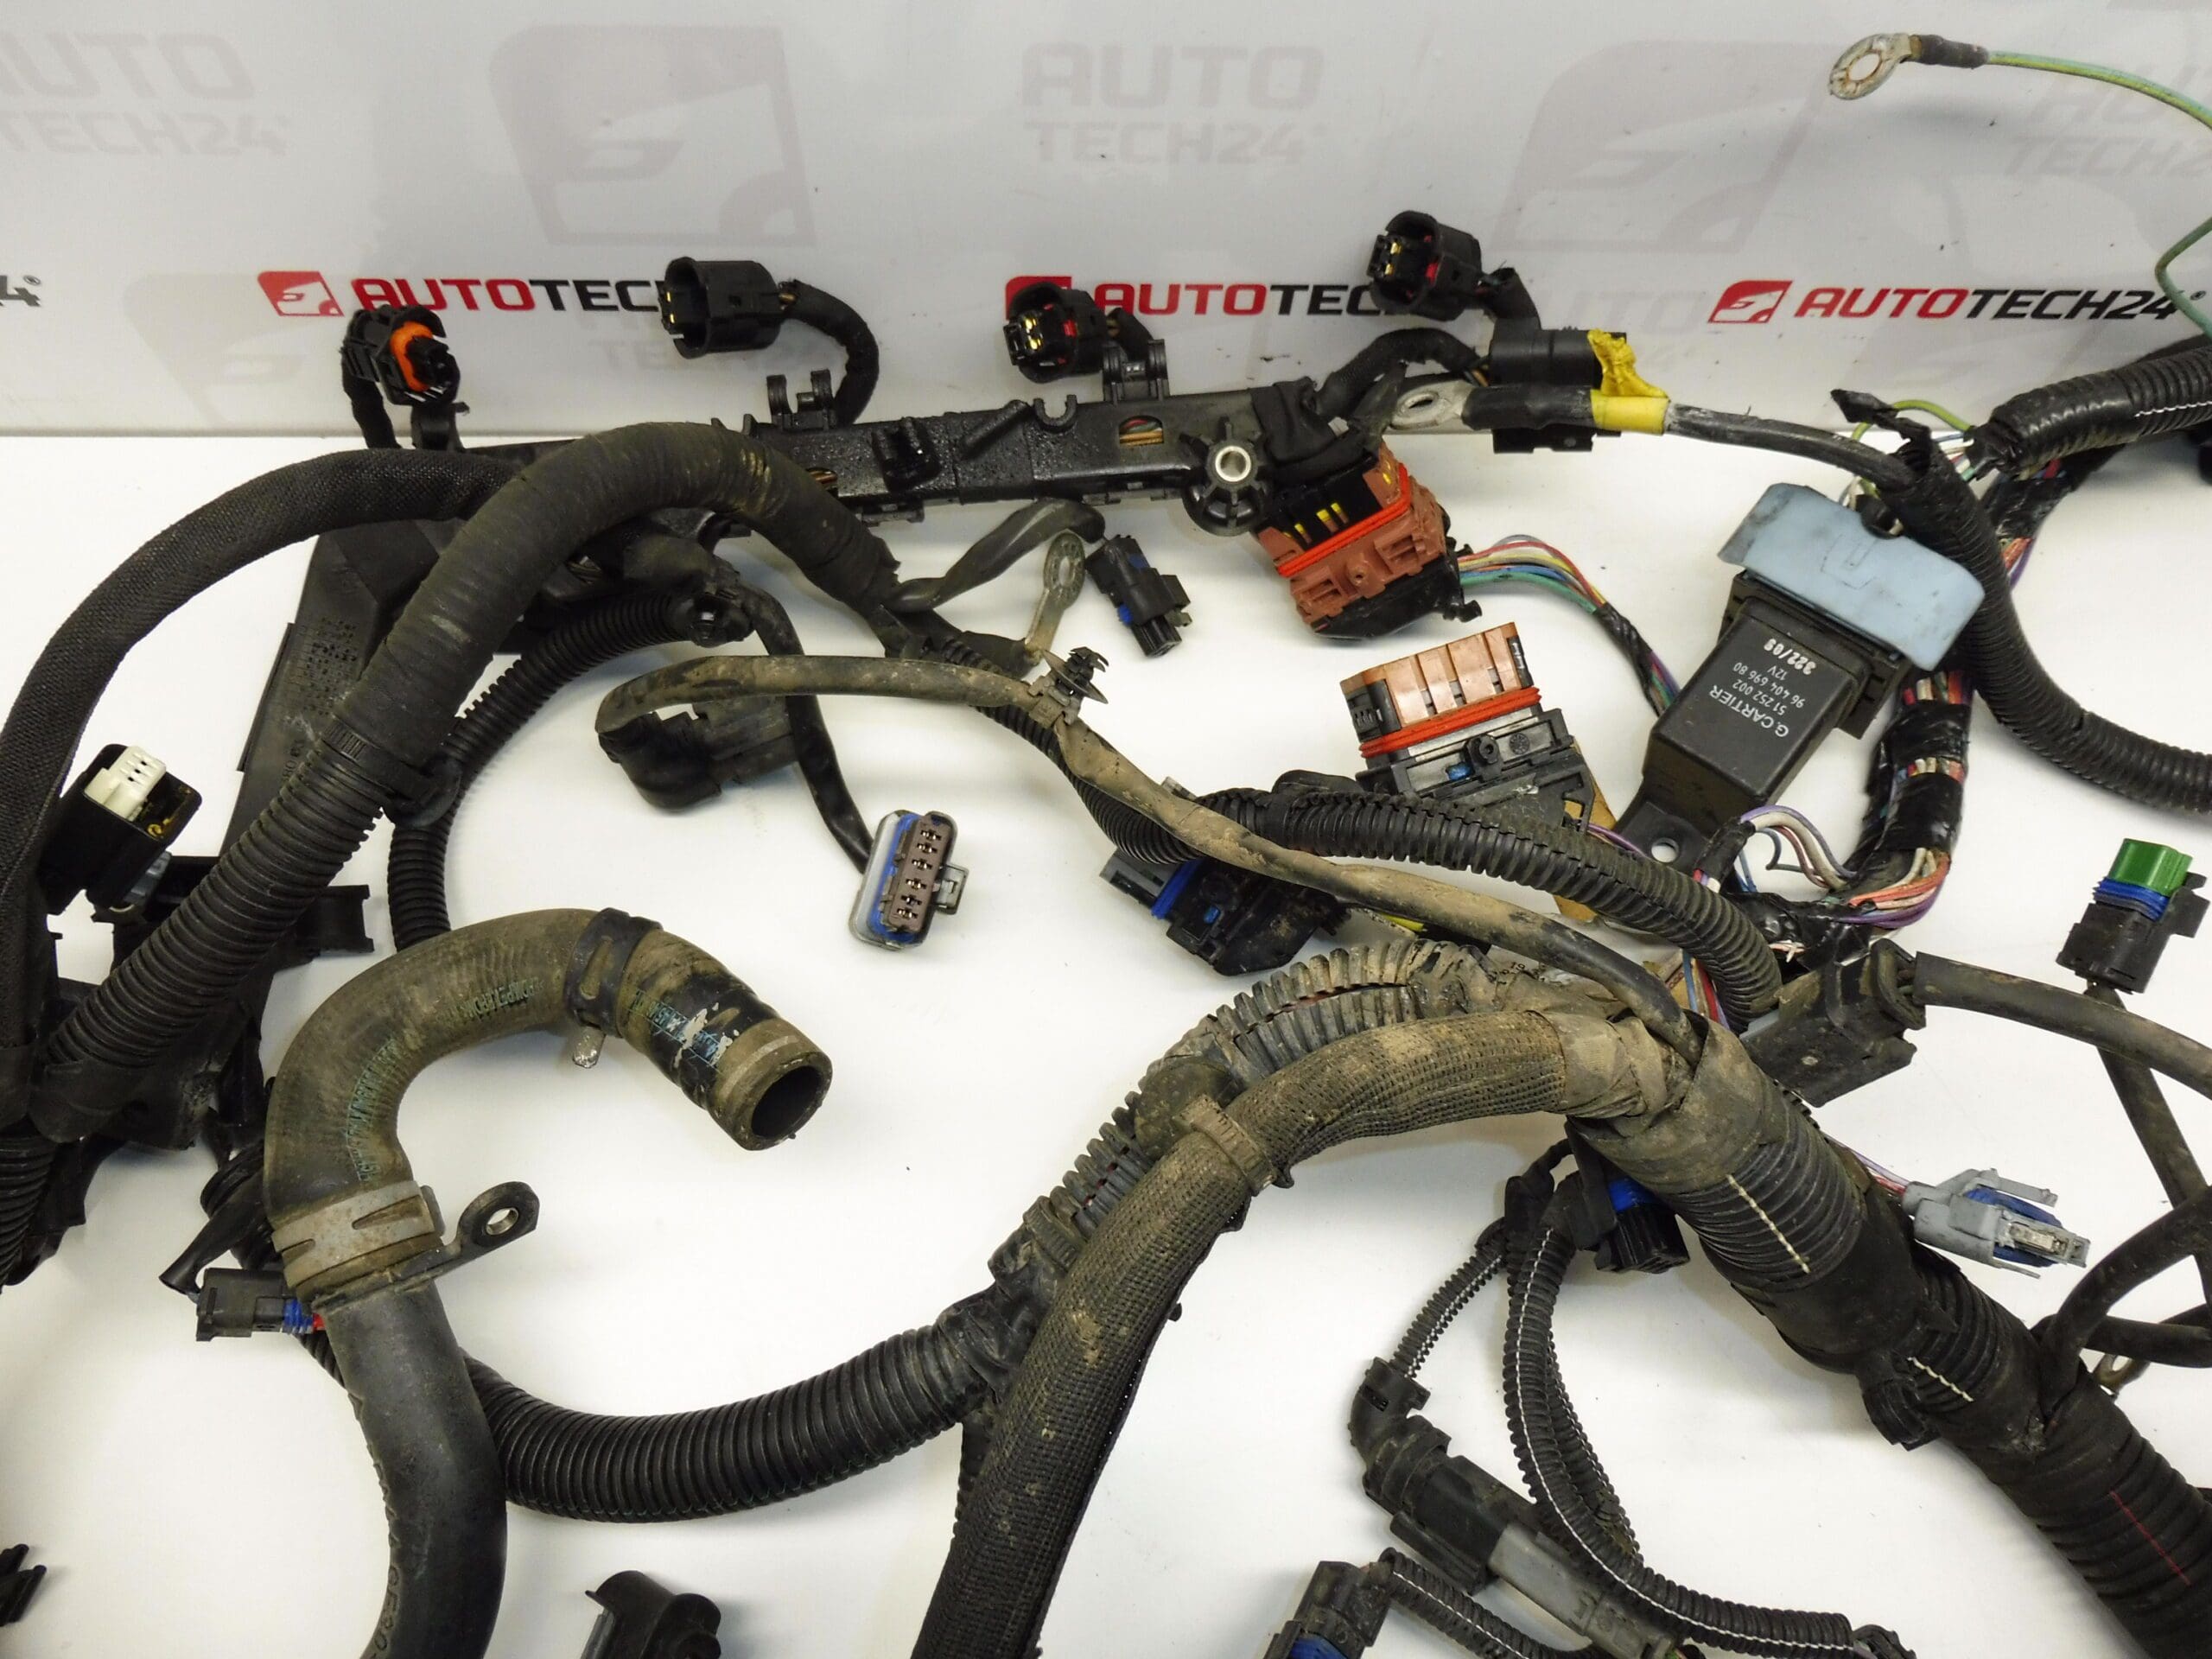
Complete engine wiring harness for Citroën and Peugeot vehicles with the 1.6 HDi engine. It is from Peugeot 308 66 kW.
This complete engine wiring harness is designed for Citroën and Peugeot vehicles equipped with the 1.6 HDi diesel engine. Built to route power and signals between the engine control unit, injectors, sensors and actuators, the harness maintains reliable electrical communication under engine-bay conditions. Ideal for professional workshops and skilled DIY mechanics, the harness restores factory connections and fitment, reduces troubleshooting time and helps return the vehicle to proper running condition quickly. Searches by OE codes 9687138480, 9687238280, 9687150780 or 6569XY often lead directly to this part, making it easy to find when replacing a damaged loom.
Technical Information
- Manufacturer: Stellantis / Citroën / Peugeot
- Model: Peugeot 308 1.6 HDi (66 kW); Compatible With Citroën and Peugeot Models Equipped With 1.6 HDi Engines (DV6) — Check Engine Specification
- Product Codes: 9687138480, 9687238280, 9687150780, 6569XY
- Other Numbers: OEM-Styled Harness For DV6 1.6 HDi Applications
Function And Benefits
- Provides Complete Electrical Routing For Engine Sensors, Fuel Injectors, Glow Plugs, Alternator, Starter Circuit And Related Actuators.
- Restores Factory Connector Interfaces And Grounds To Eliminate Intermittent Faults Caused By Damaged Wires Or Corroded Pins.
- Reduces Diagnostic Time By Replacing Suspect Looms Instead Of Individually Tracing Faulty Circuits.
- OE-Code Searchable Part Numbers Make Replacement Faster In Workshop Supply Chains.
Replacement Procedure
Recommended Steps For Fitment:
- Disconnect The Battery Before Starting Work To Prevent Short Circuits And Avoid Damage To Electronics.
- Document Or Label Connectors And Routing Of The Old Harness To Ensure Correct Re-Installation.
- Remove Obstructing Components As Needed (Air Intake, Engine Covers, Brackets) To Access Routing Paths.
- Disconnect All Electrical Connectors, Taking Care Not To Damage Locking Tabs Or Pins.
- Unfasten The Old Harness From Clips And Brackets And Withdraw It From The Engine Bay.
- Install The Replacement Harness Following The Factory Routing, Secure With Clips, And Reconnect All Plugs And Grounds.
- Perform A Full Functional Check After Reconnection: Turn Ignition On To Verify Sensor Power, Check For DTCs, And Start The Engine To Confirm Proper Operation.
Installation Recommendations
- Use OEM-Style Clips And Fasteners To Prevent Rubbing And Chafing Against Engine Or Bodywork.
- Inspect Connector Pins For Corrosion; If Present, Clean With Appropriate Contact Cleaner Before Reassembly.
- Protect Sections Near Exhaust Or Turbo With Heat-Sleeving Where Factory Insulation Is Worn Or Missing.
- Replace Any Damaged Grommets Or Seals To Maintain Moisture Protection Where The Harness Passes Through Bulkheads.
- After Installation, Clear Any Stored Fault Codes And Re-check For Intermittent Errors During A Test Drive.
Typical Failure Causes
- Abrasion From Rubbing Against Brackets, Hoses Or Sharp Edges Leading To Exposed Wires And Short Circuits.
- Heat Degradation In Areas Near Manifolds, Turbo Units Or Exhaust Components Causing Insulation To Become Brittle.
- Connector Corrosion Due To Moisture Ingress Or Compromised Seals Resulting In Poor Contacts And Intermittent Signals.
- Mechanical Damage From Impact, Previous Repairs Or Rodent Chewing In Engine Bay Areas.
- Oil And Fluid Contamination That Degrades Insulation Or Locks On Connectors.
Why Choose This Part
- OE-Referenced Codes Provide Direct Compatibility For Many 1.6 HDi Applications, Minimizing Fitment Risk.
- Complete Harness Solution Avoids Time-Consuming Partial Repairs When Multiple Circuits Are Affected.
- Suited For Workshop Replacement And Advanced DIY Repairs With Proper Tools And Mechanical Experience.
Order this engine wiring harness when you need a reliable, code-searchable replacement for Citroën and Peugeot 1.6 HDi engines — especially vehicles like the Peugeot 308 1.6 HDi 66 kW. Restores factory connectivity and reduces recurring electrical faults when installed following the recommended procedures.