Description
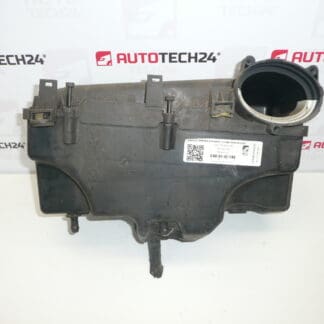
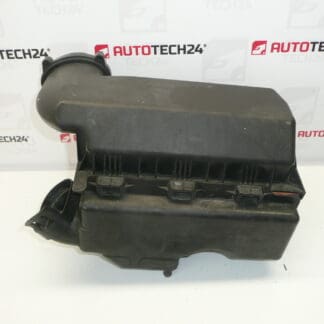
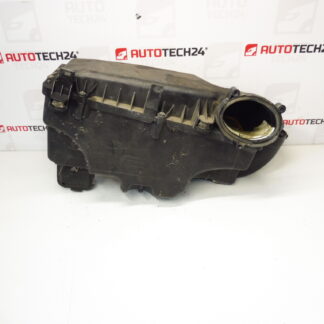
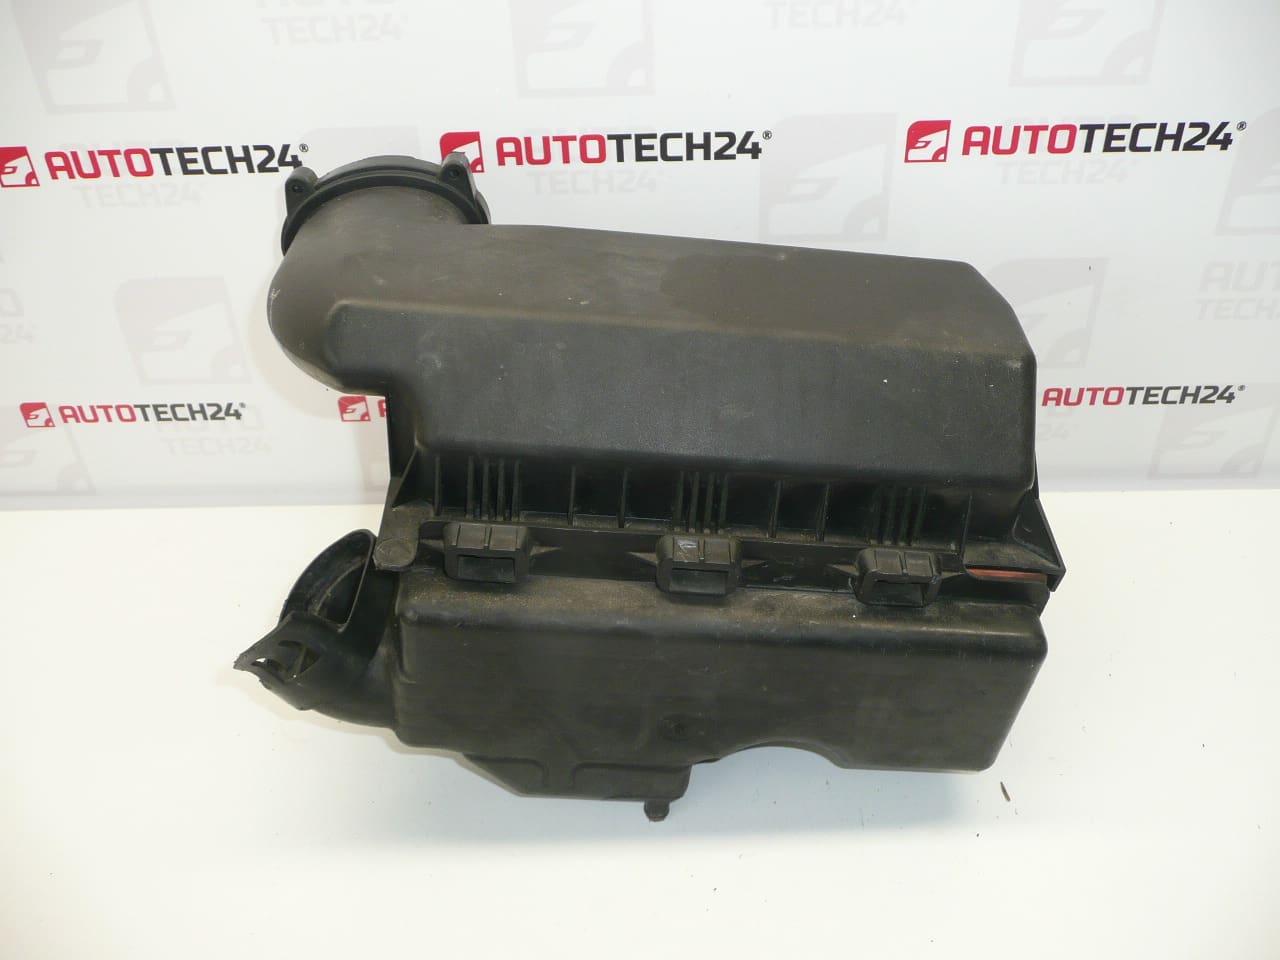
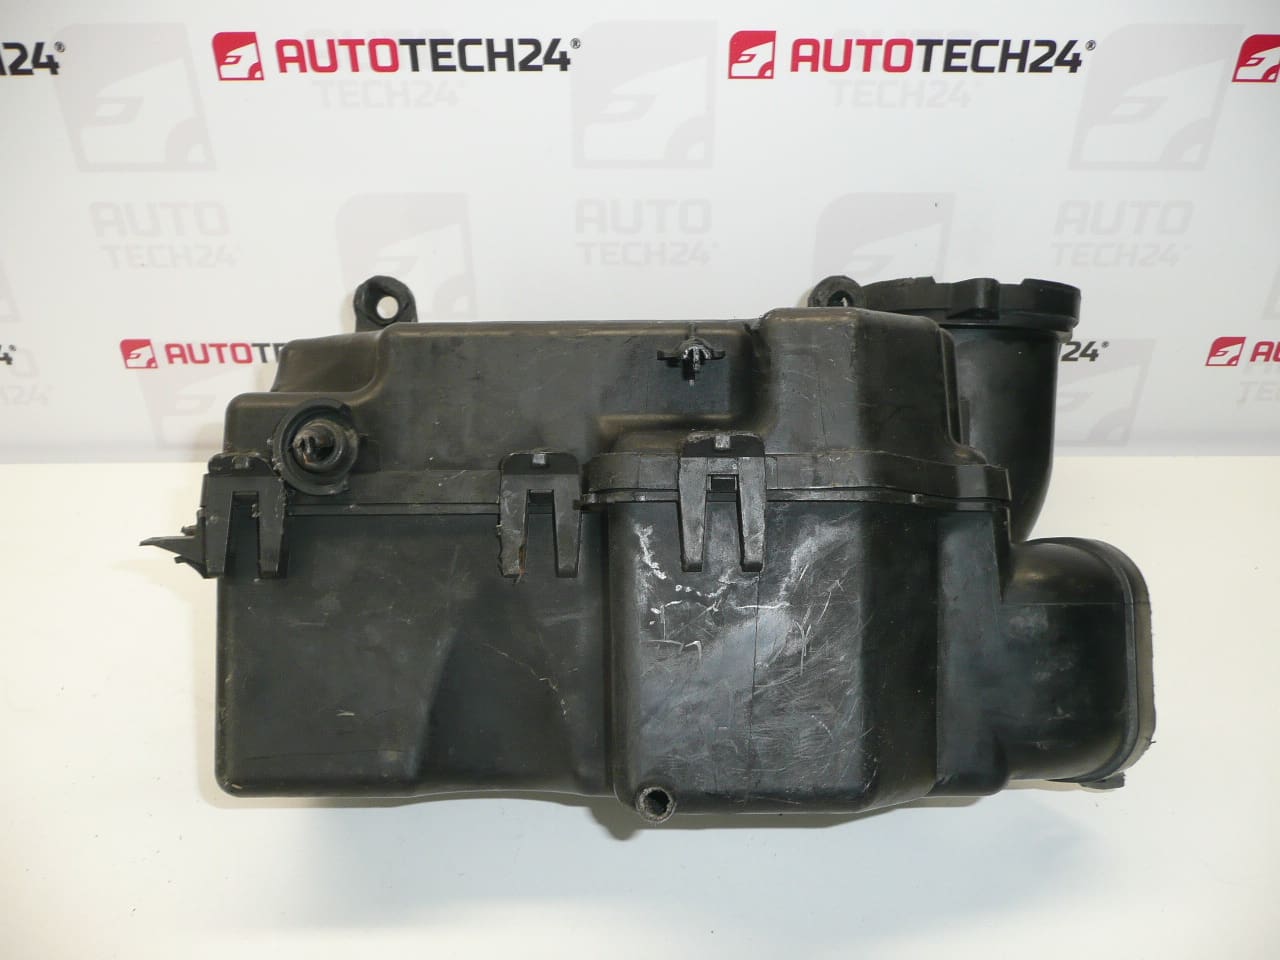
Filter box 1.6 HDi 80 kW for Citroën C5 II, X7 and Peugeot 407
This replacement filter box is designed for 1.6 HDi 80 kW engines used in Citroën C5 II (X7) and Peugeot 407 models. The housing secures the air filter element, directs intake air to the turbo and engine, and protects downstream components such as the MAF sensor and turbocharger from coarse contamination. Ideal for professional mechanics and experienced DIYers, this part is often searched by OE numbers, so the listed product codes make finding the correct unit quick and reliable.
Built to restore correct airflow and sealing, the filter box eliminates rattles, air leaks and poor engine idling caused by damaged housings or broken mounting points. Replacing a faulty airbox improves engine response, prevents unmetered air entering the intake tract and reduces the risk of premature turbo and sensor damage.
Technical information
- Manufacturer: Stellantis (Citroën / Peugeot)
- Models: Citroën C5 II (X7), Peugeot 407
- Product Codes: 9659405080
- Additional Numbers: 9651883080, 1420N9
Installation recommendations
Recommended for installation by a trained technician or an experienced DIY mechanic. Standard hand tools and Torx/metric sockets are usually sufficient. Typical replacement steps:
- Park on level ground and allow engine to cool.
- Remove the engine cover if fitted to access the intake assembly.
- Unclip or loosen intake hoses and clamps between the airbox and turbo/intercooler and remove any attached breather hoses. Carefully disconnect the MAF sensor electrical connector and remove the sensor if it is mounted to the airbox—handle the sensor by the body, do not touch the sensing element.
- Undo the airbox mounting bolts or clips and lift out the old housing together with the filter element.
- Transfer any sensors, grommets or mounting brackets to the new housing if required, fit the correct air filter element, then install the new box and secure all fasteners and clamps to specified torque where available.
- Reattach hoses, reconnect electrical connectors and check that all seals and clips are fully engaged. Start the engine and check for abnormal noises or air leaks around the airbox and intake ducting.
Why the part most commonly fails
Airbox damage is usually caused by age-related degradation of plastic (cracking or embrittlement), broken mounting tabs from vibration or improper removal, impact damage from road debris, or degraded seals and loose clamps that allow unmetered air. Excessive contamination from a neglected air filter can also accelerate wear or clog drainage paths, leading to moisture retention and internal damage.
Note: The airbox itself typically does not have a scheduled replacement interval and can last the vehicle’s lifetime under normal conditions; however, inspection is recommended during regular service intervals and whenever air intake faults, rattles or poor idling are present.